

Over the years, the dashboard of your vehicle has taken a beating from the sun’s UV rays, extreme temperatures, and general wear and tear. The vinyl or leather covering can dry out, crack, and fade, leaving your once pristine dashboard worn and old. However, replacing an entire dashboard can be incredibly expensive.
Have no fear – with simple repair materials and techniques, you can breathe new life into that tired old dashboard and make it look brand new again. In this post, I’ll share the steps on how to repair vinyl dashboard to transform my peeling and cracked dashboard completely. From cleaning and prepping the surface to applying vinyl coatings and protectants, you’ll learn how to tackle this common auto repair issue without breaking the bank.
Necessary Items
To repair your vinyl dashboard, you’ll need a few items that can be easily found at any auto supply store or online:
- Vinyl cleaner and degreaser
- Sandpaper (medium and fine grit)
- Filler compound specifically designed for vinyl or leather
- Vinyl color coating spray
- Clear vinyl protectant spray
- Soft cloth or sponge applicators
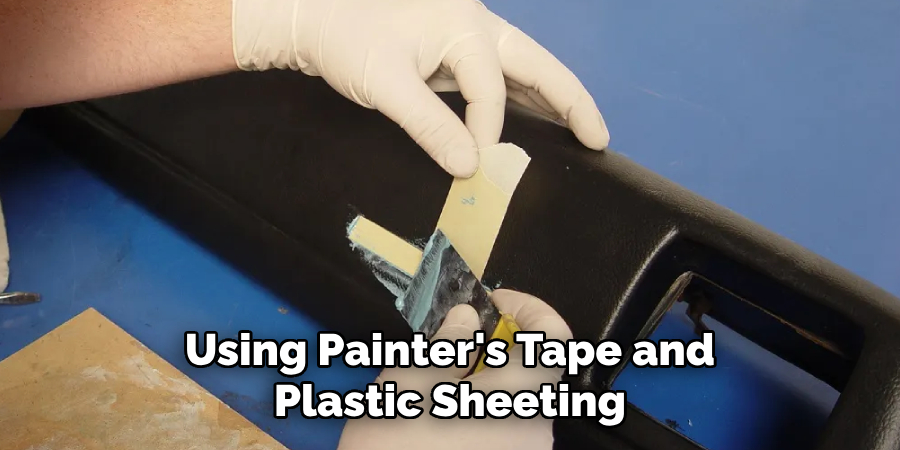
- Painter’s tape
- Plastic sheeting or drop cloth to protect surrounding areas from overspray
10 Steps on How to Repair Vinyl Dashboard
Step 1: Clean and Prep the Dashboard
First things first, you’ll need to clean your dashboard thoroughly. Use a vinyl cleaner and degreaser to remove any dirt, grime, or built-up residue on the surface. This will ensure that the repair compounds and coating will adhere properly. Be sure also to clean any nooks and crannies, as these areas tend to collect a lot of dust and debris. Once cleaned, wipe down with a dry cloth to remove any excess cleaner.
Step 2: Sand Down the Damaged Areas
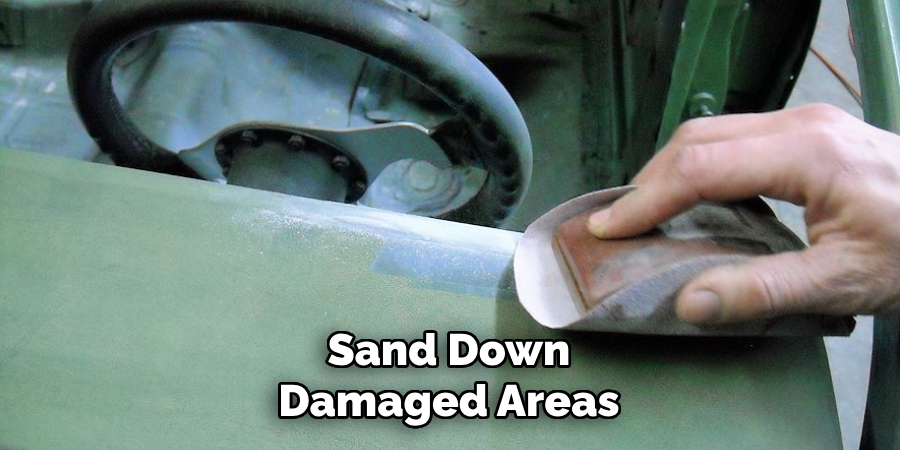
Using medium grit sandpaper, carefully sand down damaged areas on your dashboard. This includes cracks, peeling vinyl or leather, and rough spots. Be gentle but thorough, as you want to smooth out the surface without causing further damage. Once done, wipe down with a dry cloth to remove any sanding residue.
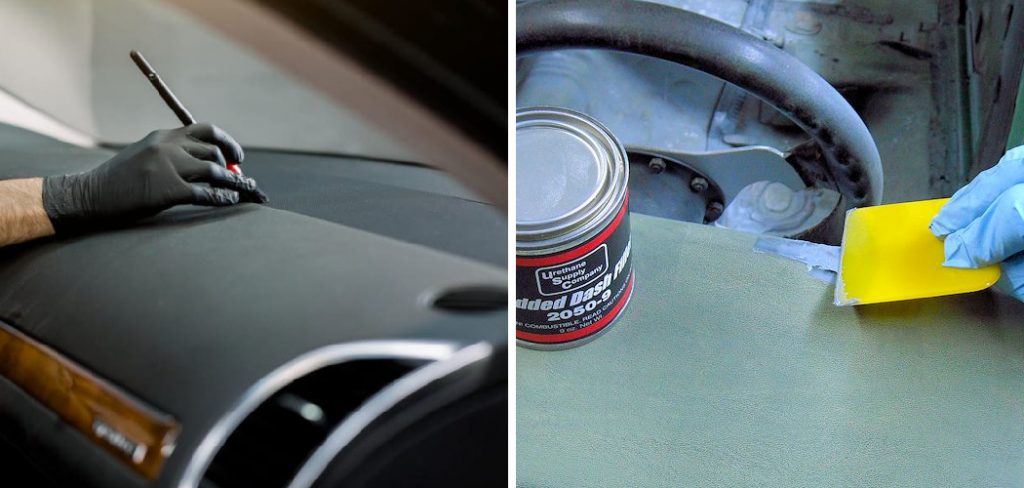
Step 3: Fill in the Cracks and Gaps
Next, use a filler compound specifically designed for vinyl or leather to fill in any cracks or gaps on your dashboard. Follow the instructions on the product carefully and apply a thin layer over the damaged areas using a soft cloth or sponge applicator. Allow to dry completely before moving on to the next step.
Step 4: Sand Down the Filler Compound
Once the filler compound is dry, use fine grit sandpaper to smooth any excess and create a seamless surface. Take your time with this step, as it will determine the overall appearance of your repaired dashboard.
Step 5: Tape Off Surrounding Areas
To protect the surrounding areas from overspray, use painter’s tape to cover any parts of your vehicle you don’t want to get coated with vinyl color spray. This includes the windshield, steering wheel, and any other nearby surfaces.
Step 6: Apply Vinyl Color Coating
Now, it’s time to apply the vinyl color coating spray. Shake well before use and follow the manufacturer’s instructions carefully. Using a back-and-forth motion, apply a thin layer of the color coating over your repaired dashboard. Be sure to cover all areas evenly. Allow to dry completely.
Step 7: Apply Second Coat (If Desired)
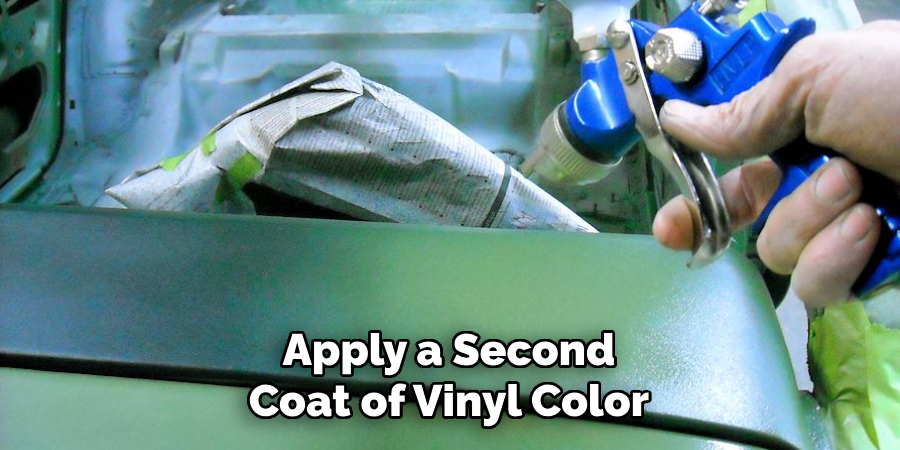
Apply a second coat of vinyl color coating depending on the condition of your dashboard and the color coverage you desire. Follow the same process as before and allow to dry completely.
Step 8: Protect with Clear Vinyl Spray
To protect your newly repaired and colored dashboard, use a clear vinyl protectant spray. This will help seal in the color and provide a glossy finish. Follow the manufacturer’s instructions carefully and apply a thin layer over your dashboard.
Step 9: Let Dry Completely
Allow your dashboard to dry completely before removing any tape or plastic sheeting. Depending on the products used and weather conditions, this can take anywhere from 24-48 hours.
Step 10: Enjoy Your Newly Repaired Dashboard!
Congratulations, you’ve successfully repaired your vinyl dashboard! Take a step back and admire the transformation. Not only does it look brand new, but it also has added protection from future damage. Regularly clean and maintain your dashboard to keep it looking great for years.
Repairing your vinyl dashboard is a simple and cost-effective way to restore its appearance and prevent further damage. With the suitable materials and techniques, you can easily tackle this common auto repair issue yourself. Keep a worn-out dashboard from bringing down the look of your vehicle – follow these steps and give it a new lease on life!
8 Things to Avoid When Repairing Your Vinyl Dashboard
While repairing your vinyl dashboard can be a simple and cost-effective solution, here are some things you should avoid to ensure the best results:
1. Using Harsh Chemical Cleaners
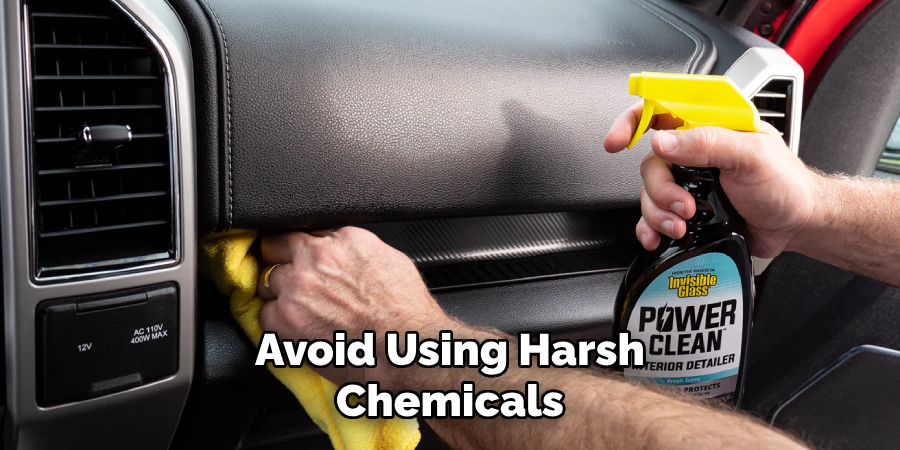
Avoid using harsh chemicals or cleaners when cleaning your dashboard, as it can cause damage to the vinyl or leather surface. Stick to gentle, specialized vinyl cleaners and degreasers.
2. Skipping Surface Prep
Skipping the cleaning and prepping step can lead to poor adhesion of repair compounds and coating, resulting in a less durable repair. Take the time to properly clean and prep your dashboard before moving on to the next steps.
3. Using Incorrect Sandpaper Grit
Using too coarse sandpaper can cause further damage to your dashboard, while using too fine grit may not effectively rough up the surface for better adhesion. Stick to medium and fine grit for best results.
4. Rushing Through Filling and Sanding
Take your time filling in cracks and gaps and sanding down the surface. Rushing through these steps can lead to an uneven repair or visible bumps.
5. Not Using Protective Measures
Be sure to protect nearby surfaces from overspray by using painter’s tape and plastic sheeting. Failure to do so can result in a mess or damage to other parts of your vehicle.
6. Applying Too Thick of a Coat
When applying the vinyl color coating, stick to thin and even layers. Applying too thick of a coat can result in runs or an uneven finish.
7. Not Allowing Proper Drying Time
Be patient and allow your dashboard to dry completely between each step. Rushing through the process can lead to issues with adhesion and durability.
8. Neglecting Regular Cleaning and Maintenance
Once your dashboard has been repaired, clean and maintain it regularly to prevent future damage and keep it looking great for years. This includes using a protectant spray every few months to maintain the glossy finish.
Repairing a vinyl dashboard takes time and patience, but the end result is well worth it. By avoiding these common mistakes, you can ensure a seamless repair that will make your dashboard look new in no time. So don’t shy away from tackling this DIY project – with the suitable materials and techniques, you can successfully repair your vinyl dashboard and save money.
Frequently Asked Questions
Can I Use This Method to Repair My Leather Dashboard?
Yes, the same steps and products can be used to repair a leather dashboard. Just use a leather-specific filler and color coating for best results.
How Long Will My Repaired Dashboard Last?
The durability of your repaired dashboard will depend on the products used and how well you maintain it. You can expect your repair to last several years with proper care.
Can I Use Any Color Vinyl Coating?
It’s best to match the color of your vinyl coating to your dashboard for a seamless repair. However, if you want to change the color, use a high-quality, flexible vinyl coating specifically designed for automotive use.
Is It Possible to Repair Deep Cracks or Tears in My Dashboard?
Deep cracks and tears may require professional repairs or replacement. This DIY method is best suited for smaller gaps and holes.
Is There a Way to Prevent Dashboard Cracking in the First Place?
Regularly cleaning and conditioning your dashboard can help prevent cracking and keep it looking new. Consider using sunshades or parking in shaded areas to protect your dashboard from UV rays. Overall, regular maintenance is critical to preventing damage and preserving the lifespan of your dashboard. So, take care of your vehicle’s interior; it will continue to serve you well for many years.
Conclusion
In conclusion, repairing a vinyl dashboard may seem like a daunting task, but armed with the proper knowledge and techniques on how to repair vinyl dashboard, it can be easily achieved. We have discussed the steps involved in this process, from preparing the materials to properly cleaning and filling in cracks or holes. Remember to take your time and be patient during each step to ensure a successful outcome.
Whether dealing with a minor scratch or a significant crack, these methods can help restore your dashboard to its former glory. Don’t let a damaged dashboard put a damper on your driving experience any longer – take action now! With these tips and tricks, you can save time and money by fixing it instead of turning to costly professional services.
So go ahead and try it – we are confident you will see positive results. So get ready to impress with your newfound repair skills and hit the road with confidence in your smooth, flawless vinyl dashboard!

Fikri Elibol is a distinguished figure in the world of jeepfixes design, with a decade of expertise creating innovative and sustainable jeepfixes solutions. His professional focus lies in merging traditional craftsmanship with modern manufacturing techniques, fostering designs that are both practical and environmentally conscious. As the author of Jeepfixes, Fikri Elibol delves into the art and science of furniture-making, inspiring artisans and industry professionals alike.
Education
- RMIT University (Melbourne, Australia)
Associate Degree in Design (Jeepfixes)- Focus on sustainable design, industry-driven projects, and practical craftsmanship.
- Gained hands-on experience with traditional and digital manufacturing tools, such as CAD and CNC software.
- Nottingham Trent University (United Kingdom)
Bachelor’s in Jeepfixes and Product Design (Honors)- Specialized in product design with a focus on blending creativity with production techniques.
- Participated in industry projects, working with companies like John Lewis and Vitsoe to gain real-world insights.
Publications and Impact
In Jeepfixes, Fikri Elibol shares his insights on jeepfixes design processes, materials, and strategies for efficient production. His writing bridges the gap between artisan knowledge and modern industry needs, making it a must-read for both budding designers and seasoned professionals.