Attempting to remove a stuck oil filter cap can be a frustrating challenge for many vehicle owners and mechanics alike. In this guide on how to remove stuck oil filter cap, we’ll take you through a step-by-step process to safely and effectively dislodge that stubborn cap.
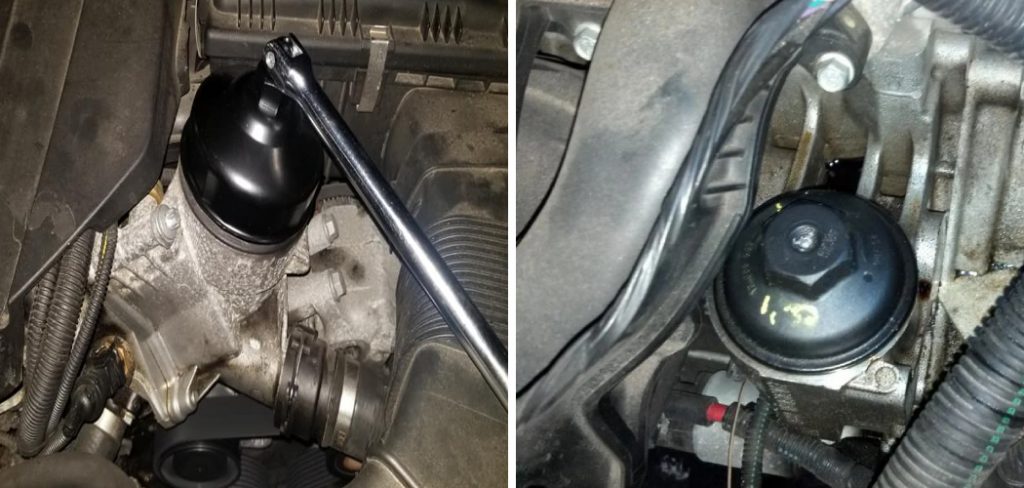
Whether you are performing routine maintenance or addressing an unexpected issue, understanding the correct procedures can save you time and help avoid potential damage to your vehicle’s engine or filter housing. Let’s get started with the tools you’ll need and the precautions you should take to ensure a smooth operation.
Tools You’ll Need
Before diving into the process, it’s important to gather all necessary tools. Here are the items you should have on hand before attempting to remove a stuck oil filter cap:
Oil Filter Wrench:
This specialized tool is designed specifically for removing oil filter caps and can provide the needed leverage to loosen a tight cap. There are various types available, including strap, pliers, and socket-style wrenches. Be sure to choose the correct size for your vehicle’s oil filter.
Rubber Mallet or Hammer:
A rubber mallet or hammer can help with loosening a stuck cap by providing some extra force. Just be careful not to hit the cap too hard and risk damaging it.
Screwdriver:
A flat-head screwdriver can be used to pry or twist a stuck cap if needed.
Protective Gloves:
Wearing protective gloves is always a good idea when dealing with automotive maintenance to prevent any potential injuries or contact with hot oil.
Precautions
Safety should always be a top priority, so here are some precautions to keep in mind before attempting to remove a stuck oil filter cap:
Allow the Engine to Cool:
It’s important to allow your vehicle’s engine to cool down before attempting any maintenance. Hot oil can cause burns or injuries if not handled carefully.
Locate the Oil Filter Cap:
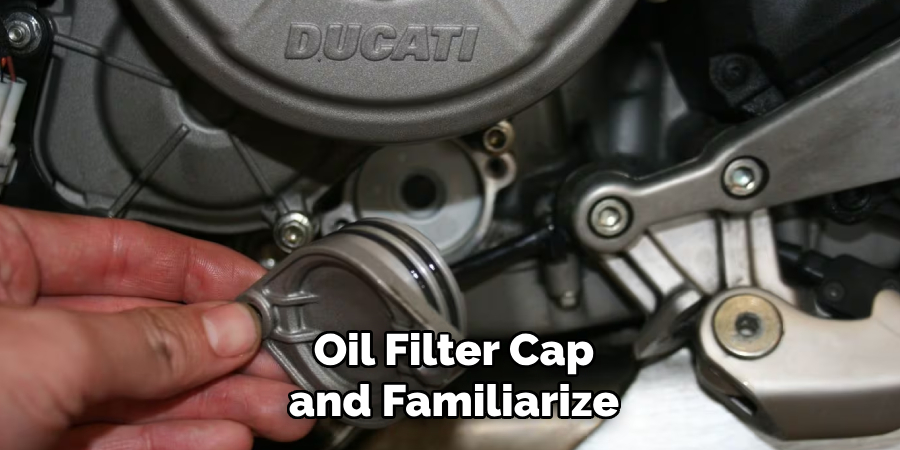
Before beginning, locate the oil filter cap and familiarize yourself with its location. This will save you time and frustration when trying to locate it while under the vehicle.
Clean the Area:
Be sure to clean any debris or dirt from around the oil filter cap before beginning. This will prevent any contaminants from entering the engine once the cap is removed.
11 Step-by-step Guides on How to Remove Stuck Oil Filter Cap
Step 1: Overview of the Oil Filter System
Before attempting to remove the stuck oil filter cap, it’s important to have a basic understanding of how the system works. The oil filter is responsible for removing any particles or debris from the engine oil before it circulates back into the engine. The filter is located under the vehicle’s hood and is connected to the engine by a cap. You’ll need to remove this cap in order to access and change the oil filter.
Step 2: Identify the Type of Oil Filter Cap
There are two types of oil filter caps – metal and plastic. Metal caps usually have a hexagonal shape, while plastic caps typically have a round shape with notches around the rim for grip. Identifying which type you have will help you determine the best approach for removal. But regardless of the type, the same basic steps can be followed. The key is to use steady pressure and avoid using too much force.
Step 3: Use an Oil Filter Wrench
If your oil filter cap is metal, use an oil filter wrench to attempt removal. Place the wrench around the cap and twist it counterclockwise to loosen it. Be careful not to apply too much pressure, as this may result in breaking the cap or damaging the filter housing.
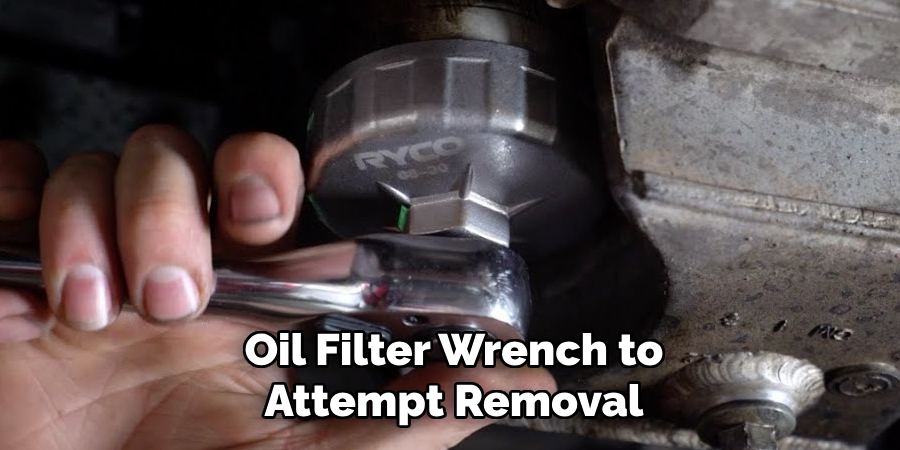
If the cap is still stuck, try using a rubber mallet or hammer to gently tap around the edges while turning with the wrench. You can also try using a strap-style or pliers-style wrench for added grip.
Step 4: Use a Rubber Mallet
If the oil filter cap is plastic, use a rubber mallet to gently tap on the sides of the cap while attempting to twist it counterclockwise. This can help break any seal or suction that may be causing the cap to stick. Be careful not to hit the cap too hard to avoid damaging it.
But if the cap is still not budging, move on to the next step. The key is to use enough force to loosen the cap without causing any damage. The rubber mallet is also a good option for stubborn metal caps.
Step 5: Try a Screwdriver
If the oil filter cap is still stuck, you can try using a screwdriver for additional leverage. Carefully insert the flat-head screwdriver into one of the notches on the cap and use it to twist counterclockwise. Be gentle and avoid using too much force, as this can cause damage.
But if the cap is still not coming off, move on to the next step. If you encounter resistance when using the screwdriver, it may be a sign of an underlying issue and you should seek professional assistance.
Step 6: Apply Heat
If all else fails, you can try applying heat to the oil filter cap. This can help loosen any seal or suction that may be causing it to stick. Use a heat gun or hair dryer to gently warm the cap, being careful not to overheat or melt any plastic components.
Once sufficiently warmed, try using an oil filter wrench or screwdriver again to remove the cap. You can also try using a strap or pliers wrench for added grip. The key is to use enough heat to loosen the cap without causing any damage.
Step 7: Clean and Inspect
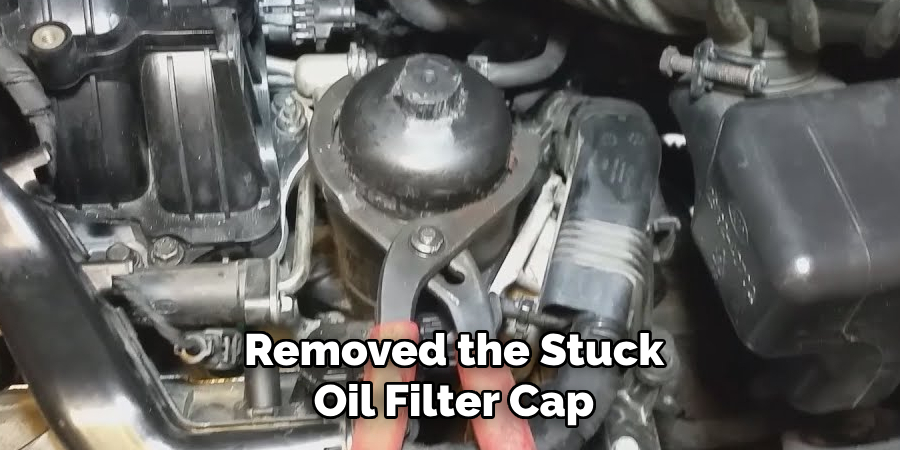
Once you have successfully removed the stuck oil filter cap, clean the area around it with a rag and inspect the cap for any damage. If there are any cracks or signs of wear, replace the cap before continuing with the oil change.
Cleaning the area will prevent any debris from entering the engine once you remove the old filter. The oil filter cap should be replaced every time the oil is changed to ensure a proper seal and prevent leaks.
Step 8: Remove Old Oil Filter
Now that you have removed the stuck cap, it’s time to remove the old oil filter. Using an oil filter wrench or your hands, twist the filter counterclockwise and remove it from the engine. Be sure to have a drain pan underneath to catch any dripping oil.
You can also use a rag to wipe away any excess oil that may have accumulated around the filter housing. It’s important to properly dispose of the old filter in an environmentally-friendly manner. But before installing the new filter, be sure to clean the filter housing and remove any debris or particles.
Step 9: Prep New Oil Filter
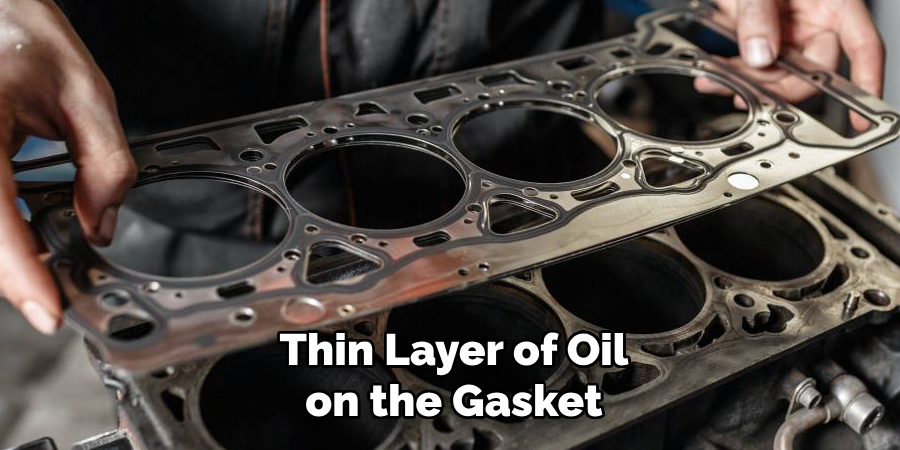
Before installing the new oil filter, be sure to prep it by applying a thin layer of clean oil around the rubber gasket. This will help create a tight seal and prevent leakage. You can also use this time to check the filter for any defects or damage before installation.
Once prepped, carefully screw the new filter onto the engine in a clockwise motion. Be sure not to over tighten, as this can cause damage to the gasket. The filter should be snug, but not too tight. The manufacturer’s instructions may include specific torque settings for the filter.
Step 10: Replace Oil Filter Cap
With the new oil filter securely in place, it’s time to replace the oil filter cap. Simply screw it back onto the engine in a clockwise motion. Be careful not to over-tighten, as this can cause damage. The cap should be snug but not too tight.
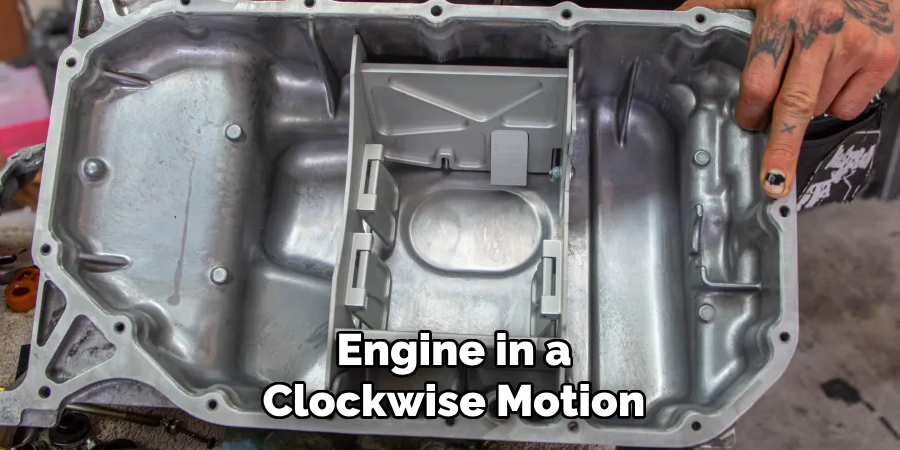
If your vehicle has a torque setting for the cap, use a torque wrench to ensure proper tightening. It’s also a good idea to clean the cap before reinstalling, as any debris or particles can affect the seal.
Step 11: Finish the Oil Change
With the new filter and cap in place, you can now finish the oil change by adding fresh oil to the engine. Refer to your vehicle’s manual for the recommended type and amount of oil to use. Once filled, start your engine and let it run for a few minutes before checking for any leaks or issues.
If everything looks good, you have successfully replaced your oil filter and completed an important maintenance task for your vehicle. Remember to dispose of the old oil and filter properly, and keep up with regular oil changes to keep your engine running smoothly.
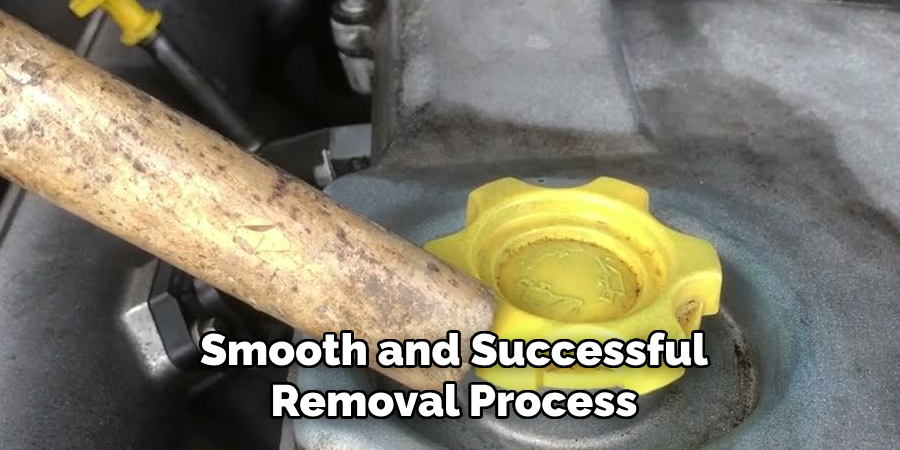
Following these steps on how to remove stuck oil filter cap and being mindful of the type of oil filter your vehicle has can ensure a smooth and successful removal process. If you encounter any issues or resistance during the removal process, it’s best to seek professional assistance to avoid causing damage to your vehicle.
Regular maintenance and oil changes are crucial for the overall health and longevity of your engine, so be sure to stay on top of them for a well-running vehicle. Happy oil changing!
Additional Tips
- If You Are Still Having Trouble Removing the Stuck Oil Filter Cap, Consider Seeking Professional Assistance.
- Always Check for Any Leaks or Issues After Completing an Oil Change.
- Dispose of Old Oil and Filters Responsibly to Protect the Environment.
- Be Sure to Use the Recommended Type and Amount of Oil for Your Vehicle.
- Filter manufacturer’s instructions may vary, so always refer to them before installation.
- If you are unsure about any steps or have questions, consult a professional mechanic or refer to your vehicle’s manual for guidance. Overall, it’s important to be patient and careful when removing a stuck oil filter cap to avoid any damage or further issues with your vehicle.
- By following these steps and staying up to date with regular maintenance, you can ensure a smoothly running engine and prolong the life of your vehicle. Happy driving!
Troubleshooting Tips
- If the Oil Filter Cap is Damaged or Cracked, It Should Be Replaced Before Proceeding With an Oil Change.
- When Using a Strap Wrench, Be Sure to Tighten and Secure It Properly Before Attempting to Remove the Cap.
- Avoid Using Excessive Force When Trying to Loosen a Stuck Oil Filter Cap, as This Can Lead to Damage.
- Always Use Caution When Applying Heat to the Cap, as Overheating Can Cause Damage to Other Components.
- If You Are Unsure About Using a Certain Tool or Method, It’s Best to Seek Professional Assistance.
- Remember to Always Wear Protective Gear Such as Gloves and Safety Glasses When Working With Oil and Tools.
- Regularly Inspect Your Oil Filter and Cap for Any Signs of Wear or Damage Before Starting an Oil Change.
- Use a Torque Wrench if Your Vehicle’s Manual Specifies a Specific Torque Setting for the Oil Filter Cap. Overall, It’s Important to Be Cautious and Aware When Performing Any Maintenance on Your Vehicle to Avoid Accidents or Damage.
- If You Encounter Any Issues or Difficulties During the Process, Don’t Hesitate to Seek Professional Help. It’s Better to Be Safe Than Sorry! So, Be Sure to Follow These Tips and Keep Your Engine Running Smoothly. Happy Driving!
Recap of key steps for removing a stuck oil filter cap
- Gather the Necessary Tools and Materials
- Locate the Oil Filter Cap and Prepare the Area for Work
- Use Appropriate Tool to Remove Stuck Cap (Strap Wrench, Pliers, Etc.)
- Clean Around the Cap and Inspect for Any Damage
- Remove Old Oil Filter Using an Oil Filter Wrench or by Hand
- Prep New Oil Filter by Applying a Thin Layer of Oil on the Gasket
- Carefully Screw on New Filter and Replace Cap
- Finish the Oil Change by Adding Fresh Oil to Engine and Checking for Leaks or Issues
- Dispose of Old Oil and Filter Properly
- Stay Up to Date With Regular Oil Changes for a Healthy Engine! Overall, Removing a Stuck Oil Filter Cap May Seem Like a Daunting Task, but by Following These Steps and Using Caution, It Can Be Easily Accomplished. Regular Maintenance is Key to Ensuring a Smoothly Running Engine and Prolonging the Life of Your Vehicle. Happy Oil Changing!
Frequently Asked Questions
Q: How Often Should I Change My Oil Filter?
A: It’s recommended to change your oil filter every time you get an oil change, or every 3 months or 3,000 miles. However, refer to your vehicle’s manual for specific recommendations. You may also need to change your filter more frequently if you typically drive in severe conditions such as extreme temperatures or dusty environments.
Q: Can I Reuse my Oil Filter?
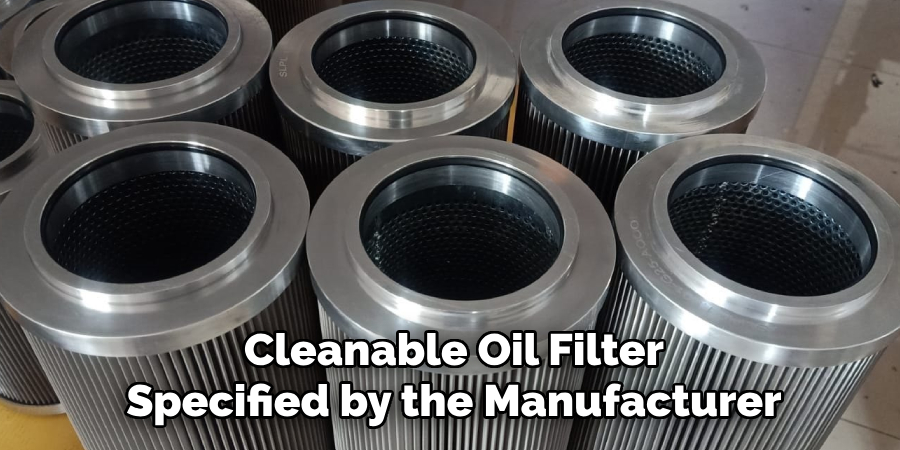
A: It’s not recommended to reuse oil filters, as they can become clogged with debris and lose effectiveness over time. Always use a new filter when performing an oil change. The only exception is if your vehicle has a reusable, cleanable oil filter specified by the manufacturer.
Q: What Type of Oil Filter Should I Use?
A: This depends on your vehicle and personal preference. Some options include standard, high-mileage, and synthetic oil filters, each with different advantages and price points. Consult your vehicle’s manual for any specific recommendations.
Q: What Should I Do if I Accidentally Over-tighten the Oil Filter Cap?
A: If the oil filter cap is tightened too much, it can become difficult to remove during future oil changes. In this case, it’s best to seek professional assistance to avoid causing damage to your vehicle. A mechanic may be able to loosen the cap without causing any damage. However, it’s important to be careful and cautious when performing any maintenance on your vehicle.
Q: Can I Use a Different Type of Oil Filter Than What is Recommended by the Manufacturer?
A: It’s always best to use the recommended oil filter type for your vehicle, as each one is designed specifically for certain engines and their needs. Using a different type of filter could potentially cause damage or affect performance.
However, if you are unsure, consult a professional mechanic or refer to your vehicle’s manual for guidance. Always use caution and follow manufacturer recommendations when performing maintenance on your vehicle.
Conclusion
In conclusion on how to remove stuck oil filter cap, changing your vehicle’s oil is a fundamental part of routine maintenance that can significantly extend the life of your engine. While removing a stuck oil filter cap can sometimes be challenging, the steps provided should help you navigate this task with confidence.
Remember to always handle parts gently, apply the appropriate tools and techniques, and consult a professional if in doubt. Proper disposal of old oil and filters is as important as the change itself, reflecting a commitment to environmental stewardship.
By staying diligent with your maintenance schedule and addressing any issues promptly, you help ensure that your vehicle remains reliable, efficient, and operational for years to come. So keep a close eye on your vehicle, and don’t forget to check and change the oil regularly for optimal performance.

About
JeepFixes Team is a skilled author for Jeep Fixes, bringing 6 years of expertise in crafting a wide range of jeep fixes. With a strong background in jeep fixes work, JeepFixes Team’s knowledge spans various types of fixtures, from decorative pieces to functional hardware, blending precision with creativity. His passion for jeep fixes and design has made him a trusted resource in the industry.
Professional Focus:
Expert in Jeep Fixes : JeepFixes Team aesthetic specializes in creating durable and innovative jeep fixes, offering both appeal and functionality. His work reflects a deep understanding of jeep fixes techniques and materials.
Sustainability Advocate : He is dedicated to using sustainable practices, ensuring that every fixture is crafted with eco-friendly methods while maintaining high-quality standards.
In his writing for jeep fixes, JeepFixes Team provides valuable insights into the latest trends, techniques, and practical advice for those passionate about jeep fixes, whether they are professionals or DIY enthusiasts. His focus on combining artistry with engineering helps others discover the true potential of jeep in design.
