

Removing a spray-in bedliner from your truck may seem daunting, but with the right tools and techniques, it can be a manageable task. Spray-in bed liners are popular for their durability and protective qualities, but over time, they can become worn or you may simply want a return to the original surface.
This guide on how to remove spray in bedliner will walk you through the essential steps to safely and effectively remove a spray-in bedliner, preparing your truck bed for a fresh coating or a different type of liner. Whether you’re restoring your vehicle to its original condition or updating its functionality, proper removal is key to a successful transition.
What is a Spray-In Bedliner?
A spray-in bedliner is a protective coating applied to the truck bed in order to prevent damage from wear and tear, weather, and cargo. It can be made from various materials such as polyurethane, polyurea, or hybrid blends.
The liner is sprayed onto the surface of the truck bed and creates a watertight seal that protects against scratches, dents, and rust. It also provides a non-slip surface for cargo to prevent shifting during transportation.
Why Remove a Spray-In Bedliner?
There are several reasons why you may want to remove a spray-in bedliner from your truck:
- You want to return your truck to its original condition
- The liner has become worn or damaged over time
- You want to change the type of bedliner you have
- You want to apply a fresh coat of liner for added protection or customization.
- The liner was applied incorrectly and needs to be redone.
- You are restoring an older vehicle and want to start with a clean surface.
Whatever your reason may be, it’s important to follow proper removal techniques in order to avoid damaging your truck bed.
Overview of the Article’s Structure

This article will provide a step-by-step guide on how to remove a spray-in bedliner from your truck. We will cover the materials and tools needed, as well as safety precautions to take before beginning the removal process.
Then, we will go through each step of the removal process, including tips and tricks for making it easier and more effective. We will also discuss what to do with any leftover liner and how to prepare your truck bed for a new coating. Finally, we will provide some helpful tips on maintaining your truck bed after the removal process is complete.
Necessary Tools and Materials
Before beginning the process of removing a spray-in bedliner, gather all necessary tools and materials. Having everything prepared beforehand will make the task much easier and more efficient. You will need:
Heat Gun or Blow Dryer
Applying heat to the bedliner will soften it, making it easier to remove. A heat gun or blow dryer is necessary for this step.
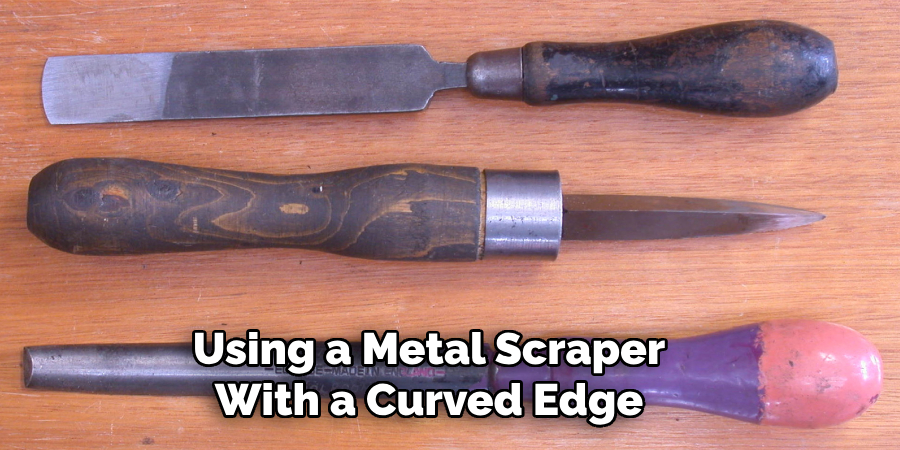
Scraper
A metal scraper with a curved edge is ideal for removing the liner from your truck bed. The curved edge helps prevent scratching or gouging the surface of the truck bed.
Chemical Solvent
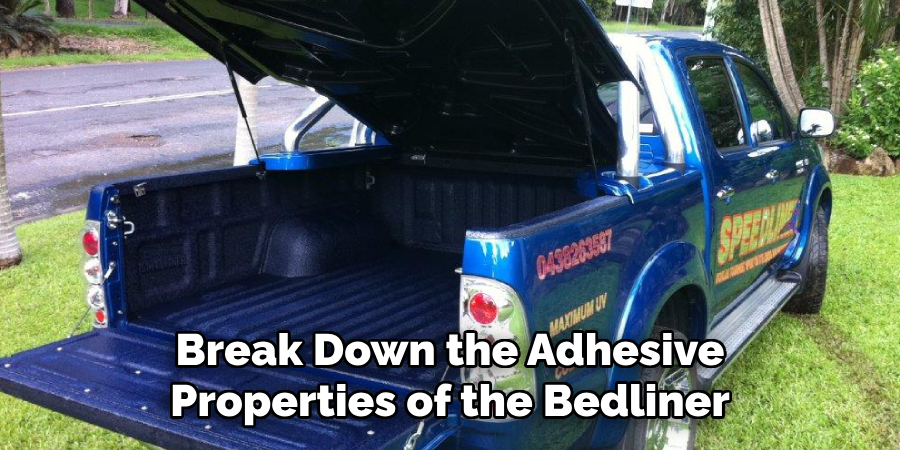
In addition to heat, a chemical solvent can be used to break down the adhesive properties of the bedliner. There are many options available, such as acetone or paint thinner.
Protective Gear
It is important to wear protective gear while removing a spray-in bedliner. This includes goggles, gloves, and a mask to protect yourself from the chemicals and fumes.
11 Step-by-step Guides on How to Remove Spray in Bedliner
Step 1: Surface preparation
Before beginning the removal process, make sure to clean the truck bed surface thoroughly. Remove any dirt, debris, or loose pieces of liner. This will ensure that you have a smooth and even surface for the removal process.
It will also prevent any damage to your truck bed from debris or sharp edges. You can use a pressure washer or a degreaser to clean the surface. The cleaner the surface, the easier it will be to remove the liner.
Step 2: Protect your truck
Place a tarp or drop cloth over the truck bed and secure it in place with tape. This will protect your vehicle from any stray chemicals or debris during the removal process. But keep in mind that the chemicals used for removal can be strong and may damage your vehicle’s paint if left on for too long.
It’s important to work quickly and carefully to avoid any accidents. Although it is not necessary, you may also choose to remove the tailgate for easier access. You can also tape off any areas you do not want to get the chemicals or debris on.
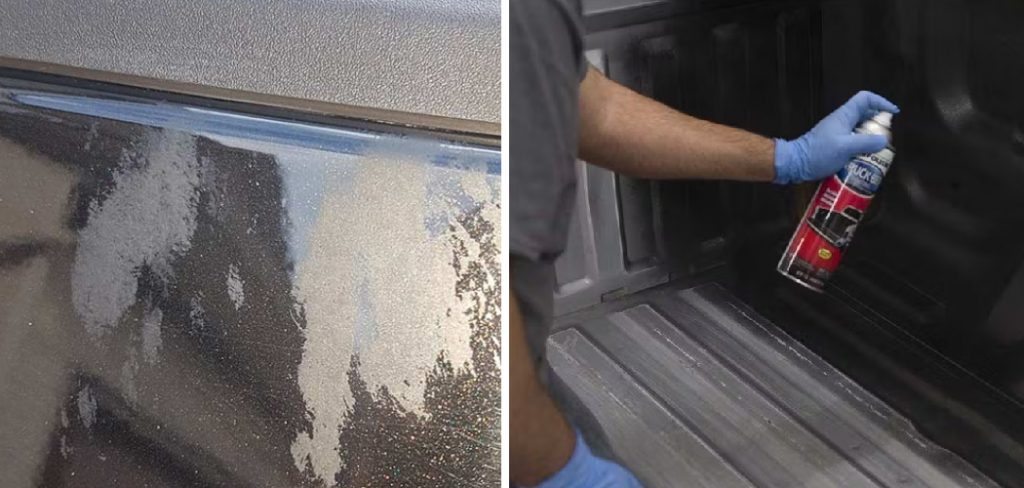
Step 3: Heat the liner
Using a heat gun or blow dryer, apply heat to the bedliner. This will soften the material and make it easier to remove. Move the heat source back and forth over sections of the liner for about 30-45 seconds at a time.
The liner will become more pliable and easier to scrape off as it heats up. You may need to use a higher temperature setting if the liner is particularly thick or stubborn. The goal is to soften the liner, not melt it.
Step 4: Scrape off the liner
Using a metal scraper with a curved edge, start scraping off the bedliner from one corner of the truck bed. Work in small sections, moving from one corner to the next. Be sure to use even pressure and avoid digging into the surface of the truck bed.
If you encounter resistance, apply more heat and continue scraping until you can remove a larger section at once. Repeat this process until all of the liner has been scraped off. However, if you have a particularly thick or stubborn liner, it may not all come off in one piece. It’s okay to leave behind small pieces that can be removed later.
Step 5: Apply chemical solvent
If there are still small patches of liner left on the truck bed, apply a chemical solvent to these areas. Be sure to follow the instructions on the product carefully and wear protective gear.
The solvent will break down the adhesive properties of the liner, making it easier to remove. It may take a few minutes for the solvent to work, so be patient. Once the adhesive is loosened, use your scraper to remove any remaining liner. Wipe down the surface with a clean cloth and let it dry.
Step 6: Clean the truck bed
After all of the liner has been removed, clean the truck bed again to remove any remaining residue or debris. Use a degreaser or soap and water to thoroughly clean the surface. This will ensure that your new liner adheres properly.
It’s important to remove all residue from the truck bed before applying a new coating. The surface should be completely dry before proceeding. You may want to consider using a rust converter on any bare metal spots to prevent rust from developing. The cleaner and rust-free the surface, the better the new coating will adhere.
Step 7: Sand the truck bed
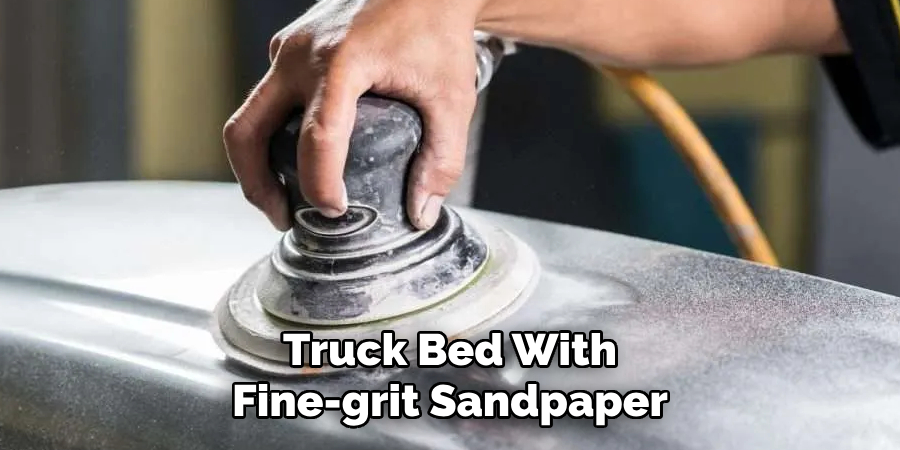
To ensure that your new coating adheres properly, sand the truck bed with fine-grit sandpaper. This will rough up the surface and provide a better bond for the new liner. Be sure to remove any dust or debris after sanding.
Buy a tack cloth or use a damp rag to wipe away any remaining residue. It’s important to have a clean and smooth surface for the new coating to adhere properly. You can also use a primer before applying the new coating for added adhesion.
Step 8: Choose your new liner
Before applying a new coating, you must decide on which type of liner you want. There are different options available such as a roll-on bedliner or a spray-on bedliner.
Each has its own pros and cons, so do your research before making a decision. Consider factors such as durability, cost, ease of application, and appearance. Once you have chosen your new liner, make sure to carefully follow the instructions for application. It’s important to apply the coating evenly and allow for proper drying time.
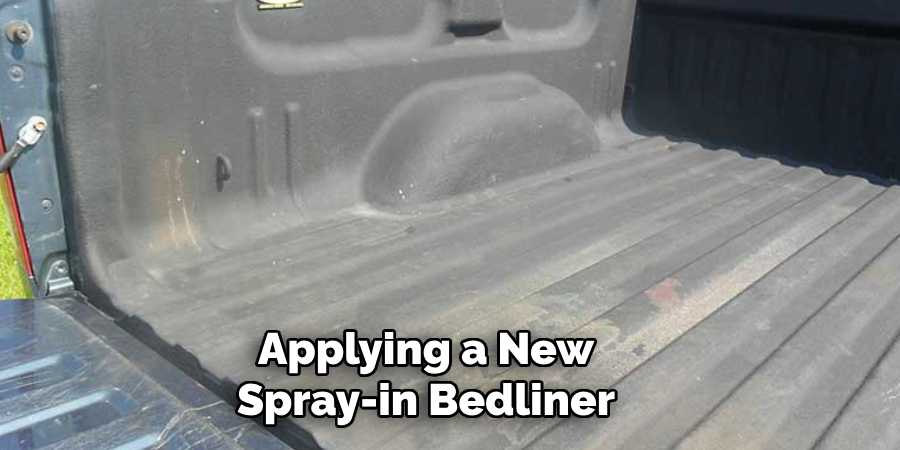
Step 9: Apply new liner
Follow the instructions on the product carefully when applying your new liner. Whether it is a roll-on or spray-on bedliner, make sure to cover all areas of the truck bed evenly.
Use multiple thin coats instead of one thick coat to ensure a smooth finish. It’s important to work quickly and carefully, as the coating may dry fast. Apply the liner in a well-ventilated area and wear protective gear to avoid any fumes or chemical exposure.
Step 10: Let it dry
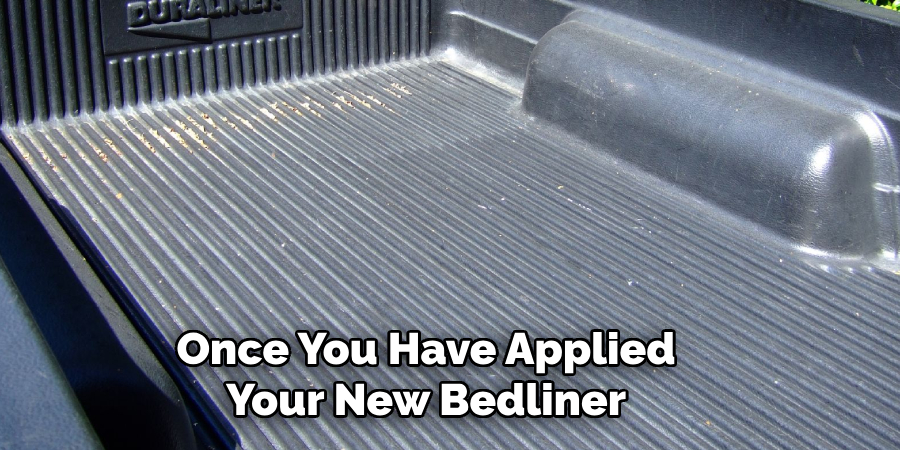
Once you have applied your new bedliner, let it dry according to the instructions on the product. This may take a few hours or even a full day, depending on the type of coating used. It’s important to let it dry completely before placing any items or using the truck bed.
This will ensure that the coating sets properly and does not get damaged. If you have chosen a spray-on bedliner, it may also be beneficial to let the truck sit in a warm and dry area for a few days before use. This will allow the coating to fully cure and provide optimal protection for your truck bed. You can remove the tarp or drop cloth once the coating is completely dry and your truck bed will be ready to use again.
Step 11: Enjoy your new bedliner
Congratulations! You have successfully removed your old bedliner and applied for a new one. Now, you can enjoy the benefits of a clean and protected truck bed.
Remember to clean and maintain your new bedliner regularly to ensure its longevity. Also, consider using a rubber mat or liner in the future when hauling items that may cause damage to your new coating. This will help protect your truck bed and make future removals easier.
Following these steps on how to remove spray in bedliner will help you remove your old bedliner and apply a new one in a safe, efficient, and effective manner.
It may take some time and effort, but the end result will be a truck bed that is clean, protected, and ready for whatever tasks you need it for. Keep these steps in mind when removing your old bedliner and applying a new one to make the process as smooth as possible. Happy trucking!
Troubleshooting and Common Challenges

While removing a spray-in bedliner is generally a straightforward process, there may be some challenges that arise. One common issue is encountering resistance when scraping off the liner. If this happens, apply more heat and continue scraping until you can remove a larger section at once. Another challenge may be leftover residue or debris on the truck bed after removal.
Be sure to thoroughly clean and sand the surface before applying a new coating to ensure proper adhesion. Additionally, be sure to follow the instructions on the product carefully and wear protective gear when using chemical solvents for removal. If you encounter any difficulties, consult with a professional or reach out to the manufacturer of your chosen bedliner for guidance.
Overall, with patience and careful attention to detail, you can successfully remove and replace your spray-in bedliner for a clean and protected truck bed.
Post-Removal Care and Restoration
After removing your old bedliner and applying a new one, it’s important to take steps to maintain and preserve the quality of your truck bed. Be sure to regularly clean and inspect your bedliner for any damage or wear. If you notice any areas that need touch-ups, follow the manufacturer’s instructions for spot repairs.
Additionally, consider using a rubber mat or liner when hauling rough or heavy items to prevent damage to your bedliner. With proper care and maintenance, your new bedliner will continue protecting your truck bed for years to come. So take care of your truck and its bed by following these steps on how to remove spray in bedliner and enjoy a clean, protected, and functional truck for all your needs.
Environmental and Safety Considerations
When removing and applying a new spray-in bedliner, it’s important to take necessary precautions for safety and environmental protection. Be sure to work in a well-ventilated area and wear proper protective gear when handling chemicals and tools. Dispose of any waste materials properly according to local regulations.
Additionally, consider using eco-friendly products for removal and application, as well as choosing a bedliner that is environmentally friendly. By being mindful of safety and the environment, you can successfully remove your old bedliner without causing harm to yourself or the surrounding ecosystem. So make sure to follow these steps responsibly for a clean, safe, and eco-friendly truck bed.
Should I Seek Professional Help?
While removing and applying a spray-in bedliner can be done on your own, it may be beneficial to seek professional help if you are unsure or uncomfortable with the process. Professional services have experience and specialized equipment that can make the task easier and more efficient.
They may also offer additional services such as repairs or customized coatings. Consider your budget and personal capabilities when deciding whether to seek professional assistance. Ultimately, the goal is to have a well-protected truck bed, so choose the option that best suits your needs and abilities.
Frequently Asked Questions
Q1: Can I Remove a Spray-in Bedliner on My Own?
A1: Yes, with the right tools and materials, you can remove a spray-in bedliner on your own. However, it may be beneficial to seek professional help if you are unsure or uncomfortable with the process. If you do decide to remove the bedliner yourself, be sure to follow safety precautions and carefully read and follow the product instructions.
Q2: How Do I Know When It’s Time to Replace My Bedliner?
A2: If your bedliner is showing signs of wear and tear, such as cracks or scratches, it may be time for a replacement. Additionally, if you notice that your truck bed is not as protected as it used to be, it may be a sign that the coating has worn down and needs to be replaced. Regularly inspect your bedliner for any damage or wear and consider replacing it when necessary to ensure optimal protection for your truck bed.
Q3: Can I Reuse My Old Bedliner for Another Truck?
A3: It is not recommended to reuse an old bedliner for another truck. The old coating may not fit properly on the new truck’s bed and could potentially cause damage or improper protection.
Additionally, removing the old coating from one truck and applying it to another can be a difficult and time-consuming process. It’s best to invest in a new bedliner specifically designed for your individual truck.
Q4: Can I Use Household Chemicals for Removal?
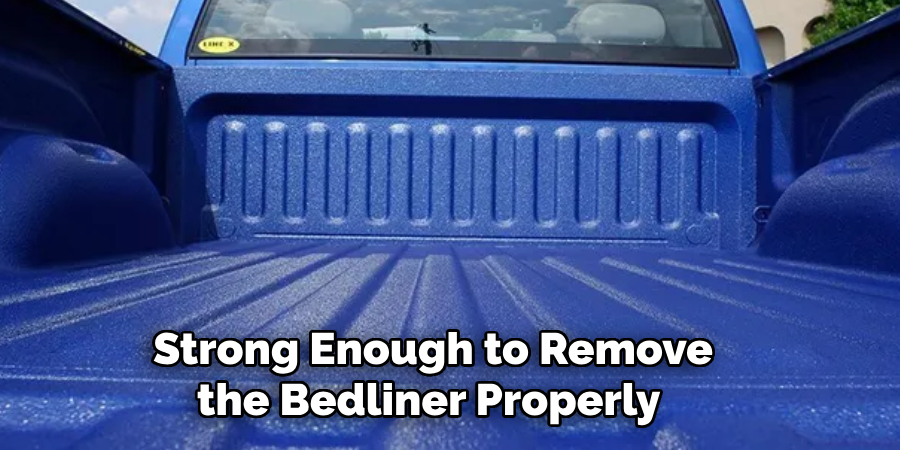
A4: It is not recommended to use household chemicals for removal as they may not be strong enough to remove the bedliner properly and could potentially cause harm. Instead, opt for specifically designed products or seek professional help for safe and effective removal. 14
Conclusion
In conclusion, removing a spray-in bedliner is a project that requires patience, effort, and precision. While this process can be time-intensive, the results are rewarding, especially for those looking to refresh or customize their truck bed. It’s important to follow safety guidelines, utilize the appropriate tools, and take your time to avoid damaging your vehicle.
If, at any point, the task seems overwhelming, consulting with a professional is a wise choice. With the bedliner removed, you’ve now set the stage to enhance and protect your truck bed with a new lining that meets your current needs and style preferences. Thanks for reading this article on how to remove spray in bedliner.