Nestled deep within the intricate web of your vehicle’s exhaust system are small yet vital components known as exhaust studs. While they may seem unassuming, exhaust studs hold significant importance in the system’s integrity. Unfortunately, these little parts can sometimes present big challenges, especially when they need to be replaced or repaired.

For professionals and hobbyists alike, understanding the process of removing exhaust studs is crucial knowledge. In this extensive guide, we will walk you through how to remove exhaust studs, ensuring that you can tackle it with confidence and precision.
Understanding the Need for Exhaust Stud Removal
Before we delve into the nitty-gritty of the removal process, it’s important to understand why this task is required occasionally. Over time, exposure to high temperatures, as well as environmental elements, can cause corrosion and degradation of the threads and material.
This can lead to issues such as exhaust leaks, rough engine operation, or difficulties during maintenance. By learning how to remove exhaust studs properly, you ensure that your vehicle’s exhaust system stays in top condition, preventing further damage and costly repairs down the road.
Essential Tools and Precautions
Removing exhaust studs is not only a meticulous task but also a potentially hazardous one if not performed with the right tools and safety measures. Let’s start by making sure you have everything you need and know how to stay safe:
Tools You Will Need:
- Wrench set (spanners, sockets, adjustable wrench)
- Socket set
- Vice grips
- Penetrating oil
- Heat source (propane torch)
- Safety glasses
- Gloves
- Stud remover set
Safety Precautions:
- Work in a well-ventilated area if using a torch.
- Ensure that the vehicle is securely lifted before working underneath it.
- Keep a fire extinguisher close in case of any mishaps with the torch.
- Do not attempt to remove studs while the engine or exhaust system is hot to avoid burns.
- Use eye protection to shield your eyes from grease, dirt, and potential flying debris.

Identification and Preparation process for How to Remove Exhaust Studs
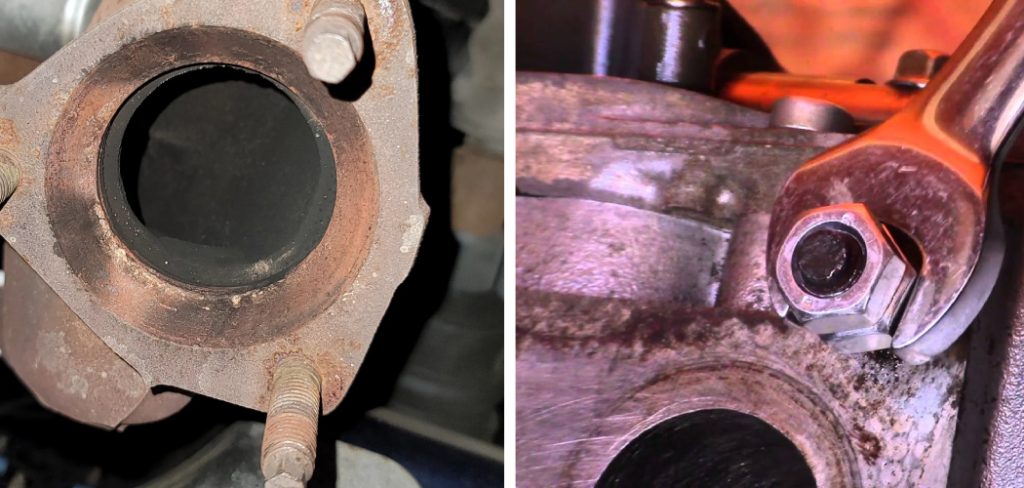
The first step is identifying the exhaust studs that need to be removed. In most cases, the studs can be found where the exhaust manifold or header meets the engine block or cylinder head. Now, let’s prepare for the task ahead:
Accessing the Exhaust Studs
- Lift the vehicle to provide clearance for accessing the exhaust system.
- Ensure the engine and exhaust system are cool to the touch.
- If necessary, remove the exhaust shield or any other components that may block access to the studs.
Soaking the Studs
- Apply a generous amount of penetrating oil to the studs and let it soak for at least a few hours, or overnight if possible.
- The more time the oil has to work its way into the threads, the easier the studs will be to remove.
Loosening Stubborn Exhaust Studs

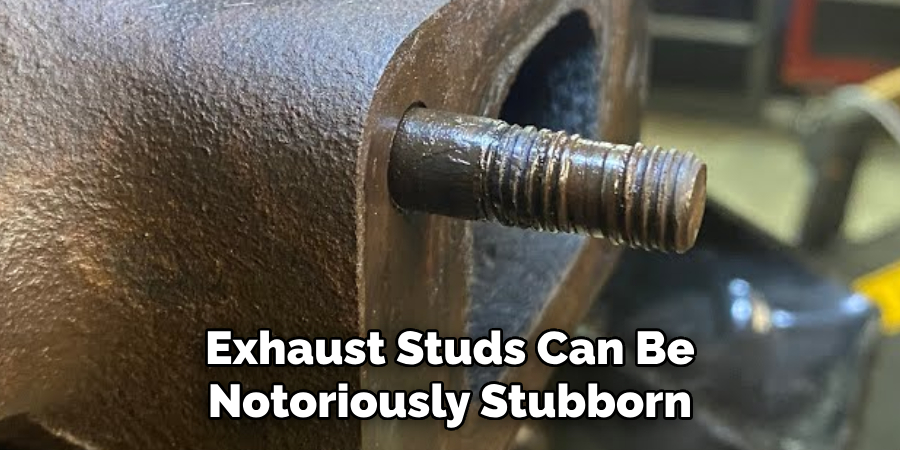
Some exhaust studs can be notoriously stubborn, especially if they’ve been in place for a long time. Here are some techniques to help you get them moving:
The “Back and Forth” Method
- Use a suitable wrench to gently rock the stud back and forth, allowing the penetrating oil to work its way further into the threads.
- Start with small movements, gradually increasing the range of motion as the stud loosens.
Apply Heat
- If the stud doesn’t budge, apply heat to the area surrounding the stud with a propane torch.
- Remember to heat the metal, not to the point that it glows or color changes, but just enough to expand it slightly and break the rust or thread locker bond.
The Actual Removal Process
Now that the studs are loosened, it’s time to remove them. This can be done using several different methods depending on the accessibility and the condition of the stud:
Step 1: Standard Wrench or Socket
- If the stud is not too corroded, you can typically remove it using a suitable wrench or socket.
- Ensure you’re applying even, steady pressure to avoid damaging the threads or stud.
Step 2: Vice Grips
- For more stubborn studs, use a pair of vice grips, locking them tightly onto the stud, and then turn to unscrew it.
- This method works best when the stud is protruding and has enough surface area to grip.
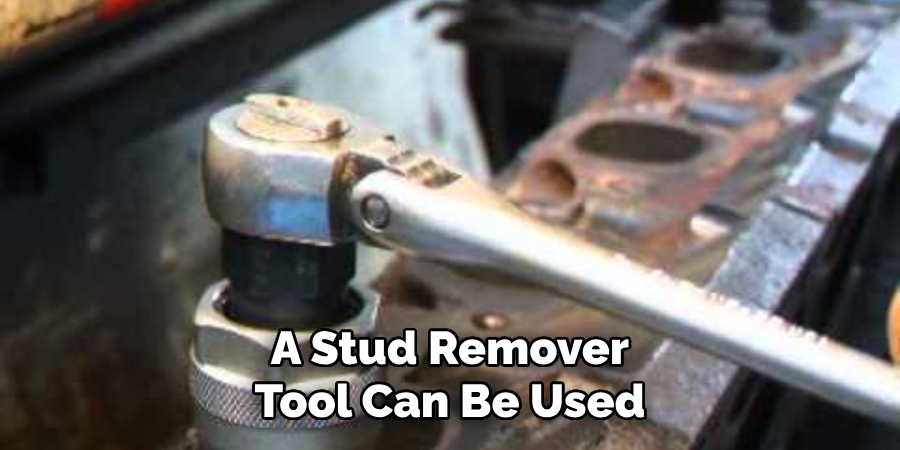
Step 3: Stud Remover Tool

- A stud remover tool (also known as an easy-out) can be used to remove broken or otherwise inaccessible studs.
- It is driven into the hole that the stud was removed from and works by biting into the stud’s threads, allowing it to be unscrewed.
Utilizing Heat for Stubborn Studs
When faced with a stud that won’t yield to traditional turning methods, the application of heat can be a game-changer. Using a propane torch to apply direct heat to the stud can cause the metal to expand and contract, breaking up the corrosion that’s locking the stud in place. Here’s how you employ heat effectively:
- Put on your safety glasses and gloves to protect against burns and harmful light emissions from the torch.
- Carefully aim the flame of the propane torch around the base of the stud, not directly on it, to expand the metal surrounding the threads.
- Heat the area evenly for 30 seconds to a minute, avoiding prolonged exposure to prevent any damage to the surrounding components.
- After heating, allow the metal to cool for a brief period which often creates minute fractures in the rust or bond due to contraction.
- Once the area is safe to touch, attempt the removal process again, using your chosen tools.
This technique, when applied correctly, can often be the determining factor in freeing up a stubborn exhaust stud, enabling you to proceed with your maintenance or repair with minimal hassle. Remember to always follow safety protocols closely when handling open flames.
Using Vice Grips or Stud Extractor Tool
Using Vice Grips:
- Adjust the vice grips to fit snugly around the stud, ensuring that the grips are tight enough to prevent slipping, which can round off the stud and make it harder to remove.
- Once secured, use a steady, firm twist to turn the stud counterclockwise. If the stud begins to give, continue applying consistent pressure until it’s fully unscrewed and removed.
- In cases where the stud does not move, avoid applying excessive force which can snap the stud. Re-apply heat if necessary and attempt the removal again.
Using a Stud Extractor Tool:
- Place the stud extractor tool over the stud, ensuring it’s the correct size. The tool should latch onto the stud firmly.
- As you turn the extractor with a wrench or socket, it will grip the stud tighter, and the rotational force will help in backing the stud out of the hole.
- Slowly increase the amount of torque you apply to the tool, being mindful at all times of the stud’s resistance to avoid breaking.
Regardless of the method you choose, patience and precision are key. Always keep your work area clear and maintain a safe environment to avoid potential complications.
Cleaning and Inspection
With the stud removed, it’s essential to clean the area thoroughly and inspect for any damage. Here’s what to do:
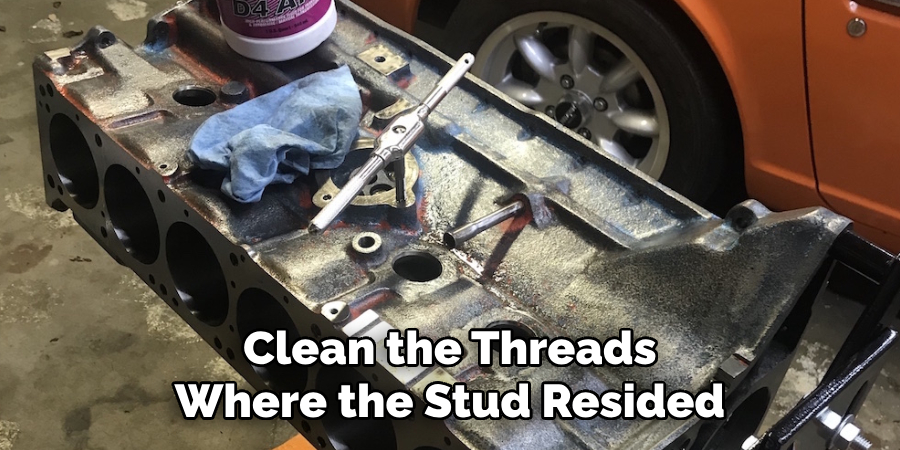
Clean the Threads
- Use a thread chaser tool or a tap and die set to clean the threads where the stud resided.
- This ensures that the new stud will seat properly and avoids cross-threading.

Inspect the Surfaces
- Examine the mating surfaces for any pitting, warping, or damage.
- Address any issues you find, such as replacing gaskets or having the surfaces machined, before reassembly.
Prevention Tips
Maintaining the integrity of your exhaust studs is vital for a hassle-free experience during repairs or upgrades. To prevent the issues associated with stubborn studs, consider the following tips:
- Use Anti-Seize: When installing new studs, apply a small amount of anti-seize compound to the threads. This will make future removals significantly easier by preventing the threads from seizing due to rust or high temperatures.
- Regular Inspections: Incorporate a routine check of your exhaust system into your regular vehicle maintenance. Catching signs of corrosion or damage early can prevent severe issues later on.
- Proper Torque: Always use a torque wrench and refer to the manufacturer’s specifications when installing exhaust studs. Over-tightening can cause stress on the threads, leading to difficulties in removal.
A Word on Torque
When installing the new studs, it’s crucial to tighten them to the manufacturer’s recommended torque specifications. Over-tightening can lead to thread damage, while under-tightening can result in leaks and an insecure connection. Investing in a torque wrench can save you time and money in the long run.
Conclusion
The ability to remove exhaust studs paves the way for successful repair or upgrade of the exhaust system. This guide has equipped you with the knowledge and tools necessary to undertake this task with accuracy and safety.
By approaching the process diligently and with an understanding of the systems involved, you not only ensure that your vehicle’s exhaust system functions properly but also build your skills as an automotive enthusiast or professional.
Remember, precision is key when working on your vehicle; take your time, follow the steps on how to remove exhaust studs, and execute each one with care. In the end, you’ll be rewarded with a job well done, smoother engine performance, and the confidence to handle more complex tasks in the future.
Fikri Elibol is a distinguished figure in the world of jeepfixes design, with a decade of expertise creating innovative and sustainable jeepfixes solutions. His professional focus lies in merging traditional craftsmanship with modern manufacturing techniques, fostering designs that are both practical and environmentally conscious. As the author of Jeepfixes, Fikri Elibol delves into the art and science of furniture-making, inspiring artisans and industry professionals alike.
Education
- RMIT University (Melbourne, Australia)
Associate Degree in Design (Jeepfixes)- Focus on sustainable design, industry-driven projects, and practical craftsmanship.
- Gained hands-on experience with traditional and digital manufacturing tools, such as CAD and CNC software.
- Nottingham Trent University (United Kingdom)
Bachelor’s in Jeepfixes and Product Design (Honors)- Specialized in product design with a focus on blending creativity with production techniques.
- Participated in industry projects, working with companies like John Lewis and Vitsoe to gain real-world insights.
Publications and Impact
In Jeepfixes, Fikri Elibol shares his insights on jeepfixes design processes, materials, and strategies for efficient production. His writing bridges the gap between artisan knowledge and modern industry needs, making it a must-read for both budding designers and seasoned professionals.
