Jeeps are made for the wilderness, and as any proud owner knows, a little mud is often a badge of honor—proof that you’ve sought out adventure where others rarely go. But when that mud dries, it becomes more than just a trophy; it’s a challenge to your Jeep’s appearance and maintenance.
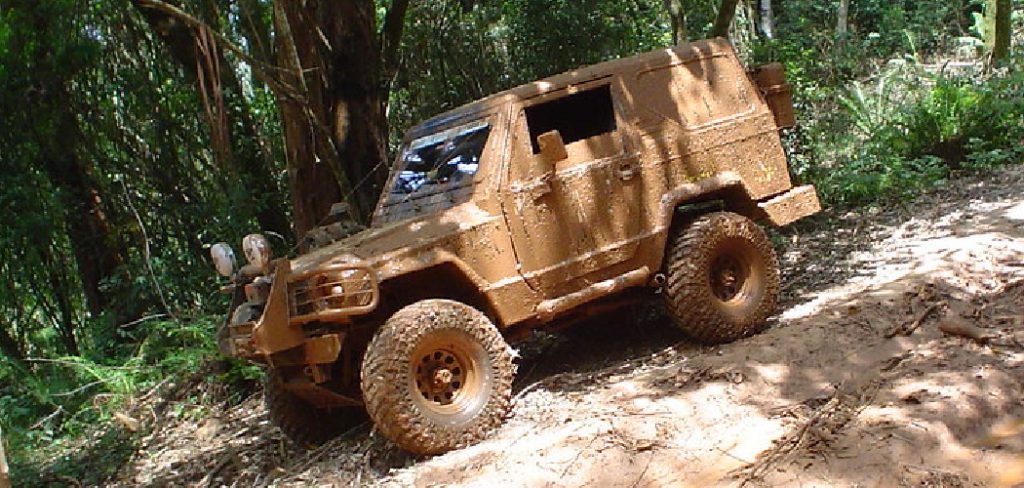
In this detailed guide, we’re going to walk you through how to remove dried mud from jeep, ensuring that it shines as brilliantly as the day it rolled off the lot.
Whether you’re a weekend warrior hitting the trails or a Jeep aficionado keen on keeping your rig in top shape, this guide will arm you with the techniques and products to maintain your Jeep’s rugged charm without compromising its clean aesthetic or performance. Let’s dive in, and get ready to make your Jeep sparkle.
Importance of Regular Mud Removal for Jeep Maintenance
Routine mud removal is critical for maintaining your Jeep’s longevity and reliability. While dried mud may seem harmless, it can conceal underlying issues such as rust, scratches, or even dents. The abrasive nature of dried mud can lead to paint degradation and affect the clear coat if left unaddressed, diminishing your Jeep’s appearance and resale value.
Furthermore, caked mud on undercarriage components can trap moisture against the metal, hastening corrosion and affecting vehicle performance. Ensuring that your Jeep is frequently cleaned of mud helps to prevent these problems, ensuring your vehicle remains in optimal condition for all your off-road adventures.
Common Challenges of Dried Mud
Removing dried mud from a Jeep isn’t as simple as hosing down the exterior. Dried mud can adhere firmly to surfaces, penetrating tiny crevices and hard-to-reach areas. This tough residue often requires more than water pressure to eliminate, demanding time and suitable cleaning agents.
Additionally, dried mud on the undercarriage is particularly challenging, as it masks crucial components that require regular inspection and maintenance. The uneven and complex surfaces of a Jeep’s underbelly make the task more onerous, necessitating a combination of tools and techniques to thoroughly remove the mud and inspect the areas beneath for any potential damage or wear.
Preparing the Jeep for Mud Removal
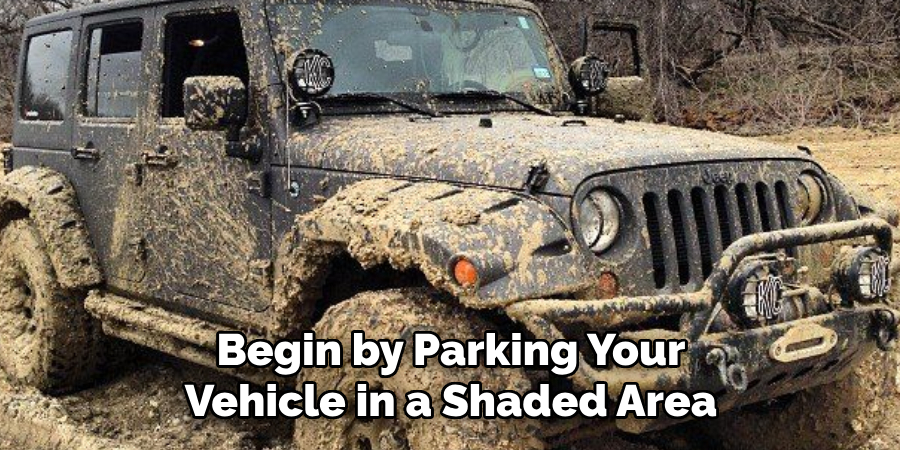
Before you engage in the actual cleaning, preparing your Jeep is a crucial step to facilitate an effective and safe mud removal process. Begin by parking your vehicle in a shaded area to prevent the cleaning agents from drying too quickly under the sun, which can lead to streaking. Ensure that all the windows are closed and seal any open areas where water should not enter.
Gather all necessary tools and materials such as a pressure washer, cleaning agents formulated for automotive use, soft brushes, and microfiber towels. Start with a gentle rinse to remove any loose dirt or debris, taking care not to focus high pressure water on sensitive areas such as window seals or vents. With these initial preparations complete, your Jeep is now ready for a more thorough mud removal treatment.
Gathering Necessary Supplies
To tackle dried mud on your Jeep effectively, it’s essential to have the right supplies on hand. You’ll need:
- High-Pressure Washer: For loosening and removing the bulk of the mud.
- Automotive Soap: Select a soap that’s specifically formulated for use on vehicles to protect your Jeep’s paint.
- Detailing Brushes: Various sizes will help you get into all the nooks and crannies.
- Microfiber Towels: Soft and absorbent, these will aid in drying your Jeep without scratching the surface.
- Buckets: One for clean soapy water and another for rinsing your tools.
- Rubber Gloves: To protect your hands from cleaners and prolonged water exposure.
- Wheel Cleaner: A cleaner made for wheels will help remove brake dust and road grime.
- Clay Bar: For removing contaminants from the paint surface after washing.
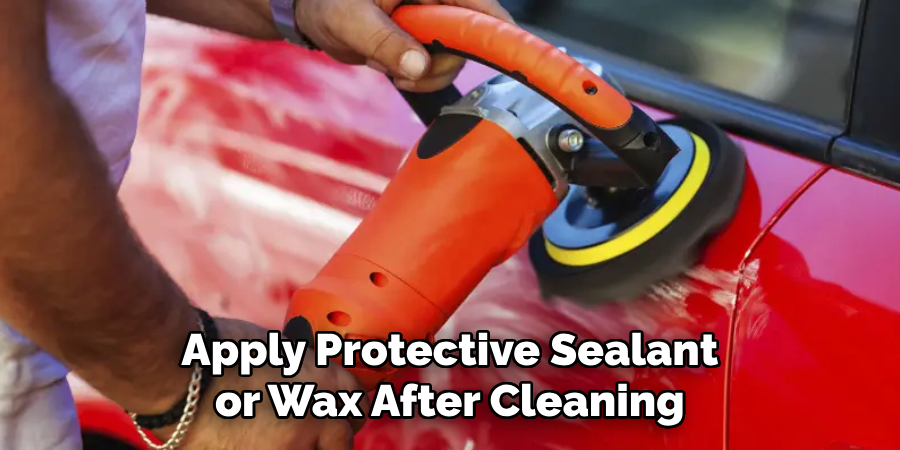
- Protective Sealant or Wax: Apply after cleaning to protect the paint and make future mud removal easier.
Assemble these supplies before you start the cleaning process to ensure an efficient and effective mud removal experience.
10 Steps How to Remove Dried Mud from Jeep
Removing dried mud from a Jeep requires a systematic approach to preserve the vehicle’s appearance and prevent potential damage. Here are ten detailed steps to guide you through the process, ensuring a thorough and effective mud removal:
1. Preparation:
Begin by gathering the necessary supplies, including a high-pressure hose, a soft-bristle brush, a bucket, a mild detergent, wheel cleaner, a microfiber towel, and a hose nozzle. Park the Jeep in a shaded area to prevent water and cleaning solutions from drying too quickly.
Perform a thorough visual inspection of the Jeep’s exterior. Take note of any scratches, dents, or other damage that may need to be addressed. Also, check for any visible dirt or grime buildup on the body and wheels.
2. High-Pressure Rinse:
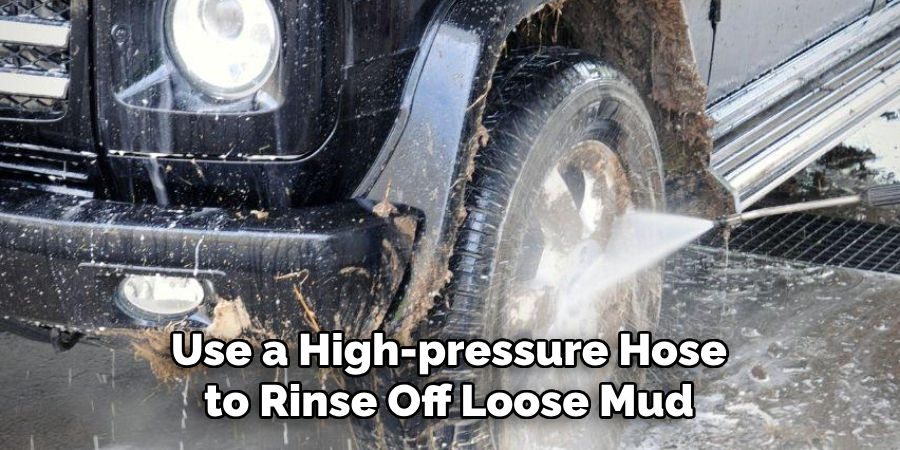
Use a high-pressure hose to rinse off as much loose mud as possible. Focus on the wheels, undercarriage, and body panels. A high-pressure rinse helps soften and dislodge the dried mud, making the subsequent cleaning steps more effective.
After completing a high-pressure rinse, it is important to let the vehicle sit for a few minutes before moving on to the next step. This allows any remaining mud and debris to loosen further, making it easier to remove during the cleaning process.
3. Soak and Soften:
Mix a mild detergent with water in a bucket and apply it to the dried mud using a soft-bristle brush. Allow the detergent to soak into the mud for 5-10 minutes. This soaking process helps to further soften and break down the dried mud, making it easier to remove. Rinse the area with clean water to remove any detergent residue.
After soaking and softening the mud, use a sponge or cloth to gently scrub away at the remaining mud. Be sure to rinse the sponge or cloth frequently in clean water to avoid spreading the mud around. For tougher areas, you may need to use a scraper or old toothbrush to loosen and remove stubborn dried mud. Once all of the dried mud has been removed from the surface, rinse it again with clean water and dry it with a soft towel.
4. Brushing and Agitation:
Use the soft-bristle brush to agitate the mud gently. Work in sections, starting from the top and moving downward. Brush the mud away with horizontal or circular motions, being careful not to scratch the paint or finish. For stubborn areas, apply more detergent and repeat the process. Once all the mud has been removed, rinse the area with clean water.
After brushing and agitating the mud, it is important to thoroughly dry the surface. This can be done using a towel or cloth to absorb excess moisture, followed by letting the surface air-dry completely. Avoid using a hair dryer or any other heat source, as this can damage the paint or finish.
5. Wheel Cleaning:
Employ a wheel cleaner specifically designed for mud and grime on the wheels. Use a wheel brush to scrub away dried mud from the wheel surfaces and inside the wheel wells. Pay close attention to intricate areas, lug nuts, and brake components. Rinse thoroughly with a hose.
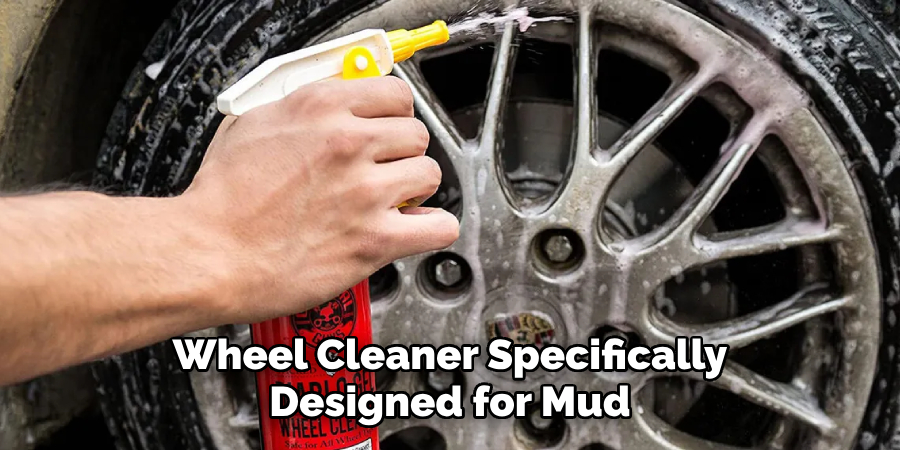
After cleaning the wheels, it is important to dry them completely. Leaving water droplets on the wheels can cause water spots and even rust over time. Use a microfiber towel or chamois cloth to wipe down each wheel, making sure to remove all excess moisture.
6. Undercarriage Cleaning:
Direct the high-pressure hose to the undercarriage to remove mud from critical components such as the suspension, exhaust system, and drivetrain. Ensure thorough cleaning to prevent potential corrosion and maintain optimal performance. However, avoid directing the high-pressure water towards electrical components to prevent damage.
To ensure a thorough clean, use an undercarriage cleaning agent specifically designed for vehicles. Apply the product according to the manufacturer’s instructions and allow it to sit for a few minutes before rinsing off with the high-pressure hose. This will help remove any stubborn dirt and grime that may have accumulated on the undercarriage.
7. Rinse and Repeat:
Rinse the Jeep thoroughly with the high-pressure hose to remove any remaining mud, detergent, or cleaning solution. If necessary, repeat the soaking, brushing, and rinsing process for stubborn areas until all dried mud is successfully removed. After the Jeep is thoroughly rinsed, dry it off with a clean towel or allow it to air dry.
Once the Jeep is completely dried, inspect for any missed spots or areas that may need additional attention. If necessary, repeat the cleaning process in those specific areas until all dirt and grime is removed.
8. Detailing Clay for Paint:
For any remaining residue on the paint surface, consider using detailing clay. Lubricate the clay with a clay lubricant and gently glide it over the paint to lift any remaining contaminants. This step enhances the smoothness and shine of the vehicle’s finish.
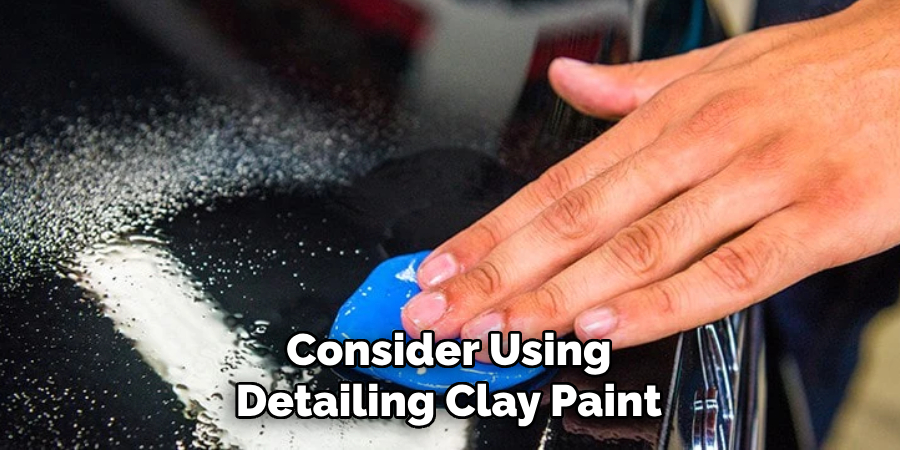
Detailing clay is an essential tool for achieving a flawless finish on your vehicle’s paint. It is a synthetic resin compound that is specifically designed to remove bonded contaminants such as overspray, pollution, and industrial fallout from the surface of your car.
This process, also known as “laying”, involves using a small piece of clay lubricated with a special spray or liquid
9. Drying:
After the thorough cleaning process, use a microfiber towel to dry the Jeep completely. Ensure that all nooks and crannies, including door jambs and under hood areas, are dried to prevent water spots.
It is important to properly dry your Jeep after cleaning to avoid any potential damage. Leaving water spots on the exterior can cause discoloration and potentially lead to rusting over time.
In addition, drying the interior of your Jeep is crucial in preventing mold and mildew growth. Make sure to use a clean towel or cloth to wipe down all surfaces, including seats and carpets, to remove any remaining moisture.
10. Protective Measures:
Apply a wax or sealant to the clean and dry paint surface. This protective layer helps safeguard the paint from future mud adhesion and provides an added barrier against environmental elements. Additionally, using a car cover or parking in a garage can also help protect the paint from harsh weather conditions and debris. However, it is important to regularly wash the car cover and ensure that it does not trap moisture against the paint.
When driving, avoid roads with excessive mud or debris. If you do encounter muddy roads, try to maintain a safe distance from other vehicles to prevent them from splashing mud onto your car. Additionally, avoid driving through deep puddles as they can contain hidden rocks or debris that can damage the paint.
By following these ten comprehensive steps, Jeep owners can effectively remove dried mud, ensuring their vehicles not only look pristine but also maintain their structural integrity over time. Regular mud removal is a crucial aspect of off-road vehicle maintenance, contributing to both aesthetics and long-term durability.
Utilizing Specialized Cleaners
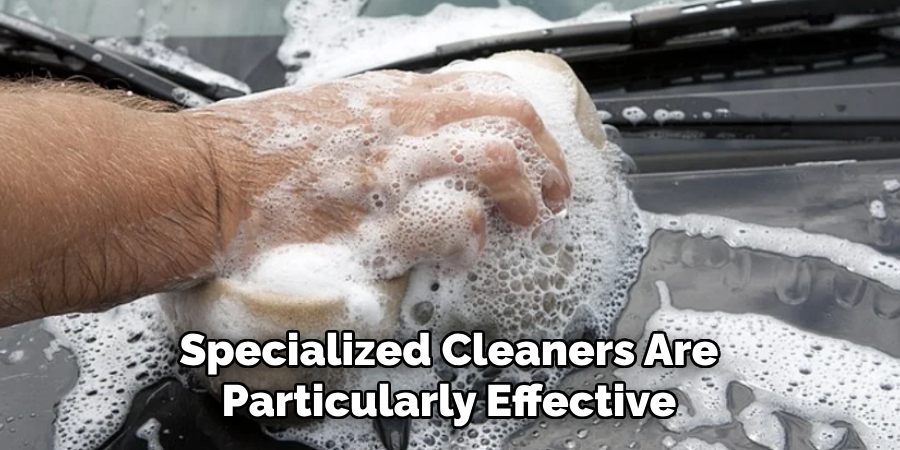
For rigorous cleaning jobs, especially in the wake of heavy mud buildup, specialized cleaners are essential. These formulations are tailored for automotive use, ensuring the removal of tough grime without damaging the vehicle’s surface. Begin by selecting a cleaner appropriate for your Jeep’s material—whether for upholstery, plastic, rubber, or metal surfaces.
When using specialized cleaners, always adhere to the manufacturer’s guidelines. Apply the product to the affected area, allowing it to sit for the prescribed amount of time to break down the dirt and mud. Then, using a soft brush or microfiber cloth, gently scrub the area to lift and remove the residue. Rinse thoroughly with clean water, and if necessary, repeat the process to tackle any persistent spots.
Specialized cleaners are particularly effective for areas like the engine bay and radiator grille, where regular detergent may not suffice. For best results, these products should be used in combination with the rest of the cleaning regimen to ensure your Jeep is not only spotless but also protected from the harsh elements encountered during off-roading.
Undercarriage and Wheel Well Maintenance
Paying close attention to the undercarriage and wheel wells is crucial when preserving your Jeep’s condition. Dirt, mud, and debris are prone to accumulate in these areas, potentially causing rust and mechanical issues. To prevent this, make sure to clean these sections regularly with a dedicated undercarriage cleaner and a long-handled brush to reach deep into the wheel wells.
After cleaning, inspect for signs of rust or damage and address them promptly to maintain the Jeep’s underbody integrity. Proper maintenance of the undercarriage and wheel wells not only ensures the longevity of the vehicle but also enhances its performance and reliability on rugged terrain.
Drying and Finishing Touches
Once you have completed the cleaning regimen, including the undercarriage and wheel maintenance, the final step is to dry and apply finishing touches to your Jeep. Begin by thoroughly drying the exterior with a high quality microfiber drying towel. These towels are highly absorbent and soft, reducing the risk of scratching the paint.
Carefully dry all surfaces, not neglecting the less visible parts like the crevices around the lights and the grille. It’s equally important to open doors and compartments to dry off the edges and jambs.
After drying, if you notice any water spots, a quick detailer spray can be applied to remove them and enhance the shine. Also consider applying a tire dressing for a glossy finish that complements your Jeep’s clean appearance.
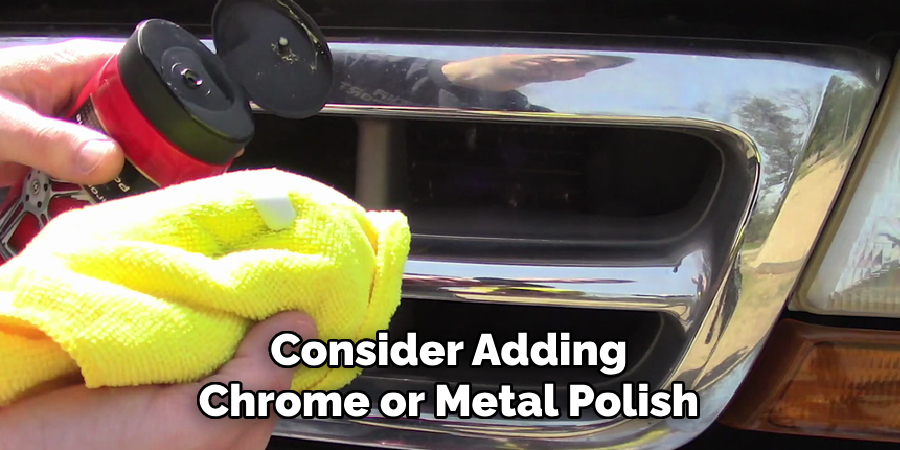
Finally, consider adding a touch of chrome or metal polish to the appropriate areas to give your Jeep that extra sparkle. A polished finish on the rims, exhaust tips, and trim can drastically improve the overall look of your vehicle.
Applying these finishing touches will not only make your Jeep look great but will also provide a layer of protection against the elements until your next off-road adventure or maintenance wash.
Conclusion
In conclusion, effectively removing dried mud from your Jeep is essential not only for maintaining its appearance but also for preserving its integrity and performance. By following the outlined methods such as pre-soaking, using a pressure washer, scrubbing with brushes, and utilizing specialized cleaners, you can restore your Jeep’s exterior to its pristine condition.
Additionally, paying attention to the undercarriage and wheel wells is crucial for preventing rust and corrosion. Regular mud removal not only enhances the aesthetic appeal of your Jeep but also helps prolong its lifespan by safeguarding against potential damage. With these techniques at your disposal, you can confidently tackle even the toughest mud stains and keep your Jeep looking and performing its best on and off the road.
Follow these simple instructions outlined in this blog post about how to remove dried mud from jeep, and you’ll be able to get the job done with ease.

About
JeepFixes Team is a skilled author for Jeep Fixes, bringing 6 years of expertise in crafting a wide range of jeep fixes. With a strong background in jeep fixes work, JeepFixes Team’s knowledge spans various types of fixtures, from decorative pieces to functional hardware, blending precision with creativity. His passion for jeep fixes and design has made him a trusted resource in the industry.
Professional Focus:
Expert in Jeep Fixes : JeepFixes Team aesthetic specializes in creating durable and innovative jeep fixes, offering both appeal and functionality. His work reflects a deep understanding of jeep fixes techniques and materials.
Sustainability Advocate : He is dedicated to using sustainable practices, ensuring that every fixture is crafted with eco-friendly methods while maintaining high-quality standards.
In his writing for jeep fixes, JeepFixes Team provides valuable insights into the latest trends, techniques, and practical advice for those passionate about jeep fixes, whether they are professionals or DIY enthusiasts. His focus on combining artistry with engineering helps others discover the true potential of jeep in design.
