

Shocks are critical components of a vehicle’s suspension system, significantly affecting performance and safety by controlling motion and ensuring tires remain in contact with the road. Rebuilding shocks, a cost-effective and efficient alternative to full replacements allows for restoring optimal function and handling. This guide will navigate you through the theory of “how to rebuild shocks” and provide a comprehensive, step-by-step, practical approach to rebuilding shocks — from identifying worn components to reassembly and testing.
Understanding Shock Absorbers
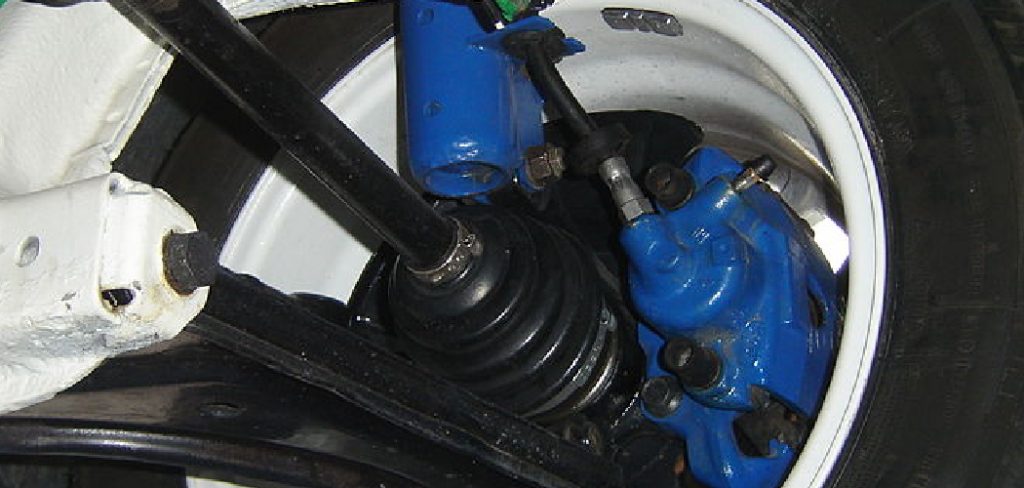
Shock absorbers are pivotal in smoothing out your vehicle’s ride and maintaining control by managing the impact and rebound movement of the vehicle’s springs and suspension. When a vehicle encounters irregularities on the road, the shock absorber’s primary job is to mitigate the resultant oscillations by converting kinetic energy into heat energy, which is then dissipated through hydraulic fluid. At the core of a shock’s function are the processes of damping compression — where the shock absorber compresses to absorb the motion of the suspension — and rebound, where it extends back to its original position.
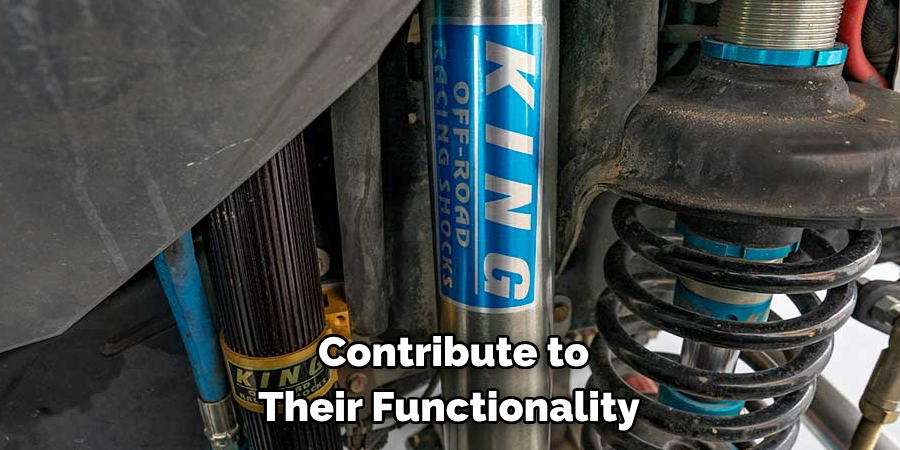
Different shock absorbers are designed to suit different vehicle requirements and driving conditions. The twin-tube shock, composed of two nested tubes, is a common type known for providing a comfortable ride suitable for most passenger vehicles. With a single tube design, Monotube shocks are recognized for their resilience and performance at higher temperatures, making them a favorable choice for performance driving. Gas-charged shocks incorporate pressurized nitrogen gas to reduce aeration of the hydraulic fluid, thus avoiding performance loss and offering a firmer ride.
Internally, shock absorbers comprise several components that contribute to their functionality. A piston attached to a rod moves up and down through the oil within its housing. The flow of oil is controlled by valves situated in the piston and at the base of the shock absorber, regulating the resistance and, thereby, the damping effect. In gas-charged shocks, a gas chamber is incorporated, separated from the oil by a floating piston, providing an additional layer of damping and preventing oil foaming, which can degrade the shock absorber’s performance. Understanding these internal workings is essential to grasp the complete process of “how to rebuild shocks”.
Signs Your Shocks Need Rebuilding
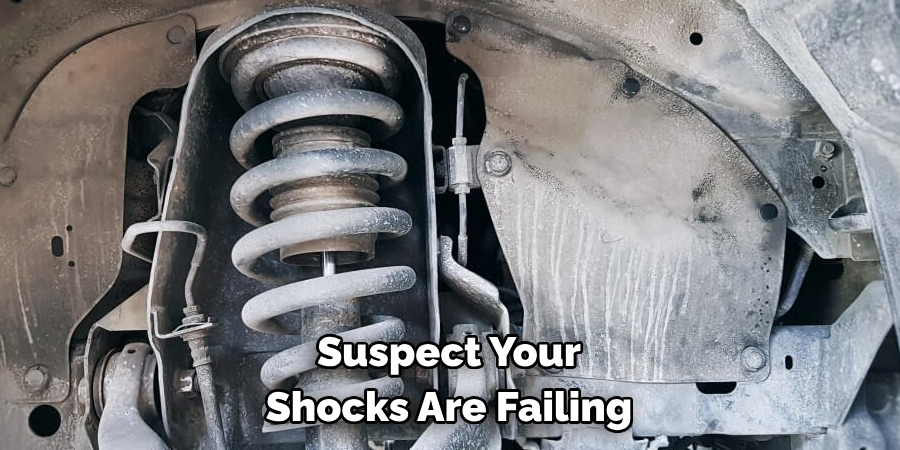
Recognizing when your shock absorbers require rebuilding is critical for maintaining your vehicle’s performance and safety. Common symptoms of worn-out shocks include excessive bouncing after hitting bumps, uneven tire wear, poor handling, and a sensation that the car is drifting or “nose-diving” when braking. A simple visual inspection can often reveal telltale signs such as oil leakage or physical damage to the shock absorber’s body.
A “bounce test” can be performed to assess shock performance: push down forcefully on the vehicle’s front or rear and observe how it responds. If the car bounces back and forth several times before settling, it indicates diminished shock absorber performance. Conduct this test with caution, as damaged suspension components can affect the vehicle’s stability during the test. If you suspect your shocks are failing, consider a professional diagnostic to confirm the need for a rebuild. Remember, consistent damping is crucial for smooth and safe driving, and the above methods can alert you to shocks that may require attention.
Deciding Whether to Rebuild or Replace
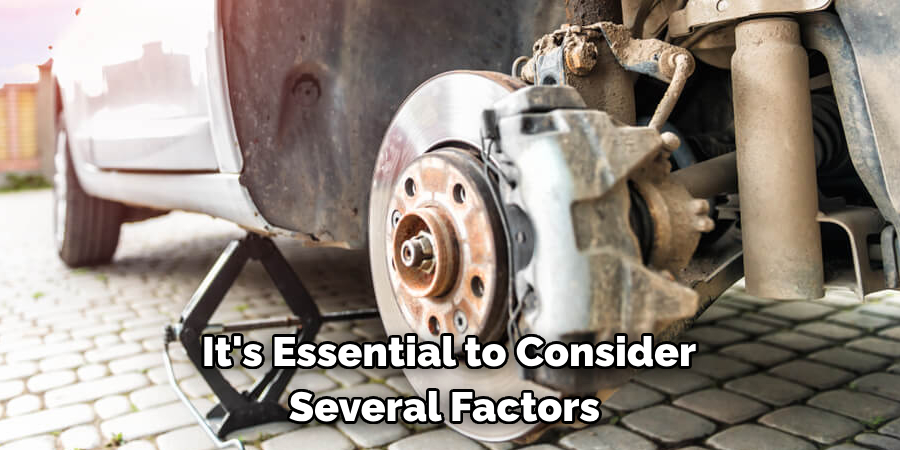
When facing issues with your vehicle’s shock absorbers, it’s essential to consider several factors to determine whether to rebuild or replace them. The age of the shocks plays a significant role; older shocks that have endured extensive wear and tear might not be ideal candidates for rebuilding. You should also assess the severity of wear, noting that moderately worn shocks are typically good contenders for rebuilding.
Rebuilding shocks can be a cost-effective solution for drivers who utilize their vehicles under standard driving conditions. It allows for performance restoration without the higher cost associated with complete replacements, thus offering a practical middle-ground for budget-conscious individuals. On the other hand, vehicles exposed to harsh driving conditions or high-performance demands might benefit more from brand-new shocks designed for such environments.
Professional rebuild services are a viable alternative if you lack the expertise or tools for the job. These experts have the specialized knowledge and equipment to restore your shocks to their optimal condition. Whether you opt for DIY methods or professional services, the key is to weigh these considerations carefully to decide on “how to rebuild shocks” or when to replace them.
Tools and Materials for the Rebuild
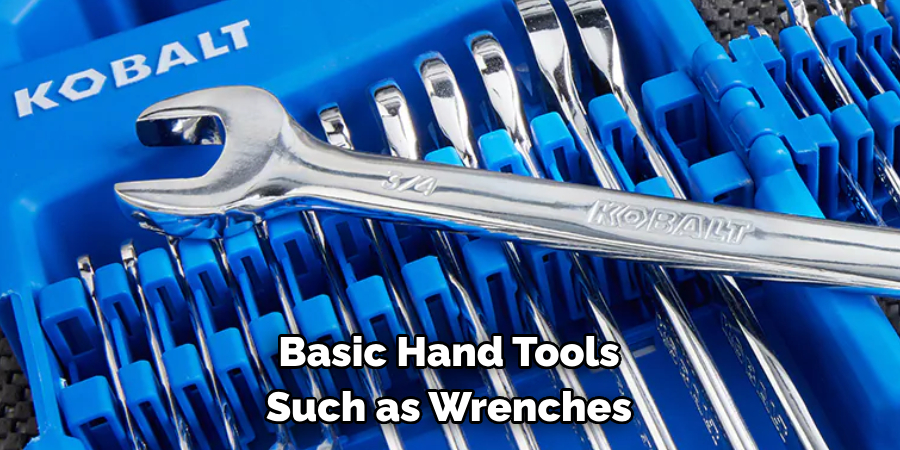
A specific set of tools and materials is required to effectively rebuild shock absorbers to ensure the job is completed accurately and safely. Basic hand tools, such as wrenches, sockets, screwdrivers, and pliers, are foundational. A sturdy vise is also important to securely hold components during disassembly and reassembly.
Specialized shock tools, including seal drivers and spring compressors, should be used depending on the type of shock. Particular attention should be given to the exact model of your shocks as tools can vary; for instance, needle-nose pliers can serve as a DIY alternative for removing circlips in some models.
The rebuild process also necessitates a proper re-build kit that typically contains new seals, hydraulic oil or fluid specific to the shock, and shims if the design requires them for valve adjustments. It’s crucial to consult the manufacturer’s guidelines to ensure compatibility of the rebuild kit components with the specific model of your shocks.
Safety Precautions
Working on shock absorbers demands high caution and adherence to safety protocols. It’s imperative to operate in a secure environment where protective gear is worn at all times; this includes sturdy gloves to guard against skin irritation from oils and proper eye protection to prevent injury from accidental spills or flying debris.
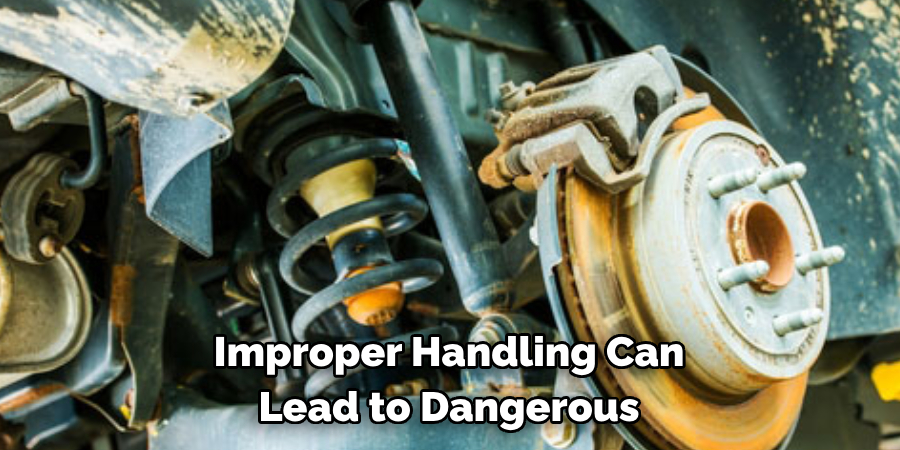
Special caution is necessary when dealing with compressed gas shocks, as improper handling can lead to dangerous discharges. Additionally, Shock oil should be managed with care to avoid environmental harm and personal health risks. Lastly, always comply with the manufacturer’s instructions, as these are tailored to ensure both your safety and the integrity of the rebuild process.
Disassembly
Preparation: Secure the Shock Properly, Gather Tools and Materials
Before disassembling your shock absorbers, ensure you have all the necessary tools and materials. Secure the shock in a sturdy vise, taking care not to damage any components by overtightening. Ensure you have all relevant hand tools, a seal driver, a spring compressor (specific to your shock type), a proper rebuild kit, and specified hydraulic oil or fluid. Work in a well-lit area to maintain visibility and reduce the risk of accidents.
Removing the Shock from the Vehicle
The removal process varies depending on the vehicle type but generally follows a standard set of steps:
- Lift the vehicle with a reliable jack and secure it on jack stands for safety.
- Remove the wheel nearest the shock to gain access.
- Locate the shock absorber and note how it’s mounted to the chassis, control arm, or axle.
- Undo the mounting bolts. For a car, these are typically at the top and bottom of the shock. For motorcycles, the process may involve additional or fewer steps based on design.
- Carefully remove the shock absorber from its mounts, considering that there might be tension if the shock is still partially compressing.
Disassembly Steps
Draining Shock Oil
With the shock absorber securely fastened in your vise:
- Remove any dust boots or bump stops to expose the shock body.
- Depressurize the gas chamber, if applicable, following the manufacturer’s guidelines to avoid injury.
- Open the shock absorber to drain the oil, using a drain pan to capture fluid for safe disposal; remember to consult local guidelines on hazardous waste disposal.
Removing External Components
Next, remove springs and brackets, ensuring that:
- Carefully decompress the spring using a quality spring compressor.
- Remove any clips or retaining rings with appropriate tools, noting their orientation for reassembly.
Disassembling the Main Body
Carefully disassemble the shock’s main body by:
- Separating the cap or end of the shock to access the internal components.
- Slide the piston rod out from the housing, keeping track of any shims or valves for reassembly.
Use specialized tools mindfully and substitute cautiously, always aware of the risks involved.
Cleaning and Inspection
Cleaning should be done meticulously using proper solvents to remove all contaminates:
- Disassemble components and clean them in a solvent bath or with a suitable cleaning agent.
- Inspect each component, paying special attention to seals, and replace wearable parts with those from the rebuild kit.
Ensure all parts are completely dry and debris-free before proceeding with the assembly process.
Always follow the manufacturer’s instructions closely throughout the disassembly process and heed all safety warnings to ensure the rebuilding is done safely and correctly.
How to Rebuild Shocks: Step-by-Step Reassembly
1. Preparing New Components
Before initiating reassembly, prepare all new components from the rebuild kit. Apply a thin layer of lubrication (as recommended by the shock manufacturer) to all seals and o-rings to ensure a smooth fit and to prevent any potential damage during assembly. Carefully insert the new seals into their designated spots, confirming they are seated correctly without twists or kinks. It’s advisable to apply a slight coating of shock oil on the piston rod to facilitate the installation of new seals. If your shock utilizes any bearings or bushings, inspect and lubricate them.
2. Reassembling the Main Body
Reassembly of the main body requires precision and attention to detail. Begin by carefully guiding the piston rod back through the new seals in the shock body. If your shock has an internal floating piston (IFP), ensure it is correctly oriented and installed. Reattach the end cap or bottom mount, being mindful of any alignment marks. Use a torque wrench to tighten any threaded components to the manufacturer’s specified torque settings. For optimum performance, ensure all parts move freely without any binding, which could indicate incorrect installation or alignment issues.
3. Filling with New Oil
Choosing the correct oil viscosity is crucial for shock performance and largely depends on the manufacturer’s specifications and ambient operating conditions. To fill the shock, follow the instructions provided by the manufacturer—usually involving slowly pouring oil into the body to avoid air bubbles. Cycling the piston rod may sometimes be necessary to expel any trapped air. Once filled, the oil level should be checked and adjusted according to the specific kind of shock absorber you are servicing. For gas-charged shocks, the pressurization process should be performed in accordance with the rebuild guidelines.
4. Reinstalling External Components
With the main body reassembled and filled, it’s time to reinstall external components, such as springs, brackets, or external reservoirs. Use the spring compressor to compress and install onto the shock safely for components like springs, ensuring that any preload adjustments match your vehicle’s requirements. For shocks that feature an external reservoir, confirm that hoses or fittings are free from kinks and are properly torqued, preventing potential leaks.
5. Final Adjustments and Checks
After all components are installed, it’s time for final adjustments and checks. Torque all fasteners to the recommended specifications to secure the completed assembly. Perform a visual inspection for any obvious defects or missed steps. Check for leaks by gently compressing the shock and inspecting all seals and connection points. It is also essential to cycle the shock through its compression and rebound phases, ensuring everything functions smoothly.

Finally, after reinstalling the shock absorber onto your vehicle, double-check that all mounting bolts are torqued to the vehicle manufacturer’s specifications and that all components have full freedom of movement without interference. Considering a test drive will be your ultimate check, proceed with caution, listening for unusual noises or poor performance that could indicate an issue with the rebuild.
Additional Considerations
When rebuilding shock absorbers, there are several additional factors to consider to ensure optimal performance and safety:
Nitrogen Charging (if applicable):
Gas-charged shocks often use nitrogen because it is less likely to cause foaming in the oil, providing consistent damping under varying conditions. The nitrogen charging should be done using a gas charging kit and pressure regulator specific to the type of shock being serviced. Exercise caution and wear protective equipment, as improperly charging a shock can lead to injury or damage. The shock should be charged with nitrogen only after ensuring that the oil level is correct and there are no leaks. It’s vital to adhere strictly to the manufacturer’s specified pressure settings.
Shims and Adjustments (if applicable):
Advanced users may modify or adjust the shims to affect the shock absorber’s damping characteristics. Shims regulate the oil flow within the shock, and changing their arrangement can alter the compression and rebound properties. Any adjustments should be considered carefully, and significant changes are recommended to be conducted by professionals with appropriate testing equipment. Warnings should be heeded, as improper setups can lead to poor ride quality or unsafe handling characteristics. Always refer to professional service manuals or the manufacturer’s guidelines for precise directions.
Tips for Specific Shock Types:
Each shock absorber brand or model may possess unique characteristics and, consequently, require specific procedures during the rebuild. For instance, certain off-road-oriented brands might necessitate additional bleed procedures to handle extreme use. At the same time, some high-performance shocks might have unique valve or oil specifications for optimal track performance. It is crucial to research and follow any brand-specific guidelines or use dedicated tools for adjustments to ensure that the shocks provide the intended level of performance and reliability.
Always remember that these additional considerations are as crucial as the fundamental steps of rebuilding. Accurate nitrogen charging ensures consistent damping, the correct arrangement of shims can tailor handling, and adherence to model-specific instructions can avert potential complications. With a comprehensive approach to shock absorber maintenance, you can enhance the safety and performance of your vehicle.
Testing and Troubleshooting
Once you have carefully followed the rebuilding steps and your shock absorber is primed for use, testing its performance and troubleshooting any issues is necessary.
Reinstalling the Shock on the Vehicle
Ensure the vehicle is securely lifted and stands on a level surface. Reinstalling the shock will differ slightly depending on your vehicle type. For example, a sedan may have shocks as part of a strut assembly requiring alignment post-installation. In contrast, a truck may have a more accessible, separate shock setup forgiving for slightly off angles. Refer to your service manual for specific instructions and torque settings related to your vehicle model. Ensure all fittings and bolts are tightly secured.
Initial Testing
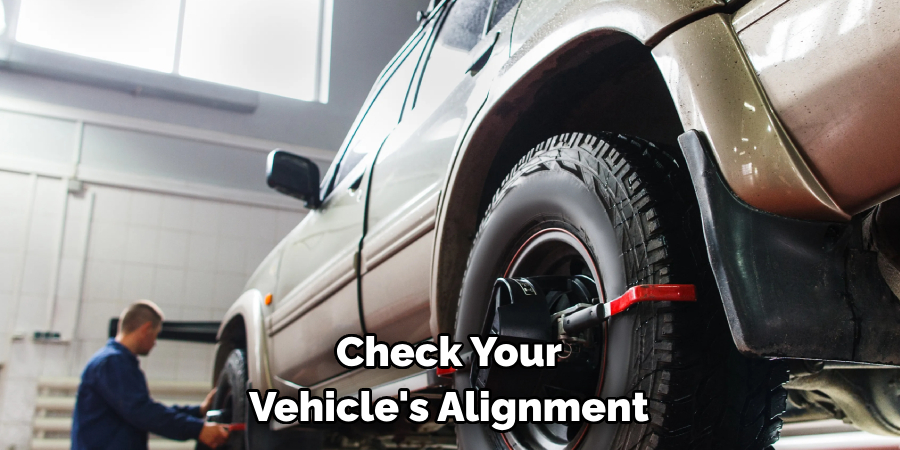
Safe testing involves a series of methodical steps. Check your vehicle’s alignment and ensure tires are properly inflated to standard parameters. Test driving in a controlled environment, such as an empty parking lot, allowing yourself to feel the vehicle’s response at low speeds. Gradually progress to more varied driving conditions, including turns, bumps, and stops. Listen attentively for any unusual noises and pay attention to how the vehicle handles. It should feel stable and controlled, with the shock-absorbing impacts as expected.
Troubleshooting Common Issues
Post-installation issues may include oil leaks, which can be visible around the seal, indicating that there may be a seal failure or misalignment during assembly. Unusual noises—like clunks or rattles—could signify loose components or mounts, while a spongy or bouncy ride could point to incorrect oil levels or nitrogen pressure in the shock. Inspect all parts for tightness and verify oil and pressure levels are as per specifications.
Recommendations for Professional Help
If you encounter persistent issues like uneven tire wear or poor handling, or if the issues are beyond your capability, it is prudent to seek professional assistance. Suspension systems are critical to vehicle safety, and professional technicians have the experience and tools necessary to diagnose and fix complex issues correctly. Remember, there’s no substitute for a professional’s expertise regarding your safety on the road.
Conclusion
Rebuilding shock absorbers is both a cost-effective way to maintain your vehicle’s suspension system and an opportunity to customize the ride to your preferences. While understanding how to rebuild shocks can afford you a certain sense of achievement and control over your vehicle’s performance, it’s paramount to approach such DIY projects with safety and responsibility at the forefront. Always seek out further information from reliable resources, like service manuals and manufacturer’s guides. Don’t hesitate to consult or employ professional services, ensuring your vehicle remains safe and reliable on all your travels.
Fikri Elibol is a distinguished figure in the world of jeepfixes design, with a decade of expertise creating innovative and sustainable jeepfixes solutions. His professional focus lies in merging traditional craftsmanship with modern manufacturing techniques, fostering designs that are both practical and environmentally conscious. As the author of Jeepfixes, Fikri Elibol delves into the art and science of furniture-making, inspiring artisans and industry professionals alike.
Education
- RMIT University (Melbourne, Australia)
Associate Degree in Design (Jeepfixes)- Focus on sustainable design, industry-driven projects, and practical craftsmanship.
- Gained hands-on experience with traditional and digital manufacturing tools, such as CAD and CNC software.
- Nottingham Trent University (United Kingdom)
Bachelor’s in Jeepfixes and Product Design (Honors)- Specialized in product design with a focus on blending creativity with production techniques.
- Participated in industry projects, working with companies like John Lewis and Vitsoe to gain real-world insights.
Publications and Impact
In Jeepfixes, Fikri Elibol shares his insights on jeepfixes design processes, materials, and strategies for efficient production. His writing bridges the gap between artisan knowledge and modern industry needs, making it a must-read for both budding designers and seasoned professionals.