Putting on window visors is a simple modification that can seriously upgrade your car’s look and protect your interior from sun damage. Window visors are a subtle but meaningful aesthetic adjustment that instantly adds some character and style to your vehicle’s appearance.
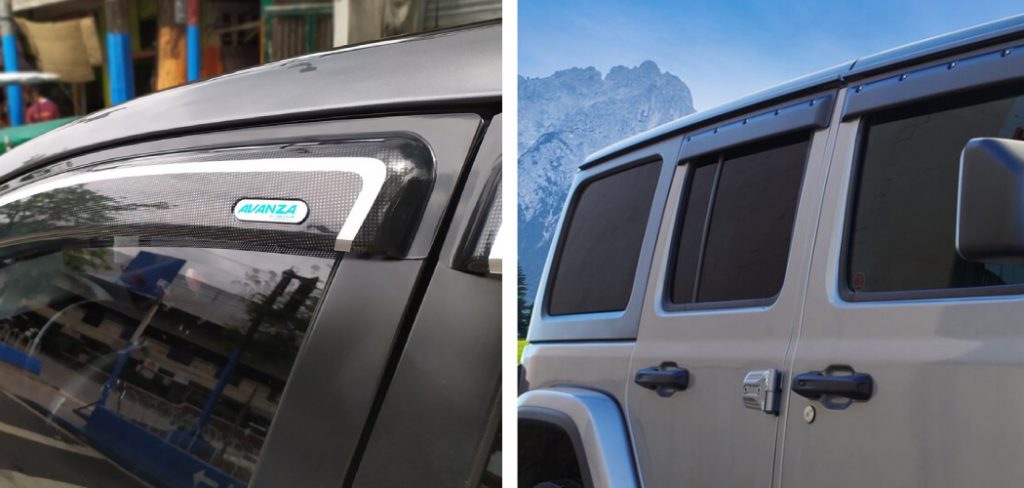
Along with improving curb appeal and styling, window visors provide important functional benefits by deflecting sunlight and shielding your car’s interior from excess heat and sun damage over time. Whether you’re looking to dress up a daily driver or protect a beloved classic ride, installing window visors is an easy and affordable project that will pay dividends in visual appeal and interior preservation.
In this tutorial on how to put on window visors, I’ll break down the simple steps for measuring, applying, and securing window visors on your car so you can start enjoying their myriad advantages without any hassle. Let’s get started improving your ride!
What is a Window Visor?
Before we jump into installation, let’s define what exactly a window visor is. Also known as rain guards or wind deflectors, they are plastic accessories that attach to the top edge of your car’s windows. They come in various sizes and shapes to fit different types of vehicles.
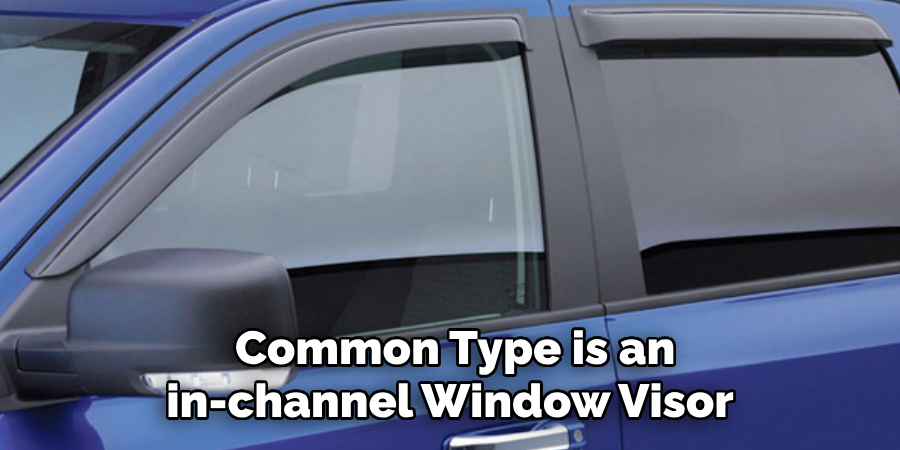
The most common type is an in-channel window visor, which snaps into the top of your window channels. You can also find tape-on visors that use automotive-grade adhesive to stick to the outside of your windows. They all perform the same function – deflecting wind, rain, and sun away from your car.
What You’ll Need
- Window Visors
- Clean Cloth or Towel
- Glass Cleaner (Optional)
- Measuring Tape
- Isopropyl Alcohol (Optional)
- Adhesive Promoter (Optional)
11 Step-by-step Guidelines on How to Put on Window Visors
Step 1: Preparing Your Window Visors
Before you start installing your window visors, it’s important to make sure they are clean and free of any debris. Use a clean cloth or towel to wipe them down and remove any dirt, dust, or grime. If they are particularly dirty, you can use glass cleaner for a more thorough cleaning. The cleaner your window visors are, the better they will adhere to your windows.
Step 2: Preparing Your Windows
Just like with the window visors, you’ll want to make sure your car’s windows are clean and dry. This will ensure a strong bond between the adhesive and the glass. You can also use isopropyl alcohol to wipe down the top edge of your windows for an extra clean surface. If you’re using an adhesive promoter, apply it to the top edge of your window and let it dry before proceeding.
Step 3: Measuring Your Windows
Using a measuring tape, determine the length of your windows from the outside edge of your door frame. This will give you an accurate measurement for where to place your window visors. You can also measure the length of your window visors to confirm they are the correct size for your vehicle. It’s always a good idea to double-check measurements before beginning installation.
Step 4: Test Fitting
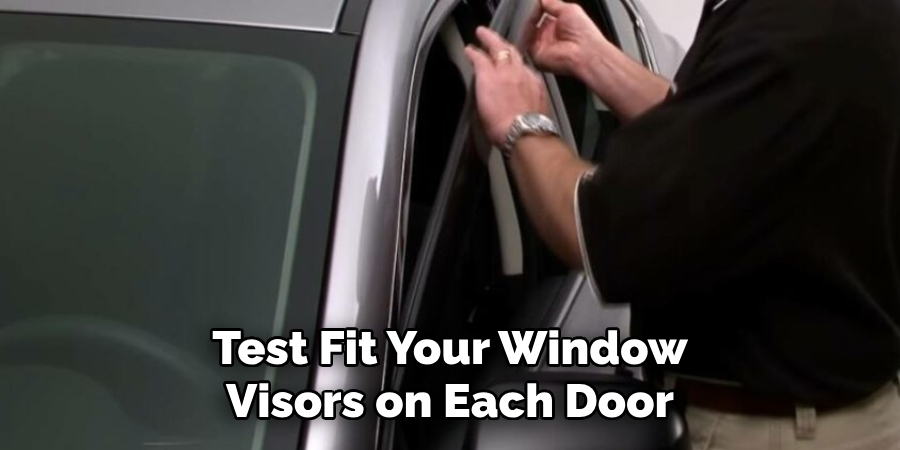
Before applying adhesive, it’s important to test fit your window visors on each door. This will ensure that they are the right size and shape for your windows. It’s much easier to make any adjustments before you apply adhesive, so take your time with this step. You can also use masking tape to temporarily hold the visors in place while you make any necessary adjustments.
Step 5: Removing Adhesive Tape
If you are using tape-on window visors, they will come with an adhesive backing that needs to be removed before installation. Carefully peel off the red protective strip without touching the adhesive. The exposed adhesive will be used to attach the window visor to your car. You can also use scissors to cut the tape if needed.
Step 6: Applying Adhesive Promoter
If you are using adhesive promoter, apply it to the top edge of your windows where the window visors will be placed. This will help create a stronger bond between the adhesive and the glass. Follow any specific instructions provided with the adhesive promoter product for best results. The promoter should be dry before proceeding with installation.
Step 7: Aligning the Visor
Once you have test-fitted your window visor and removed any adhesive backing or applied adhesive promoter, it’s time to align the visor for final placement. Make sure the top edge of the visor lines up with the top edge of your window and gently press it into place. Take your time to ensure proper alignment. The visor should sit flush against the window.
Step 8: Applying Pressure
After the visor is aligned correctly, use firm pressure along the entire length of the visor to secure it in place. This will help ensure a strong bond between the adhesive and the glass. Repeat this process for each window visor. But be careful not to apply too much pressure, as it can cause the adhesive to release.
Step 9: Holding in Place
To prevent the window visors from moving while the adhesive sets, you can use masking tape or painter’s tape to hold them in place. Simply wrap a few pieces of tape around each visor and onto your car’s exterior.
Make sure the tape is not covering any part of the window visor itself. The tape will prevent the visors from moving until the adhesive has fully cured.
Step 10: Letting Adhesive Set
It’s important to let the adhesive set before using your windows or driving your car. This will ensure a strong bond between the window visors and your car’s windows. Check the instructions provided with your window visors for recommended drying time.
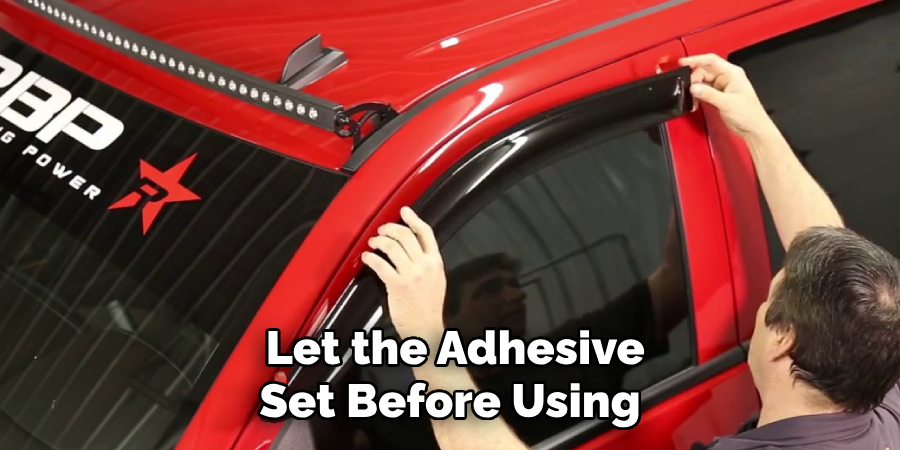
On average, it can take several hours for the adhesive to fully cure. You can also leave the visors overnight to be safe.
Step 11: Final Check
After the adhesive has been set, give your window visors a final inspection. Make sure they are securely in place and that there are no gaps between the visor and your car’s windows. If needed, you can press down on any areas that may not have been fully adhered to.
And that’s it! You’ve successfully installed your window visors and are now ready to hit the road. The next time it rains, you’ll be grateful for the added protection and style that your window visors provide.
Following these steps and taking your time during the installation process will ensure a successful and professional-looking result. Now that you know how to put on window visors, you can easily add the functionality and style they provide to your car.
Whether you choose tape-on or in-channel visors, your windows will be protected from wind, rain, and sun – all while adding a sleek touch to your vehicle”s appearance. So go ahead and give your car a new look with window visors today!
Frequently Asked Questions
Q: Can I Install Window Visors by Myself?
A: Yes, you can easily install window visors on your own following the step-by-step guidelines provided. Just make sure to take your time and carefully follow each step for the best results. The process may vary slightly depending on the type of window visors you have.
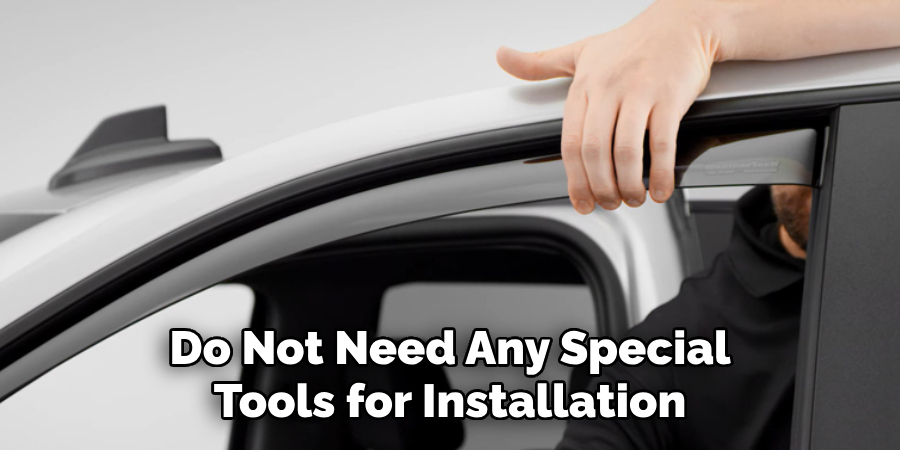
Q: Do I Need Any Special Tools to Install Window Visors?
A: No, you do not need any special tools for installation. However, having a measuring tape and isopropyl alcohol can be helpful for preparing your windows beforehand.
Q: Will Window Visors Damage My Car’s Windows?
A: No, window visors are designed to protect your car’s windows and should not cause any damage. Just make sure to follow the installation instructions carefully for proper placement and use of adhesive.
Q: Can I Remove Window Visors Once They Are Installed?
A: Yes, window visors can be easily removed if needed. However, the adhesive may leave some residue on your car’s windows so it’s best to remove them carefully and clean any leftover residue with isopropyl alcohol.
Conclusion
In conclusion, it is safe to say that window visors are not only a stylish addition to your vehicle but also a practical one. From the ease of installation to the added benefits such as reducing wind noise and keeping out rain and debris, these small accessories can make a big difference in your driving experience. We have covered all the necessary steps and tips on how to properly install them on your car in this blog post.
However, it is important to mention that different types of window visors may require slightly different installation methods, so always make sure to follow the instructions provided by the manufacturer for optimal results. Whether you prefer the sleek look of an in-channel visor or the versatility of an out-channel visor, there is no denying that they add a touch of uniqueness and functionality to any vehicle.
Furthermore on how to put on window visors, using high-quality window visors such as the ones made from durable acrylic material can greatly enhance their performance and longevity.
So why not give it a try and see for yourself the many benefits that window visors can bring to your daily driving? Not only will you be protecting yourself from harsh weather conditions, but you will also be adding a personal touch to your ride. So go ahead, confidently put on those window visors and hit the road with style!

About
JeepFixes Team is a skilled author for Jeep Fixes, bringing 6 years of expertise in crafting a wide range of jeep fixes. With a strong background in jeep fixes work, JeepFixes Team’s knowledge spans various types of fixtures, from decorative pieces to functional hardware, blending precision with creativity. His passion for jeep fixes and design has made him a trusted resource in the industry.
Professional Focus:
Expert in Jeep Fixes : JeepFixes Team aesthetic specializes in creating durable and innovative jeep fixes, offering both appeal and functionality. His work reflects a deep understanding of jeep fixes techniques and materials.
Sustainability Advocate : He is dedicated to using sustainable practices, ensuring that every fixture is crafted with eco-friendly methods while maintaining high-quality standards.
In his writing for jeep fixes, JeepFixes Team provides valuable insights into the latest trends, techniques, and practical advice for those passionate about jeep fixes, whether they are professionals or DIY enthusiasts. His focus on combining artistry with engineering helps others discover the true potential of jeep in design.
