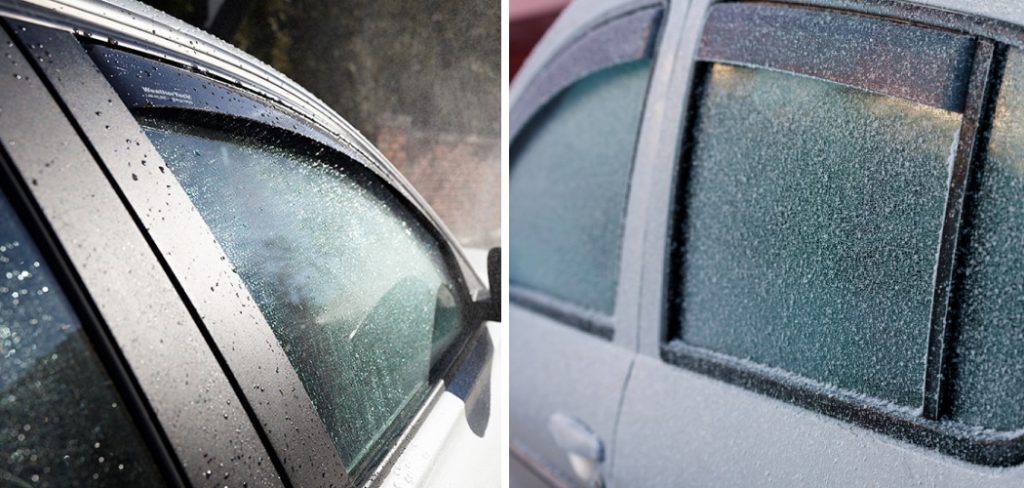
Just when you thought it was safe to drive without getting soaked, the forecast calls for rain – again. As you stare out the window watching droplets accumulate on the glass, you can’t help but grimace at the thought of your commute. Your passengers will be miserable, your interior will get wet, and you’ll arrive in a cranky mood. But have no fear, there is an affordable and hassle-free solution – rain guards.

In this post, I’ll walk you through how to put on rain guards, and the simple process for installation. By the time you finish reading, you’ll be confidently beating back Old Man Rain and keeping your car passengers high and dry.
Why May You Want to Put on Rain Guards?
1 . To keep rain out
Rain guards, also known as vent visors, are designed to keep the rain out of your vehicle when you need to crack open a window. This can be especially handy when it’s raining outside and you want some fresh air without getting wet. With the windows cracked open slightly, the rain guard helps to deflect water away from the interior of your car. This is particularly useful for those who often have to drive in wet and rainy conditions.
2. To Improve Air Flow
Rain guards can also help to improve air flow within your vehicle, even when the windows are completely closed. This is due to the design of rain guards which allow some air to pass through while keeping out any rain or debris.
This added ventilation can be beneficial during hot summer days as it allows for cooler air to enter the car without the need to blast the air conditioning. It also helps to reduce any stale or musty smell that may build up in a closed car.
3. To Protect Against Sun and Heat
Rain guards can also come in handy on sunny days when you want to leave your windows cracked open for some fresh air but don’t want direct sunlight and heat entering your car. The tinted design of some rain guards helps to block out the sun’s rays and keep your car cooler. This is especially useful for those who have leather seats that can become hot and uncomfortable in direct sunlight.
How to Put on Rain Guards in 5 Easy Steps
Step 1: Gather the Necessary Tools
To successfully install rain guards, you will need a few tools to get the job done. These include:

- Rain guards
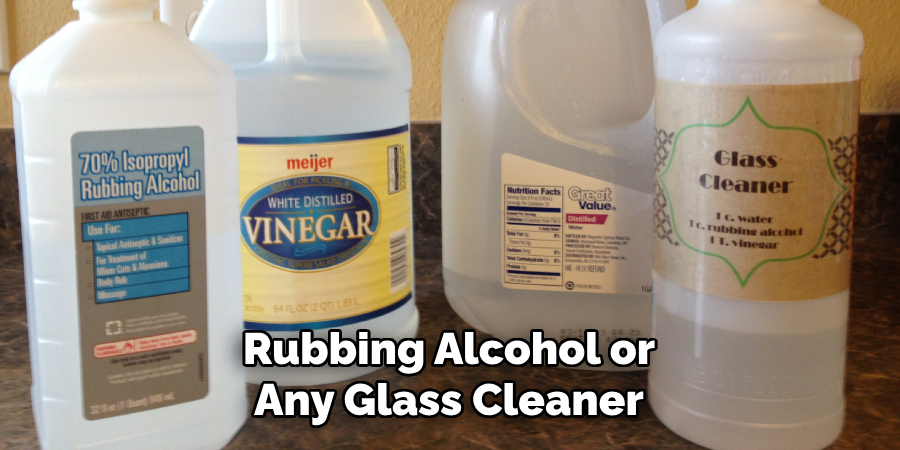
- Rubbing alcohol or any glass cleaner
- A clean rag or paper towels
- Adhesive promoter (optional)
- Scissors (if needed)
Step 2: Clean Your Vehicle’s Window Frames
Before starting the installation process, make sure that your vehicle’s window frames are clean and free from any dirt or debris. Use rubbing alcohol or a glass cleaner to wipe down the window frames with a clean rag or paper towels.
Step 3: Prepare the Rain Guards
Carefully unpack the rain guards and lay them out flat on a clean surface. If necessary, use scissors to trim the rain guards to fit your specific vehicle’s window frames. If you are using adhesive promoter, apply it to the designated areas on the rain guards.
Step 4: Install the Rain Guards
Start by aligning the rain guard with the top corner of your vehicle’s window frame. Slowly peel off the adhesive backing tape and begin pressing down on the rain guard, making sure it is properly aligned. Continue to press down firmly along the entire length of the rain guard until it is securely attached to the window frame.
Step 5: Repeat for Other Windows and Let Dry
After successfully installing one rain guard, repeat the same process for all other windows on your vehicle. Once all rain guards are installed, let them dry for at least 24 hours before operating your vehicle’s windows to ensure proper adhesion.
Additional Tips for a Successful Installation
1 . Do Not Rush
When it comes to installing rain guards, patience is key. Make sure you have enough time set aside for the installation process so that you don’t feel rushed. Rushing through the installation can result in mistakes or damage to your vehicle.
2 . Clean the Surface Thoroughly
Before applying any adhesive, make sure to clean the surface where the rain guard will be attached. This will ensure that the adhesive sticks properly and the rain guard stays in place.

3 . Use a Heat Gun
If you’re having trouble getting the rain guard to adhere properly, try using a heat gun to warm up the adhesive. This will help it stick better and form a stronger bond. Also, make sure to use a heat gun on the lowest setting and keep it moving to avoid damaging your vehicle’s paint.
4 . Double Check Alignment
After attaching the rain guard, take a step back and double check its alignment. If it’s not aligned properly, gently remove it and try again. It’s better to take your time and get it right rather than leaving it misaligned.
5 . Follow Manufacturer Instructions
Different rain guards may have slightly different installation processes, so always refer to the manufacturer’s instructions for the best results. This will ensure that you are using the proper techniques and adhesive for your specific rain guard.
6 . Let Adhesive Cure Properly
After installing the rain guard, make sure to let the adhesive cure properly before driving your vehicle. This will usually take 24 hours, so avoid washing your car or exposing it to rain during this time.
Frequently Asked Questions
What Precautions Should I take before Installing Rain Guards?
When it comes to installing rain guards, there are a few things you should keep in mind to ensure a smooth and successful installation process. Firstly, make sure you have all the necessary tools and materials before beginning the installation.
This includes the rain guards themselves, cleaning supplies, rubbing alcohol or adhesive promoter, and any additional hardware that may be included in the packaging. Secondly, it is important to clean the surface of your car where the rain guards will be applied.

Use a mild soap and water to remove any dirt, dust, or debris from the area. Then dry the surface completely before continuing with the installation. Lastly, if you are installing adhesive rain guards, make sure to read and follow the instructions carefully to ensure proper application.
How Do I Install Rain Guards on my Car?
- Start by cleaning the surface of your car where the rain guards will be installed.
- Next, test fit the rain guards to make sure they align properly with your car’s windows.
- If you are installing adhesive rain guards, apply rubbing alcohol or adhesive promoter to the area where the guards will be installed.
- Peel off the adhesive backing and carefully place the rain guards onto your car’s windows, applying pressure to ensure they are securely attached.
- If your rain guards come with additional hardware, follow the instructions included in the packaging for proper installation.
- Repeat this process for all windows on your car that you wish to install rain guards on.
- Once all guards are installed, allow them to set for at least 24 hours before driving your car.
Can I Install Rain Guards on my Own?
Yes, installing rain guards is a relatively simple process that can be done by most individuals with basic tools and some DIY experience. However, if you are unsure about the installation process or do not feel comfortable doing it yourself, it is always best to seek professional help.
How Do I Maintain Rain Guards?
To ensure your rain guards last as long as possible, it is important to regularly clean and maintain them. Use a mild soap and water solution to clean the guards periodically, making sure to remove any dirt or debris that may have accumulated on them. Additionally,

avoid using harsh chemicals or abrasive materials on your rain guards, as this can damage them and reduce their effectiveness. If you notice any signs of wear or damage, it may be time to replace your rain guards. Overall, taking proper care of your rain guards will not only keep them looking good, but also ensure they continue to function properly in diverting water away from your car’s windows. ## Conclusion
Conclusion
Now you know how to put on rain guards for your vehicle. Remember to take your time, clean the surface thoroughly, and follow the manufacturer’s instructions for the best results. With these tips in mind, you’ll have your rain guards installed and ready to protect your vehicle from the elements in no time. So next time you’re caught in a downpour, you can relax knowing that your car is well-protected.

About
JeepFixes Team is a skilled author for Jeep Fixes, bringing 6 years of expertise in crafting a wide range of jeep fixes. With a strong background in jeep fixes work, JeepFixes Team’s knowledge spans various types of fixtures, from decorative pieces to functional hardware, blending precision with creativity. His passion for jeep fixes and design has made him a trusted resource in the industry.
Professional Focus:
Expert in Jeep Fixes : JeepFixes Team aesthetic specializes in creating durable and innovative jeep fixes, offering both appeal and functionality. His work reflects a deep understanding of jeep fixes techniques and materials.
Sustainability Advocate : He is dedicated to using sustainable practices, ensuring that every fixture is crafted with eco-friendly methods while maintaining high-quality standards.
In his writing for jeep fixes, JeepFixes Team provides valuable insights into the latest trends, techniques, and practical advice for those passionate about jeep fixes, whether they are professionals or DIY enthusiasts. His focus on combining artistry with engineering helps others discover the true potential of jeep in design.
