

Running boards serve not only as a functional step for your vehicle but also as an aesthetic enhancement that can be tailored to your personal taste through painting. The process of painting running boards requires careful preparation, appropriate materials, and a step-by-step approach to ensure a durable and professional finish.
This guide on how to paint running boards will walk you through the necessary steps to prep, prime, paint, and protect the running boards, elevating the look of your vehicle while also contributing to the longevity of the running boards themselves. Whether you’re a seasoned car enthusiast or a DIY beginner, follow along to transform your vehicle’s running boards into a standout feature.
Understanding Running Boards
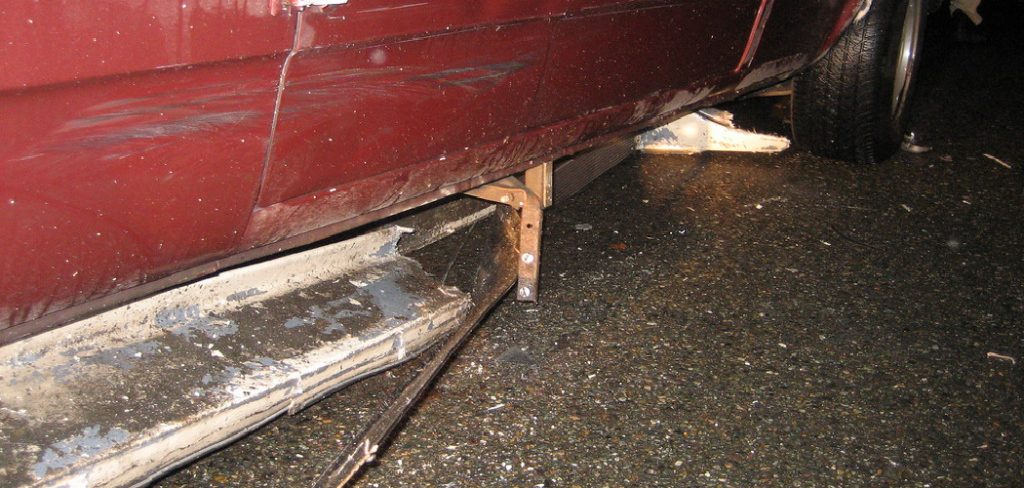
Before diving into the painting process, it’s important to understand what running boards are and their purpose. Running boards, also known as side steps or Nerf bars, are a functional accessory attached to a vehicle’s frame that serves as a step for easier entry and exit.
They also provide extra protection to the sides of your vehicle from rocks, debris, and other road hazards. Running boards come in various materials, such as aluminum, steel, or plastic, and can be factory-installed or aftermarket accessories.
What You Will Need
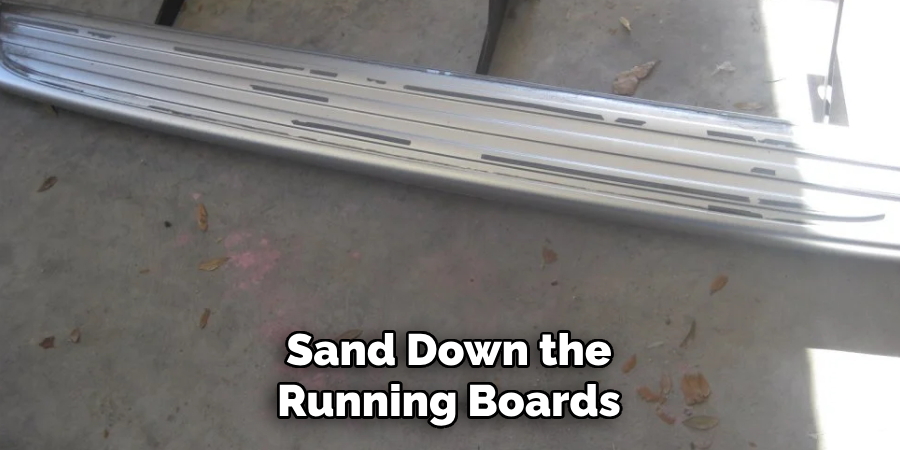
Sandpaper (220-grit)
The first step in prepping your running boards for painting is to sand away any rough or uneven spots. Sandpaper with 220 grit is recommended as it’s not too coarse and won’t leave deep scratches on the surface.
Denatured Alcohol
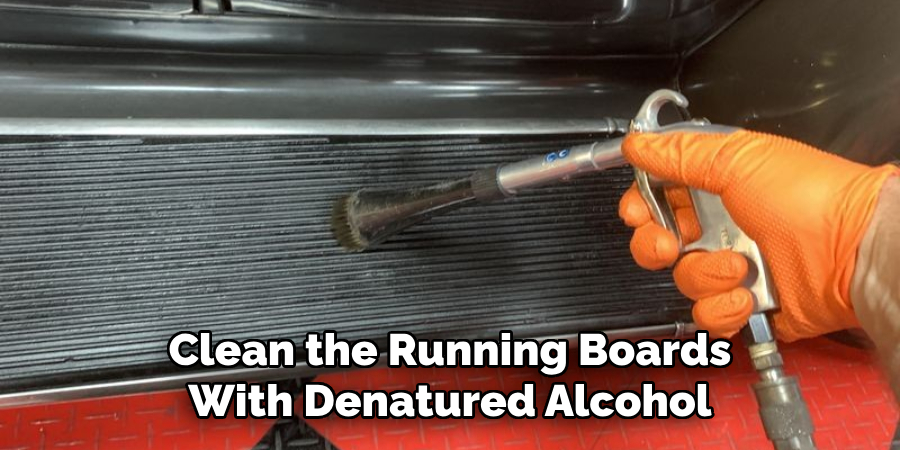
Once you’ve sanded down the surface, clean the running boards with denatured alcohol. This will remove any remaining dirt, grease, or wax that could prevent the paint from adhering properly.
Drop Cloth or Tarp
To protect your work area and surrounding surfaces from overspray, lay down a drop cloth or tarp before beginning the painting process. This will also make for an easier cleanup afterward.
Primer
Priming is a crucial step in painting your running boards as it provides a smooth and even base for the paint to adhere to. Choose a primer specifically designed for automotive use, as it will provide better adhesion and durability.
Automotive Paint
For the best results, choose an automotive-grade paint that is formulated for exterior use and can withstand harsh weather conditions. It’s recommended to opt for spray paint to ensure an even and professional finish. Choose a color that complements your vehicle’s exterior for a cohesive look.
Clear Coat
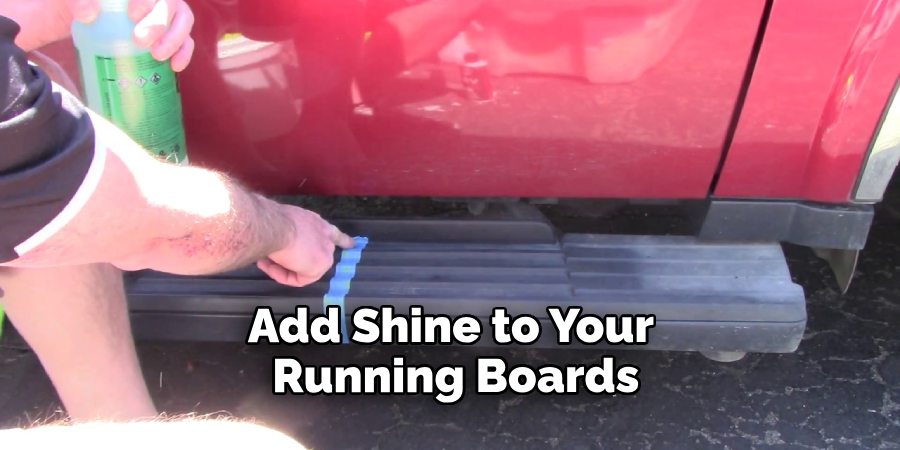
To protect the paint and add shine to your running boards, apply a clear coat after the paint has fully dried. This will also help prevent any chipping or fading of the paint over time.
11 Step-by-step Guidelines on How to Paint Running Boards
Step 1: Choosing the Right Paint
As mentioned before, it’s important to choose an automotive-grade paint specifically designed for exterior use. This will ensure the durability and longevity of the paint on your running boards. If you’re unsure, consult with a professional at your local automotive store for recommendations.
But remember, always opt for quality over price when it comes to paint. You don’t want to have to redo the whole process in a few months due to cheap paint chipping or fading. The same goes for the clear coat.
Step 2: Preparing Your Workspace
Before you begin painting, make sure your work area is well-ventilated and clean. Lay down a drop cloth or tarp to protect surrounding surfaces from overspray. It’s also a good idea to have all your materials and tools easily accessible. But don’t rush the process, take your time and work carefully for the best results. You may also want to wear protective clothing and a face mask to avoid inhaling any fumes. The safety of yourself and others is always a priority.
Step 3: Prepping the Running Boards
Using the 220-grit sandpaper, sand down the running boards to remove any rough or uneven spots. This will also help the primer and paint adhere better to the surface. If there are any deep scratches or imperfections, use a filler product and sand down until the surface is smooth. The goal is to have a smooth and clean surface before moving on to the next step. It may also be helpful to remove the running boards from the vehicle for easier access.
Step 4: Priming for Success
Before applying the primer, make sure to clean the running boards with denatured alcohol to remove any remaining dirt, grease, or wax. Once dry, apply a thin and even layer of automotive primer using a spray can or paint gun. Be sure to follow the instructions on the primer for best results. Allow the primer to fully dry before moving on to the next step. It’s recommended to wait at least 24 hours.
Step 5: Choosing the Right Technique
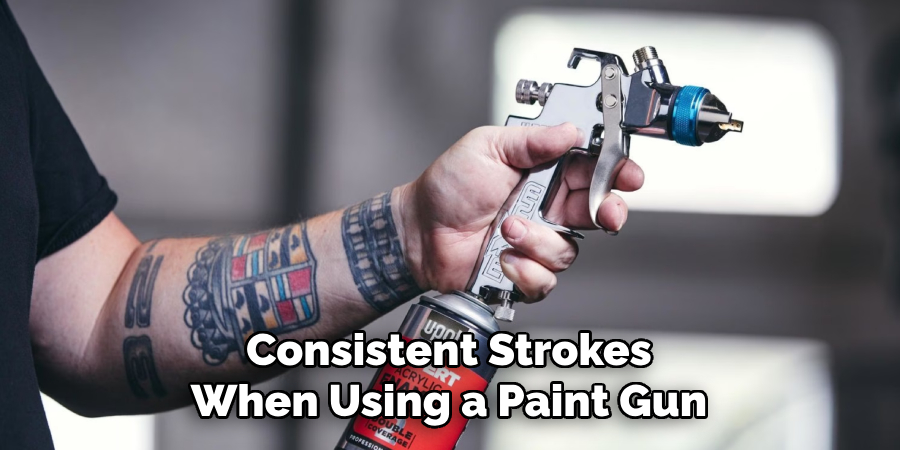
When it comes to painting your running boards, there are a few different techniques you can use. You can apply the paint using a spray can, or for a more professional and even finish, use a paint gun. If you don’t have access to a paint gun or don’t feel comfortable using one, the spray can method will still give good results. You can also choose to use a brush or roller, but this may leave visible brush strokes and result in a less even finish.
Step 6: Customization and Design
If you want to add a personal touch to your running boards, now is the time to do so. You can use stencils or tape-off sections of the running boards to create designs or patterns with different colors. This step is entirely optional but can add an extra element of uniqueness to your vehicle.
It’s important to note that this should be done before applying the clear coat. The clear coat will seal in the design, so any mistakes cannot be corrected afterward. But remember, simplicity is always an option and can be just as effective.
Step 7: Curing and Sealing the Paint
Once you’ve applied your base coat of paint, allow it to dry completely before applying a second coat. This will ensure an even and professional-looking finish. After the final coat has been applied, allow the paint to cure for at least 24 hours before handling or moving the running boards. This will give the paint enough time to fully adhere and harden. Once cured, apply a clear coat to seal in the paint and add shine.
Step 8: Reinstalling the Running Boards
If you removed the running boards from your vehicle, now is the time to reinstall them. Follow the manufacturer’s instructions for proper installation. Make sure not to handle or touch the painted surface too much during this process to avoid any scratches or smudges. Otherwise, you may have to touch up the paint later on. It’s also a good idea to wait at least 24 hours before driving the vehicle to allow the paint and clear coat to fully cure.
Step 9: Cleaning Up
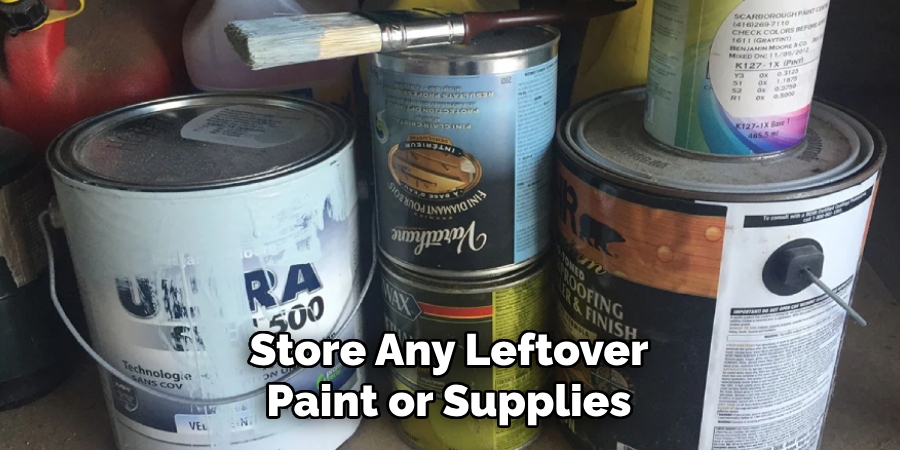
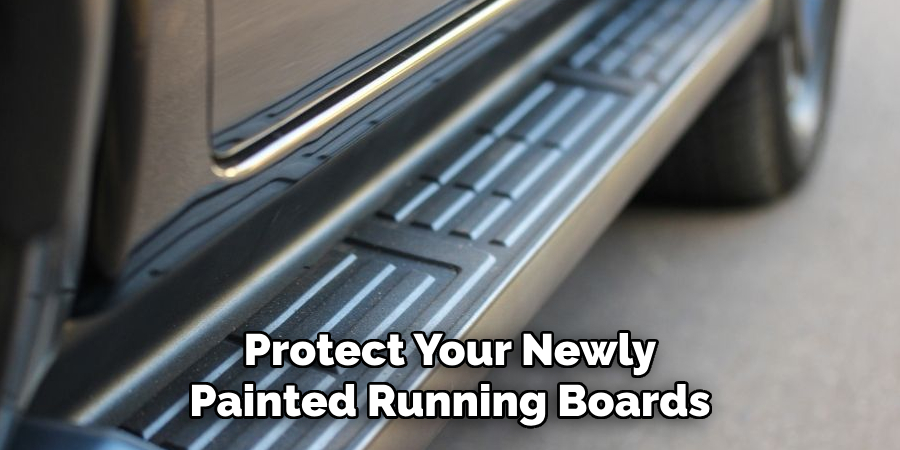
Once everything has been reinstalled and the painted surface is fully cured, it’s time to clean up your workspace. Dispose of any used materials properly and store any leftover paint or supplies in a safe place for future touch-ups if needed. Make sure the area is clean and free from any potential hazards. The end result should be a newly painted set of running boards that look professional and add a personal touch to your vehicle.
Step 10: Maintaining Your Newly Painted Running Boards
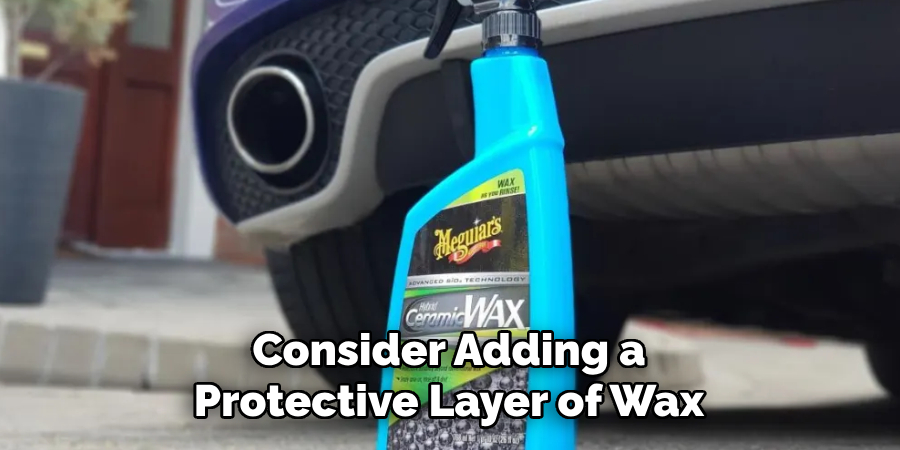
To keep your running boards looking fresh and new, it’s important to maintain them regularly. This includes cleaning them with soap and water every few weeks, or as needed, to remove any dirt or debris. You can also apply a coat of wax to protect the paint and add shine. Avoid using harsh chemicals or abrasive materials when cleaning, as these can damage the paint over time. With proper maintenance, your painted running boards will last for years to come.
Step 11: Touching Up Any Imperfections
If you notice any scratches or chips in the paint over time, don’t panic. These can easily be touched up with a small brush and matching paint. Simply clean the area, apply a thin layer of paint, and allow it to dry before adding another coat if needed.
This will help maintain the overall appearance of your running boards and keep them looking like new. But remember, prevention is key. Avoid driving on rough terrain or coming into contact with any sharp objects to minimize the risk of damage to your painted running boards.
Following these steps on how to paint running boards and taking proper care of your newly painted running boards will result in a professional-looking finish that adds style and protection to your vehicle. With a little bit of time and effort, you can transform your old or worn-out running boards into a fresh and unique addition to your car, truck, or SUV. So go ahead, get creative and give your vehicle the upgrade it deserves! Happy painting!
Troubleshooting Common Issues
Paint Bubbles or Peels Off:
This could be caused by insufficient sanding, incorrect primer application, or poor adhesion. Make sure to follow the steps properly and use the appropriate products.
Uneven or Splotchy Paint Job:
This can happen if the paint is not applied evenly or if there are inconsistencies in the surface preparation. Take your time and make sure to apply the paint in thin and even layers for a smooth finish.
Drips or Runs in the Paint:
This is usually caused by applying too much paint at once. Make sure to follow the instructions on the spray can or use light, consistent strokes when using a paint gun.
Orange Peel Texture:
If your final result has a textured appearance, this could be due to excessive heat or humidity while painting. Try working in a cooler and less humid environment for better results.
Uneven Clear Coat:
This can occur if the clear coat is not applied evenly or if there are impurities on the surface. Make sure to clean and prepare the surface properly before applying the clear coat, and use even strokes when applying it.
If you encounter any other issues, consult with a professional or do some research to find the best solutions for your specific situation. Remember, practice makes perfect, so don’t be afraid to experiment and try new techniques until you achieve the desired result. Happy painting
Vehicle-Specific Considerations
When painting running boards, it’s important to keep in mind the type and size of your vehicle. Larger vehicles may require more paint, and different types of running boards (such as steel or plastic) may require specific primers or paints for optimal adhesion. Make sure to research and follow manufacturer recommendations for your particular vehicle.
Additionally, if you have aftermarket running boards, be sure to consult with the manufacturer before painting as it may void any warranties or cause damage. Always use caution and proper safety measures when working on your vehicle, and if in doubt, seek professional assistance. Now go out there and give your running boards a fresh new look!
Weather Resistance and Outdoor Considerations
If you plan on driving your vehicle in various weather conditions, it’s important to choose a paint and clear coat that is durable and can withstand exposure to rain, sun, snow, and other elements. Additionally, if you live in an area with extreme temperatures or harsh weather conditions, consider adding a protective layer of wax or sealant to further protect the painted surface.
It’s also a good idea to regularly inspect and touch up any areas that may have been affected by weathering to maintain the overall appearance and longevity of your painted running boards. Remember, prevention is key when it comes to maintaining your newly painted running boards. So take care of them and they will continue to add style and protection to your vehicle for years to come. Happy driving!
Legal and Safety Considerations
Before starting any DIY project on your vehicle, it’s important to consult with local laws and regulations. Some areas may require specific permits or have restrictions on painting vehicles in residential areas. Additionally, always use proper safety equipment and follow manufacturer instructions when using paints and chemicals. Take necessary precautions to protect yourself and those around you while working on your vehicle.
If at any point you don’t feel comfortable or confident in your abilities, seek professional help. Safety should always be a top priority when working on any vehicle project. Now go out there and show off your newly painted running boards with pride!
Frequently Asked Questions
Q: Can I Paint My Running Boards Without Removing Them From My Vehicle?
A: Yes, it is possible to paint your running boards while they are still attached to your vehicle. However, it may be more difficult to achieve a smooth and even coat of paint due to the various angles and hard-to-reach areas. If you choose to leave your running boards on the vehicle, be sure to thoroughly clean and tape off any areas that should not be painted.
Q: What Type of Paint Should I Use?
A: It is recommended to use high-quality automotive spray paint specifically designed for exterior surfaces. This type of paint is durable and resistant to chipping, fading, and weathering. Choose a color that matches your vehicle’s body paint or go for a contrasting color to make your running boards stand out.
Q: Do I Need to Sand My Running Boards Before Painting?
A: Sanding is an important step in preparing the surface of your running boards for painting. It helps remove any dirt, debris, and imperfections on the surface that could affect the adhesion of the paint. Use fine-grit sandpaper and sand in the direction of the grain until the surface is smooth to the touch.
Q: How Many Coats of Paint Should I Apply?
A: It is recommended to apply at least two coats of paint for a solid and long-lasting finish. Be sure to wait for the first coat to dry completely before applying another layer. You can also apply a clear coat on top of the paint for added protection and shine.
Q: How Do I Protect My Newly Painted Running Boards?
A: To protect your newly painted running boards, avoid using harsh chemicals or cleaners that could damage the paint. Regularly wash them with a mild soap and water solution and dry them off with a soft cloth. You can also apply a protective wax or sealant to further protect the paint from scratches and UV rays.
Conclusion
In conclusion, painting your running boards is a fulfilling project that not only enhances the appearance of your vehicle but also offers protection and personal flair. By following this guide to prepare, prime, paint, and finish your running boards, you can achieve a professional look that will stand the test of time. With patience and attention to detail, even those new to DIY automotive tasks can undertake this project with confidence.
Remember that the quality of your materials and the care with which you apply each step on how to paint running boards will be reflected in the final result—a set of strikingly refreshed running boards that complement your vehicle’s style. It’s time to elevate your ride and add a touch of personalization with a fresh coat of paint on your running boards.
Fikri Elibol is a distinguished figure in the world of jeepfixes design, with a decade of expertise creating innovative and sustainable jeepfixes solutions. His professional focus lies in merging traditional craftsmanship with modern manufacturing techniques, fostering designs that are both practical and environmentally conscious. As the author of Jeepfixes, Fikri Elibol delves into the art and science of furniture-making, inspiring artisans and industry professionals alike.
Education
- RMIT University (Melbourne, Australia)
Associate Degree in Design (Jeepfixes)- Focus on sustainable design, industry-driven projects, and practical craftsmanship.
- Gained hands-on experience with traditional and digital manufacturing tools, such as CAD and CNC software.
- Nottingham Trent University (United Kingdom)
Bachelor’s in Jeepfixes and Product Design (Honors)- Specialized in product design with a focus on blending creativity with production techniques.
- Participated in industry projects, working with companies like John Lewis and Vitsoe to gain real-world insights.
Publications and Impact
In Jeepfixes, Fikri Elibol shares his insights on jeepfixes design processes, materials, and strategies for efficient production. His writing bridges the gap between artisan knowledge and modern industry needs, making it a must-read for both budding designers and seasoned professionals.