

Decking out your ride with flashy customizations and accessories is a surefire way to stand out on the roads. While slapping on a new set of wheels is usually the go-to upgrade, many overlook the relatively simple task of lighting up those wheels. Installing wheel lights can transform your vehicle’s appearance at night and draw attention to your ride in a vibrant, eye-catching way.
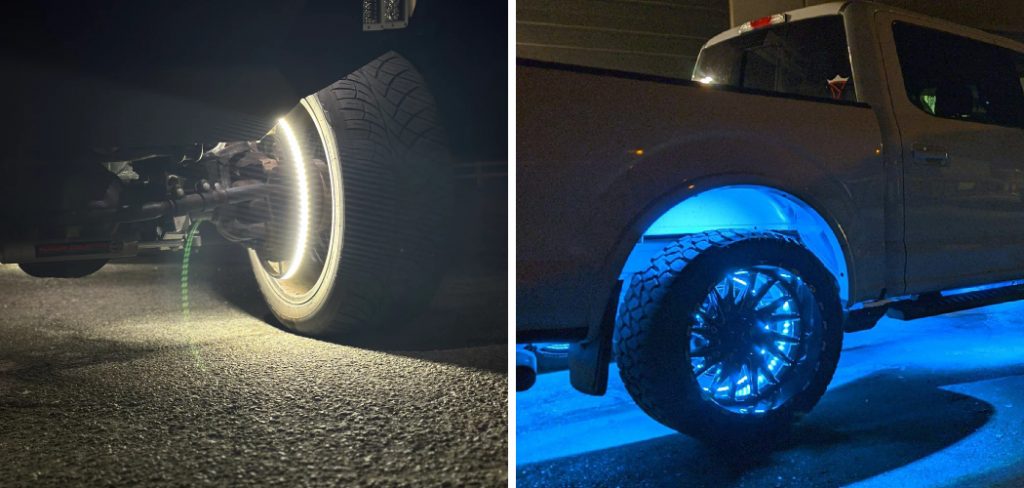
In this post, I’ll walk through the easy steps on how to mount wheel lights onto your car or truck. From LED strips to individual LED panels, we’ll cover the installation process and mounting methods for each type. By the end, your wheels will be shining bright and turning heads wherever you go. Let’s get started brightening up those wheels!
Supplies You Will Need to Mount Wheel Lights
- Wheel lights of your choice (LED strips or individual LED panels)
- Adhesive promoter
- Adhesive tape or zip ties
- Rubbing alcohol and clean cloth
- Wire cutters/strippers (if needed)
- Drill and drill bit (if needed)
- Optional: Wheel cleaner and wax
Step-by-step Guidelines on How to Mount Wheel Lights
Step 1: Choose the Type of Wheel Lights You Want to Install
Before mounting any wheel lights, you’ll need to decide which type you want. The two most common types are LED strips and individual LED panels. Each has its own unique style and installation process, so make sure to choose carefully. Choosing the right type is crucial as it determines where and how you will mount the lights.
Step 2: Clean and Prep Your Wheels
Before mounting any wheel lights, it’s essential to clean and prep your wheels. Use a wheel cleaner to remove any dirt or grime, then apply wax for added protection against the elements. Once dry, use rubbing alcohol to clean the areas where you’ll be mounting the lights. This will ensure a secure bond between the adhesive promoter and your wheels.

Step 3: Apply Adhesive Promoter
Adhesive promoter is essential for ensuring that your wheel lights stay in place, especially if you’re using adhesive tape to mount them. Apply a small amount of adhesive promoter onto a clean cloth and wipe it onto the desired mounting areas. This will help the adhesive tape stick better and prevent the lights from falling off.
Step 4: Mounting LED Strips
If you’ve chosen LED strips, start by measuring the length of your wheels to determine how many strips you’ll need. Then, cut the strip to size using wire cutters or scissors. Next, remove the backing from the adhesive tape and carefully apply the strip onto your wheels, making sure to align it evenly. For added security, use zip ties to secure the strip in place.
Step 5: Mounting Individual LED Panels
For individual LED panels, you’ll need a drill and an appropriate size drill bit to create holes for mounting screws. Start by marking where you want the lights to go on your wheels. Then, use the drill to create holes for the screws. Once drilled, insert the screws through the back of the panel and into the holes. Finally, secure the panels onto your wheels using a screwdriver.
Step 6: Finishing Touches
After mounting all your wheel lights, take a step back and admire your work! Make sure all the lights are securely in place and functioning correctly. If you notice any loose or non-functioning lights, go back and make adjustments as needed. Make sure to also check the lights periodically, especially after driving on bumpy roads.
Following these simple steps, you can easily mount wheel lights onto your vehicle and add a unique touch to your ride. Remember to choose the type of lights that best suit your style and driving needs, clean and prep your wheels before installation, and use adhesive promoter for a secure bond. Enjoy your newly lit-up wheels and get ready to turn heads wherever you go! So, let’s get started and brighten up those wheels! Happy driving!
Additional Tips and Tricks to Mount Wheel Lights
1. If you’re using LED strips, consider purchasing ones with a waterproof coating for added protection against rain and other elements.
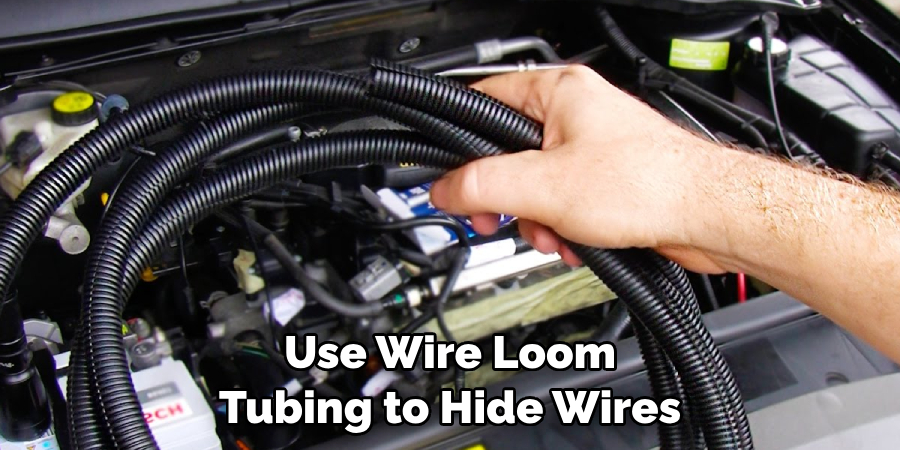
2. For a cleaner look, use wire loom tubing to hide wires and give your installation a more professional appearance.
3. To add even more style to your wheels, opt for color-changing or programmable wheel lights that can be controlled through an app on your phone.
4. Don’t forget to use caution when drilling holes for individual LED panels, and always wear safety gear.
5. Consider using a wheel stand or having a friend hold the wheels in place while you mount the lights for easier installation.
6. Depending on your vehicle’s make and model, you may need to adjust the mounting method slightly. Always refer to the manufacturer’s instructions for best results.
7. For LED strips, avoid stretching or pulling the strip too tightly while applying it to your wheels. This can cause the lights to malfunction or fall off over time.
8. Experiment with different placement and patterns for your wheel lights to find the look that suits you best.
Following these tips and tricks, you can take your wheel light installation to the next level and create a truly unique look for your ride. Have fun customizing your wheels and enjoy the attention they’ll bring on the roads! Now go out there and show off those bright, flashy wheels with confidence. Happy mounting!
Precautions Need to Be Followed for Installing Wheel Lights
1. First and foremost, make sure that your vehicle is parked on a flat surface before mounting any wheel lights.
2. Always follow the manufacturer’s instructions for installation to ensure proper functioning and avoid any potential damage to your vehicle.
3. Avoid installing wheel lights in areas with moving parts or where they may obstruct the movement of the wheels.
4. Make sure the adhesive promoter has fully dried before mounting the lights to ensure a strong bond.
5. Check your local laws and regulations regarding wheel lights before installation, as some areas may have restrictions on the use of certain colors or brightness levels.
6. If using zip ties to secure LED strips, make sure they are tight enough to hold the strip in place but not too tight that they damage the strip or wheels.
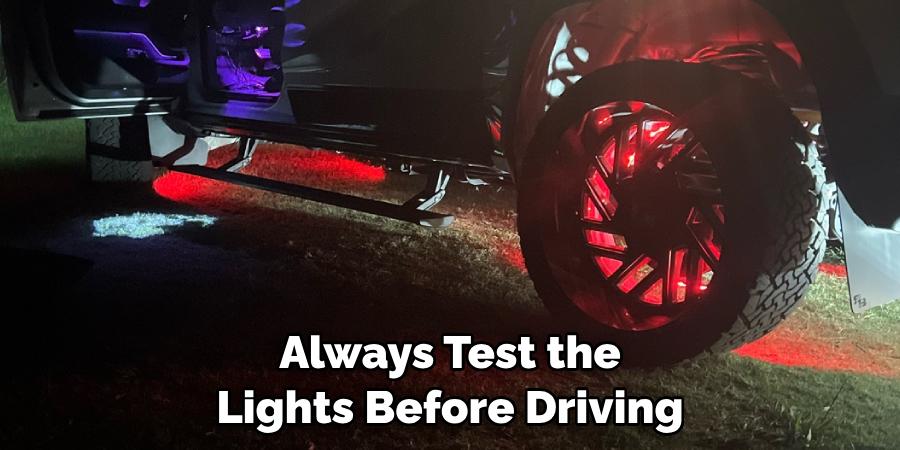
7. Always test the lights before driving to ensure they are functioning correctly and not causing any distractions on the road.
8. If you notice any issues or malfunctions with your wheel lights while driving, pull over safely and address the issue before continuing your journey.
By following these precautions, you can ensure a safe and successful installation of wheel lights in your vehicle. Now get ready to light up the streets and showcase your unique style on the road! Happy driving!
Frequently Asked Questions
Will Mounting Wheel Lights Affect My Vehicle’s Warranty?
It depends on the type of wheel lights and how they are mounted. Some manufacturers may consider drilling holes for individual LED panels as modifications to the vehicle, which can void the warranty. It’s best to check with your dealership or consult the manufacturer before installation.
Can I Install Wheel Lights on My Motorcycle or Bicycle?
Yes, you can install wheel lights on motorcycles and bicycles as well. However, make sure to follow the same precautions and check for any additional regulations in your area.
How Long Do Wheel Lights Typically Last?
With proper installation and maintenance, wheel lights can last for several years. LED strips usually have a lifespan of around 50,000 hours, while individual LED panels can last even longer. However, extreme weather conditions or rough driving may affect the lifespan of the lights.
Can I Turn Off My Wheel Lights While Driving?
Yes, most wheel lights come with an on-off switch or a remote control to turn them off while driving. It’s recommended to turn them off when not in use to conserve battery life and avoid any distractions on the road.
Are There Different Types of Wheel Lights Available?
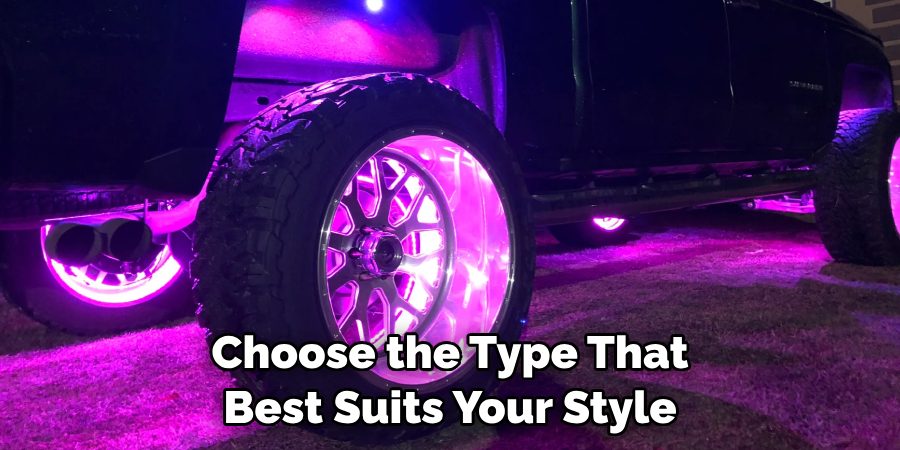
Yes, there are various types of wheel lights available, including LED strips, individual LED panels, and color-changing or programmable options. Choose the type that best suits your style and driving needs. Don’t be afraid to get creative and mix different types of lights for a unique look.
Conclusion
In conclusion, adding wheel lights to your vehicle is not only a fun and unique way to personalize your ride, but also increases safety and visibility on the road. By following the simple steps outlined in this post, you can easily mount wheel lights on your car or bike. Remember to choose high-quality lights that are waterproof and durable for long-lasting use.
Additionally, consider different color options and patterns to truly make your wheels stand out. And don’t forget, always check with local regulations before installing any modifications on your vehicle. So go ahead and get creative with your wheel lights and light up the streets in style! We hope this guide has helped show you how to mount wheel lights, and we can’t wait to see the result of your unique and eye-catching ride. Happy driving!

About
JeepFixes Team is a skilled author for Jeep Fixes, bringing 6 years of expertise in crafting a wide range of jeep fixes. With a strong background in jeep fixes work, JeepFixes Team’s knowledge spans various types of fixtures, from decorative pieces to functional hardware, blending precision with creativity. His passion for jeep fixes and design has made him a trusted resource in the industry.
Professional Focus:
Expert in Jeep Fixes : JeepFixes Team aesthetic specializes in creating durable and innovative jeep fixes, offering both appeal and functionality. His work reflects a deep understanding of jeep fixes techniques and materials.
Sustainability Advocate : He is dedicated to using sustainable practices, ensuring that every fixture is crafted with eco-friendly methods while maintaining high-quality standards.
In his writing for jeep fixes, JeepFixes Team provides valuable insights into the latest trends, techniques, and practical advice for those passionate about jeep fixes, whether they are professionals or DIY enthusiasts. His focus on combining artistry with engineering helps others discover the true potential of jeep in design.