A properly measuring wheel studs is crucial for auto repair and maintenance. As one of the key components that holds your wheel assembly together, wheel studs bear a tremendous amount of stress each time you drive. Ensuring your wheel studs are the right length is important for safety and performance reasons.
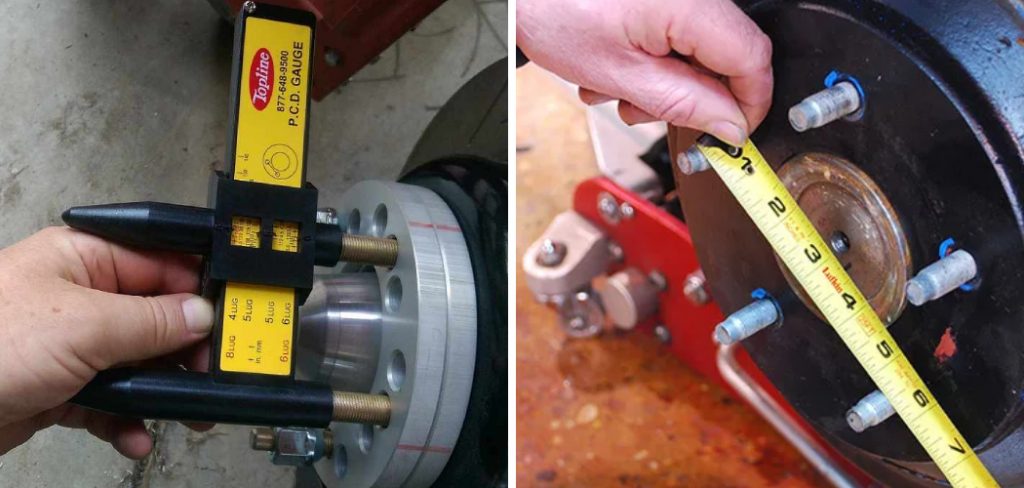
Overly long studs can damage critical parts like brake calipers or suspension components if they poke out too far. Too short studs won’t provide an adequate clamping force to securely hold your wheel on.
With so many cars on the road today, a simple wheel stud measurement is an important check that takes just a few minutes but could save you from much bigger problems down the road. In this blog post, I’ll walk through how to measure wheel stud so you can check their condition and the right length.
Why May You Want to Measure Wheel Stud?
1 . To Check for Damage
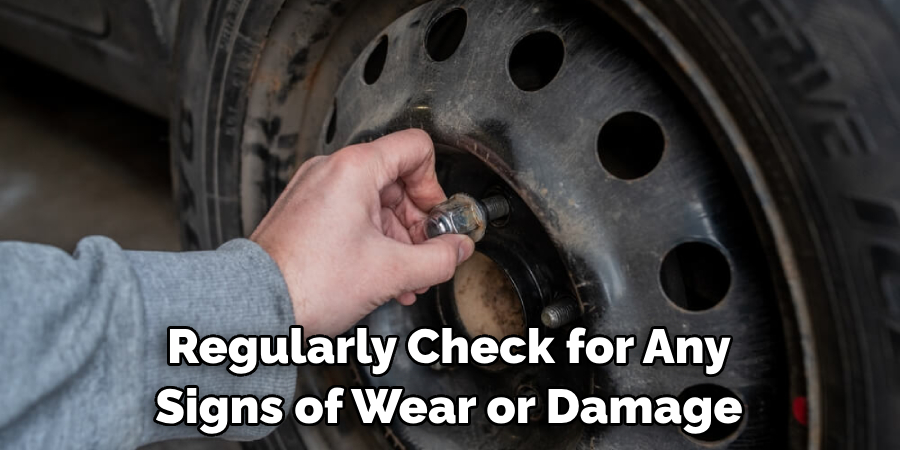
While a wheel stud may seem like a simple component, it can suffer from wear and tear over time. Continuous exposure to road debris, heat, and moisture can cause corrosion or cracking which can compromise their integrity. Therefore, regularly inspecting the condition of your wheel studs is important. Measuring them will help you determine if they are still in good condition or need to be replaced.
2. To Ensure Proper Wheel Lug Nut Torque
The main function of wheel studs is to clamp the wheel onto your vehicle’s hub assembly. This requires a specific amount of torque on the lug nuts to ensure proper clamping force. If the studs are too short, there won’t be enough threads to securely hold the lug nuts.
On the other hand, if they are too long, the lug nuts may bottom out before reaching the desired torque. This can cause uneven clamping force and lead to wheel wobbling or even detachment while driving.
3. To Prevent Brake Hardware Interference
In some cases, wheel studs that are too long can interfere with brake hardware such as calipers or rotors. This can cause damage to these critical components and affect the performance of your brakes. Properly measuring wheel studs will ensure they are not protruding too far out, preventing any potential interference.
4. To Ensure Compatibility When Replacing Wheels
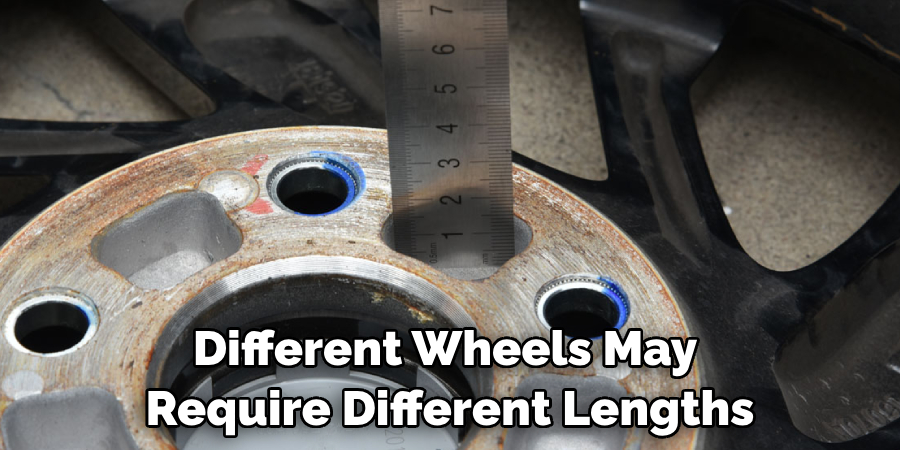
If you plan on replacing your wheels with aftermarket ones, it’s important to check the compatibility of your wheel studs. Different wheels may require different lengths of wheel studs, and measuring them beforehand can save you from any installation issues or additional expenses.
5. To Avoid Costly Repairs
As mentioned earlier, properly measuring wheel studs can help identify any potential problems early on, preventing costly repairs in the future. By catching any issues early, you can address them before they escalate and cause more damage to your vehicle.
How to Measure Wheel Studs in 5 Easy Steps
Now that we’ve covered the importance of measuring wheel studs, let’s dive into how to do it. Here are three simple steps to measure your wheel studs:
Step 1: Gather the Necessary Tools
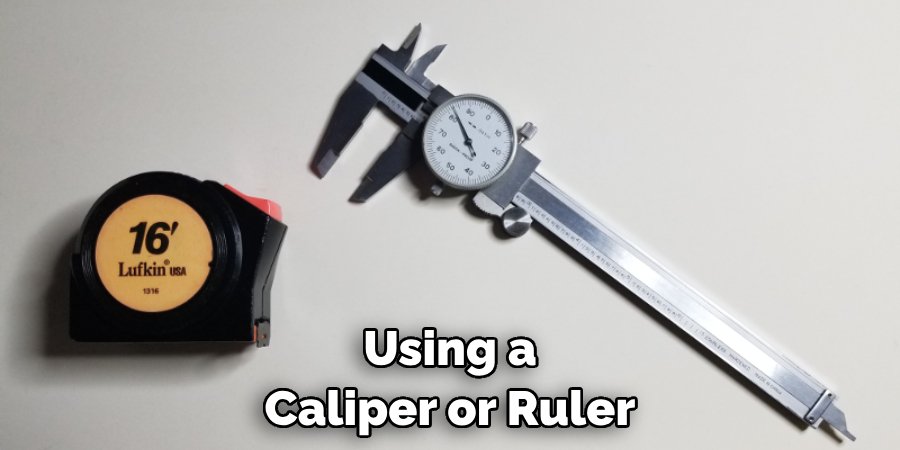
To measure wheel studs, you will need a few basic tools such as a caliper or a ruler, and some lubricant (if needed). It’s always better to have these tools on hand ahead of time so you can efficiently complete the measurement process.
Step 2: Remove the Wheel
Before measuring your wheel studs, make sure to remove the wheel from your vehicle’s hub assembly. This will give you better access to the studs and allow for more accurate measurements.
Step 3: Clean the Studs
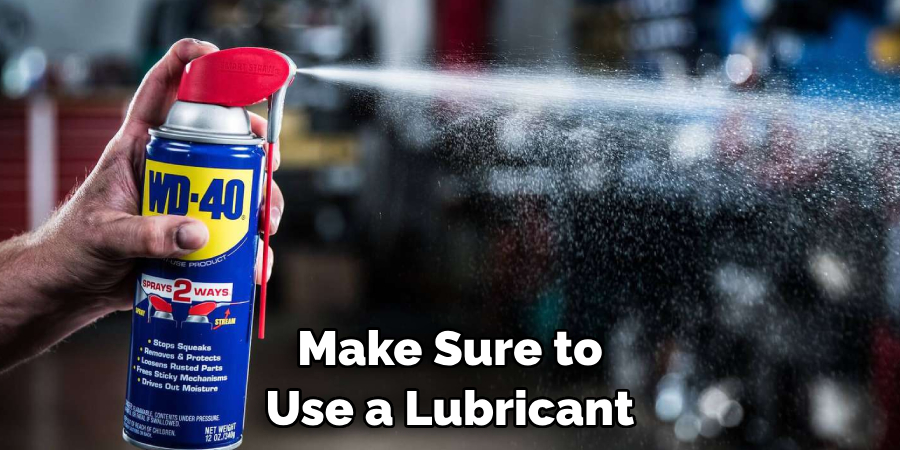
To get an accurate measurement, it’s important to clean any dirt or rust off of the wheel studs. You can use a wire brush or a rag with some lubricant to remove any debris or corrosion.
Step 4: Measure the Stud Length
Using a caliper or ruler, measure the length of your wheel stud from the base to the end. The base is where the stud flares out into a wider diameter, and the end is where the threads stop. Make sure to measure in millimeters for more precise results.
Step 5: Compare Measurements and Make Adjustments
Once you have measured all your wheel studs, compare the measurements to the recommended length for your specific vehicle make and model. If necessary, make any adjustments by either replacing the studs or using longer/shorter lug nuts.
Additional Tips to Measure Wheel Stud
1 . Do Not Reuse Old Lug Nuts
If you are replacing your wheel studs, it’s important to also replace the lug nuts. Old lug nuts may not properly fit with new wheel studs and can cause issues with torque or clamping force. Also, old lug nuts may have worn-out threads that can easily come loose while driving.
2. Don’t Ignore Signs of Damage
If you notice any signs of wear or damage on your wheel studs, it’s important to address them immediately. Ignoring these signs can lead to further complications and potential safety hazards.
3. Use the Right Lubricant
When cleaning your wheel studs, make sure to use a lubricant that is safe for use on metal. This will not only help remove any debris or rust but also protect the integrity of the stud.
4. Be Gentle When Removing Lug Nuts
Avoid using excessive force when removing lug nuts. This can cause threads to strip and damage the stud, making it difficult to remove or replace.
5. Check Stud Length Regularly
It’s a good practice to regularly check the length of your wheel studs, especially when replacing tires or doing any maintenance on your vehicle.
6. Ask for Professional Help
If you’re not confident in measuring your wheel studs yourself, it’s always best to seek professional help. Mechanics have the proper tools and knowledge to ensure accurate measurements and appropriate solutions.
7. Consider Upgrading to Better Quality Studs
If you frequently drive on rough terrain or put extra weight on your vehicle, it may be worth investing in higher-quality wheel studs that can withstand these conditions better.
8. Follow Manufacturer’s Recommendations
Lastly, always refer to your vehicle manufacturer’s recommendations for wheel stud length and torque specifications. These guidelines are specific to your vehicle make and model, ensuring safe and proper installation. Remember that properly measuring wheel studs is crucial for the safety and performance of your vehicle.
By following these tips, you can ensure that your wheel studs are in good condition and functioning properly. Don’t overlook this important maintenance step – take the time to measure your wheel studs and make adjustments if necessary.
This will not only save you from potential safety risks but also help extend the lifespan of your vehicle’s wheels and brakes. So, next time you’re replacing your tires or doing any maintenance on your vehicle, don’t forget to check those wheel studs!
Frequently Asked Questions
What Precautions Should I Take While Measuring Wheel Studs?
When measuring wheel studs, make sure to wear protective equipment such as gloves and eye protection. Also, ensure that your vehicle is parked on a flat surface with the parking brake engaged.
How Often Should I Measure My Wheel Studs?
It’s recommended to measure your wheel studs at least once a year or before any major tire changes or maintenance on your vehicle. Also, regularly check for any signs of wear or damage.
Can I Reuse Old Lug Nuts?
It’s not recommended to reuse old lug nuts, as they may not properly fit with new wheel studs and can cause issues with torque or clamping force. Always use new lug nuts when replacing your wheel studs.
How Can I Tell If My Wheel Studs Need Replacing?
Look for signs of wear or damage such as stripped threads, rust, or cracks. These can indicate that your wheel studs need to be replaced.
What Happens If I Don’t Properly Measure My Wheel Studs?
If you don’t properly measure your wheel studs, it can lead to issues with lug nut torque and clamping force, potentially causing the wheel to come loose while driving. It can also affect the overall performance and safety of your vehicle.
Can I Measure My Wheel Studs on My Own?
Yes, you can measure your wheel studs on your own by following the steps mentioned above. However, if you’re not confident in doing so, it’s best to seek professional help. Remember that properly measuring wheel studs is crucial for the safety and performance of your vehicle. By following these tips and precautions, you can ensure that your wheel studs are in good condition and functioning properly.
Conclusion
By regularly checking and properly maintaining your wheel studs, you can ensure the safety and performance of your vehicle. Remember to always use the correct tools and follow manufacturer recommendations for the best results.
Don’t hesitate to seek professional help if needed, as it’s better to be safe than sorry when it comes to your vehicle’s maintenance. So go ahead and confidently measure your wheel studs, knowing that you’re taking an important step towards keeping your vehicle in top shape. So next time you hear someone ask “How to measure wheel stud?”, you’ll know the answer!

About
JeepFixes Team is a skilled author for Jeep Fixes, bringing 6 years of expertise in crafting a wide range of jeep fixes. With a strong background in jeep fixes work, JeepFixes Team’s knowledge spans various types of fixtures, from decorative pieces to functional hardware, blending precision with creativity. His passion for jeep fixes and design has made him a trusted resource in the industry.
Professional Focus:
Expert in Jeep Fixes : JeepFixes Team aesthetic specializes in creating durable and innovative jeep fixes, offering both appeal and functionality. His work reflects a deep understanding of jeep fixes techniques and materials.
Sustainability Advocate : He is dedicated to using sustainable practices, ensuring that every fixture is crafted with eco-friendly methods while maintaining high-quality standards.
In his writing for jeep fixes, JeepFixes Team provides valuable insights into the latest trends, techniques, and practical advice for those passionate about jeep fixes, whether they are professionals or DIY enthusiasts. His focus on combining artistry with engineering helps others discover the true potential of jeep in design.
