

Are you planning on building a high-performance vehicle? One of the critical components you’ll need is a tube chassis.
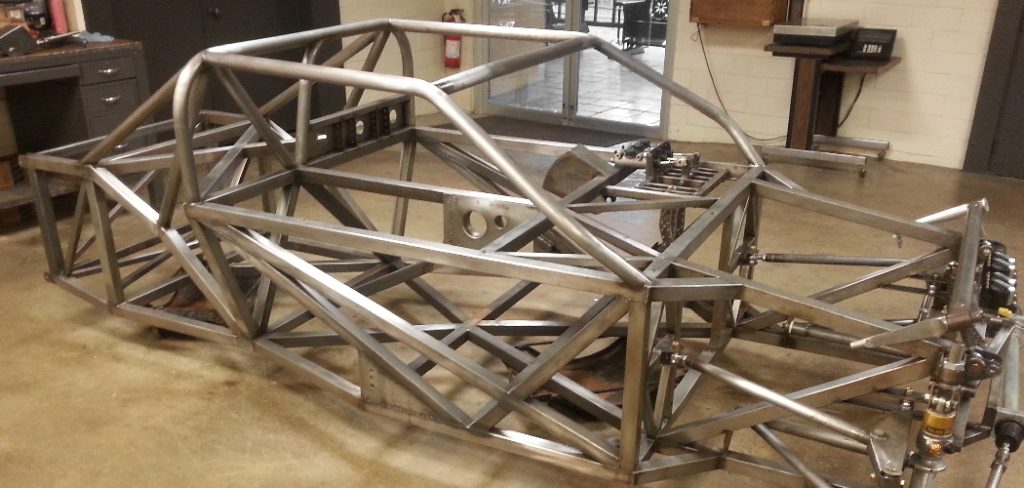
Constructing a tube chassis is a challenging yet rewarding endeavor that demands precision, patience, and particular technical skills. Preferred for its combination of strength and lightweight, a tube chassis is the fundamental framework for various types of racing vehicles, off-road machines, and custom cars.
This task merges engineering ingenuity with craftsmanship, requiring a thoughtful design, quality materials, and an understanding of structural integrity.
In this guide, we will walk you through the step-by-step process of how to make a tube chassis , from the initial concept to the final weld. Whether you’re an experienced fabricator or a motivated enthusiast, this guide aims to equip you with the knowledge to lay the foundations of a sturdy and reliable chassis.
What are the Use Cases for a Tube Chassis?
A tube chassis is an essential element in designing high-performance vehicles, especially those requiring enhanced strength and agility. Here are some common use cases for a tube chassis:
- Race Cars: One of the primary use cases for a tube chassis is in race cars, whether it’s for drag racing, road course racing, or rally racing. A tube chassis’s lightweight and robust structure allows for better handling, traction, and overall performance on the track.
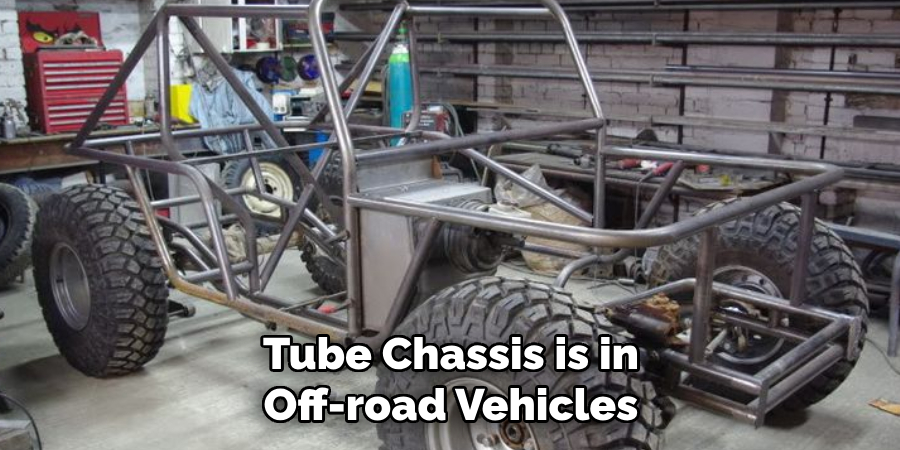
- Off-Road Vehicles: Another popular application of a tube chassis is in off-road vehicles such as rock crawlers, desert buggies, and sand rails. The durability and flexibility of a tube chassis make it ideal for navigating through rough terrain and withstanding the rigors of off-road driving.
- Custom Cars: For car enthusiasts looking to create a one-of-a-kind vehicle, a tube chassis is often used as the foundation for custom cars. This allows for more flexibility in design and can help achieve specific performance goals.
- Street Rods: A street rod is a classic or retro-styled car modified for high-performance driving. Tube chassis are commonly used in the construction of street rods to improve overall performance and handling.
These are just a few examples of the many use cases for a tube chassis. Whether you’re building a race car, off-road vehicle, or custom car, a well-designed and built tube chassis can greatly enhance the performance and durability of your car.
What Tools and Materials Do You Need?
Before you begin constructing your tube chassis, it’s essential to gather all the necessary tools and materials. Here is a list of essential items you will need:
- Tube Bender: This tool bends metal tubes into desired angles and shapes.
- Welding machine: You will need a welding machine to join the tubes together.
- Tube Notcher: A tube notcher creates precise cuts and angles on the tubes for a perfect fit.
- Chassis Jig: A chassis jig is a specialized tool that holds all the components in place while welding them together.
- Metal Tubing: The main material for constructing a tube chassis, you can choose from various types of metal such as Chromoly, mild steel, or aluminum.
- Measuring and Marking Tools: To ensure accuracy, you will need measuring and marking tools such as a tape measure, ruler, and scribe.
- Safety Gear: Prioritizing your safety when working with metal is crucial. Make sure to have gloves, eye protection, and ear protection.
Once you have all the necessary tools and materials ready, it’s time to move on to the next steps.
10 Easy Steps on How to Make a Tube Chassis
Step 1. Design Your Chassis:
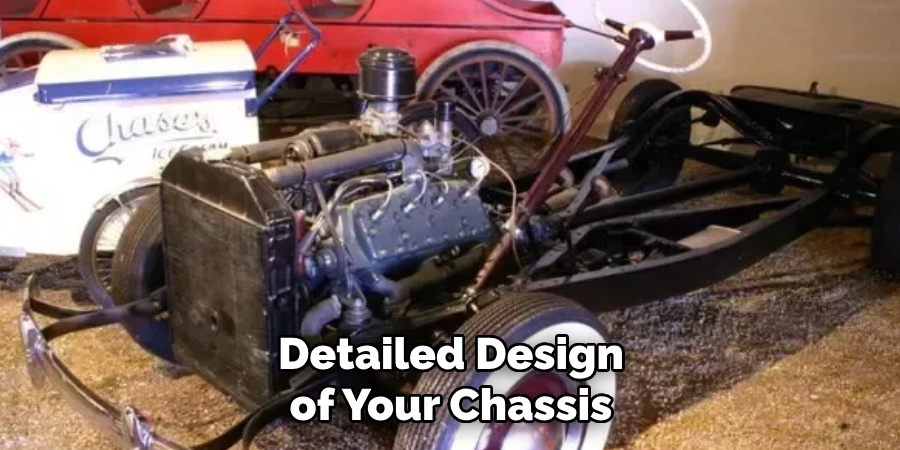
Start by drafting a detailed design of your chassis. This should include precise dimensions, the location of major components such as the engine, drivetrain, and suspension points, as well as the structural design to ensure durability and safety.
Utilize software for CAD (Computer-Aided Design) to help visualize and modify your design before any metal is cut. When your design is complete, and you’ve done all necessary calculations, you can confidently proceed to the construction phase.
Step 2. Build the Chassis Jig:
Before welding and assembling the chassis, it is imperative to build a chassis jig. A good jig ensures that all the chassis parts are aligned correctly and to the design’s exact specifications.
To construct the jig, first create a level and sturdy base, which can be achieved by using a flat metal table or frame. Then, place and secure alignment fixtures that correspond to key points of your chassis design.
This setup will act as a guide and support as you add each piece of the tube to your chassis, helping to maintain precision throughout the welding process. Take your time to double-check that everything is square and level before moving on to the next step.
Step 3. Cut and Notch the Tubes:
Once your chassis jig is in place, cut the metal tubing to the lengths specified in your design using a saw designed for metal cutting. After they are cut to the correct lengths, the ends of the tubes need to be notched to fit together snugly before welding. The notching process is critical for creating strong joints, so take the time to measure and mark the notch locations accurately.

Use your tube notcher to make precise notches according to the angles required for assembly. After notching, test fit each tube in the chassis jig to ensure a tight fit and correct alignment. Any gaps or misalignments at this stage will affect the chassis’ integrity, so adjustments should be made as necessary before proceeding.
Step 4. Start the Assembly Process:
Begin the assembly stage by tack welding the primary structural tubes of your chassis in place within the jig. Tack welds should be used initially to allow adjustments without committing to full welds. Carefully set each tube according to the chassis design, ensuring all angles and lengths are correct. Once the base frame is secured with tack welds, fully weld the adjoining points.
Continue this process methodically, working from the ground up and from the center of the frame outward to maintain symmetry and prevent warping. Regularly inspect the structure for level and alignment as you add more components, making incremental adjustments as needed. This gradual, methodical approach helps in achieving a chassis that is both strong and precise.
Step 5. Complete Full Welds:
After tack welding all of your chassis components and ensuring everything is correctly aligned and fitted, it’s time to complete the full welds. Full welds will solidify the structure and provide the necessary strength for the chassis to withstand the rigors of its intended use.
Use a welding technique appropriate for the type of metal and tube thickness. A TIG (Tungsten Inert Gas) welding method is preferred for its precision and strength. Remember to weld in sections and allow cooling periods in between to prevent warping.
Once the full welding is done, scrutinize each weld for coverage and penetration and correct any deficiencies immediately. Proper welding is crucial for safety and performance, so this step might require the most prolonged time investment in the whole chassis-building process.
Step 6. Implement Suspension and Mounting Points:
With the main structure of the tube chassis welded, the next phase involves integrating suspension components and mounting points. Place and align the suspension mounts, ensuring they match the specifications of your design and the suspension elements they will interface with. Suspension geometry is crucial for the vehicle’s handling, so precision in this step must be balanced.
Once in place, tack weld the mounts, double-check their positions and then finish with strong, complete welds. Do the same for the engine, transmission, and other component mounting points based on their respective locations outlined in your chassis design. This step may require custom fabrication or adjustment to ensure proper fitment and function of all components.
Step 7. Install the Roll Cage:
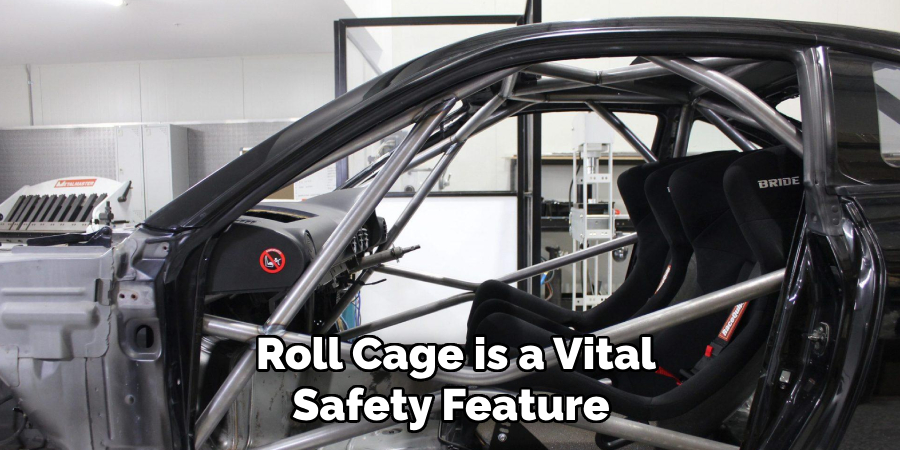
The roll cage is a vital safety feature for any vehicle chassis, primarily if the vehicle is intended for racing or off-road use. Begin by measuring and cutting the tubing for the roll cage according to the design specifications. Ensure that each piece fits into the chassis with precision. The roll cage should be integrated into the chassis so that it not only protects the occupants but also adds to the overall rigidity of the vehicle.
Tack weld the roll cage components in place and check every angle and junction for accuracy to your design. Once you are satisfied with the fitment, complete the welds, carefully checking for consistency and penetration in each joint. Regular inspection and testing are essential for this step to maintain the highest safety standards.
Step 8. Perform Structural Testing:
After the roll cage is installed and all full welds are complete, it’s essential to undertake structural testing. This step is crucial for ensuring the chassis meets safety and performance standards.
Begin by checking for any weak points or potential stress areas that may require reinforcement. You can perform a series of non-destructive tests, like ultrasonic testing, to evaluate the integrity of the welds and steel tubes.
Load testing can also be conducted to simulate the forces the chassis will encounter during actual use. Make any modifications or improvements based on the testing results. This proactive approach can prevent future failures and ensure the vehicle’s reliability under various conditions.
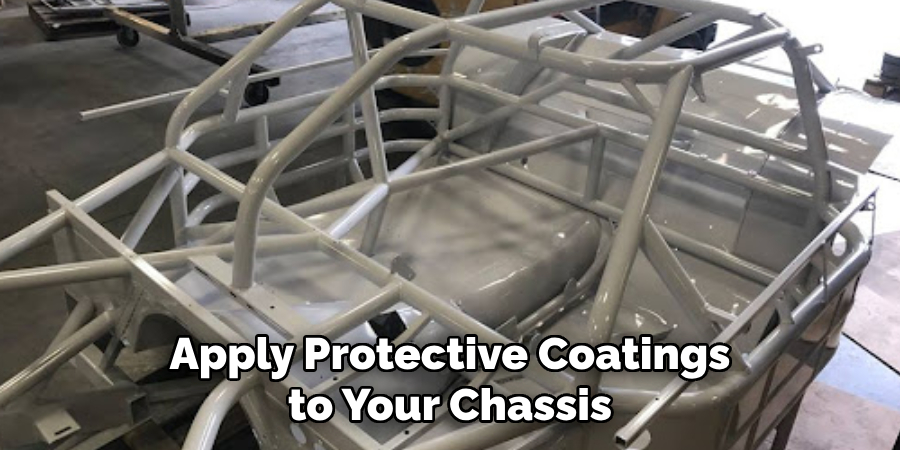
Step 9. Apply Protective Coatings:
Once you have completed structural testing and made any necessary adjustments, the next step is to apply protective coatings to your chassis. This will help prevent rust and corrosion, mainly if the vehicle will be used in harsh environments or weather conditions.
Start by thoroughly cleaning the entire chassis to remove any debris, grease, or residues from welding. Treat the metal with a rust inhibitor for added protection. Afterward, apply a primer specifically designed for metal surfaces, followed by a high-quality paint or powder coat.
Ensure even coverage over the entire chassis. Multiple layers may be required for optimal protection. Be sure to let each layer cure entirely before applying the next. This step not only adds to the longevity of the chassis but also provides a professional finish to your project.
Step 10. Final Assembly and Inspection:
With the chassis fully welded, tested, and protected with coatings, the final step is to assemble all remaining components. This includes installing the drivetrain, electrical system, body panels, and interior elements. Carefully follow the assembly sequence outlined in your design plans, ensuring each part is adequately secured and all systems are correctly integrated.
Perform a comprehensive inspection to guarantee that every component is installed to the highest standard and that there are no outstanding issues. It’s also recommended to have a qualified engineer or inspector validate the assembly and safety of the vehicle. Once you have received the green light, your custom-built chassis is ready for the road, track, or trail, promising performance, safety, and reliability.
Following these ten steps, you can construct a tube chassis that meets your unique needs and specifications. The process may require time, effort, and attention to detail, but the result will be worth it.
5 Additional Tips and Tricks
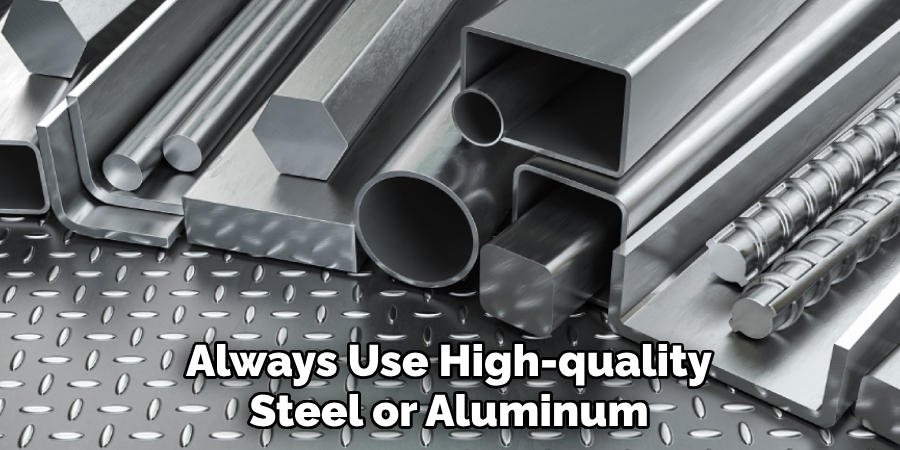
- Invest in Quality Materials: Always use high-quality steel or aluminum to construct your chassis. The material’s grade and thickness should match the vehicle’s intended use, as this will promote longevity and ensure optimal performance.
- Use Proper Support During Assembly: To prevent distortion during the welding process, use jigs or fixtures to stabilize the frame. This will maintain alignment and tolerances, which are critical for properly fitting other vehicle components.
- Consider Weight Distribution: Pay close attention to placing heavy components such as the engine and battery. A balanced weight distribution is critical to optimizing the vehicle’s handling characteristics.
- Keep an Eye on Flexibility: While rigidity is essential, flexibility is necessary for the chassis to absorb impacts and stresses. Incorporate strategic crumple zones and consider the use of flex joints where appropriate.
- Stay Organized: Keep detailed records of your design and build process, including measurements, modifications, and materials used. This documentation will be invaluable for troubleshooting, future repairs, or making adjustments after testing.
With these additional tips and tricks, you can take your tube chassis design to the next level and create a high-performance, reliable vehicle. Always prioritize safety and quality in every step of the process for optimal results.
5 Things You Should Avoid
- Neglecting Safety Standards: Never compromise on the safety standards set by automotive industry regulations. Skipping steps or using subpar welding techniques can lead to critical weaknesses in the chassis, endangering future drivers and passengers.
- Using Incompatible Materials: Do not mix materials with different expansion rates or structural characteristics. Incompatibility can cause undue stress on the chassis joints, leading to fractures or failures under load.
- Overlooking Precision: Take your time with measurements and cuts. Precision is crucial in chassis construction; even a minor error can significantly impact the vehicle’s performance, safety, and ability to pass inspections.
- Ignoring Manufacturer’s Guidelines: Do not use parts or components against the manufacturer’s specifications or advice. This could lead to poor performance or even legal issues if the vehicle needs to be compliant with industry standards.
- Skimping on Testing: Avoid the temptation to skip thorough testing phases. It is critical to test the chassis under various conditions to ensure its strength and reliability. Failure to perform adequate testing can lead to unexpected and potentially catastrophic losses.
By avoiding these common mistakes, you can maintain the integrity of your chassis and avoid costly setbacks. Remember that safety and quality should always be a top priority in the construction of any vehicle.
5 Different Ways to Customize Your Chassis
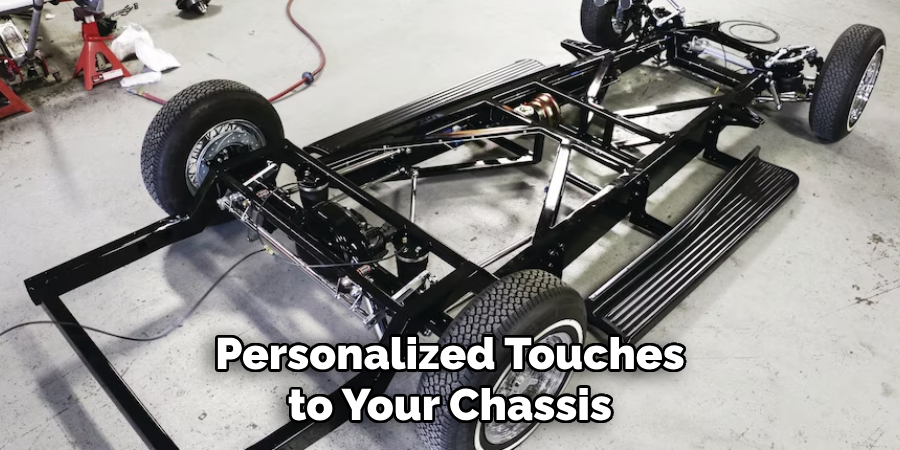
- Enhancing Aesthetics with Custom Fabrication: Consider adding personalized touches to your chassis through custom metalwork. This could include decorative cut-outs, engravings, or even custom tubing bends that give your project a unique appearance while maintaining structural integrity.
- Incorporating Advanced Suspension Systems: Customizing your build with an advanced suspension system improves the ride quality and enhances the vehicle’s handling. Adjustable coilovers, air ride systems, or active suspension components can be tailored to your driving preferences and the vehicle’s intended use.
- Electrical System Upgrades: Upgrade the chassis’s electrical system to accommodate modern amenities and tech, such as LED lighting, power steering, or even electric vehicle (EV) conversions. A well-designed electrical layout can make future maintenance and upgrades easier.
- Custom Mounting Solutions: Design and fabricate custom mounts and brackets for specific components like the engine, battery, or exhaust system. This approach can improve weight distribution and enhance the vehicle’s overall functionality.
- Experimenting with Different Materials: Beyond traditional steel and aluminum, explore using newer, lightweight materials such as carbon fiber or titanium for certain chassis parts. These materials can reduce weight, which improves performance and efficiency while remaining strong and durable.
These are just a few examples of how you can customize your chassis to fit your individual style and needs. The possibilities for personalization are endless, so don’t be afraid to think outside the box and create something unique.
Conclusion
How to make a tube chassis is a complex and rewarding endeavor that blends engineering precision with creative customization. By adhering to safety standards, choosing appropriate materials, and executing meticulous construction techniques, you can craft a chassis that meets expectations and exceeds them in performance and aesthetics.
Building a tube chassis involves a balance of technical skill and artistic vision—never underestimate the importance of planning, testing, and ongoing refinement.
As you embark on this challenging but gratifying task, remember that your efforts will ultimately result in a distinctive and high-quality foundation for your vehicle. Remember, the tube chassis you create is the backbone of your project and will influence every aspect of the vehicle’s dynamics and characteristics.
Take pride in your workmanship and enjoy the process; what you are creating is not just a structure but the realization of your automotive dreams.