
Embarking on the journey of creating a stand-alone Throttle Body Injection (TBI) harness is a rewarding endeavor for automotive enthusiasts and DIYers seeking to optimize engine performance. A stand-alone TBI harness allows for greater control and customization, enabling the seamless integration of electronic fuel injection systems.
This comprehensive guide delves into how to make a stand alone tbi harness, providing step-by-step insights into the wiring, connections, and components required.
From deciphering wiring diagrams to selecting the right materials, this article serves as a roadmap for those looking to elevate their vehicle’s efficiency and power. Whether you’re a seasoned mechanic or a passionate tinkerer, mastering the art of constructing a stand-alone TBI harness opens up a realm of possibilities in the pursuit of fine-tuning and enhancing your engine’s capabilities.
Explanation of TBI (Throttle Body Injection) Systems
Throttle Body Injection (TBI) systems represent a critical evolution in fuel delivery for internal combustion engines. Serving as a bridge between classic carburetion and modern sequential fuel injection, TBI systems introduce a digitally controlled fuel delivery method that is not only more efficient but offers improved drivability and ease of maintenance.
Unlike their carburetor counterparts, TBI units house fuel injectors within the throttle body itself, digitally metering fuel in response to engine demands.
This technology allows for more precise fuel-air mixtures, improving combustion efficiency, reducing emissions, and often resulting in better fuel economy. As such, understanding the workings of TBI systems is essential for anyone venturing into the modification or enhancement of automotive fuel systems.
The Importance of Standalone Harnesses for Engine Swaps
Standalone harnesses are the lynchpin of successful engine swaps, offering simplicity and reliability to what can often be a complex upgrade. They are specifically designed to communicate seamlessly with the new engine, bypassing any unnecessary wiring that would typically be found in a factory setting.
This customization eliminates potential electrical issues and simplifies the troubleshooting process, as each wire in the harness has a purpose related to the engine’s operation.
For automotive enthusiasts, this translates to a smoother transition when integrating an advanced engine into a different chassis. It’s the cornerstone of modernizing classic cars or boosting performance in a more recent model, ensuring that all electronic components are efficiently powered and managed for optimal engine performance.
Understanding TBI System Components
Before diving into the creation of a standalone TBI harness, it is imperative to have a comprehensive understanding of the various components that comprise a TBI system. Central to the system is the throttle body itself, which houses the fuel injectors and regulates airflow into the engine based on the throttle position.
Alongside this, the system includes a throttle position sensor (TPS), which sends data regarding throttle angle to the engine control unit (ECU). Other critical sensors include the airflow sensor, which measures the volume and density of incoming air, and the oxygen sensor, which monitors the exhaust gases to ensure optimal fuel combustion. The fuel pressure regulator maintains the necessary fuel pressure for accurate fuel delivery.
Lastly, various electrical connectors and wiring harnesses link these components to the ECU, which orchestrates the entire process, adjusting fuel delivery based on the data collected by the sensors. Understanding the role of each component is crucial when building a TBI harness, as each wire and connection must be accounted for to ensure proper system functionality.
10 Methods How to Make a Stand Alone Tbi Harness
1. Gather Essential Tools and Materials:
Begin by assembling the necessary tools and materials, including wire, connectors, soldering iron, heat shrink tubing, and wiring diagrams for both the vehicle and the TBI system. Make sure to have all of the necessary tools and materials on hand before starting the installation process. While some of these tools may be specific to TBI system installations, others may already be in your toolbox. It’s important to have everything ready before beginning the installation to avoid unnecessary delays.
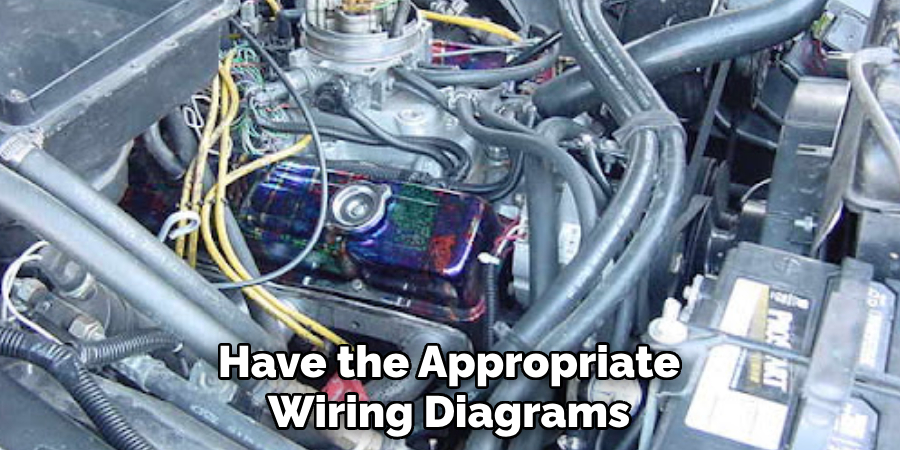
Make sure you have the appropriate wiring diagrams for both the vehicle and the TBI system. These diagrams will serve as a guide for connecting wires and ensuring proper placement of components. You can usually find these diagrams in the TBI system’s installation manual or by researching online for your specific vehicle make and model.
Another essential tool to have is a multimeter, which will help with testing wires and connections throughout the installation process. A good quality multimeter can be a valuable investment, not just for this project but for future maintenance and troubleshooting as well.
2. Study Wiring Diagrams:
Thoroughly examine the wiring diagrams for both the vehicle and the TBI system to understand the layout and connections. Identify the components that need to be integrated into the stand-alone harness.
Understanding the wiring diagrams is an essential step when studying TBI systems. These diagrams provide a visual representation of the electrical connections and components involved in the system. It helps to understand how everything works together and how different parts are connected.
When examining the wiring diagrams, pay attention to the color-coding of wires, as well as any symbols or labels used. This will help you accurately identify the wires and their corresponding components.
Additionally, take note of any sensors or switches that may be present in the system. These are crucial for proper functioning and may require special attention during installation.
3. Identify and Label Wires:
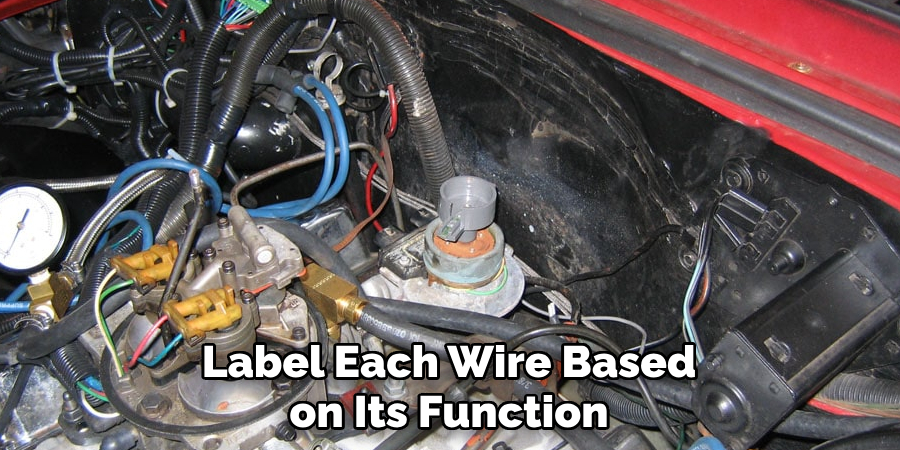
Label each wire based on its function and refer to the TBI system’s documentation to ensure accurate identification. This step is crucial for maintaining clarity throughout the construction process. It also helps troubleshoot any potential issues in the future. Though wire labeling can be a tedious task, it can save time and effort in the long run.
There are several methods for labeling wires, but the most common one is color coding. Each wire is assigned a specific color based on its function, such as power, ground, signal, etc. This method makes it easy to identify wires at a glance and reduces the chances of errors during wiring.
Another method is to use labels with clear and concise descriptions of the wire’s function. These labels can be printed or handwritten and attached to the corresponding wire using tape or zip ties. This method is useful when working with a large number of wires that cannot be easily differentiated by their color alone.
4. Remove Unnecessary Components:
Carefully remove any unnecessary wiring and components from the original vehicle harness to streamline the stand-alone TBI harness. This reduces complexity and ensures a clean, efficient design. Additionally, removing unnecessary components can help save space and weight in the vehicle, which is especially important for high-performance vehicles.
When removing components, it’s important to keep track of what you remove and where it was located in the original harness. This will make it easier to troubleshoot any issues that may arise during installation or use of the new TBI harness.
It’s also a good idea to label each component and its corresponding wires for future reference. While it may seem time-consuming, this step can save a lot of frustration and confusion in the long run.
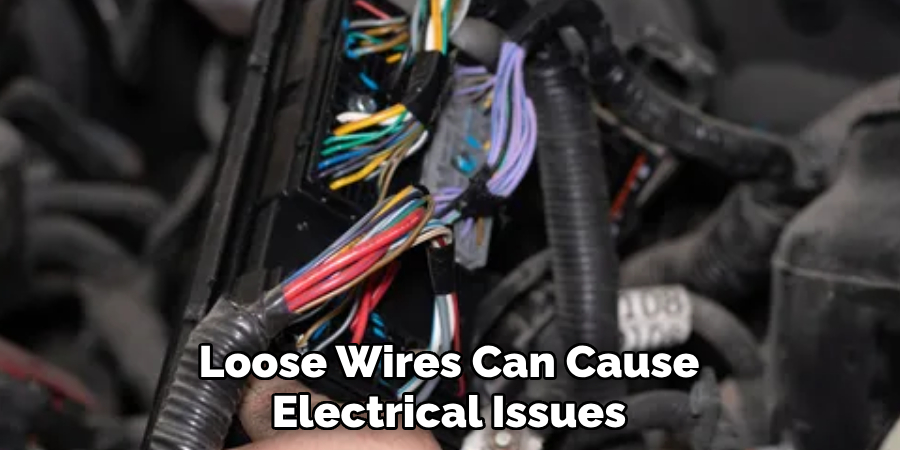
Another important aspect to consider when removing components is making sure that any remaining wiring and connections are properly secured. Loose wires or connectors can cause electrical issues and potentially damage the new TBI harness. Use zip ties or other securing methods to keep everything in place.
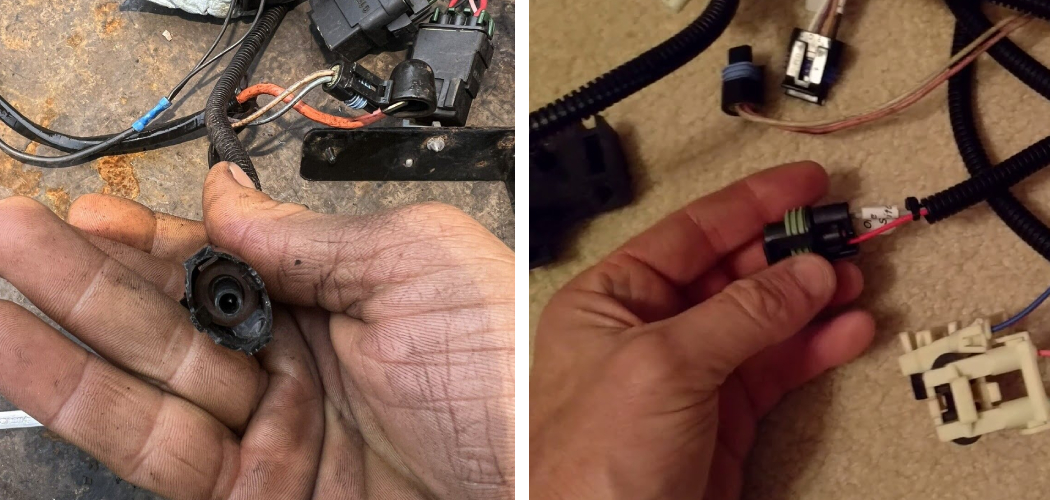
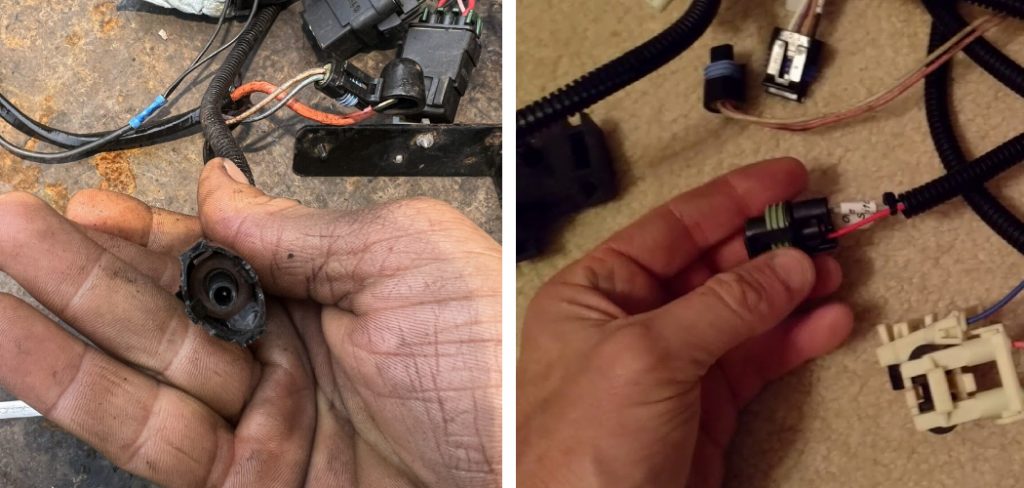
5. Choose Quality Connectors:
Select high-quality connectors compatible with both the TBI system and the vehicle. Proper connectors contribute to reliable connections, preventing issues such as poor conductivity and signal interference. Additionally, quality connectors should have a secure fit to ensure they do not come loose during operation.
When selecting connectors, consider the material they are made of. Connectors made from materials such as brass or copper are preferred due to their conductivity and durability. Avoid using plastic connectors as they can become brittle over time and may cause connectivity issues.
It is also important to pay attention to the connector’s shape and size. The connector should fit snugly and securely into its designated socket, with no loose or wobbly parts. This will help to maintain a stable connection and prevent any potential signal loss.
6. Soldering and Heat Shrinking:
Use soldering techniques to secure wire connections, providing a durable and reliable bond. Cover the soldered joints with heat shrink tubing to protect them from moisture and environmental factors. Heat shrink tubing is a type of polymer plastic that shrinks when heated, creating a tight seal around the soldered area.
To begin, strip the ends of the wires to be joined. This involves removing the outer insulation and exposing the metal conductor. Use wire strippers or a sharp knife to carefully remove about 1/4 inch of insulation from each wire end.
Next, twist the exposed ends of the wires together. This will create a stronger bond when soldering. Place the twisted connection onto a heat-proof surface, such as a ceramic tile or metal plate.
Now it’s time to prepare the soldering iron. The tip should be clean and tinned with a small amount of solder for optimal performance. Plug in the iron and allow it to heat up to the desired temperature.
7. Install a Fuse and Relay Box:
Integrate a fuse and relay box into the stand-alone TBI harness to protect the system from electrical faults. Properly size and place fuses to safeguard components and circuits.

There are a few things to keep in mind when installing a fuse and relay box into your stand-alone TBI harness. First, it is important to properly size the fuses to match the components and circuits they will be protecting. This will ensure that in the event of an electrical fault, the fuse will blow before any damage can occur.
Next, it is crucial to place the fuses in the correct locations within the fuse and relay box. This means carefully reading the labels and diagrams provided with the box to determine which fuse goes where. Placing a fuse in the wrong location could result in either no protection for a component or circuit, or unnecessary tripping of the fuse.
8. Route Wires Strategically:
Plan and execute a strategic wire routing strategy to minimize the risk of chafing, abrasion, or interference. Keep wires away from high-temperature areas and moving components. Use wire harnesses if necessary to keep wires neatly bundled and organized.
One important aspect of electrical systems design is the strategic routing of wires. This involves planning and executing a plan to minimize potential risks such as chafing, abrasion, or interference from other components. It is crucial to keep wires away from high-temperature areas and moving components to prevent damage.
To achieve this, one can use wire harnesses to neatly bundle and organize wires. These harnesses keep wires in place and prevent them from tangling or getting in the way of other components. This is especially important in complex electrical systems where there may be a large number of wires running through different areas.
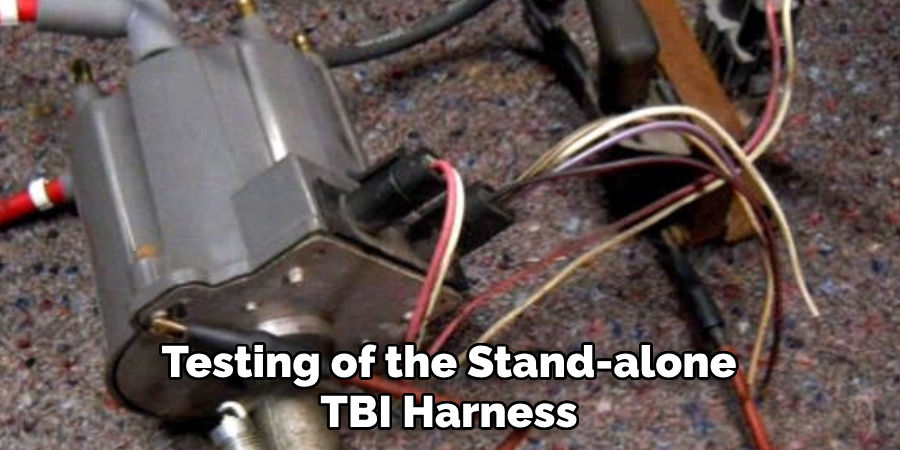
9. Thorough Testing and Troubleshooting:
Before finalizing the installation, conduct thorough testing of the stand-alone TBI harness. Check for continuity, inspect connections, and troubleshoot any issues to ensure proper functionality. While testing, make sure to keep detailed notes of any issues that arise and document solutions for troubleshooting steps. This will help in case any future problems occur with the harness.
In case there are any issues during the initial testing, refer back to the wiring diagram and user manual to identify potential sources of error. Check all connections and make sure they are secure and properly connected. Look for any damaged wires or faulty connections that may be causing the issue and address them accordingly.
10. Installing Piston Rings After Filing
When you’re confident that the piston rings have been filed to the correct specifications, you can move on to installing them. Begin by thoroughly cleaning the piston. Then, identify the top and second rings; these are usually marked and differ in design. Ensure that the rings are oriented properly, with the manufacturer’s marks facing up. Install the second ring first followed by the top ring, using a ring expander tool to avoid overstretching or damaging the rings.
Be meticulous to align the ring gaps according to the engine manufacturer’s specifications, typically staggering them to prevent compression leaks. After installing the rings on the piston, use a piston ring compressor tool when inserting the piston into the cylinder to avoid any damage. This careful approach ensures optimal engine performance and longevity.
Common Mistakes to Avoid When Filing Piston Rings
Filing piston rings requires precision and attention to detail. Common mistakes to avoid include removing too much material which can lead to decreased engine compression and performance. Be sure to file gradually, constantly checking the gap against manufacturer specifications.
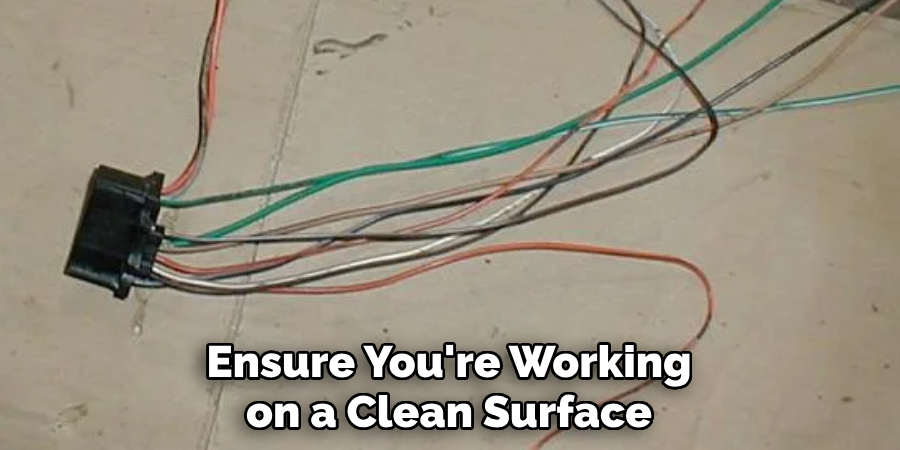
Avoid filing in one direction only as this can cause an uneven wear pattern; use a smooth, back-and-forth motion instead. It’s also important not to rush the process; hasty filing may lead to a poor fit and, ultimately, engine damage. Lastly, ensure you’re working on a clean, flat surface and keep the rings free of debris to prevent scoring of the cylinder walls.
Safety Considerations
Safety is paramount when working on engine components, especially when filing and installing piston rings. Always wear appropriate personal protective equipment, such as safety glasses to shield your eyes from metal filings and gloves to protect your hands from sharp edges. Work in a well-ventilated area to avoid inhaling any fine particles or chemical vapors from lubricants and cleaners.
Furthermore, ensure that your tools are in good condition and suitable for the task at hand to prevent accidents due to tool failure. Before beginning any work on the engine, make certain it is cool to the touch to avoid burns, and disconnect the battery to prevent any unintentional electrical shorts. Adhering to these safety considerations will minimize the risk of injury and contribute to a successful engine maintenance or rebuild process.
Conclusion
In conclusion, crafting a stand alone TBI harness is a meticulous yet rewarding endeavor for enthusiasts and mechanics seeking precise control over engine management systems. By understanding the intricacies of TBI systems and meticulously planning the harness layout, individuals can tailor their wiring to specific engine swaps or custom applications with confidence.
Through careful selection of materials, attention to detail during assembly, and rigorous testing procedures, a reliable and efficient stand alone TBI harness can be created.
The process requires patience, technical skill, and a commitment to safety protocols. However, the benefits of a well-made harness are manifold, offering enhanced engine performance, simplified diagnostics, and greater flexibility in tuning and customization.
Hopefully, this article gave you some helpful tips about how to make a stand alone tbi harness successfully, so now that you have the proper knowledge on how to get the job done, why not give it a try today?