

Performance chips, also known as performance tuners or engine control unit (ECU) chips, are designed to boost the overall efficiency and power output of your vehicle’s engine. By recalibrating the default settings of your car’s computer system, these chips can unleash the full potential of your engine, leading to improved horsepower, torque, and sometimes even fuel economy.
This introduction will walk you through the basic steps on how to install performance chip of installing a performance chip, ensuring that you have the knowledge to do it with confidence and safety. Remember, while the process can be straightforward, it’s important to follow the instructions carefully and understand that results may vary based on the make and model of your vehicle.
What is a Performance Chip?
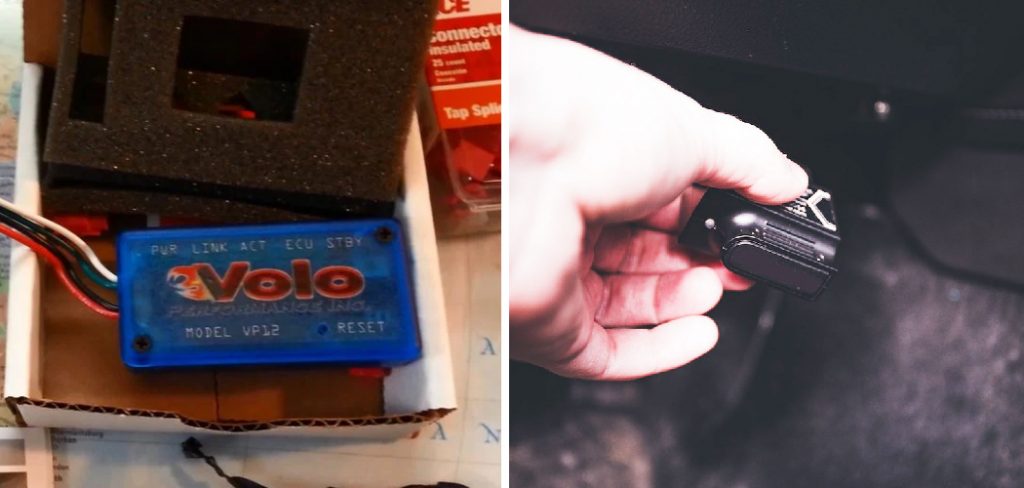
Before getting into the installation process, it’s important to understand what a performance chip actually is and how it works. A performance chip is a small computer that is designed to optimize your engine’s performance. It typically plugs into your car’s OBD-II port, which can be found under the dashboard or in the glove compartment of most vehicles.
The chip works by modifying the signals sent between your car’s engine and its computer, resulting in improved fuel delivery, ignition timing, and other performance parameters. Essentially, it allows your engine to operate at its maximum potential without compromising safety or reliability.
Types of performance chips and their functions
There are various types of performance chips available on the market, each with its own unique functions and features. Some popular options include:
Power Tuning Chips:
These chips focus on increasing horsepower and torque output, resulting in improved acceleration and overall engine power.
Fuel Efficiency Chips:

As the name suggests, these chips aim to improve fuel economy by optimizing fuel delivery and combustion, leading to better mileage.
Data Logging Chips:
These chips are more advanced and can record data from your vehicle’s sensors for future analysis. They can also be used to fine-tune your engine’s performance based on the recorded data.
Plug and Play Chips:
These chips are designed to be easily installed without any modifications or additional wiring. They offer a simple and hassle-free solution for performance enhancement.
Common misconceptions and concerns
There are many misconceptions surrounding performance chips, with some people believing that they can damage the engine or void the vehicle’s warranty. However, when installed correctly, these chips will not cause any harm to your engine and most manufacturers offer a warranty to cover any potential issues. You should always do your research and choose a reputable brand to ensure the highest quality and reliability.
Another concern is the impact on emissions. While performance chips may increase horsepower and torque, they are not designed to bypass emission standards or regulations. In fact, some performance chips can even improve emissions by optimizing fuel usage and combustion efficiency.
Necessary Tools and Equipment
To install a performance chip, you will need the following tools and equipment:
Performance Chip Specific to Your Vehicle’s Make and Model
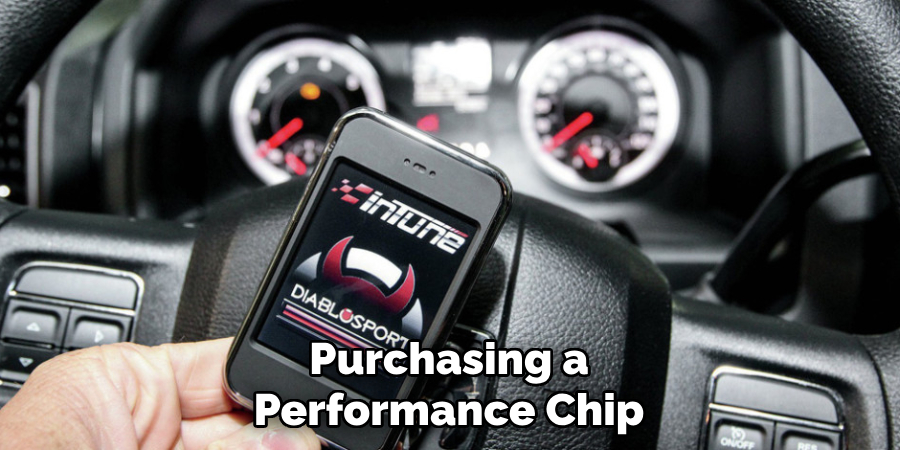
Before purchasing a performance chip, make sure that it is specifically designed for your vehicle’s make and model. This ensures compatibility and optimal results.
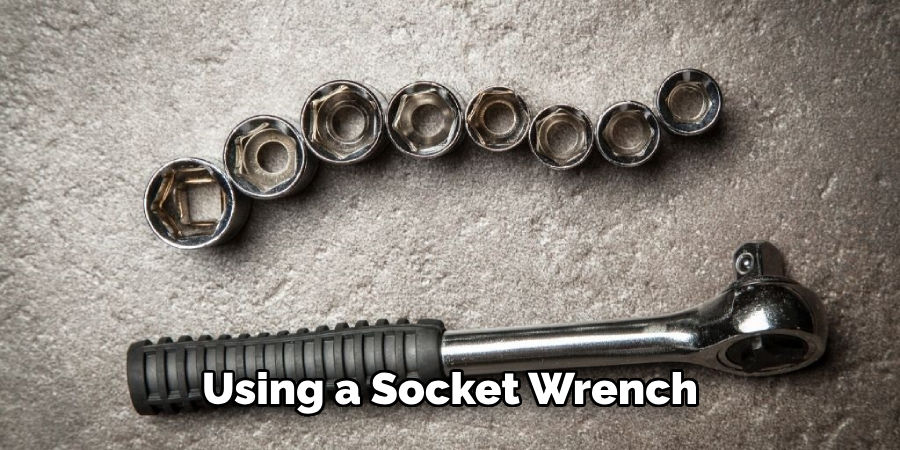
Socket Wrench or Screwdriver
You will need a socket wrench or screwdriver to remove the screws or bolts securing your car’s ECU.
Anti-Static Strap (Optional)
While not necessary, an anti-static strap can be used to protect your car’s electronic components from static electricity during the installation process.
11 Step-by-step Guidelines on How to Install Performance Chip
Step 1: Locating the ECU (Engine Control Unit)
The ECU is typically located in the engine bay or on the passenger side of the vehicle under the dashboard. Consult your owner’s manual or do a quick online search to find its exact location. It is important to ensure that the vehicle’s ignition is turned off before proceeding. You may also want to disconnect the battery for an added safety measure. The ECU can be identified by its unique serial number and is often inside a protective case.
Step 2: Removing the ECU
Using a socket wrench or screwdriver, carefully remove the screws or bolts securing the ECU in place. Keep these screws/bolts in a safe place, as you will need them for reinstallation. The ECU can then be gently removed from its position. But be careful not to damage any wires or connectors attached to it. It may also be helpful to take a picture of the ECU’s orientation before removing it, as you will need to put it back in the same position during reinstallation. Thoroughly clean the area around the ECU to ensure a good connection with the performance chip.
Step 3: Connecting the Performance Chip
Once the ECU is removed, you can connect the performance chip to its designated port. Make sure that it is securely plugged in and double-check for any loose connections. Otherwise, the chip may not function properly. It is also recommended to use an anti-static strap during this step. You can also apply a small amount of dielectric grease to the connector for better conductivity and protection against moisture. You may need to use an adapter or extension cable depending on the location of your ECU and the performance chip’s length.
Step 4: Reinstalling the ECU
Carefully place the ECU back into its original position, making sure that all wires and connectors are properly aligned. Use the screws or bolts to secure it back in place with the same torque settings as before. The torque settings can be found in your vehicle’s owner’s manual. It is important to ensure that the ECU is snug and secure to prevent any movement or damage while driving. But do not over-tighten the screws/bolts as this may cause damage to the ECU. It is also recommended that the battery be reconnected at this point.
Step 5: Reconnecting the Battery
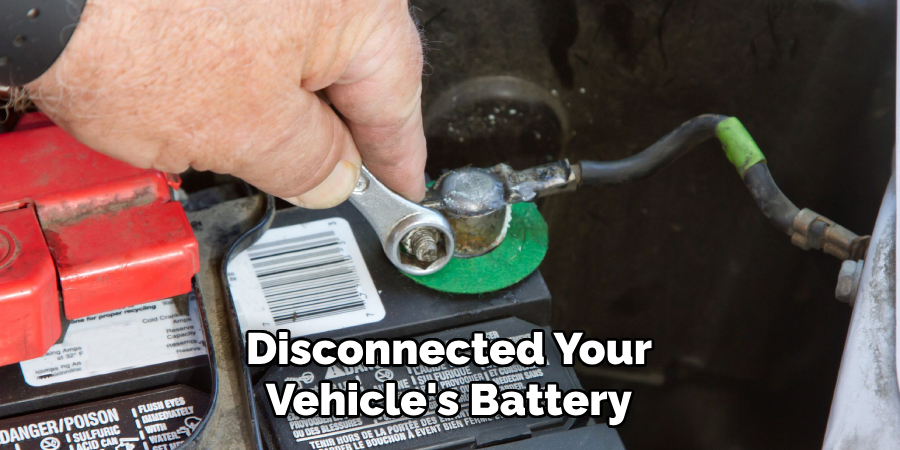
If you disconnected your vehicle’s battery, now is the time to reconnect it. Make sure all connections are secure and tighten any clamps if necessary. Otherwise, the battery may not charge properly, and your vehicle may not start. It is also recommended to clean the battery terminals before reconnecting. You can use a wire brush and some baking soda mixed with water to remove any corrosion or buildup. The battery should be fully charged before starting the vehicle. The performance chip may not function properly if the battery is low or dying. You can also use a battery charger to ensure a full charge.
Step 6: Starting the Vehicle
Turn on your vehicle’s ignition and let it idle for a few minutes to allow the performance chip to calibrate. It is normal to experience some hesitation or rough idling during this process, but it should improve as the chip adapts to your engine. If you notice any abnormalities, turn off your vehicle and double-check the chip’s connections before proceeding. The chip may also need some time to adjust to your driving habits, so give it a few days of regular use before expecting significant changes in performance.
Step 7: Taking a Test Drive
Once the performance chip has been calibrated, take your vehicle for a test drive. Start with slow and steady acceleration and then gradually increase to higher speeds. Pay attention to any changes in engine response or overall performance. You may also want to track fuel efficiency and compare it to your vehicle’s previous performance. If you notice any significant improvements or changes, congratulations! Your performance chip is successfully installed. However, if you experience any issues or are not satisfied with the results, you may need to reevaluate your installation or consider a different performance chip.
Step 8: Monitoring Performance
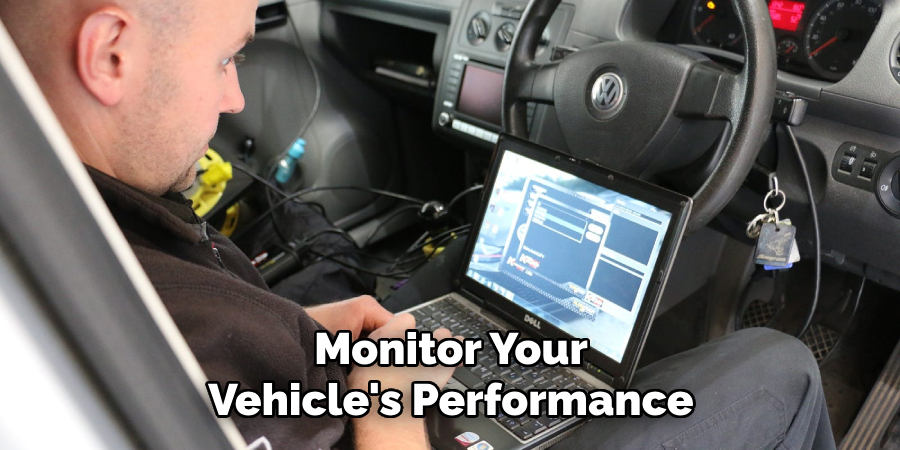
To ensure the longevity of your vehicle and the safety of its components, it is recommended to monitor your vehicle’s performance regularly after installing a performance chip. Check for any warning lights or abnormal sounds and address them immediately. You can also keep track of your vehicle’s maintenance schedule and follow it accordingly. The performance chip may also require routine updates or maintenance, so make sure to check for any manufacturer recommendations. You can also consult with a professional mechanic if you have any concerns or questions.
Step 9: Removing the Performance Chip
If, for any reason, you need to remove the performance chip, carefully follow the same steps as above in reverse order. Make sure to disconnect the battery and use an anti-static strap during removal. It is essential to handle the chip with care and avoid any physical damage to it. The chip can then be safely stored for future use or transferred to another vehicle. If you encounter any difficulties during removal, it is recommended that you seek professional help. The performance chip may also come with a warranty, so be sure to check for any coverage before attempting removal.
Step 10: Upgrading the Performance Chip
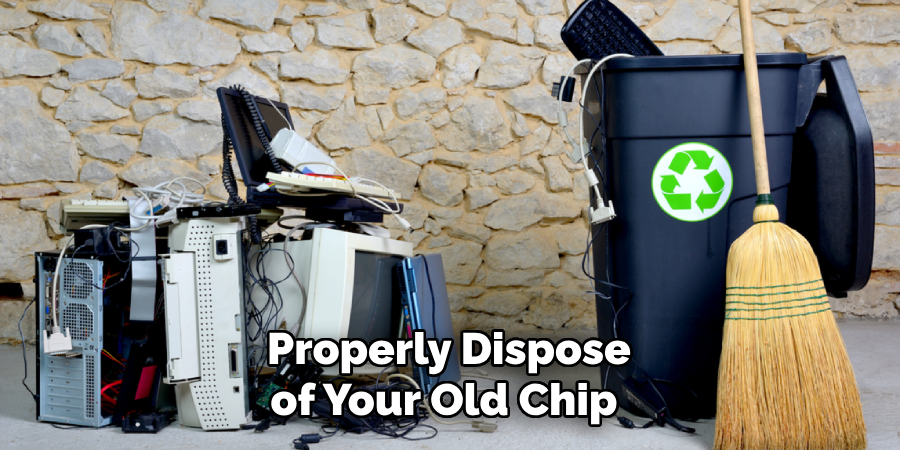
As technology advances, newer and more advanced performance chips become available in the market. If you wish to upgrade your current chip, make sure to carefully research and choose one specifically designed for your vehicle’s make and model. Follow the same installation process as above, but be sure to properly dispose of your old chip or return it to the manufacturer for recycling. Regularly upgrading your performance chip can improve your vehicle’s overall performance and fuel efficiency, ultimately enhancing your driving experience. So, stay informed and keep exploring new possibilities for maximizing your vehicle’s potential.
Following these steps on how to install performance chip will allow you to successfully install a performance chip in your vehicle. Just remember to always prioritize safety and carefully follow the instructions provided by the manufacturer. With a properly installed and maintained performance chip, you can experience improved engine performance, fuel efficiency, and overall driving experience. And who knows, you may even discover a newfound love for your trusty ride! Happy driving!
Do You Need to Use Professionals?
While installing a performance chip can be a DIY project, some individuals may prefer to leave it in the hands of professionals. If you are not confident in your abilities or do not have the necessary tools, it is always best to seek professional help. Additionally, if your vehicle’s warranty does not cover modifications like installing a performance chip, it is recommended to have a professional install it to avoid any potential conflicts.
Professionals can also provide valuable insights and advice on the best performance chip for your vehicle and ensure a proper installation process. Ultimately, the decision is up to you, but it is always better to err on the side of caution when it comes to making modifications to your vehicle. So, choose wisely and decide what works best for you and your
Monitoring and Maintenance
After installing a performance chip in your vehicle, it is essential to regularly monitor its performance and conduct necessary maintenance. This includes checking for any warning lights or abnormal sounds, following the manufacturer’s recommended maintenance schedule, and tracking fuel efficiency. It is also crucial to address any issues immediately and seek professional help if needed.
Routine updates or maintenance may also be required for the performance chip, so be sure to keep an eye out for any recommendations from the manufacturer. With proper monitoring and maintenance, you can ensure the longevity of your vehicle and maximize its potential with a performance chip. So, make it a habit to regularly check on your vehicle’s performance and keep it in top condition for a smooth and enjoyable driving experience.

Real-World Performance and Results
The installation of a performance chip in your vehicle can provide various benefits, including increased horsepower and torque, improved fuel efficiency, and enhanced overall performance. However, the extent of these improvements may vary depending on the make and model of your vehicle, as well as the specific chip you choose to install. It is essential to thoroughly research and understand the capabilities of your chosen chip before installation to set realistic expectations.
Additionally, factors such as regular maintenance and driving habits can also affect the chip’s performance. So, remember to actively monitor your vehicle’s real-world performance and compare it to its previous state for a more accurate assessment of the chip’s results.
Legal and Regulatory Considerations
Before installing a performance chip in your vehicle, it is crucial to be aware of any legal and regulatory considerations that may affect its use. This includes emissions regulations, as some performance chips may alter your vehicle’s emission levels and potentially result in non-compliance with regulations.
It is also essential to check for any warranty restrictions or limitations from the manufacturer or your vehicle’s dealership. By understanding and adhering to these considerations, you can ensure a safe and legal installation process for your performance chip. So, make sure to do your due diligence and stay informed on any potential implications before proceeding with the installation.
Frequently Asked Questions
Q: Will Installing a Performance Chip Void My Vehicle’s Warranty?
A: It depends on your vehicle’s manufacturer and their policies. Some manufacturers may consider any modifications to the engine or electronic systems as voiding the warranty, while others may have specific guidelines for aftermarket additions. It is best to consult with your vehicle’s dealership or manufacturer beforehand.
Q: Can I Install a Performance Chip Myself?
A: Yes, you can install a performance chip yourself if you have the necessary tools and knowledge. However, it is recommended that you seek professional help if you are not confident in your abilities or have limited experience with vehicle modifications.
Q: How Long Does It Take to Install a Performance Chip?
A: The installation process usually takes around 30 minutes to an hour, depending on your vehicle’s make and model. It is essential to take your time and carefully follow the instructions provided by the manufacturer.
Q: Will a Performance Chip Work on Any Vehicle?
A: No, performance chips are designed specifically for certain makes and models of vehicles. Make sure to research and choose one that is compatible with your vehicle. Using an incompatible chip can cause damage to your engine and other components.
Q: Can I Install Multiple Performance Chips in My Vehicle?
A: No, it is not recommended to install multiple performance chips in one vehicle. Not only is it unnecessary, but it can also cause conflicts and damage to your vehicle’s electronic systems.
Conclusion
In conclusion, installing a performance chip can be a cost-effective way to enhance your vehicle’s performance, optimize fuel efficiency, and enjoy a more responsive driving experience. However, it is crucial to choose the right chip for your specific make and model, follow installation instructions meticulously, and consider any potential impacts on your vehicle’s warranty. While the DIY approach can be rewarding, don’t hesitate to seek professional assistance if you encounter any challenges. With your new performance chip installed, you’re ready to hit the road and feel the difference in your vehicle’s performance. Drive safely and enjoy the ride! Thanks for reading this article on how to install performance chip.