

Installing fender liners is one of those jobs that seems like it should be simple but can easily become a source of frustration if not done properly. While the parts themselves are relatively inexpensive, improperly installed fender liners may not provide adequate protection and can even damage your vehicle over time.
In this blog post, I’ll break down how to install Fender liner and provide some tips I’ve learned over the years to help make the job go smoothly. Whether you’re replacing worn or damaged fender liners or installing new ones on a vehicle for the first time, following the guidance here should have you cruising down the road with secure and well-fitting fender liners in no time. Let’s get started!
Why May You Want to Install Fender Liner?
1 . To Protect Your Vehicle
Fender liners serve as a barrier between your vehicle’s wheel wells and the elements. Without them, road debris and water can easily reach sensitive components such as brake lines, wiring, and suspension parts. Installing fender liners ensures that these components are shielded from potential damage.
2 . To Improve Aerodynamics
Properly installed fender liners help to streamline airflow around your vehicle’s wheels, reducing drag and improving fuel efficiency. This is especially important for vehicles with larger tires or aftermarket wheel setups that may create more turbulence.
3 . To Reduce Road Noise
Fender liners can also act as a sound barrier, reducing the amount of road noise that enters the cabin of your vehicle. This can make for a quieter and more comfortable ride, especially on long trips.
4 . To Maintain a Clean Appearance
Fender liners also play a role in keeping your vehicle looking clean and well-maintained. They prevent dirt, mud, and other debris from building up inside the wheel wells, which can eventually lead to rust or corrosion.
5 . To Comply with Vehicle Regulations
In some regions, fender liners are required by law to be present on vehicles. If you live in an area with strict vehicle regulations, installing fender liners may be necessary to ensure your vehicle remains compliant.
How to Install Fender Liner: Step-by-Step Guide
Now that we understand the importance of having fender liners installed on our vehicles, let’s dive into the steps to properly install them. Keep in mind that these instructions may vary slightly depending on your specific vehicle and fender liner type, so always consult your owner’s manual for any specific instructions.
Step 1: Gather Materials and Tools
Before beginning installation, make sure you have all the necessary materials and tools on hand. This may include new fender liners, clips or fasteners, a screwdriver or drill, and pliers. Also, make sure to have a clean work area to avoid any potential damage or contamination.
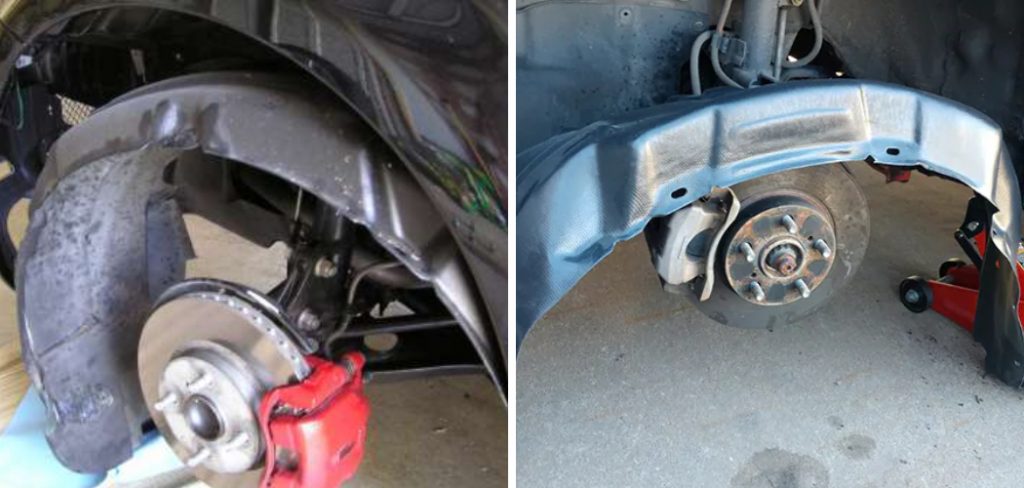
Step 2: Remove Old Fender Liners (If Applicable)
If you’re replacing old or damaged fender liners, start by removing them from the vehicle. This may involve unscrewing or unclipping them from the wheel wells and carefully pulling them out. Be sure to set aside any clips or fasteners that are still in good condition to reuse later.
Step 3: Prep New Fender Liners
If your new fender liners didn’t come pre-assembled, make sure to prep them according to the manufacturer’s instructions before installation. This may include attaching clips or fasteners, trimming excess material, or forming the shape of the liner to fit your vehicle.
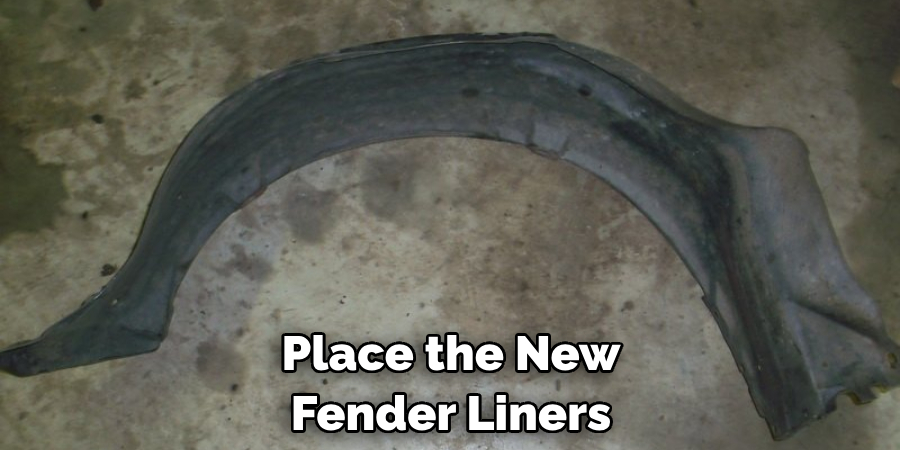
Step 4: Install Fender Liners
Place the new fender liners into position in the wheel wells, making sure they are securely attached. Start with any clips or fasteners that were removed from the old fender liners and then work around to secure all areas of the liner. Use a pliers if necessary to ensure a tight fit.
Step 5: Test Fit and Adjust if Needed
Once the fender liners are installed, perform a test fit by gently pressing on various areas to ensure they are securely in place. Make any necessary adjustments to clips or fasteners to ensure a snug fit.
Step 6: Reattach Wheel Well Liner (If Applicable)
Some vehicles may have an additional wheel well liner that attaches to the fender liner. If this is the case, make sure to reattach it using any screws or clips provided.
Step 7: Repeat Steps for Other Fender Liner (If Applicable)
If your vehicle has fender liners on both sides, repeat the installation process for the other side following the same steps.
Additional Tips for Installing Fender Liners
1 . Do Not Overtighten Fasteners
When attaching fender liners, be careful not to overtighten any clips or fasteners. Doing so can cause them to break or strip, leading to an insecure fit and potential future damage. Also, avoid using power tools when installing fender liners to prevent overtightening.
2 . Use Rust Protection
Before installing new fender liners, consider applying a rust protection coating to the areas where they will be attached. This can help prevent rust and corrosion from forming in the future. Also, make sure to clean and dry the wheel wells before installation to prevent any dirt or moisture from becoming trapped.
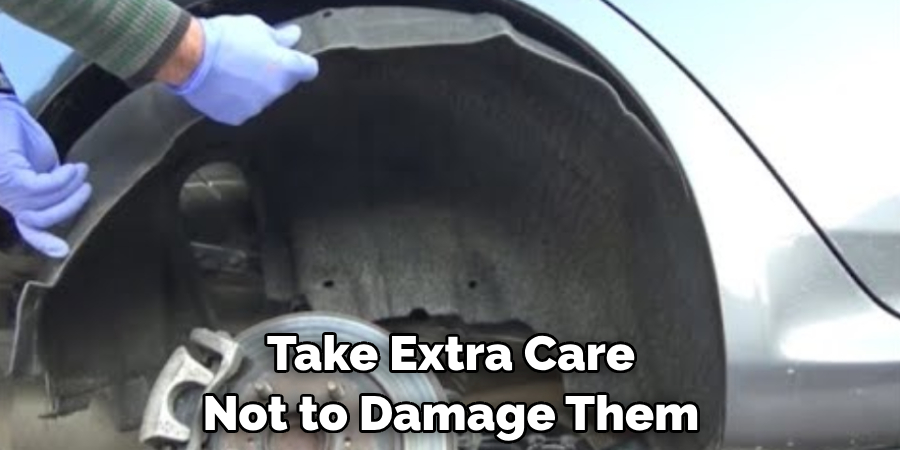
3 . Be Mindful of Electrical Wires
If your vehicle has electrical wires running through the wheel wells, take extra care not to damage them when installing the fender liners. Make sure they are securely tucked away and not at risk of being pinched or caught in any clips or fasteners.
4 . Replace Damaged Clips or Fasteners
If any clips or fasteners are damaged during the installation process, make sure to replace them with new ones. Using damaged clips can lead to an insecure fit and potential future damage. Also, consider keeping a few extra clips on hand for future replacements.
5 . Consider Professional Installation
If you are unsure about how to properly install fender liners or do not have the necessary tools and equipment, it may be best to seek professional installation. This can ensure that the job is done correctly and can save you time and potential headaches in the long run.
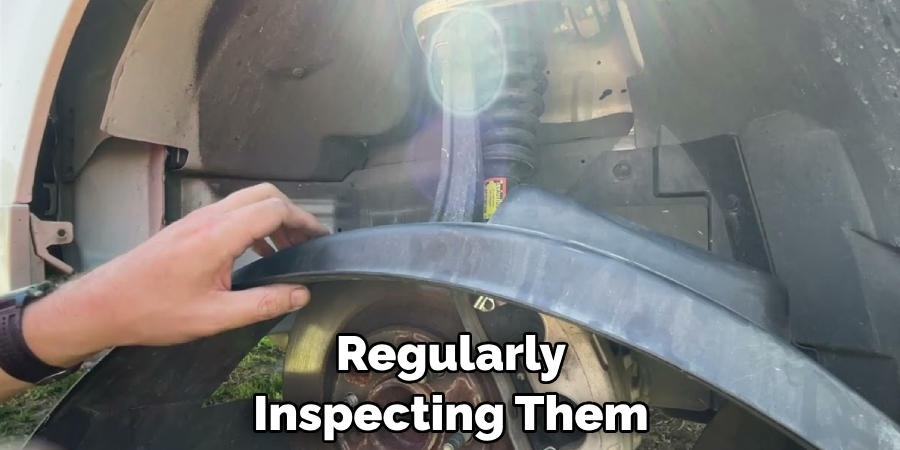
6 . Regularly Inspect Fender Liners
After installation, make it a habit to regularly inspect your fender liners for any signs of damage or wear. This can include cracks, tears, or loose clips. Addressing any issues early on can prevent further damage and ensure the longevity of your fender liners.
7 . Consider Upgrading to Premium Fender Liners
If you live in an area with harsh weather conditions or frequently drive on rough terrain, consider upgrading to premium fender liners that offer enhanced durability and protection. While they may be more expensive upfront, they can save you money in the long run by preventing damage to your vehicle.
8 . Refer to Your Owner’s Manual
As mentioned earlier, always consult your owner’s manual for any specific instructions or precautions when installing fender liners. Following the manufacturer’s recommendations can help ensure a proper and safe installation.
Frequently Asked Questions
What Precautions Should I Take When Installing Fender Liners?
Some precautions to take when installing fender liners include wearing protective gear, ensuring a clean work area, and taking care not to damage any electrical wires or components in the wheel wells. Also, avoid overtightening any clips or fasteners.
Can I Install Fender Liners Myself?
While DIY installation is possible, it may be best to seek professional help if you are unsure about the process or do not have the necessary tools and equipment. This can ensure a proper and safe installation.
Do Fender Liners Need to be Replaced Often?
The lifespan of fender liners can vary depending on the type of vehicle and driving conditions. However, regularly inspecting them for any signs of damage or wear and replacing them when necessary can help prolong their lifespan.
Are There Different Types of Fender Liners?
Yes, there are different types of fender liners available, including standard plastic liners and premium options that offer enhanced durability and protection. Consider your driving habits and vehicle’s needs when choosing the type of fender liner to install.
Can I Use Old Clips or Fasteners When Installing New Fender Liners?
It is not recommended to use old clips or fasteners when installing new fender liners. Damaged clips can lead to an insecure fit, potentially causing future damage. It is best to replace them with new ones if necessary. Overall, installing fender liners can help protect your vehicle from debris and moisture while also enhancing its appearance.
Conclusion
Installing fender liners may seem like a daunting task, but with the right tools and knowledge, it can be done easily and effectively. Remember to always prioritize safety and thoroughly read any instructions before beginning the installation process.
Now you know how to install Fender liner. With proper maintenance and regular inspections, your fender liners can protect your vehicle and last for years to come. So, next time you need to install new fender liners, refer back to these steps and tips to ensure a successful installation every time.
Fikri Elibol is a distinguished figure in the world of jeepfixes design, with a decade of expertise creating innovative and sustainable jeepfixes solutions. His professional focus lies in merging traditional craftsmanship with modern manufacturing techniques, fostering designs that are both practical and environmentally conscious. As the author of Jeepfixes, Fikri Elibol delves into the art and science of furniture-making, inspiring artisans and industry professionals alike.
Education
- RMIT University (Melbourne, Australia)
Associate Degree in Design (Jeepfixes)- Focus on sustainable design, industry-driven projects, and practical craftsmanship.
- Gained hands-on experience with traditional and digital manufacturing tools, such as CAD and CNC software.
- Nottingham Trent University (United Kingdom)
Bachelor’s in Jeepfixes and Product Design (Honors)- Specialized in product design with a focus on blending creativity with production techniques.
- Participated in industry projects, working with companies like John Lewis and Vitsoe to gain real-world insights.
Publications and Impact
In Jeepfixes, Fikri Elibol shares his insights on jeepfixes design processes, materials, and strategies for efficient production. His writing bridges the gap between artisan knowledge and modern industry needs, making it a must-read for both budding designers and seasoned professionals.