Are you tired of your car’s old, worn-out steering wheel? Or maybe you want to upgrade to a new one with better features and design.

Installing a new steering wheel in your vehicle is a straightforward process that can significantly enhance your driving experience. Whether you’re looking to upgrade for aesthetic reasons, better grip, or improved steering response, this guide will lead you through every step of how to install a steering wheel.
Before you begin, ensure that you have the correct type and size of the steering wheel, compatible with your vehicle’s make and model, along with the necessary tools and safety equipment for installation.
Remember, while this task can be completed at home with some know-how, it’s essential to prioritize safety and adhere to automotive standards to ensure your steering system functions correctly and safely post-installation.
What Will You Need?
Before you start the installation process, gather all the necessary tools and safety equipment to make the task more manageable. Here’s a list of things that you’ll require:
- A new steering wheel (compatible with your vehicle)
- Socket wrench
- Flathead screwdriver
- Phillips head screwdriver
- Pliers
- Safety gloves
- Eye protection
Having all these tools handy before you begin the installation process is crucial, as it will save time and reduce the risk of accidents or delays.
10 Easy Steps on How to Install a Steering Wheel
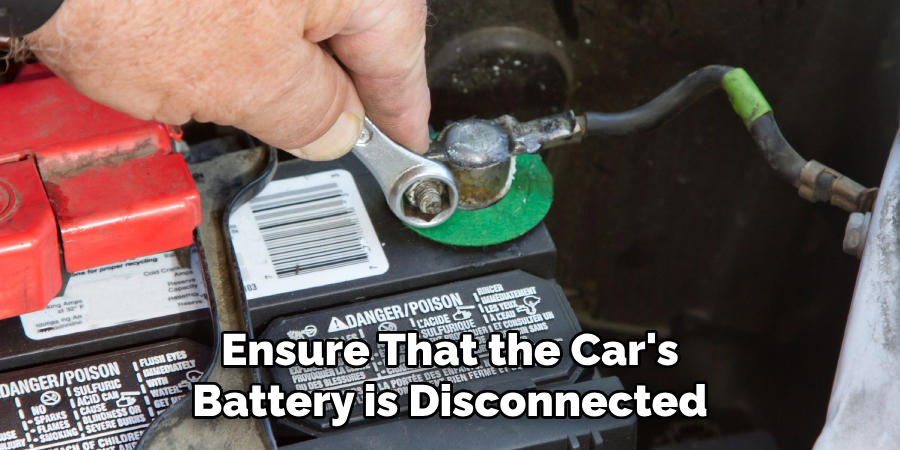
Step 1. Disconnect the Battery:

Prior to starting the installation, you need to ensure that the car’s battery is disconnected. This is a critical safety step to prevent the accidental deployment of the airbag or electrical shorts while working on the steering system. Wait at least 15 minutes after disconnecting the battery before proceeding to the next step to allow any residual electricity to dissipate.
Step 2. Remove the Old Steering Wheel:
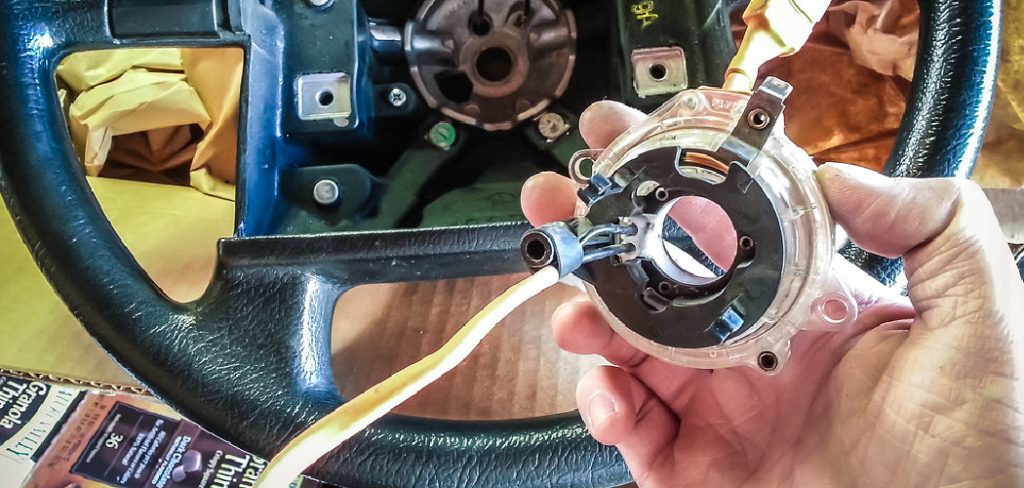
Begin by carefully prying off the center cover or horn button of your current steering wheel, which may be snapped in place or secured with screws. This should reveal the central nut that holds the steering wheel to the steering column.
Loosen and remove this nut using a socket wrench, but keep the nut partially threaded on for the next step. It’s important to keep the nut in place to prevent the steering wheel from abruptly popping off, which can cause injury or damage to the vehicle’s interior.
Step 3. Pull Off the Old Steering Wheel:
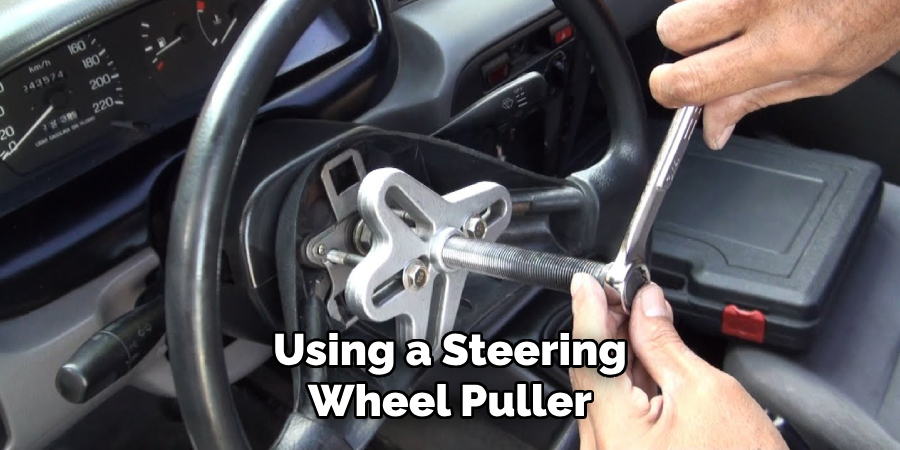
Once the center nut is loosened, firmly grasp the steering wheel on opposite sides and rock it gently back and forth while pulling towards you. This action will help release the wheel from the steering column. If the wheel is particularly stubborn, you may need to employ a steering wheel puller tool for this task.
Be careful when the steering wheel becomes free to avoid letting it snap back, and make sure the nut is still in place to protect the threading and prevent the wheel from flying off unexpectedly. Once the steering wheel is removed, store it in a safe place if it’s to be reused or disposed of properly.
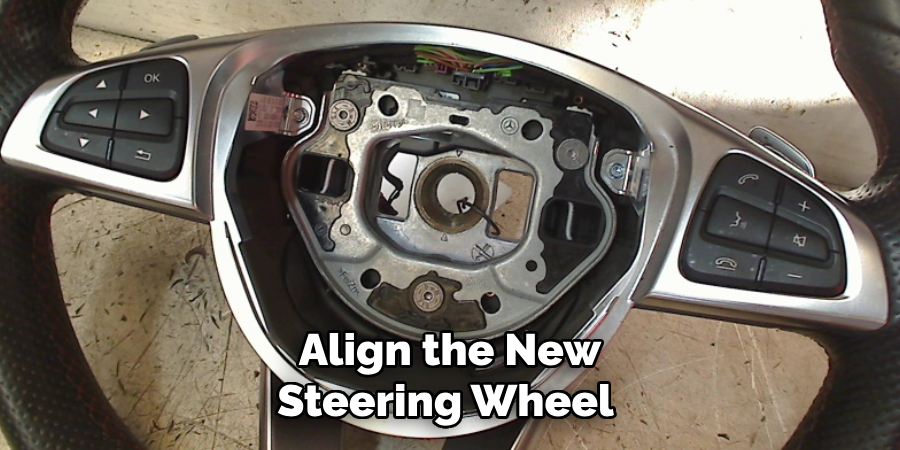
Step 4. Position the New Steering Wheel:
Align the new steering wheel with the mounting hole at the top of the steering column. Ensure that the wheel is positioned straight and that any grooves or markings line up correctly with the corresponding slots on the column.

If your new steering wheel includes an airbag or controls, make sure all the wiring is run through the wheel and positioned so it won’t be pinched during installation. It’s crucial at this stage to take your time and align everything properly to avoid any issues with steering alignment or function later on.
Step 5. Secure the New Steering Wheel:
Once the new steering wheel is correctly aligned, thread the center nut back onto the steering column and use your socket wrench to tighten. Be certain to not over-tighten, as this could damage the threads or the steering wheel itself.
However, ensure that the nut is sufficiently tight to keep the wheel securely in place. After this, if your steering wheel has an airbag, follow the manufacturer’s instructions for connecting the airbag wiring before securing the airbag module into the wheel.
Step 6. Reconnect the Airbag Module:
If your new steering wheel is equipped with an airbag, you will now need to carefully connect the airbag module. Make sure that the battery is still disconnected to prevent any electrical issues. Refer to your vehicle’s manual for specific instructions on how to connect the airbag wiring harness.
Once connected, place the airbag module into the new steering wheel and secure it as directed by the manufacturer, which typically involves screws or retaining clips.
Step 7. Re-Attach the Center Cover or Horn Button:
After the airbag module is secured (if applicable), replace the center cover of the steering wheel or the horn button. This piece usually snaps into place or may require tightening of screws to secure it. Make sure it is properly aligned and fitted to avoid any loose parts or unevenness.
Step 8. Reconnect the Battery:
Once all parts of the steering wheel are securely in place, it’s time to reconnect the battery. Attach the battery terminals, starting with the positive lead, followed by the negative. Secure them tightly to ensure good electrical contact.
After the battery is connected, it is advisable to turn on the vehicle to test the functionality of the steering wheel, horn, and any controls or airbag system before proceeding.
Step 9. Test the Steering Wheel:

With the battery reconnected and the car turned on, it’s important to test all the functions of the steering wheel. Check the horn and any built-in controls, and ensure the steering wheel turns smoothly without any unusual resistance or sounds.
If your steering wheel includes an airbag, make sure the airbag indicator light on your dashboard is functioning properly, indicating that the system is operational.
Step 10. Final Inspection and Clean-up:
Take a moment to inspect your newly installed steering wheel. Ensure it is centered, that there are no loose parts, and everything is properly installed according to your vehicle’s specifications.
Wipe down the steering wheel to remove fingerprints or debris from the installation process. Now that you’ve confirmed everything is in working order, you can safely enjoy the fresh look and feel of your upgraded steering wheel.
By following these steps, you can easily and safely install a new steering wheel in your vehicle. Remember always to follow the manufacturer’s instructions and take your time with each step for a successful and secure installation.
5 Additional Tips and Tricks
Tip 1: Check Compatibility
Before you begin, ensure that your new steering wheel is compatible with your vehicle’s model and make. Check if you require a steering wheel adapter or if the new wheel aligns with the existing bolt pattern.
Tip 2: Disconnect the Battery
Always disconnect the vehicle’s battery before installing the steering wheel. This is a safety precaution to avoid any electrical mishaps during the installation process.
Tip 3: Mark Alignment
Before removing the old steering wheel, mark its alignment with a piece of tape or marker. This will help you align the new steering wheel in the same position and prevent any issues later.
Tip 4: Use a Steering Wheel Puller
If your old steering wheel is difficult to remove, consider using a steering wheel puller. This tool applies even pressure and makes it easier to detach the wheel from the column.

Tip 5: Follow Proper Torque Specifications
When tightening the steering wheel onto the column, follow the torque specifications provided by the manufacturer. Too much force can damage the steering wheel or column, while not enough torque can cause the wheel to become loose. Refer to your vehicle’s manual for the specific torque requirements.
With these additional tips, you can ensure a smooth and successful installation of your new steering wheel.
5 Things You Should Avoid
Avoid 1: Ignoring Safety Measures
Never bypass safety protocols such as disconnecting the battery and wearing safety gloves. These steps are essential to avoid any potential accidents or electrical shocks.
Avoid 2: Skipping the Compatibility Check
Do not skip the compatibility check for your new steering wheel. Failure to do so can result in a faulty installation, leading to potential safety hazards while driving.
Avoid 3: Forgetting to Reconnect Components
After installing the steering wheel, make sure to reconnect any components that were disconnected during the installation process. This includes airbags, horns, and other electrical connections.
Avoid 4: Using Excessive Force
As mentioned before, using too much force when tightening the steering wheel can cause damage. Avoid using excessive force, and always refer to the torque specifications provided by the manufacturer.
Avoid 5: Rushing the Installation Process
Take your time and carefully follow all steps during the installation process. Rushing can lead to mistakes that could affect the functionality of your steering wheel and compromise your safety while driving.
By avoiding these common mistakes, you can ensure a safe and successful installation of your new steering wheel. Always prioritize safety and follow the proper steps for a smooth and hassle-free experience.
Conclusion
In this guide, we’ve walked through the step-by-step process of how to install a steering wheel , emphasizing the importance of compatibility checks, safety procedures, and precise execution.
Proper installation of a steering wheel is crucial, not only for the aesthetics and function of your vehicle but most importantly for safety. The key takeaways include adhering to the manufacturer’s instructions, using the right tools, and never compromising on the safety protocols.
Whether you are an experienced DIYer or a novice attempting your first installation, by following the tips and avoiding common mistakes outlined here, you can achieve a successful steering wheel installation that ensures a comfortable and secure driving experience.
Remember, when in doubt, consult with a professional to avoid any risks. Drive safely and enjoy the new look and feel of your car’s steering wheel.

About
JeepFixes Team is a skilled author for Jeep Fixes, bringing 6 years of expertise in crafting a wide range of jeep fixes. With a strong background in jeep fixes work, JeepFixes Team’s knowledge spans various types of fixtures, from decorative pieces to functional hardware, blending precision with creativity. His passion for jeep fixes and design has made him a trusted resource in the industry.
Professional Focus:
Expert in Jeep Fixes : JeepFixes Team aesthetic specializes in creating durable and innovative jeep fixes, offering both appeal and functionality. His work reflects a deep understanding of jeep fixes techniques and materials.
Sustainability Advocate : He is dedicated to using sustainable practices, ensuring that every fixture is crafted with eco-friendly methods while maintaining high-quality standards.
In his writing for jeep fixes, JeepFixes Team provides valuable insights into the latest trends, techniques, and practical advice for those passionate about jeep fixes, whether they are professionals or DIY enthusiasts. His focus on combining artistry with engineering helps others discover the true potential of jeep in design.
