

A snowplow is a piece of equipment used to clear snow from roads, driveways, and other surfaces. It consists of a curved metal blade attached to the front of a vehicle or tractor that pushes snow away as it moves forward.
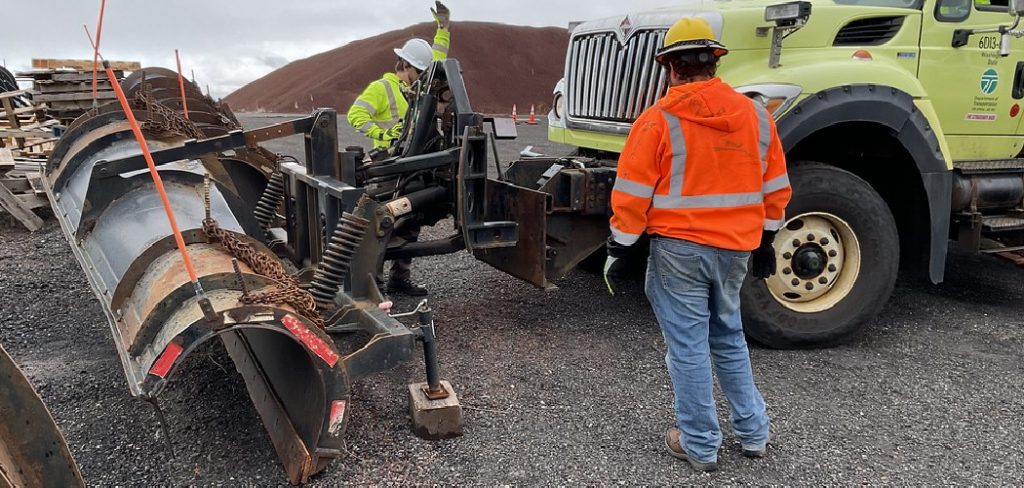
While most people associate snowplows with commercial use, such as clearing roads and parking lots, there are many reasons why individuals may want to install one on their own property.
The main advantage of installing a snowplow is that it helps to keep your roads and pathways clear during heavy snowfall. This not only makes it easier for people to travel, but also ensures their safety by reducing the risk of accidents due to slippery or obstructed roads. In this blog post, You will learn in detail how to install a snowplow.
Step-by-step Instructions for How to Install a Snowplow
Step 1: Inspect Your Vehicle
Before you even think about installing a snowplow, make sure your vehicle is compatible and strong enough to handle the extra weight. Check for any signs of rust, leaks, or weakened parts that could compromise your safety or the effectiveness of the snowplow.
Step 2: Purchase a Snowplow Kit
Next, purchase a snowplow kit that is compatible with your vehicle. Make sure to choose a kit that includes all necessary components, such as a mounting assembly, blade, and wiring harness.
It’s also important to consider the size of the snowplow and the type of blade (straight or V-shaped) that will work best for your specific needs.
Step 3: Gather Tools and Materials
Before beginning the installation process, gather all necessary tools and materials. This may include a socket set, ratchet, drill, pliers, wire cutters, and any additional hardware or wiring specific to your chosen kit.
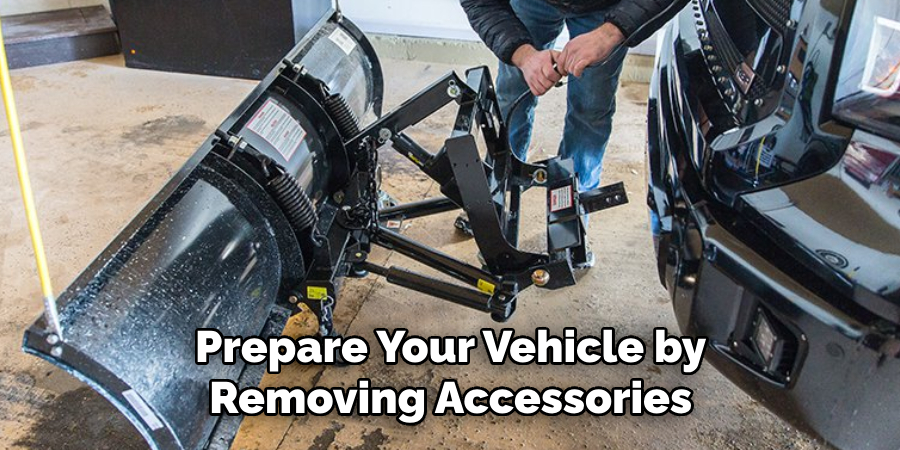
Prepare your vehicle by removing any accessories or parts that may interfere with the installation process. This could include grill guards, license plate brackets, or bumper covers. Follow the instructions provided by the manufacturer to ensure proper preparation.
Step 4: Install Mounting Assembly
Using the included instructions, install the mounting assembly onto your vehicle. This typically involves attaching brackets and hardware to the frame of your vehicle using a ratchet and socket set. Make sure to follow all steps carefully and double-check for tightness.
Next, attach the blade to the front of your vehicle using the appropriate hardware. This may involve drilling holes in the frame or bumper, so make sure to use caution and follow instructions closely. Once the blade is attached, install the hydraulic lift system according to manufacturer instructions.
Step 5: Connect Wiring Harness
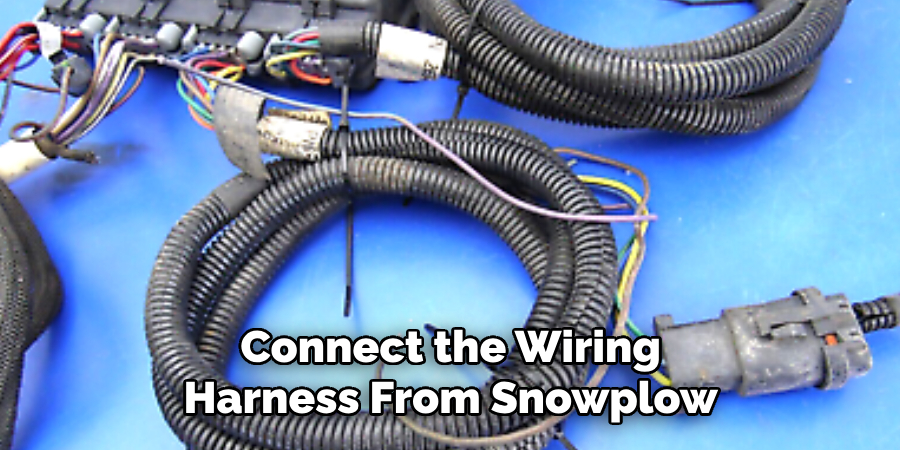
Using wire cutters and pliers, connect the wiring harness from the snowplow to your vehicle’s battery. This will allow you to control the movement of the blade and any additional features such as lights or a power angle.
Once all components are installed, test the functionality of your snowplow by lifting and lowering the blade, as well as activating any other features. Make any necessary adjustments or tighten any loose components.
Step 6: Add Finishing Touches
With the snowplow now installed and fully functional, add any finishing touches such as decals or additional accessories to make your snowplow unique and personalized.
To ensure proper functioning and longevity of your snowplow, make sure to regularly maintain and inspect all components. This may include greasing moving parts, checking for wear and tear, and replacing any damaged or worn out parts as needed. By following these steps and properly maintaining your snowplow, you can effectively handle even the heaviest of snowfalls with ease.
By taking the time to carefully follow instructions and properly install your snowplow, you can ensure safe operation and efficient snow removal for years to come.
Remember to always use caution and follow all safety guidelines when using a snowplow, and enjoy the convenience and peace of mind that comes with having this essential winter tool at your disposal.
Safety Tips for How to Install a Snowplow
- Unpack the snowplow carefully and check for any damages or missing parts. If there are any issues, contact the manufacturer before attempting installation.
- Make sure to have a clear area free of obstacles to work in while installing the snowplow.
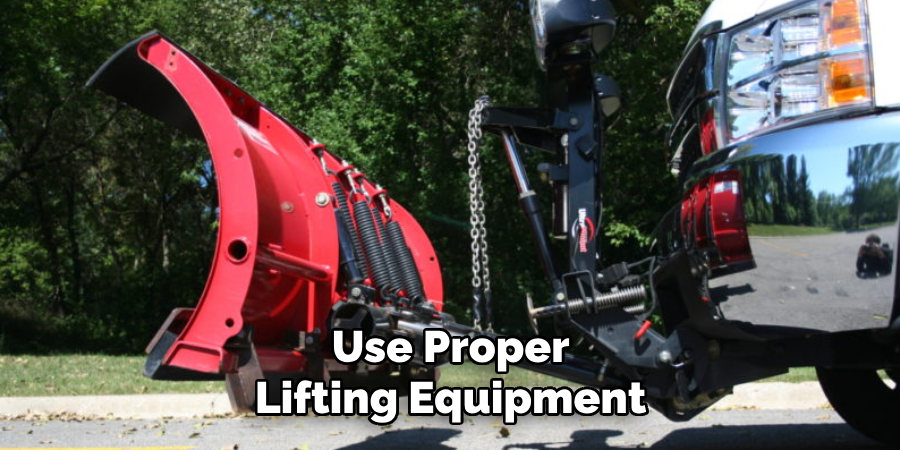
- Use proper lifting equipment and techniques when handling heavy parts.
- Read the instruction manual thoroughly before beginning installation to ensure proper understanding.
- Wear appropriate protective gear, such as gloves and safety glasses, during installation to prevent injuries.
- Use caution when using power tools and always follow proper safety protocols.
- Always double check all connections before operating the snowplow to ensure it is securely installed.
By following these safety tips, you can ensure a safe and successful installation of your snowplow.
Additionally, it is important to regularly inspect and maintain your snowplow to prevent any potential hazards while operating it. This includes checking for loose or worn parts, keeping the blades sharp, and ensuring proper hydraulic fluid levels.
What is the Cost Associated With Hiring a Professional to Install a Snowplow?
The cost associated with hiring a professional to install a snowplow can vary depending on several factors. These may include the size and type of snowplow, the location and condition of your property, and the experience level of the installer.
On average, homeowners can expect to pay between $50 and $100 per hour for snowplow installation services. This may also include the cost of any necessary equipment and materials. However, prices may vary significantly depending on your location and the complexity of the installation.
In addition to the hourly rate, some installers may charge a flat fee for their services. This may range from $100 to $500, depending on the scope of the project.
It’s important to keep in mind that while hiring a professional may have a higher upfront cost, it can save you time and potentially prevent costly mistakes. A trained and experienced installer will also be able to properly assess your property and make recommendations for the most efficient and effective snowplow setup.
What Are the Potential Risks or Hazards Involved With Installing a Snowplow?
There are several potential risks or hazards that one should be aware of when installing a snowplow. These include:
- Personal Injury: Installing a snowplow requires physical labor and the use of heavy equipment. This can put you at risk for musculoskeletal injuries, such as strains and sprains, if proper safety precautions are not taken.
- Electrical Hazards: Many snowplows are powered by electricity, which can pose a risk of electrocution if proper precautions are not taken during installation.
- Sharp Objects: Snowplows typically have sharp edges and blades that can cause serious cuts or lacerations if mishandled during installation.
- Vehicle Damage: Improper installation of a snowplow can result in damage to your vehicle or the plow itself, leading to costly repairs.
- Environmental Hazards: Snowplows often release pollutants into the environment, such as salt and chemicals used for de-icing roads. Improper installation can result in these substances being released in excess, causing harm to plants and animals.
- Legal Concerns: If a snowplow is not installed correctly, it can pose a danger to other drivers on the road and result in legal consequences if an accident occurs.
It is important to take all necessary precautions when installing a snowplow to minimize these risks. This includes following safety protocols, using proper equipment and tools, and having a professional handle the installation if you are not experienced with this type of work.
How Often Do You Need to Maintain or Service Your Snowplow After Installation?
The answer depends on several factors, including the frequency of use, weather conditions, and the type of surface being cleared. However, most manufacturers recommend a maintenance schedule to keep your snowplow in top condition throughout the winter season.
As a general rule of thumb, it is recommended to perform basic maintenance tasks every 50 hours of use. This includes checking and tightening bolts, lubricating moving parts, and inspecting wear items such as cutting edges and hydraulic hoses. These tasks can help prevent unexpected breakdowns and keep your snowplow running smoothly.
In addition to regular maintenance, it is important to service your snowplow after each use. This includes removing any built-up snow and ice from the plow and making sure all components are functioning properly. It is especially crucial to check for damage or wear on cutting edges, as these can affect the efficiency of your snowplow.
Weather conditions can also play a significant role in maintenance and servicing. If you live in an area with heavy snowfall or extreme temperatures, your snowplow may require more frequent maintenance to keep it running at its best. It is important to regularly check for any signs of wear and tear, especially on crucial components such as the motor and hydraulic system.
Conclusion
In conclusion, installing a snowplow can be a challenging but rewarding task. By following the steps outlined in this blog, you can ensure that your snowplow is installed correctly and ready to handle any winter weather. One important thing to keep in mind is to always follow the manufacturer’s instructions for your specific snowplow model.
These instructions may vary depending on the make and model of your vehicle, so it’s important to consult the manual before beginning the installation process. Another tip is to make sure you have all the necessary tools and equipment before starting the installation.
This will save you time and frustration in case you realize halfway through that you’re missing a crucial tool. I hope this article has been beneficial for learning how to install a snowplow. Make Sure the precautionary measures are followed chronologically.

About
JeepFixes Team is a skilled author for Jeep Fixes, bringing 6 years of expertise in crafting a wide range of jeep fixes. With a strong background in jeep fixes work, JeepFixes Team’s knowledge spans various types of fixtures, from decorative pieces to functional hardware, blending precision with creativity. His passion for jeep fixes and design has made him a trusted resource in the industry.
Professional Focus:
Expert in Jeep Fixes : JeepFixes Team aesthetic specializes in creating durable and innovative jeep fixes, offering both appeal and functionality. His work reflects a deep understanding of jeep fixes techniques and materials.
Sustainability Advocate : He is dedicated to using sustainable practices, ensuring that every fixture is crafted with eco-friendly methods while maintaining high-quality standards.
In his writing for jeep fixes, JeepFixes Team provides valuable insights into the latest trends, techniques, and practical advice for those passionate about jeep fixes, whether they are professionals or DIY enthusiasts. His focus on combining artistry with engineering helps others discover the true potential of jeep in design.