

The neutral safety switch is a critical safety component in vehicles equipped with automatic transmissions; it prevents the engine from starting unless the gear lever is in neutral or park. Understanding how to install a neutral safety switch is vital for vehicle safety, as a malfunctioning switch can lead to unintentional movement of the vehicle when starting the engine, posing a danger to drivers and bystanders.
This installation guide is designed for DIY enthusiasts and car owners who have a basic understanding of vehicle mechanics and want to expand their maintenance skills. Throughout this guide, we will dive into the installation process details, ensuring you have the necessary knowledge to undertake this task confidently.
Before You Begin
Prior to embarking on the process of installing a neutral safety switch, it’s imperative to prioritize your safety. Always disconnect the battery before starting to prevent electric shock or accidental engine cranking. It’s also important to wear protective gear, such as gloves and safety glasses.
Tools required for this installation include:
- Socket set: \$20 – \$50
- Screwdrivers: \$10 – \$30
- Multimeter: \$20 – \$100
- Torque wrench: \$40 – \$200
- Replacement neutral safety switch: \$15 – \$100
The total estimated cost for tools and materials can run between \$105 and \$480, depending on quality and specific needs.
Remember that vehicle makes and models vary, so consulting the repair manual for your specific vehicle is crucial for locating the safety switch and adhering to any special instructions. This manual will not only guide you to the switch’s location but will also provide vehicle-specific torque specifications and electrical connector types you will encounter during installation.
Understanding Your Neutral Safety Switch
Neutral safety switches may differ slightly depending on whether your vehicle has an automatic or manual transmission. In automatic vehicles, the switch is positioned to allow the engine to start only if the gear is in neutral or park. Conversely, manual transmission vehicles often use a clutch safety switch that requires the clutch pedal to be depressed before the engine starts.
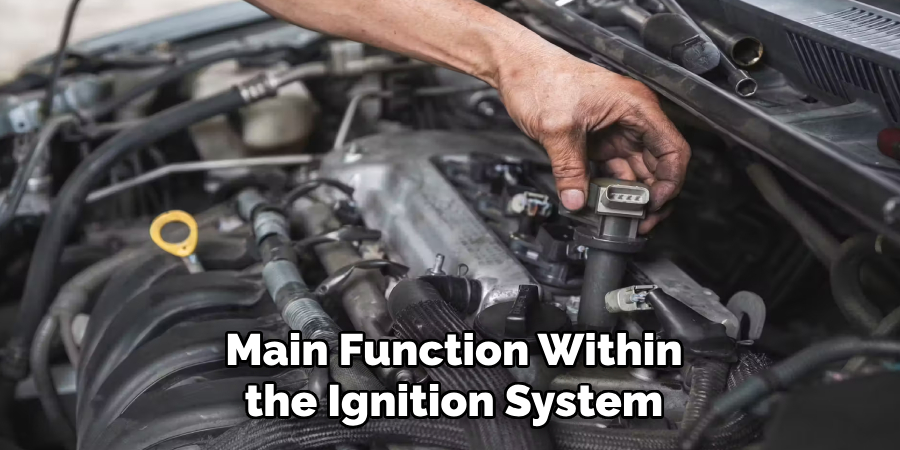
The switch’s main function within the ignition system is to prevent the vehicle from starting if the transmission is in a gear that could cause immediate movement upon ignition, thereby minimizing the risk of accidents. It acts as a gatekeeper: when the appropriate conditions are met (gear in neutral or clutch pedal depressed), the switch completes the electrical circuit that allows the current to flow to the starter motor.
A failing neutral safety switch often gives rise to certain telltale signs. One may experience the vehicle’s inability to start, or the starter motor may crank without the engine turning over—both can be symptomatic of a faulty switch.
Additionally, if the vehicle starts in any gear other than park or neutral, or if there is no resistance when moving from the key from the “Off” to the “Start” position, these might also indicate a compromised neutral safety switch. It’s vital to address these signs promptly, as they impact usability and pose significant safety risks.
Diagnosing a Faulty Neutral Safety Switch
Identifying a malfunctioning neutral safety switch is the first step toward maintaining the reliability and safety of your vehicle. Begin with a visual inspection of the switch for any apparent damage or signs of corrosion that can impede its function. Pay careful attention to discoloration or wear on the switch itself and the surrounding wires and connectors, as these are telltale clues that the switch may require replacement.
For a more detailed diagnosis, use a multimeter to test for continuity — that is, whether electrical current can flow through the switch when it is in the neutral or park position. To do this, set your multimeter to the continuity setting, place one probe on each switch terminal, and check for a closed circuit.
A beeping sound from the multimeter usually indicates a successful test. In addition, test for appropriate voltage levels when the switch is activated. Your vehicle’s service manual will list the expected voltage range for a functioning switch.
For those with car models requiring specific diagnostic methods, online forums, manufacturer websites, and vehicle-specific repair manuals are invaluable resources. Some vehicles may have different testing procedures, so referring to these specialized sources for tailored guidance is crucial.
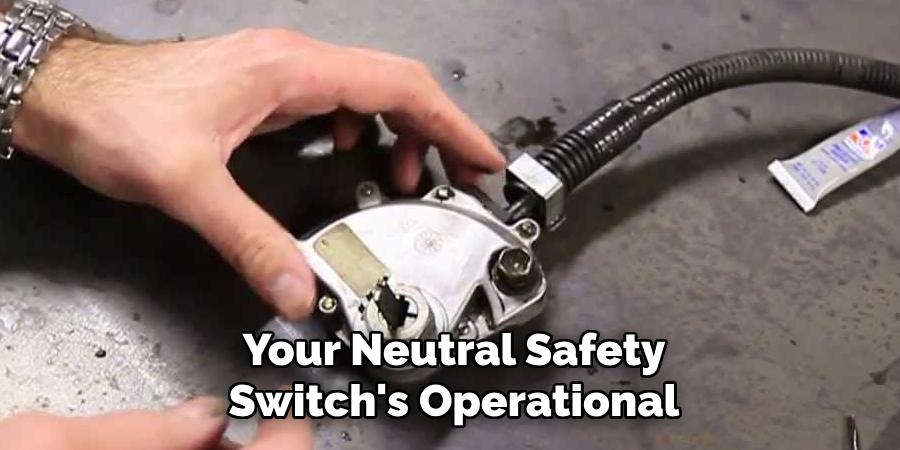
As vehicles vary widely, always ensure that your method of diagnosis adheres to the instructions laid out for your specific make and model. By carefully following these steps, you can effectively ascertain your neutral safety switch’s operational status and proceed confidently to the installation or repair stage.
Gathering Information and Resources
Before replacing your neutral safety switch, acquiring the correct part for your specific vehicle make and model is absolutely essential. An incompatible switch may not fit correctly or function as intended, which can lead to further complications or safety issues.
To find the appropriate replacement, you can consult the dealership, auto parts stores, or online retailers offering OEM (Original Equipment Manufacturer) or aftermarket parts with compatibility listings.
In addition to securing the right part, gathering accurate information and resources will streamline the installation process. Online repair manuals and electrical wiring diagrams specific to your vehicle can be found on automotive forums, manufacturer websites, or databases like AllDataDIY or Haynes Manuals.
These manuals will provide you with detailed instructions, torque specifications, and diagrams vital for a successful installation.
Moreover, video tutorials on platforms like YouTube are also valuable, offering a visual step-by-step guide that can make the process more approachable, especially for visual learners. Remember, installation techniques will vary based on the make and model, so ensure your selected tutorial corresponds with your vehicle.
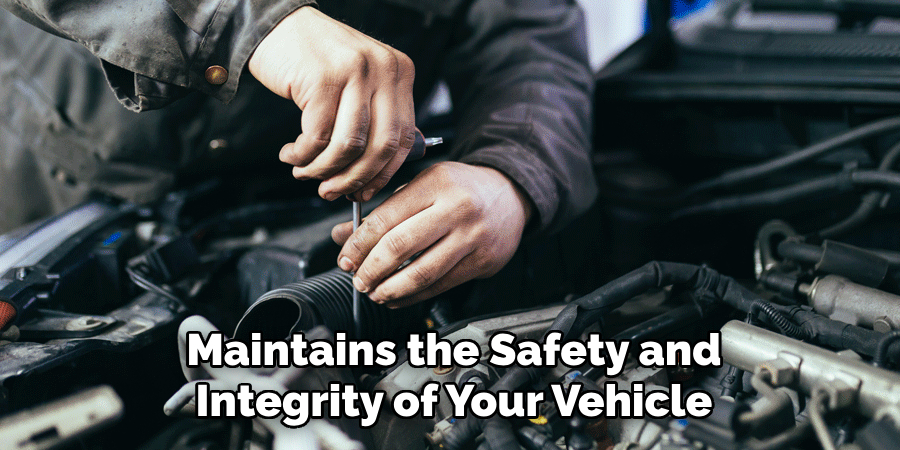
While acquiring the skills to perform your own repairs is rewarding, there are benefits to professional installation, especially for those less experienced. Professionals guarantee the work is done correctly, have the right tools, and can resolve unexpected issues that may arise during installation. This ensures the best outcome and maintains the safety and integrity of your vehicle.
Planning Your Installation
Before initiating the installation of your neutral safety switch, it’s wise to allocate a rough estimate of the time you’ll need for the project—this can vary from an hour to several hours based on your experience and the complexity of your vehicle’s design. Select a work environment that is well-lit and clean, with sufficient space to maneuver around your vehicle safely and to keep your tools and materials organized.
Assemble all necessary tools and materials in advance. Typically, you’ll need a set of sockets and wrenches, screwdrivers, a multimeter, and the replacement switch itself. You may also need a torque wrench for some vehicles to ensure bolts are tightened to the correct specification.
Keep your work area tidy and your tools within reach to streamline the process. This organized approach saves time during the installation and helps prevent the loss of tools and fasteners.
How to Install a Neutral Safety Switch: The Installation Process
1. Disconnecting the Battery
First and foremost, disconnecting the negative battery terminal is critical for preventing electrical shocks and shorts during the installation process. Begin by locating the negative battery cable, usually marked with a negative (-) sign or black in color. Loosen the terminal nut and remove the cable end from the battery post using an appropriate wrench.
Always perform this step with dry hands on a dry surface to reduce the risk of electrical shock. As a safety warning, never touch negative and positive posts simultaneously with any part of your body or tools, as it could create a dangerous circuit.
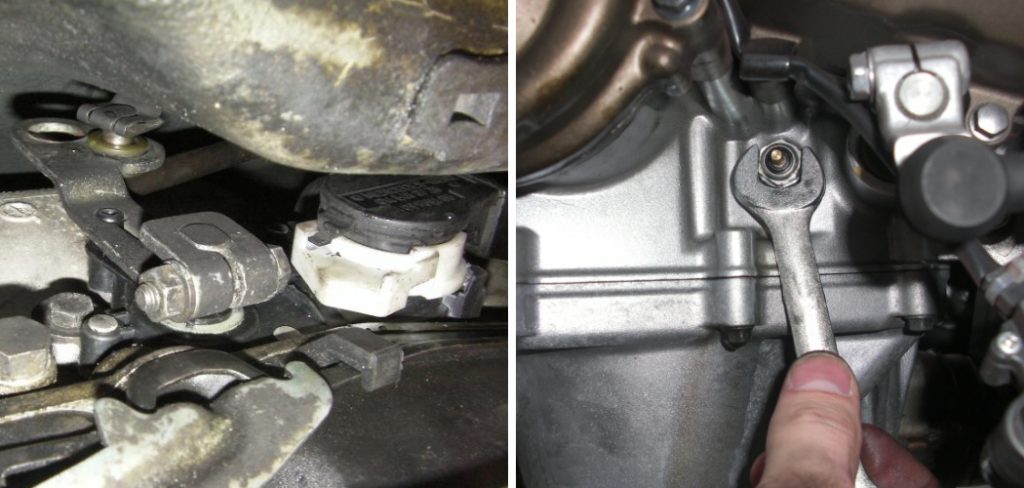
2. Accessing the Neutral Safety Switch
The neutral safety switch is usually mounted on the transmission or under the center console in the passenger compartment. For automatic transmissions, the switch is often found connected to the side of the transmission, right where the shift linkage or cable connects.
Manual transmissions might have the switch located on the clutch pedal assembly. Consult the vehicle’s manual for precise location and instructions to avoid any guesswork. Depending on the car model, accessing the switch could entail navigating tight spaces or requiring special tools to maneuver around parts that obstruct access.
3. Removing the Old Switch
To remove the old neutral safety switch, first disconnect the electrical connectors. Carefully press down on the tab that secures the connector and gently pull away from the switch to avoid damage. Once the connectors are removed, use a socket or wrench to unbolt the switch.
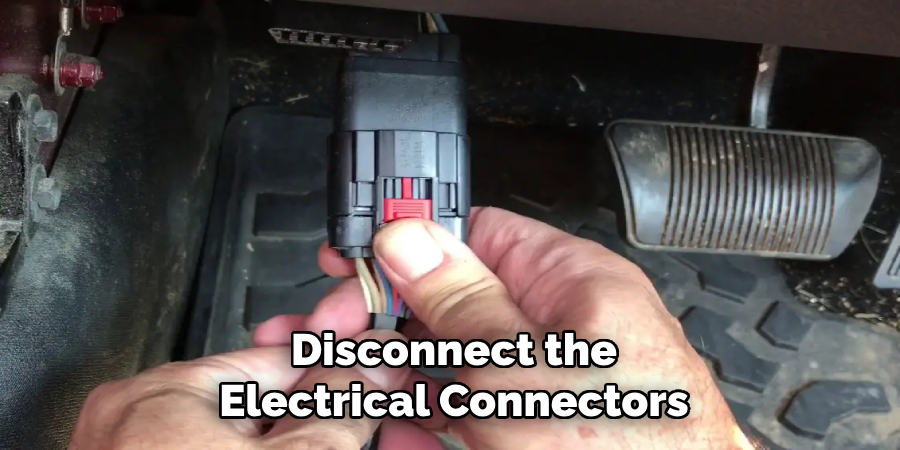
Be mindful of any transmission fluid that may leak when the switch is removed; it is advisable to have a drain pan ready. If necessary, take a photo or label the connectors prior to disassembly to aid in reassembly.
4. Installing the New Switch
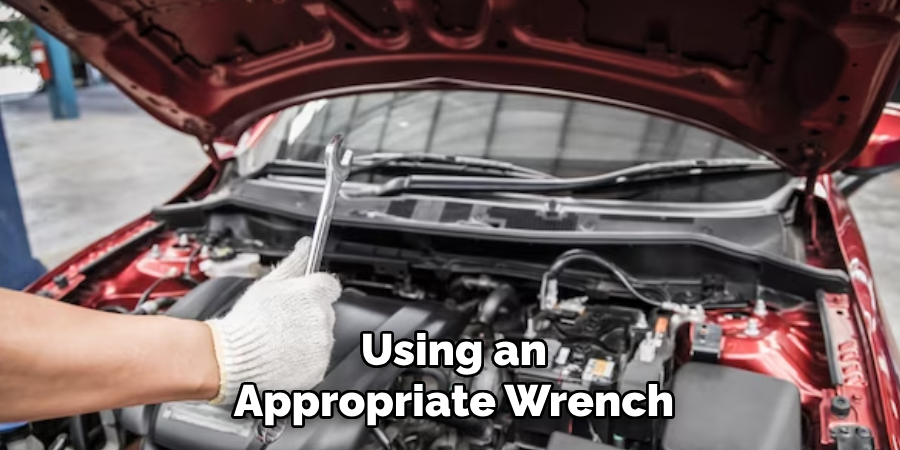
When installing the new switch, ensure it is positioned correctly per the vehicle’s service manual. Secure the switch in place by hand to avoid cross-threading, and then use a torque wrench to tighten it to the manufacturer’s specifications. Always check for any damage, misalignment, or leaks during installation, as these may cause operational issues.
5. Reconnecting Electrical Connectors
Reconnect the electrical connectors to the new neutral safety switch by matching them to the corresponding terminals. Connectors are typically designed to fit only in the correct orientation but always double-check to ensure a secure fit. Press firmly until you hear a click, which signifies a proper connection.
6. Reconnecting the Battery
Reattaching the negative battery terminal comes last after ensuring all other electrical work is completed. Slide the terminal end over the battery post and hand-tighten the nut. Finish tightening with a wrench, but do not over-tighten, as this can damage the battery post. Be aware that when you first make contact, a spark may occur, which is normal, but ensure all flammable materials are away from the battery.
7. Testing the Installation
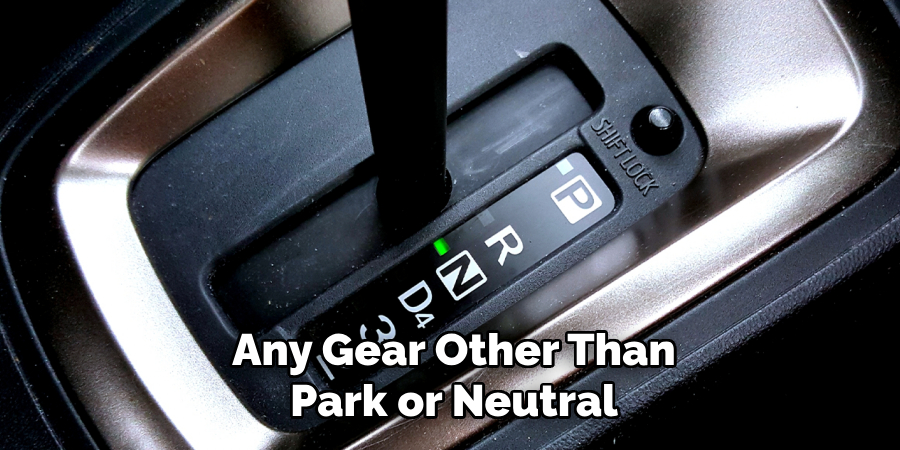
After the installation is complete, test that the new neutral safety switch is functioning correctly. Start the engine to ensure that it only starts in the park or neutral for automatic transmissions or with the clutch engaged for manuals. Cycle through the gearshift positions to confirm the engine cannot be started in any gear other than park or neutral.
If the car does not start or the problem persists, review each step to pinpoint any oversight. Lastly, if troubleshooting does not resolve the issue, seek the assistance of a professional mechanic to diagnose and rectify the problem.
That’s it! You’ve now learned how to install a neutral safety switch. Remember to always consult the vehicle’s service manual and follow safety guidelines when working on electrical components. By following these steps, you can confidently install a neutral safety switch in your vehicle and ensure its proper functioning for safe and secure driving.
Additional Tips and Considerations
An often-overlooked step is cleaning the switch mounting area before installing a new neutral safety switch. This practice ensures a clean contact point for the new switch, free of any dirt, grease, or corrosion that could interfere with its operation. Use a non-abrasive cleaner and a soft cloth to wipe down the area thoroughly.
Applying an anti-seize lubricant to bolts and threads during installation is an optional yet beneficial step. It can significantly ease future removals and prevent the bonding effects of corrosion and rust. Just a light coat on threads can make a difference in maintenance.
When disposing of the old switch, do so responsibly. Many components of automotive switches are recyclable. Contact local waste management services or an automotive shop for the best eco-friendly disposal method.
Lastly, documenting the entire installation process can provide a valuable reference for future repairs or if you need to troubleshoot any issues later. Take detailed notes of each step, including the tools and torque specifications.
Snapping photos or even recording a video can also provide a visual guide that can be highly instructive for both you and a professional mechanic who may work on the vehicle in the future. This kind of documentation is helpful not just for personal records but could also potentially aid in maintaining the value of your car should you decide to sell it.
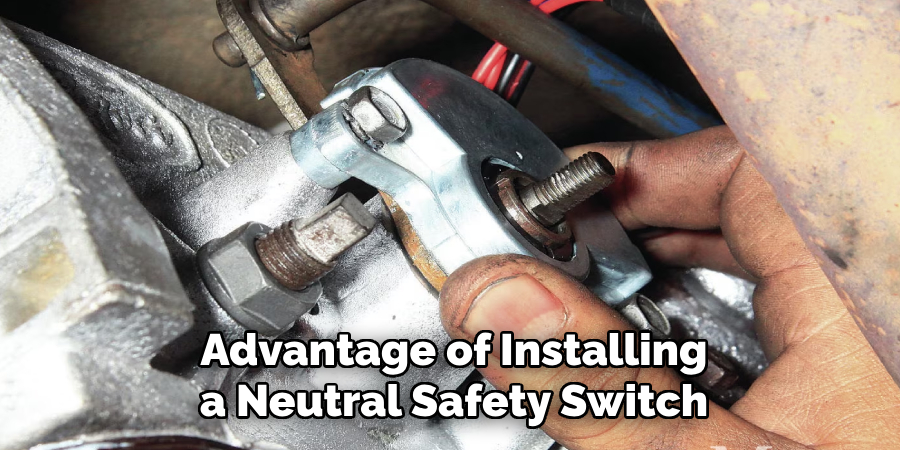
5 Benefits of Installing a Neutral Safety Switch
When it comes to the safety and performance of your vehicle, the small details often make the most significant differences. The neutral safety switch is a prime example – a seemingly unimpressive component that is vital in ensuring safe and reliable vehicle operation.
For those delving into automotive maintenance or just wanting to ensure their vehicle is in top-notch shape, understanding the benefits of a neutral safety switch and its installation is paramount. Here, we walk you through the top 5 merits of adding this safeguard to your vehicle.
1. Enhanced Safety
The foremost advantage of installing a neutral safety switch is the immediate and quantifiable boost in safety. This switch is designed to prevent accidental starts, which can pose a severe danger to the driver, passengers, and bystanders.
A manual transmission vehicle stops the engine from starting unless the clutch is engaged (with the brake pedal in automatics). This simple yet critical feature helps avoid unexpected vehicle movement, stalling, and the hazards associated with such incidents.
Prevention of Accidental Starts
Shifting from habitually “popping the clutch” to start an engine to setting a protective mechanism in place can be the difference between a routine, safe start and an unexpected lurch forward.
2. Protection of Transmission
A correctly installed neutral safety switch protects the integrity of your transmission, an incredibly expensive and complex component to repair or replace. Ensuring the vehicle starts only in neutral or park prevents the havoc that can occur if it starts in another gear, such as reverse or drive.
Avoidance of Damage Due to Improper Starting
Accidental starting in drive or reverse can lead to transmission damage, especially if the vehicle is moved soon after starting. The neutral safety switch is a guardian of the transmission, maintaining the right sequence of operations.
3. Improved Starting Reliability
Reliability, a cornerstone of vehicle operation, is another area the neutral safety switch greatly benefits. It ensures that the vehicle can always start under the appropriate conditions, helping to maintain the confidence a driver has in their vehicle’s operation.
Ensuring the Vehicle Starts Only in Neutral or Park
Starters and related components are spared the additional wear and tear from starting a car in gear. This means fewer if any, starter-related repairs over the life of your vehicle.
4. Legal Compliance
While less directly tangible than the safety and reliability aspects, the neutral safety switch also aids in legal compliance. Certain safety standards and regulations mandate the inclusion and proper operation of a neutral safety switch, especially in vehicles with automatic transmissions, which are required by law to have this interlock system in place.
Meeting Safety Standards and Regulations
By ensuring that your vehicle meets or exceeds these standards, you avoid legal complications and signal to others the importance you place on safety.
5. DIY Installation
Last, a neutral safety switch is relatively affordable and can be installed moderately easily, making it an attractive option for vehicle owners looking to invest in their vehicle’s long-term performance without significant labor costs.
Cost-Effective and Easy to Install for Vehicle Owners
With the right tools and a bit of patience, many vehicle owners can install a neutral safety switch themselves. This direct involvement can be rewarding and offers a deeper understanding of your vehicle’s systems.
In summary, the neutral safety switch offers a trifecta – enhanced safety, mechanical protection, and an edge in legal adherence – wrapped with a sweet bow of accessibility for those who want to exercise a bit of DIY spirit. By taking stock of these benefits, you’re not just tightening a loose auto bolt; you’re securing a critical, often overlooked, piece of your automotive puzzle.
Conclusion
In this guide on how to install a neutral safety switch, we’ve laid out imperative steps that are crucial to a successful installation. Begin by disconnecting the negative battery cable to prevent unintended electrical shorts.
Locate the old switch, typically found on the transmission, and carefully disconnect the electrical wiring. Removing the old switch and installing the new one requires attention to detail and adherence to torque specifications.
Reconnect the wiring and the battery, and then thoroughly test the installation to confirm proper function. Safety remains paramount throughout this process; always handle tools and components carefully.
If, at any point, uncertainty arises, there is no substitute for consulting a professional mechanic. Correct installation is critical for vehicle safety and operation; sometimes, expert intervention is the most reliable route to ensure the job is done right.