
Orange peel in automotive paint is a common issue that can leave the surface of your car looking bumpy and uneven, similar to the texture of orange skin. This phenomenon occurs during the painting process when droplets of paint fail to level out and dry smoothly.

Successfully removing the orange peel from a single-stage paint job requires a meticulous approach, using the right tools and techniques to achieve that desired glossy finish without compromising the integrity of the paint. In the following sections on how to get orange peel out of single stage paint, we will explore step-by-step methods to eliminate orange peel and restore your vehicle’s paint to its original luster.
What is Orange Peel?
Before we dive into the techniques to remove orange peel from single-stage paint, it’s essential to understand what exactly orange peel is. Orange peel refers to the uneven texture on a painted surface that resembles the skin of an orange.
It occurs when the paint droplets do not level out and dry evenly, creating a lumpy and rough finish. This phenomenon can happen due to several factors, such as incorrect spray gun settings, improper paint viscosity, and environmental conditions. Regardless of the cause, orange peel is an undesirable outcome that requires immediate attention to restore your car’s paint finish.
Causes of Orange Peel in Single-stage Paint
As mentioned earlier, several factors can contribute to the occurrence of orange peel in single-stage paint. Some common causes include:
Incorrect Spray Gun Settings
If the air or fluid pressure is too high, it can result in overspray and cause orange peel.
Improper Paint Viscosity
painting with a thicker or thinner consistency than recommended can lead to uneven drying and orange peel.
Environmental Conditions

high humidity, low temperatures, and dust or debris in the air can affect paint drying and cause orange peel.
To avoid orange peel, it’s crucial to ensure that all these factors are properly controlled during the painting process.
Tools and Materials Needed
To successfully remove orange peel from single-stage paint, you will need the following tools and materials:
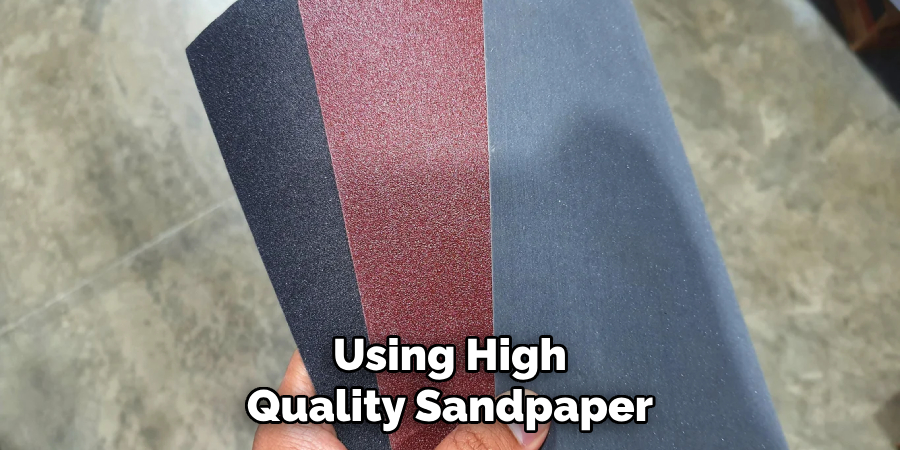
Sandpaper (1000-grit and 2000-grit)
Sandpaper is an essential tool for removing orange peel. Make sure to use high-quality sandpaper with different grit levels, preferably 1000-grit and 2000-grit.
Buffing Pad
A buffing pad is used in conjunction with a polishing compound to remove any scratches or imperfections left over from the sanding process.
Polishing Compound
A polishing compound is a mild abrasive that helps to remove any remaining orange peel after sanding and provides a glossy finish.
Spray Detailer
A spray detailer is used to lubricate the surface during sanding, preventing any damage or scratching.
Polisher
A polisher can be an electric rotary tool or a dual-action orbital polisher. It helps to distribute the polishing compound evenly and achieve a smooth, glossy finish.
Rubbing Alcohol
Rubbing alcohol is used to remove any excess polish residue and prepare the surface for waxing.
10 Simple Step-by-step Guidelines on How to Get Orange Peel Out of Single Stage Paint
Step 1: Prepare the Surface
Before you start removing the orange peel, make sure to wash and dry your car’s surface thoroughly. Any dirt or debris left on the surface can cause further damage during sanding. You can also use a clay bar to remove any contaminants for a smoother surface. But remember to use a lubricant while using the clay bar to prevent any scratches. The surface should be clean and smooth before you move on to the next step.
Step 2: Identify the Affected Area
Inspect your car’s paint for any areas with orange peel. You can use a flashlight to identify any imperfections or uneven surfaces that need attention. The affected area may vary in size, so make sure to mark it with tape or masking paper for easier identification during the sanding process.
You can also use a paint thickness gauge to determine the thickness of the paint in each area. This step will help you maintain consistent pressure while sanding without damaging the underlying layers of paint.
Step 3: Choose the Right Grit Sandpaper
As mentioned earlier, using high-quality sandpaper is crucial for removing orange peel effectively. Start with 1000-grit sandpaper, as it is coarse enough to remove orange peel without causing any significant damage. If the orange peel is severe or has a thicker layer of paint, you can use 800-grit sandpaper instead.
However, for minor imperfections, you can start with 2000-grit sandpaper directly. It is essential to choose the right grit sandpaper to avoid damaging your car’s paint finish. You can also test the sandpaper on a small, inconspicuous area before proceeding to the affected area.
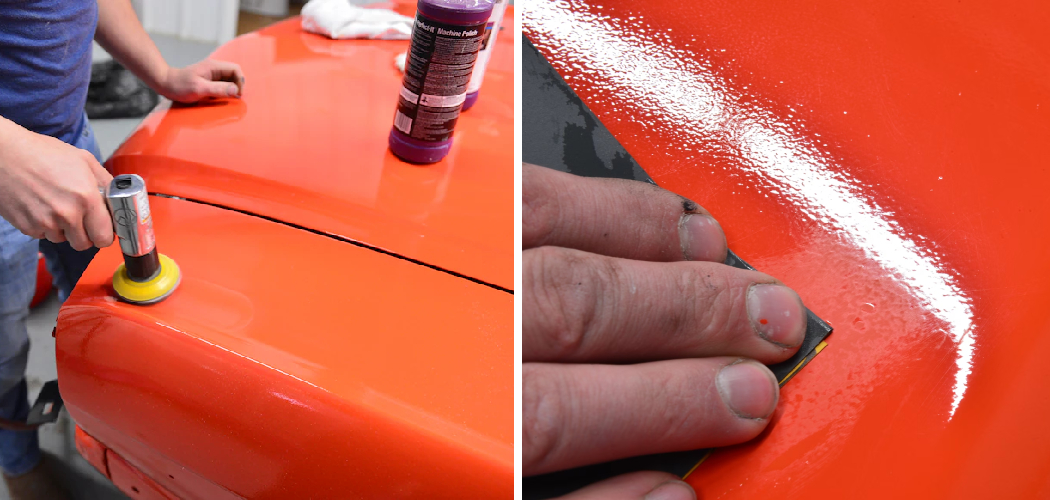
Step 4: Wet Sanding
Wet sanding is a technique used to remove orange peel gently. It involves using water or a lubricant, such as a spray detailer, to wet the surface while sanding. This step helps prevent any scratches and offers smoother results.
Make sure to soak your sandpaper in water for at least 15 minutes before starting the wet sanding process. Otherwise, the sandpaper can become clogged with paint particles and become less effective. But remember not to oversoak the sandpaper as it can also affect its performance. The water should be enough to keep the surface lubricated throughout the
Step 5: Sand the Affected Area
Start sanding the affected area with gentle pressure and in a circular motion. Keep spraying water or lubricant on the surface while sanding to prevent any damage. Always use a clean cloth to wipe off. It is crucial to maintain a steady hand and consistent pressure while sanding.
Also, it would be best to stop and check your progress frequently to avoid any over-sanding. The goal is to level out the orange peel and achieve a smooth, even surface. It may take some time and effort, but be patient as the end result will be worth it. You can also use the paint thickness gauge to check the progress and make sure you do not sand too much.
Step 6: Clean and Dry the Surface
Once you have completed sanding, clean and dry the surface thoroughly. Make sure there is no leftover residue or debris from the sanding process. You can use a microfiber cloth to wipe down the surface and remove any remaining water or lubricant.
After drying, inspect the surface to ensure that all orange peel has been removed. You may need to repeat the sanding process if any imperfections are still visible. This step is crucial to achieve a flawless finish. The cleaner the surface, the better the final result will be.
Step 7: Apply Polishing Compound
Now that you have removed the orange peel, it’s time to polish the surface for a glossy finish. Apply a small amount of polishing compound onto the buffing pad and evenly distribute it on the affected area. Use a polisher to work the compound into the paint in circular motions. You can also use a microfiber cloth to hand-polish the surface if you do not have access to a polisher. Continue polishing until the surface is smooth and glossy. The polishing compound will also help remove any scratches left behind from the sanding process.
Step 8: Remove Excess Compound

After polishing, use a clean microfiber cloth to remove any excess polish residue. You can also use rubbing alcohol to clean the surface and prepare it for waxing. It is essential to remove any excess compound to avoid a hazy or cloudy finish. But be gentle while wiping off, as you don’t want to remove the newly polished surface.
You can also use a detailing light to inspect the surface for any imperfections before moving on to the next step. The surface should be smooth and glossy after this step. It’s almost time to apply wax and protect the newly polished surface. The wax will also help seal the paint and prevent any further orange peel from forming.
Step 9: Waxing
Waxing your car’s paint helps protect it from UV rays and gives it a glossy finish. Apply a thin layer of wax onto the affected area with a microfiber applicator pad. Use a clean buffing pad or microfiber cloth to buff the wax until it is evenly distributed and has a glossy finish. You can also use a carnauba-based wax for added protection and shine.
Thoroughly inspect the surface to ensure there are no remaining imperfections or uneven areas. The wax will also help hide any minor imperfections left behind. It would be best to wait at least 30 minutes before applying a second layer of wax for a deeper shine. If you notice any areas with a cloudy or hazy finish, you can use a detailing spray to remove it.
Step 10: Final Inspection
After completing all the steps, inspect your car’s surface for any remaining imperfections. If you notice any uneven areas or orange peel, repeat the necessary steps until you achieve a smooth and glossy finish.
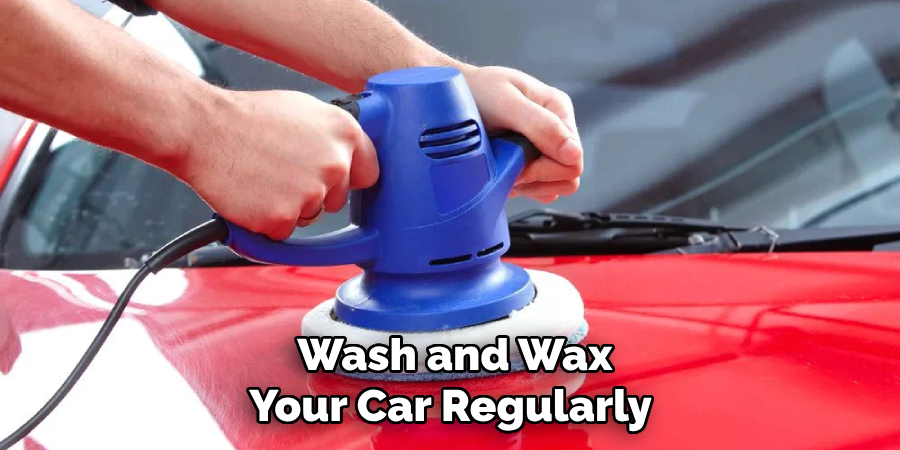
Once you are satisfied with the results, you can move on to waxing the rest of your car’s surface for a uniform look. Remember to wash and wax your car regularly to maintain a flawless paint finish. Always use high-quality products and techniques to avoid any damage to your car’s paint. With these steps, you can effectively remove orange peel from your car’s surface and achieve a professional-looking finish.
Following these steps on how to get orange peel out of single stage paint will help you remove orange peel from your car’s paint and achieve a smooth, glossy finish. Remember to take your time and be patient, as it may require multiple attempts to achieve the desired results. With proper care and maintenance, your car will have a flawless paint finish that will turn heads on the road. So go ahead and give your car the pampering it deserves, and enjoy a showroom-worthy shine. Happy detailing!
Troubleshooting and Common Challenges
- If the sandpaper is not soaked in water long enough, it can cause clogging and lead to scratches on the surface.
- Using too much pressure while sanding can damage the paint finish.
- Not checking your progress frequently can result in over-sanding and uneven surfaces.
- Improper cleaning and drying of the surface before polishing can lead to a hazy or cloudy finish.
- Not using a buffing pad or microfiber cloth to remove excess polishing compound can leave behind residue and affect the final result.
- Applying too much wax can lead to buildup and unevenness on the surface. It is essential to use a thin, even layer of wax for best results.
Overall, it is crucial to take your time and follow each step carefully to achieve the best results. Don’t rush through the process and be patient with each step for a flawless finish. If you encounter any challenges, don’t hesitate to seek advice or help from professionals experienced in car detailing. With practice and proper technique, you can master the art of removing orange peel and achieving a showroom-worthy shine on your car’s paint.
Post-Correction Care and Protection
After successfully removing the orange peel, it is essential to take proper care of your car’s paint to maintain its flawless finish. Here are some tips for post-correction care and protection:
- Regularly Wash Your Car Using a Mild Soap or Car-specific Shampoo to Remove Any Dirt or Debris That Can Cause Scratches on the Surface.
- Avoid Using Harsh Chemicals or Abrasive Cleaning Tools That Can Damage the Paint Finish.
- Use a High-quality Wax or Sealant to Protect Your Car’s Paint From Uv Rays and Environmental Elements.
- Regularly Inspect and Touch Up Any Imperfections or Scratches to Maintain a Flawless Finish.
- Avoid Parking Your Car Under Direct Sunlight for Extended Periods, as It Can Cause Fading and Damage to the Paint.
Following these tips will help you protect and preserve your car’s newly corrected paint finish for a long time. So go ahead and show off your glossy, orange peel-free ride with pride!
Environmental and Safety Considerations
When performing any car detailing or paint correction, it is essential to consider the environmental and safety implications. Here are some tips to minimize your impact on the environment and ensure your safety while removing orange peel from single stage paint:
- Use Biodegradable Cleaning Products and Avoid Chemicals That Can Harm the Environment.
- Dispose of Any Used Materials, Such as Sandpaper and Polishing Pads, Properly According to Local Regulations.
- Wear Protective Gear Such as Gloves, Safety Goggles, and Dust Masks When Handling Chemicals or Performing Sanding and Buffing.
- Work in a Well-Ventilated Area to Avoid Inhaling Fumes From Chemicals or Dust from Sanding.
- Avoid Using Power Tools That Can Cause Damage or Injuries if Not Used Properly.
By following these safety and environmental guidelines, you can enjoy the benefits of a shiny car while minimizing any potential harm.
Frequently Asked Questions
Q: Can I Remove Orange Peel From My Car’s Paint Without Professional Help?
A: Yes, with the right tools and techniques, you can remove orange peel from your car’s paint at home. However, it requires patience and practice to achieve the desired results.
Q: How Often Should I Wax My Car After Removing Orange Peel?
A: It is best to wax your car every 3-4 months for long-lasting protection and a glossy finish. However, you can also touch up any imperfections with wax as needed.
Q: Can I Use Any Type of Wax for My Car?
A: It is recommended to use a high-quality carnauba-based wax for added protection and shine. However, there are also synthetic waxes available that can provide similar results. It is essential to choose a wax specifically designed for automotive use and follow the manufacturer’s instructions for the best results.
Q: How Can I Prevent Orange Peel from Occurring on My Car’s Paint?
A: To prevent orange peel, it is crucial to properly prepare the surface before painting, use high-quality paint products, and ensure proper application techniques. Regular maintenance and care, such as washing and waxing, can also help maintain a smooth paint finish.
Q: Is Removing Orange Peel a Permanent Solution?
A: While removing orange peel can significantly improve the appearance of your car’s paint, it is not a permanent solution. Regular maintenance and care are necessary to keep the paint finish looking flawless. Additionally, factors such as environmental elements and daily wear can also affect the longevity of the correction. It is essential to continue practicing good car care habits to maintain the desired results.
Conclusion
In conclusion, achieving a smooth, orange peel-free finish on a vehicle with single-stage paint is a matter of patience, precision, and the right technique. Through careful wet sanding, polishing, and protective measures, you can restore your car’s surface to a factory-fresh appearance.
Remember that maintaining the quality of your paint job is just as crucial as the initial work, so employ regular maintenance and protective steps to keep your vehicle looking its best. With this guide on how to get orange peel out of single stage paint, your efforts will shine through in the glossy, even finish of your car’s paint.