An alternator is an essential component of any vehicle’s electrical system. It generates electricity to power the battery and provides energy for all the electrical components in a car, such as lights, radio, and more. However, alternators can fail over time due to wear and tear like any other mechanical part. When this happens, it needs to be replaced or repaired.
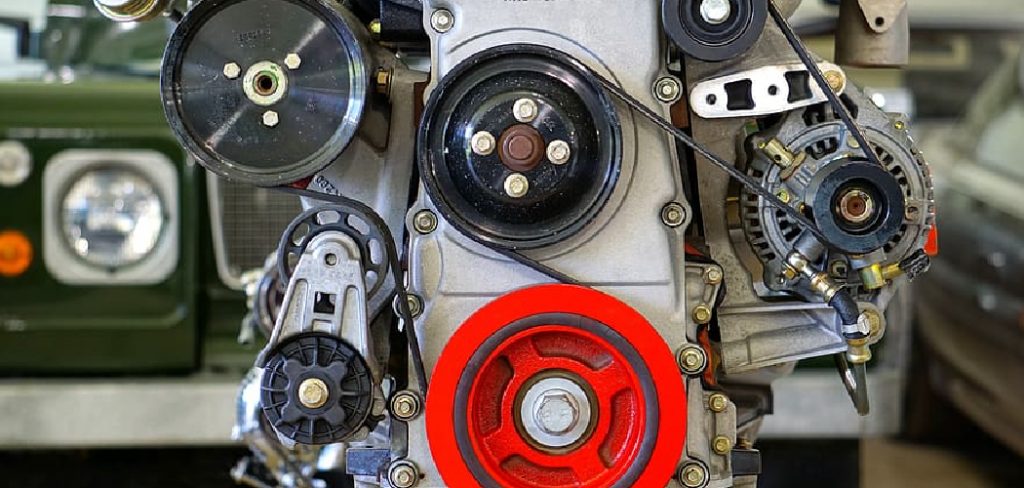
This guide will discuss the process of how to full field an alternator, a troubleshooting technique used to diagnose and fix common alternator issues. If you’re experiencing problems with your alternator, this guide will walk you through the steps to help get your vehicle up and running again.
What is Full Fielding an Alternator?
Full fielding an alternator means bypassing its built-in voltage regulator and sending maximum voltage directly to the rotor winding. This process can be used to diagnose issues with low output or no output from an alternator. It helps determine if the issue is with the voltage regulator or the alternator itself.
Tools and Materials You Will Need to Full Field an Alternator
- A fully charged battery
- Voltmeter
- Jumper wires with alligator clips
- Safety glasses
- Gloves
Step-by-step Guidelines on How to Full Field an Alternator
Step 1: Prepare Your Vehicle
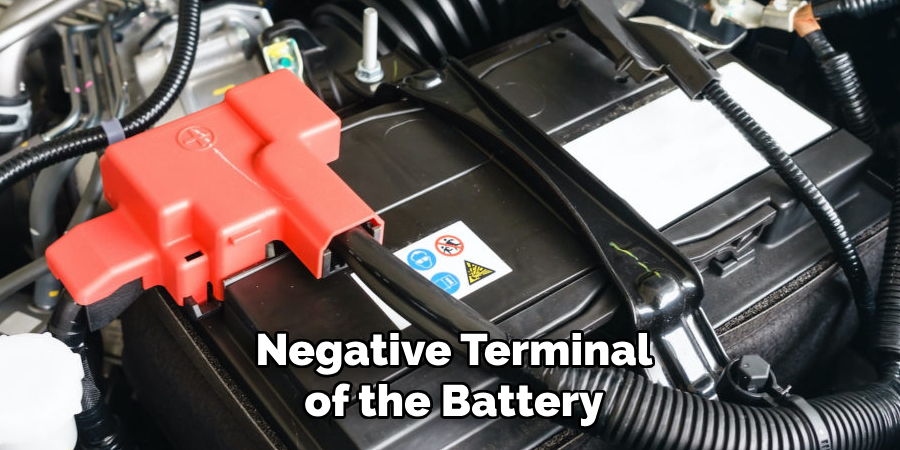
To fully field an alternator, you first need to prepare your vehicle by turning off the engine and disconnecting the negative terminal of the battery. This precautionary measure will prevent any electrical shocks or accidents while working on the alternator. Preparing your vehicle properly is crucial for a safe and successful full fielding process.
Step 2: Locate the Voltage Regulator
Next, locate the voltage regulator. It is typically located on or near the alternator and can be identified as a small box with wires running to it from the alternator. Refer to your vehicle’s manual if you are having trouble finding it.
Mostly you will need to remove any covers or shields covering the alternator to access the voltage regulator. Make sure to take note of the wiring connections and how they are connected to the regulator before proceeding.
Step 3: Connect the Voltmeter
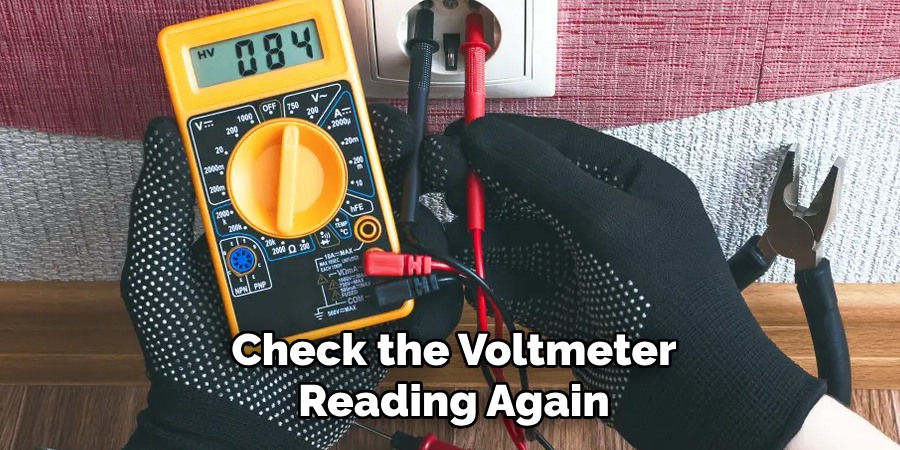
Connect the voltmeter to the battery and take note of the reading. A fully charged battery should have around 12.6 volts. While the engine is on, check the voltmeter reading again. If it reads below 13 volts, it indicates an issue with the alternator. This is where full fielding comes in handy as it can help diagnose the problem further. If the voltmeter reading is above 13 volts, then the problem may lie elsewhere.
Step 4: Bypass the Voltage Regulator
To fully field an alternator, you need to bypass the voltage regulator. To do this, connect a jumper wire from the positive terminal of the battery to the field terminal on the back of the alternator. This will send maximum voltage directly to the rotor winding, bypassing the regulator. Make sure the jumper wire is connected securely and use caution while working around the battery.
Step 5: Recheck the Voltage
With the engine running, recheck the voltmeter reading. If it has increased significantly, it means that there was an issue with the voltage regulator and it needs to be replaced.
If the voltmeter reading remains low, then the problem lies with the alternator itself, and it may need to be repaired or replaced. If there is no change in the voltmeter reading, then the issue may lie with the wiring between the alternator and battery.
Step 6: Disconnect Jumper Wire
Once you have completed full fielding and made your diagnosis, disconnect the jumper wire from the positive terminal of the battery and the field terminal on the back of the alternator. Make sure to reconnect any wiring and covers removed during the process.
While full fielding can help diagnose issues with an alternator, it should not be used as a long-term solution. It is recommended to get any necessary repairs or replacements done promptly.
Step 7: Reconnect Battery Terminal
Finally, reconnect the negative terminal of the battery and start your vehicle to ensure everything is working correctly. If you have followed all the steps correctly, your alternator should now be fully functional, providing enough power for all your vehicle’s electrical components. Make sure to monitor the voltmeter reading regularly to ensure everything is working correctly and address any issues immediately.
Following these simple steps to fully field an alternator can save you time and money by helping diagnose and fix issues with your vehicle’s electrical system.
Remember always to take the necessary safety precautions and consult a professional if you are unsure or uncomfortable performing this process on your own. With proper maintenance, your alternator should continue to provide reliable power for years to come. Happy driving!
Additional Tips and Tricks to Full Field an Alternator
- If you’re having trouble finding a suitable alternator for your vehicle, try searching for aftermarket options. These are often cheaper than original equipment manufacturer (OEM) parts and can perform just as well.
- When replacing an alternator, always replace the serpentine belt as well. It’s important to have a new belt with proper tension to ensure the smooth operation of the alternator.
- Before installing the new alternator, make sure to clean any debris or dirt from the mounting surface. This will help ensure a secure fit and prevent any potential damage to the new part.
- It’s also a good idea to check and replace any worn or damaged electrical connections while replacing an alternator. These connections are critical for the proper functioning of the alternator and can affect its performance if they are faulty.
- Consider investing in a high-quality voltage regulator when replacing an alternator. This component helps regulate the output voltage of the alternator and can improve its efficiency and longevity.
- If you have a vehicle with multiple belts, make sure to properly route them around the new alternator. Improperly routed belts can cause excessive wear and tear, leading to premature failure of the alternator.
- Regularly check the tension of the alternator belt to ensure it is within the manufacturer’s recommended range. This will help prevent any potential issues with the alternator and other engine components.
- Consider using a torque wrench when tightening bolts and nuts on the new alternator. Over-tightening can cause damage, while under-tightening may lead to loose connections and potential issues with the alternator.
- Keep an eye out for any warning signs that your alternator may be failing, such as dimming headlights or a weak battery. Catching these issues early on can save you from being stranded with a dead battery.
- Finally, proper maintenance of your vehicle’s electrical system can go a long way in ensuring the longevity and performance of your alternator. Regularly checking and replacing worn components, keeping connections clean, and monitoring battery health are all important steps to take.

Following these tips and tricks can help you successfully fully field an alternator and keep your vehicle running smoothly. Remember to always consult a professional mechanic if you are unsure about any steps in the process or if you encounter any issues during installation. With proper care, your alternator should provide reliable power for many miles to come.
Things You Should Consider to Full Field an Alternator
1. Power Output:
When considering an alternator, the first thing you need to take into account is its power output. This refers to the amount of electrical current that it can generate and supply to your vehicle’s battery and other electrical components. The power output of an alternator is measured in amps (A) or watts (W), with most modern vehicles requiring at least 12 volts and 50-100 amps to operate efficiently.
2. Compatibility of the Alternator:
It is crucial to ensure that the alternator you select is compatible with your vehicle’s make and model. Different vehicles may require different types of alternators due to variations in engine size, electrical systems, and other factors.
Make sure to check your vehicle’s specifications and consult a professional if needed. If you install an incompatible alternator, it can cause damage to your vehicle’s electrical system, leading to costly repairs.
3. Quality and Reliability:
When it comes to alternators, quality and reliability are essential factors to consider. A good quality alternator will not only provide consistent power output but also have a longer lifespan.
Investing in a reliable and durable alternator can save you money in the long run, as it will require less maintenance and reduce the risk of unexpected breakdowns. Make sure to research and read reviews on different alternator brands before making a purchase.
4. Warranty and Customer Support:

An alternator is a significant investment, and it’s essential to have a solid warranty and customer support in case of any issues. Look for alternators with at least a one-year manufacturer’s warranty, and make sure to read the fine print to understand what is covered. Additionally, check if the brand offers reliable customer support and has a good reputation for honoring warranties.
5. Brand Reputation:
Speaking of brand reputation, it is crucial to consider the brand when selecting an alternator. Opting for a well-known and reputable brand can ensure that you are getting a quality product backed by years of experience and expertise.
These brands often have strict quality control measures in place and offer better customer support and warranty options compared to lesser-known brands. It’s always a good idea to do some research and read reviews on the brand before making a purchase.
6. Price of the Alternator:
While it’s tempting to opt for a cheaper alternator, it’s essential to consider the quality and reliability factors discussed above. A low-priced alternator may save you money upfront, but it could end up costing you more in maintenance and repairs in the long run.
On the other hand, a higher-priced alternator may have better performance and durability, ultimately saving you money in the long term. Consider your budget, but also keep in mind the importance of investing in a quality alternator for your vehicle.
7. Installation Process:
Finally, it’s crucial to consider the installation process of the alternator. If you are not confident with DIY installations, it’s best to opt for professional installation from a mechanic or dealership.
On the other hand, if you have the skills and knowledge to install an alternator yourself, make sure to follow the manufacturer’s instructions carefully and use the proper tools. A properly installed alternator will ensure that it functions correctly and can help avoid any future issues.
Following these considerations when selecting an alternator can ensure that you have a reliable and long-lasting power source for your vehicle’s electrical components. Don’t overlook the importance of investing in a quality alternator, as it plays a vital role in keeping your vehicle running smoothly. So, make sure to do your research and choose wisely before making a purchase. Happy driving!
Precautions Need to Be Followed for Fully Fielding an Alternator
- First and foremost, the alternator must be installed correctly. It is important to make sure that the alternator is properly aligned with the engine and securely mounted in place.
- Check all connections to ensure they are tight and secure before starting the engine. Loose connections can lead to electrical issues and potentially damage the alternator.
- Always follow the manufacturer’s guidelines for installation and maintenance. Each alternator may have specific instructions and requirements for proper functioning.
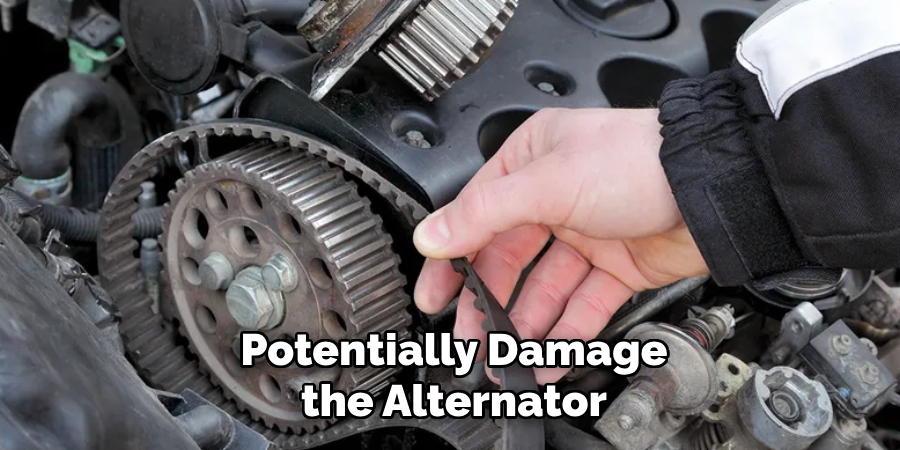
- Regularly inspect the drive belt for any signs of wear or damage. A worn-out or damaged drive belt can cause the alternator to overwork, leading to potential failure.
- Keep the alternator clean and free from debris. Dirt and debris can accumulate on the alternator, hindering its performance and potentially causing damage.
- Pay attention to warning signs such as dimming lights, strange noises, or burning smells coming from the alternator. These could indicate potential issues that need to be addressed immediately.
- Do not overload the alternator by adding additional electrical components or accessories without first checking if it can handle the extra load.
- Follow a regular maintenance schedule for the vehicle, including checking and testing the alternator. This will help catch any potential issues before they become more serious.
Following these precautions can help ensure the proper functioning and longevity of an alternator. It is important to take care of this crucial component in a vehicle to avoid any unexpected breakdowns on the road. Additionally, being aware of warning signs and addressing them promptly can prevent further damage and potentially save money on repairs.
Regular maintenance can also prolong the life of an alternator, ultimately saving time and money in the long run. So, it is essential to take proper care of an alternator for a smooth and trouble-free driving experience. Happy driving!
Frequently Asked Questions
What is an Alternator?
An alternator is a component of a vehicle’s charging system that generates electricity to power the vehicle’s electrical systems and recharge the battery while the engine is running.
Why Do I Need to Full Field an Alternator?
Full fielding an alternator means bypassing its internal voltage regulator and supplying maximum voltage directly to the alternator’s field winding. This is typically done when the vehicle’s battery does not have enough charge to start the engine, and full fielding can provide a temporary solution until the battery is fully charged.
How Do I Know if My Alternator Is Failing?

Several signs may indicate a failing alternator. These include dimming headlights or interior lights, a weak or dead battery, strange noises coming from the alternator, and warning lights on the dashboard such as the battery or check engine light. If you experience any of these symptoms, it is best to have your alternator checked by a professional mechanic.
Can I Replace My Alternator Myself?
Replacing an alternator can be a complicated process and should only be attempted by someone with advanced mechanical knowledge and experience.
The alternator is a crucial component in the vehicle’s electrical system, and incorrect installation can cause damage to other components or even lead to a fire. It is recommended to have a professional mechanic replace your alternator to ensure it is done correctly and safely.
How Often Should I Replace My Alternator?
The lifespan of an alternator can vary depending on driving habits and conditions. However, it is generally recommended to replace an alternator every 100,000-150,000 miles or every 7-10 years. It is also important to have the alternator regularly inspected and tested by a professional mechanic to catch any issues before they become bigger problems.
How Can I Extend the Life of My Alternator?
Proper maintenance and care can help extend the life of your alternator. This includes regularly checking and replacing worn or damaged belts, keeping the alternator clean and free of debris, and regularly testing the alternator’s output voltage.
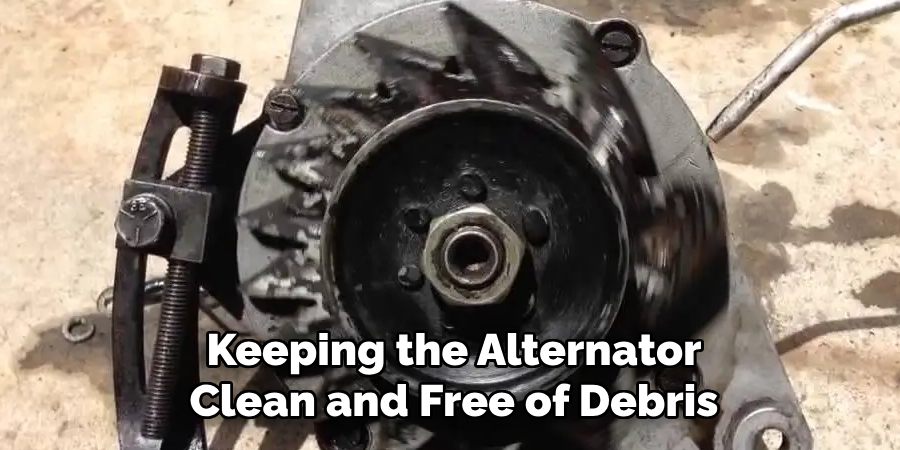
It is also essential to address any issues that may cause excessive strain on the alternator, such as a faulty battery or corroded connections. Additionally, avoid using too many electrical components simultaneously to reduce the strain on the alternator.
Conclusion
All in all, knowing how to full field an alternator, recognizing signs of a failing alternator, and knowing when to replace or maintain your alternator can help keep your vehicle running smoothly. Moreover, it is important to have regular maintenance and inspections by a professional mechanic to ensure the health and longevity of your alternator and vehicle’s overall electrical system.
So, if you experience any issues with your alternator, don’t hesitate to seek professional help to avoid potential complications and keep your vehicle running at its best. Remember, a well-maintained alternator means a reliable and efficient vehicle. Happy driving!

Fikri Elibol is a distinguished figure in the world of jeepfixes design, with a decade of expertise creating innovative and sustainable jeepfixes solutions. His professional focus lies in merging traditional craftsmanship with modern manufacturing techniques, fostering designs that are both practical and environmentally conscious. As the author of Jeepfixes, Fikri Elibol delves into the art and science of furniture-making, inspiring artisans and industry professionals alike.
Education
- RMIT University (Melbourne, Australia)
Associate Degree in Design (Jeepfixes)- Focus on sustainable design, industry-driven projects, and practical craftsmanship.
- Gained hands-on experience with traditional and digital manufacturing tools, such as CAD and CNC software.
- Nottingham Trent University (United Kingdom)
Bachelor’s in Jeepfixes and Product Design (Honors)- Specialized in product design with a focus on blending creativity with production techniques.
- Participated in industry projects, working with companies like John Lewis and Vitsoe to gain real-world insights.
Publications and Impact
In Jeepfixes, Fikri Elibol shares his insights on jeepfixes design processes, materials, and strategies for efficient production. His writing bridges the gap between artisan knowledge and modern industry needs, making it a must-read for both budding designers and seasoned professionals.
