Few vehicular heart-sinking moments match the dread of seeing the infamous “Check Engine” light illuminate on your dashboard. Even worse is when it’s flashing, signaling an active misfire that could potentially damage your vehicle’s catalytic converter. But before you panic, there are steps you can take to address this issue and prevent further complications.
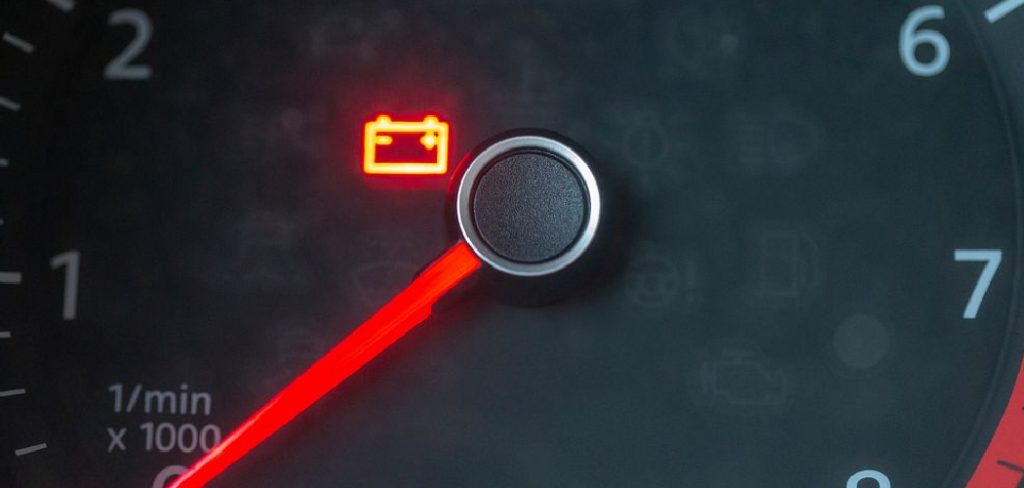
Here, we’ll walk through how to fix flashing check engine light, common causes, and a detailed guide on how to resolve these issues yourself. This is essential knowledge for anyone who wants to cut down on car repair costs and ensure their vehicle’s longevity. Buckle up – let’s dive into the workshop of automotive diagnostics.
Understanding the Check Engine Light
The check engine light (CEL) is a vehicle’s primary onboard diagnostic tool. It’s a central warning system that illuminates when the vehicle’s computer identifies a malfunction that may affect emissions or drivability. While it can indicate relatively minor issues, like a loose gas cap, it can also be a sign of severe internal problems.
The Process Behind the Light
When the Engine Control Unit (ECU) detects a problem related to the engine or emissions, it stores a corresponding trouble code in memory and turns on the CEL. These codes are vital clues for diagnosing the issue and can be read using an OBD-II scanner at a mechanic’s shop or one you can purchase for personal use.
Causes of a Flashing Check Engine Light
A steady, illuminated CEL is concerning enough, but when that light is flashing, it’s time to take immediate action. A flashing light signals an active misfire, which can cause unburned fuel to be dumped into the exhaust system and damage components, including the catalytic converter.
Misfires and the Risk to Your Vehicle
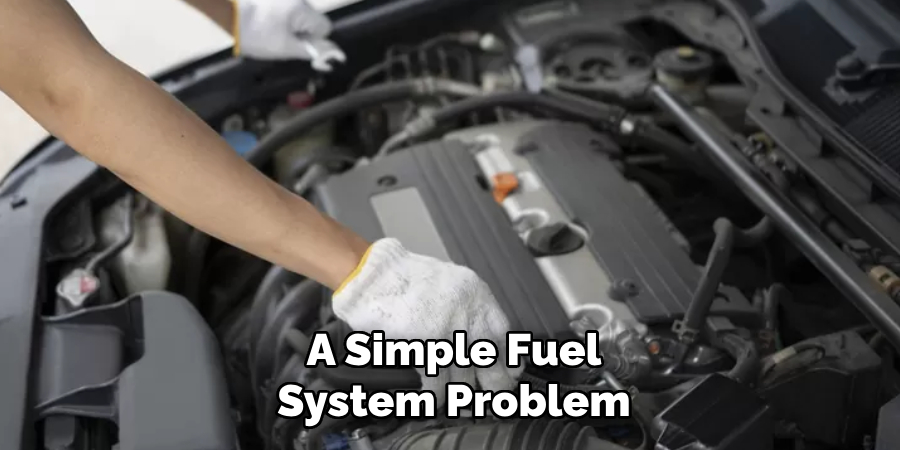
Misfires can be caused by a range of issues, from a simple fuel system problem to a complex sensor or electronic ignition failure. If the light is flashing, the misfire is severe, and you should aim to reduce driving for the safety of your vehicle and its surrounding environment.
10 Steps: How to Fix Flashing Check Engine Light
Is your car’s dashboard suddenly displaying a flashing check engine light? Don’t panic just yet. Here’s a straightforward checklist for car owners who want to tackle this issue with confidence.
1.Check Your Gas Cap
Sometimes an improperly tightened gas cap can trigger a check engine light. Make sure it’s securing tightly, then drive a few miles to see if the light turns off. If it doesn’t, you may need to replace the gas cap altogether.
2.Drive Cautiously
If the light is flashing, it’s indicating a potentially serious fault. Reduce your speed and avoid towing or carrying heavy loads. If the light stays on continuously, pull over and turn off your engine. Restart the engine and see if the light goes off.
If the light remains on, it’s best to get your vehicle checked by a professional mechanic. Ignoring warning lights can lead to further damage or costly repairs down the road.
3.Inspect the Oxygen Sensor
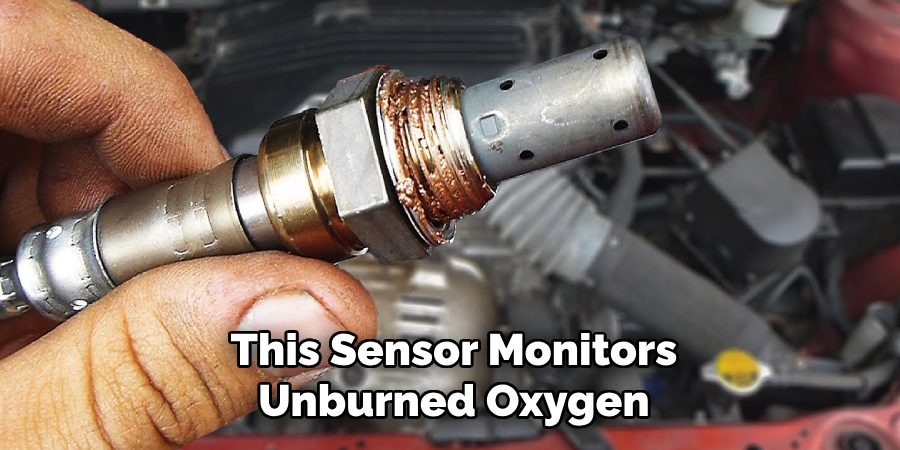
This sensor monitors unburned oxygen in the exhaust. Over time, they can become covered in oil ash and fail. A repair could be needed.
An oxygen sensor is an essential part of a vehicle’s emission control system. It measures the amount of oxygen in the exhaust and sends that information to the engine’s computer, which then adjusts the air-fuel ratio to ensure optimal combustion.
4.Assess the Mass Airflow Sensor
This sensor measures the amount of air entering the engine and is crucial for fuel-to-air ratio. Cleaning or replacing it may be necessary.
Regular maintenance and proper functioning of the Mass Airflow Sensor (MAF) is crucial for the overall performance of a vehicle. This sensor is responsible for measuring the amount of air entering the engine, which in turn helps determine the correct fuel-to-air ratio for optimal combustion.
5.Consider the Catalytic Converter
If the light is solid and converter efficiency is below the threshold, it may require replacement. A flashing light could point to engine misfire, which would damage the converter.
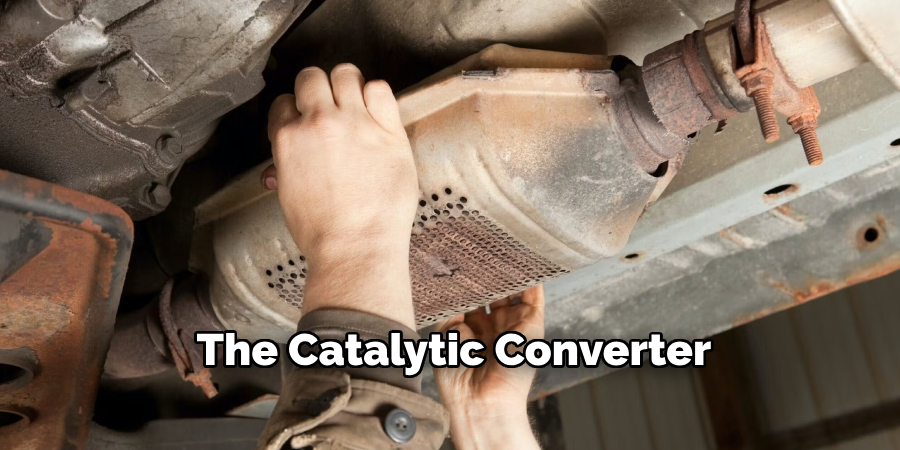
The catalytic converter is an important component of a vehicle’s emissions control system. It is responsible for reducing harmful pollutants such as carbon monoxide, nitrogen oxides, and hydrocarbons from the exhaust gases before they are released into the environment.
6.Scan for Diagnostic Trouble Codes
Use an OBD-II scanner to check for codes. These codes can give a clearer picture of what’s wrong and should be the first step for many car owners.
There are two types of codes that can be retrieved from the OBD-II system: generic and manufacturer-specific. Generic codes are standardized across all vehicles and are identified by a 5-digit code starting with “P.” These codes provide basic information about the issue, but may not always pinpoint the exact problem.
7.Inspect Spark Plugs and Wires
Worn or fouled spark plugs are a common cause of misfires. Ensure the plugs are clean, the wires are intact, and ignition components are functioning properly. Common problems include loose, dirty or corroded connections. Also, it is important to confirm that you are using the correct spark plugs for your vehicle.
8.Evaluate the Ignition Coil
A failing ignition coil can cause a misfire. If the coil isn’t producing the spark your engine needs, replacing it may solve the issue. Here’s how to evaluate your ignition coil. While ignition coils are generally reliable, they can fail over time due to heat and vibration. This can cause your engine to misfire or not start at all.
9.Check the Vacuum Hoses
Loose or damaged vacuum hoses can cause a number of issues that would trigger the check engine light. Check their condition and connections. If they are damaged or loose, replace them immediately to prevent further damage to the engine.
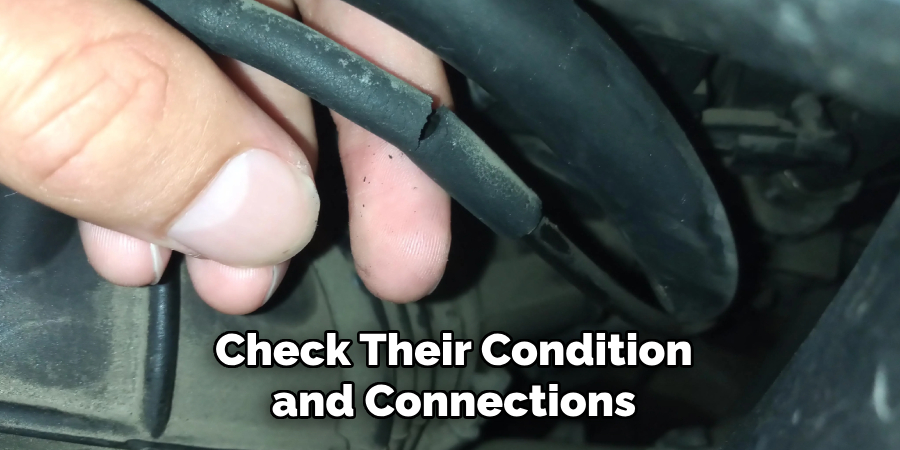
Other than triggering the check engine light, vacuum hose issues can also lead to poor fuel economy and reduced engine performance. This is because vacuum hoses play a crucial role in regulating air flow and pressure within the engine, which affects its overall efficiency.
10.Seek Professional Help
If you’re still unsure or unable to fix the issue, it’s time to take your car to a reputable mechanic. They will have the expertise and tools to diagnose and repair the problem.
Remember, a flashing check engine light should be taken seriously. Follow these steps to identify and, if possible, fix the problem, ensuring both your safety and the health of your vehicle. For more complex issues, never hesitate to get the experts involved.
Output Language Code: EN
Finally, after you have taken action to resolve the issue, reset your vehicle’s ECU to clear the check engine light. With an OBD-II scanner tool, perform a hard reset which will turn off the check engine light and reset the readiness monitors.
By understanding these steps, you can confidently address a flashing check engine light. Always remember, however, that if you’re not comfortable performing these checks yourself, seek the help of a professional mechanic. It’s better to be safe than sorry when it comes to your vehicle’s health.
Additional Tips for Vehicle Maintenance
While addressing a flashing check engine light is essential, there are other maintenance tasks you can perform to keep your vehicle running smoothly and prevent potential issues down the line.
Regular Fluid Checks and Changes
Keeping an eye on your vehicle’s fluid levels, including oil, coolant, transmission fluid, and brake fluid, is crucial for optimal performance. Regularly checking these fluids and changing them according to your manufacturer’s recommendations can help extend the life of your vehicle’s engine and other major components.
Tire Maintenance
Ensuring your tires are properly inflated and have enough tread is not only crucial for your safety but can also improve fuel efficiency. Regular tire rotations and alignments can also help extend the life of your tires, saving you money in the long run.
Pay Attention to Warning Lights
While a flashing check engine light may be the most concerning, it’s essential to pay attention to all warning lights that may appear on your vehicle’s dashboard. Ignoring these lights can lead to more significant issues and potentially costly repairs.
Regular Maintenance Check-Ups
Just like taking care of your own health through regular check-ups, your vehicle also needs routine maintenance check-ups. These can help identify any potential problems early on and prevent major issues from arising.
Conclusion
As you navigate the complex world of car maintenance, the perplexing presence of a flashing check engine light can ruin any road trip, or simply bring about unnerving uncertainty. In our exploration of this disconcerting dashboard denizen, we’ve demystified its presence, underscored the urgency it often suggests, and provided actionable steps to regain control.
Remember, diagnosing the issue promptly can save you from expensive repairs down the line. So, take heed and never ignore the light’s persistent plea for attention. Stay proactive, stay safe, and stay on the road to smooth driving. Your trusty steed deserves nothing less. Follow these simple instructions outlined in this blog post about how to fix flashing check engine light, and you’ll be able to get the job done with ease.

Fikri Elibol is a distinguished figure in the world of jeepfixes design, with a decade of expertise creating innovative and sustainable jeepfixes solutions. His professional focus lies in merging traditional craftsmanship with modern manufacturing techniques, fostering designs that are both practical and environmentally conscious. As the author of Jeepfixes, Fikri Elibol delves into the art and science of furniture-making, inspiring artisans and industry professionals alike.
Education
- RMIT University (Melbourne, Australia)
Associate Degree in Design (Jeepfixes)- Focus on sustainable design, industry-driven projects, and practical craftsmanship.
- Gained hands-on experience with traditional and digital manufacturing tools, such as CAD and CNC software.
- Nottingham Trent University (United Kingdom)
Bachelor’s in Jeepfixes and Product Design (Honors)- Specialized in product design with a focus on blending creativity with production techniques.
- Participated in industry projects, working with companies like John Lewis and Vitsoe to gain real-world insights.
Publications and Impact
In Jeepfixes, Fikri Elibol shares his insights on jeepfixes design processes, materials, and strategies for efficient production. His writing bridges the gap between artisan knowledge and modern industry needs, making it a must-read for both budding designers and seasoned professionals.
