

Are you having trouble with your car’s electric system? Are you experiencing issues such as a dead battery, flickering lights, or difficulty starting your car? Electrical problems in vehicles can be frustrating and even dangerous.
Electrical issues in vehicles can range from the perplexingly simple to the intractably complex, often leaving drivers with a sense of helplessness. However, rightly approached, the task of troubleshooting and fixing electrical problems in cars is within the grasp of many.
In this guide, we will embark how to fix electrical problems in cars, offering insight and practical advice on how to diagnose issues, from faltering headlights to uncooperative electric windows, and the most common fixes you can perform safely and efficiently.
Whether you’re a seasoned DIY enthusiast or a newcomer armed with a multimeter and a sense of curiosity, you’ll find invaluable information to keep your vehicle running smoothly.
What are the Causes of Electrical Problems in Cars?
Before diving into how to fix electrical problems in cars, it’s crucial to understand what causes them. The most common culprits are faulty wiring, corroded connections, and defective components such as alternators or batteries. However, other factors such as water damage, rodents chewing on wires, or even a blown fuse can also lead to electrical issues.
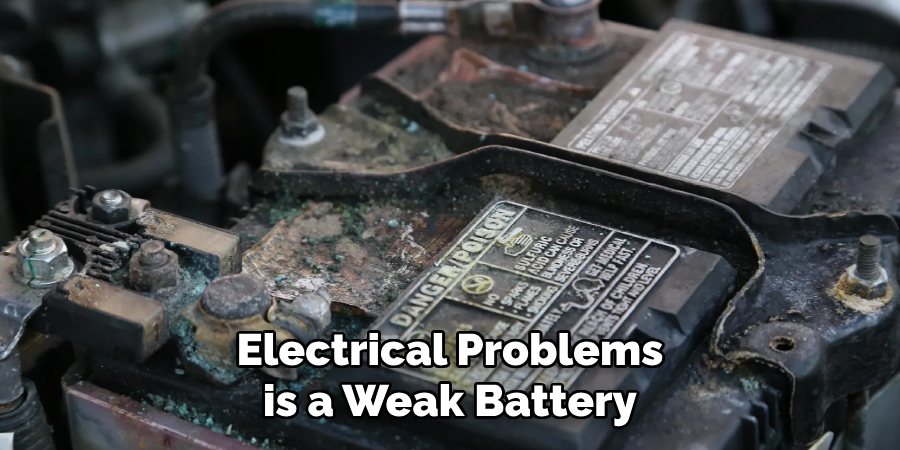
Another common cause of electrical problems is a weak battery. Over time, batteries can lose their charge and become less efficient, leading to difficulties starting the car or even causing it to stall while driving. It’s essential to regularly check and maintain your car’s battery to avoid potential issues.
Moreover, modern cars have complex electrical systems, including sensors and computers that control various functions. Any malfunction or faulty component in these systems can result in unexpected electrical problems.
Overall, the key to fixing electrical problems in cars is identifying the root cause before attempting any repairs. This way, you can avoid wasting time and money on unnecessary replacements.
What Tools and Materials Do You Need?
You’ll need some essential tools and materials to properly diagnose and fix electrical problems in cars. These include:
- Multimeter – this device measures electrical current, voltage, and resistance.
- Wire Cutters/strippers – used for cutting and stripping wires.
- Electrical Tape – necessary for insulating exposed wires or connections.
- Replacement Fuses – in case a blown fuse is the cause of the issue.
- Soldering Iron and Solder – needed for repairing damaged wires or connections.
- Wire Connectors – used to join two or more wires together.
- Electrical Cleaner – for removing dirt and grime from electrical components.
- Replacement Parts – such as alternators, batteries, or sensors if needed.
To avoid delays and frustration, it’s crucial to have these tools and materials on hand before attempting any repairs.
10 Easy Steps on How to Fix Electrical Problems in Cars
Step 1. Safety First:
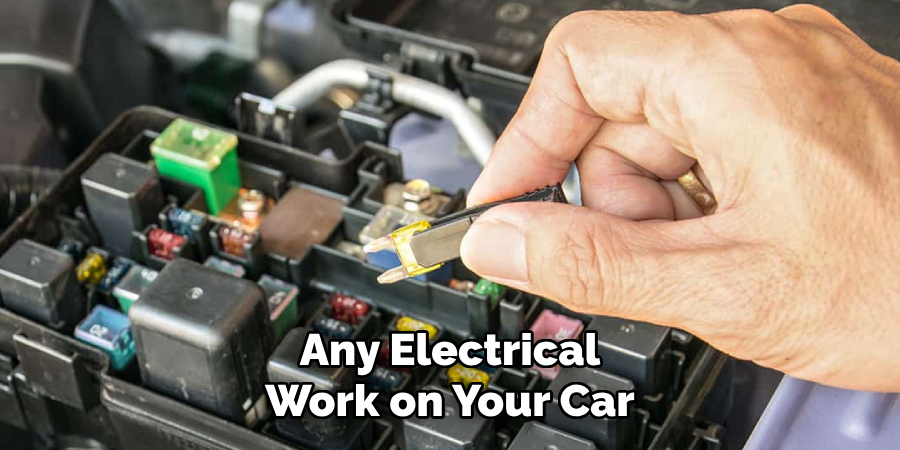
Before beginning any electrical work on your car, ensure the vehicle is turned off, and the keys are removed from the ignition. Always disconnect the battery’s negative terminal to prevent electrical shocks or shorts. If you’re unsure of what you’re doing, it’s always best to seek professional help.
Step 2. Check the Battery:
The battery is often the protagonist in car electrical problems. Begin your troubleshooting by ensuring the battery terminals are clean and firmly attached. Corroded or loose terminals can prevent a car from starting.
Use a multimeter to check the battery voltage. A healthy car battery should typically show about 12.6 volts when the car is off. If the voltage is significantly lower, it might be time to charge or replace the battery. Remember to always reconnect the battery’s negative terminal when you’re done testing.
Step 3. Inspect the Fuses:
The fuse box is one of the simplest things to check when facing electrical issues. A blown fuse can lead to the breakdown of any electronic system within your car. Locate your car’s fuse box, which is typically under the dashboard or in the engine compartment.
Refer to the vehicle’s manual for the specific location and diagram of the fuse box. Remove each fuse and examine it for a broken wire within; only replace fuses with the same amperage rating to avoid electrical mishaps. If you find a blown fuse, replace it and check if that resolves the problem. Remember, frequent blown fuses may indicate a more profound, underlying issue that needs further investigation.
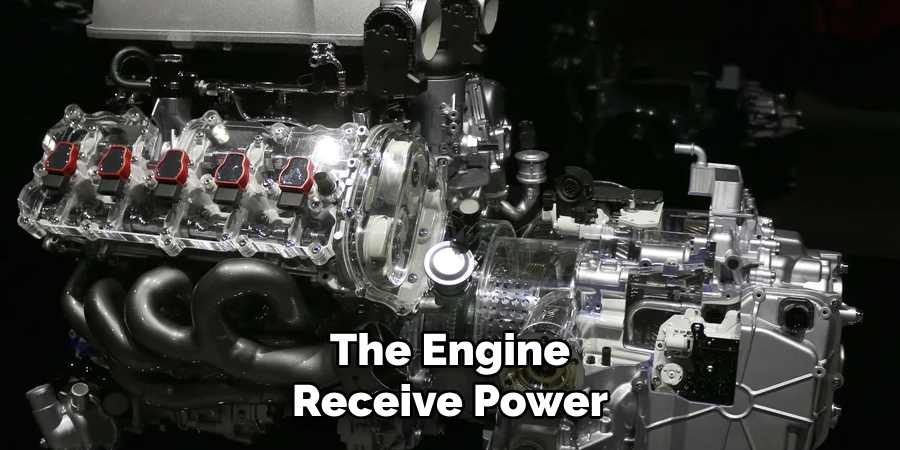
Step 4. Assess the Alternator:

The alternator is integral to your car’s ability to charge the battery and supply power to the electrical system while the engine runs. If your car’s battery continually dies or your lights dim when running the vehicle, the alternator may fail. To check the alternator, first visually inspect it for any signs of wear or damage.
Then, with the car running, use the multimeter to test the output voltage at the battery terminals. You should see a reading between 13.8 and 14.2 volts, which means the alternator is charging the battery correctly. If the voltage is outside this range, further testing of the alternator may be necessary, or it might need to be replaced.
Step 5. Test the Starter:
A failing starter can be a common source of car electrical issues, particularly if you experience difficulties turning the engine over. Start by locating the starter motor in your car, typically found at the lower part of the engine. Listen for a clicking sound when you attempt to start the vehicle—this could indicate a problem with the starter relay or the starter motor.
Use a multimeter to measure the voltage at the starter while the engine is being cranked. The starter should have a robust and consistent current. If the reading is low or intermittent, you may need to replace the starter or its components. Remember to re-engage the battery once testing is complete.
Step 6. Test the Ignition System:
The ignition system is crucial to starting your car as it ignites the fuel and air mixture in the engine. Begin by examining the ignition coil and spark plugs for wear or damage. If they appear to be in bad condition, they may need replacing. To test the ignition coil, disconnect it and use a multimeter to check for healthy primary and secondary resistance.
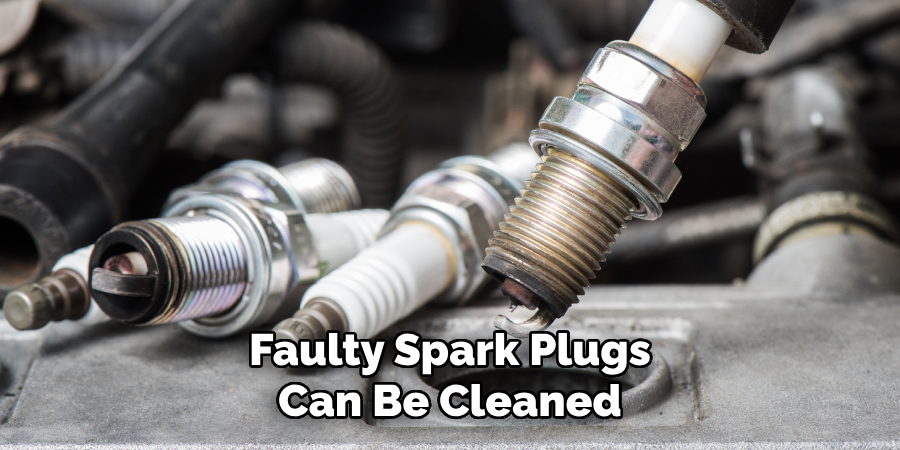
For spark plugs, remove them and look for signs of fouling or a worn-out electrode. Use a spark plug tester to check if they are still sparking effectively. Faulty spark plugs can be cleaned or replaced. If you are unfamiliar with this process or the readings you receive, consult your vehicle’s service manual or seek professional assistance.
Step 7. Examine the Headlights and Taillights:
For issues related to headlights and taillights not functioning, start by checking the bulbs. A burnt-out bulb is one of the most common causes of light failure and is simple to replace. If the bulbs appear to be in working order, examine the wiring leading to the lights for signs of damage or wear. Use your multimeter to ensure there is power reaching the light sockets.
If there’s no power, trace back through the circuit and look for any damaged wires or loose connections that may need to be repaired or replaced. It’s also wise to inspect the headlight and taillight fuses in the fuse box as part of this step. Remember to handle bulbs carefully and always replace them with the correct type specified for your vehicle.
Step 8. Troubleshoot the Electric Windows:
If your car’s electric windows fail to operate, the cause could be a faulty switch, motor, or regulator. Start by checking the window switch for any signs of physical damage. Test the switch with a multimeter to verify it’s receiving power and functioning correctly.
If the switch is OK, move on to examine the window motor by removing the door panel and using your multimeter to test for power supply to the engine. Should the engine receive power but remain unresponsive, it may be time to replace it. Inspect the regulator mechanism for obstructions or damage for a window that operates slowly or irregularly, and lubricate if necessary.
Failing that, replacing the regulator might be required. Always ensure the vehicle’s power is on when testing these components, and take care not to damage the door panel during removal and installation.
Step 9. Inspect the Air Conditioning System:
Troubleshooting the air conditioning system in your car begins by checking the refrigerant levels to ensure they are adequate. Use a refrigerant gauge to measure the pressure; low pressure may indicate a leak or the need for a recharge. Next, examine the AC compressor for any signs of damage or wear, and listen for irregular noises that could suggest a malfunction.
Check the belts and hoses connected to the compressor for cracks or breaks. Finally, inspect the AC condenser for blockages or debris hindering its function. If you are not well-versed in AC systems, it might be best to seek professional help, as specialized equipment is often required for a thorough inspection and repair.
Step 10. Inspect the Car’s Audio System:
Audio system issues can vary from complete silence to poor sound quality. Begin by inspecting the head unit (stereo system) to ensure it receives power and functions correctly. If the head unit displays are working without sound, investigate the speakers for any disconnections or damage. Use your multimeter to check for continuity in the speaker wires.
Additionally, inspect the connections at the back of the head unit and any amplifier that may be installed. If the sound is distorted, examine the speakers for wear or damage, as they may need replacement. Problems with audio quality can also stem from a failing antenna or a compromised audio file or radio signal, so consider these aspects during your troubleshooting.
By following these steps, you should be able to identify and possibly fix ordinary car electrical issues.
6 Additional Tips and Tricks

- Check Your Ground Connections: A lousy ground connection can cause car electrical issues. Ensure all ground points are clean, tight, and free from corrosion.
- Use a Multimeter: A multimeter is essential for diagnosing electrical problems. It can measure voltage, current, and resistance to help isolate issues with wires, components, or batteries.
- Inspect Fuses and Relays: Always check fuses and relays before delving into more complicated repairs. A blown fuse or faulty relay is a common cause of electrical troubles and is usually a simple fix.
- Look for Loose or Corroded Connectors: Connectors can become loose or develop corrosion over time. Inspect and clean connectors regularly to ensure good electrical contact.
- Follow Wiring Diagrams: Refer to your car’s wiring diagram when attempting more complex repairs. This will help you understand the circuit and avoid misdiagnosis or further damage.
- Consider Using Aftermarket Parts: If you’re experiencing recurring electrical issues, consider using aftermarket parts instead of OEM ones. These parts may have better quality and can improve your car’s overall performance.
With these additional tips and tricks, you can confidently tackle electrical problems in your car. Remember always to prioritize safety and consult a professional if you feel uncomfortable or unsure about any repairs.
6 Things You Should Avoid
- Ignoring the Battery: Often the root of electrical issues, the battery should be the first checkpoint. Avoid overlooking its maintenance, as a weak or dead battery can lead to more significant electrical failures.
- Skipping Protective Gear: Always wear insulating gloves and safety glasses when working on your car’s electrical system. Skipping this can expose you to electric shocks or other injuries.
- Overlooking Warning Signs: Do not ignore warning lights on the dashboard or strange electrical behaviors. These are early indicators of potential issues that can escalate if not addressed promptly.
- Attempting Complex Repairs Without Knowledge: If you’re unfamiliar with the complexities of automotive electrical systems, don’t attempt to fix electrical severe problems. This can lead to more damage or even pose safety risks.
- Mismatching Fuse Ratings: Always replace fuses with the correct amperage. Using a higher or lower amp fuse can cause poor performance and may even result in a fire hazard.
- Using Improper Tools: When working on electrical systems, use proper tools such as insulated screwdrivers and wire strippers. Using incorrect tools can damage components or lead to injury.

By avoiding these common mistakes, you can ensure the safety and effectiveness of your repairs when dealing with car electrical problems. With the proper knowledge and approach, even complex issues can be resolved successfully.
How Can You Fix an Electrical Short?
An electrical short occurs when current flows through an unintended path, typically caused by damaged or crossed wires. This can lead to blown fuses, dimming lights, and other electrical failures in your car.
Fixing an electrical short requires a methodical approach and some basic tools. Here are the steps you can follow:
- Locate the Short: The first step is to identify the location of the short. Use a multimeter set to measure continuity and check for unexpected connections between wires or components.
- Disconnect the Battery: Always disconnect the battery before working on electrical systems to avoid electric shocks.
- Check Wires and Connections: Inspect all wires and connections for damage or corrosion. Repair or replace any damaged components.
- Trace the Shorted Circuit: Follow the wiring diagram for the affected circuit and trace it to locate any damaged or crossed wires. Repair or replace as needed.
- Test for Continuity: Using a multimeter, test for continuity along the length of each wire in the shorted circuit. Replace any wires that do not have continuity.
- Reconnect the Battery and Test: Once all repairs are complete, reconnect the battery and test the affected circuit to ensure it functions properly.

You can successfully fix an electrical short in your car by following these steps. However, if you are unsure or uncomfortable with this process, it’s best to consult a professional mechanic for assistance. Overall, proper maintenance and regular inspections can prevent electrical issues and ensure the safety and efficiency of your car.
Can Electrical Wiring Be Repaired?
Yes, electrical wiring can be repaired in most cases. However, it is important to note that the extent of repair may vary depending on the severity of damage and the type of wiring system used in your car.
In some cases, minor damages such as loose connections or worn-out insulation can be easily fixed by repairing or replacing the affected wire section. This is often a cost-effective solution and can be done by following standard repair procedures.
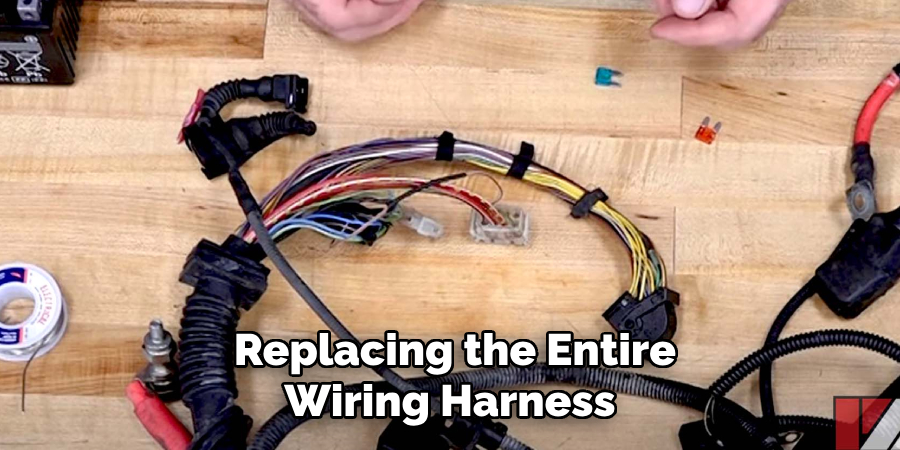
However, if the damage is more extensive, it may require replacing the entire wiring harness. This can be a more labor-intensive and expensive, but it ensures that all damaged wires are replaced and your car’s electrical system functions properly.
Conclusion
In conclusion, addressing electrical issues in your vehicle requires a structured and informed approach. Start by performing simple checks and gradually work towards the more complex areas. Focus on regular maintenance of critical electrical components, proper use of tools, and adherence to safety protocols to avoid most common electrical problems.
Remember, while many electrical repairs can be performed with essential knowledge and careful execution, some scenarios demand professional expertise. Always be prudent in assessing your abilities, and consult a professional mechanic when in doubt. By applying these guidelines, you can enhance the reliability and longevity of your car’s electrical system.
Hopefully, this guide has provided valuable insights on how to fix electrical problems in cars and has empowered you to tackle these issues with confidence. With proper care and preventative measures, you can keep your vehicle running smoothly and safely for years to come.

About
JeepFixes Team is a skilled author for Jeep Fixes, bringing 6 years of expertise in crafting a wide range of jeep fixes. With a strong background in jeep fixes work, JeepFixes Team’s knowledge spans various types of fixtures, from decorative pieces to functional hardware, blending precision with creativity. His passion for jeep fixes and design has made him a trusted resource in the industry.
Professional Focus:
Expert in Jeep Fixes : JeepFixes Team aesthetic specializes in creating durable and innovative jeep fixes, offering both appeal and functionality. His work reflects a deep understanding of jeep fixes techniques and materials.
Sustainability Advocate : He is dedicated to using sustainable practices, ensuring that every fixture is crafted with eco-friendly methods while maintaining high-quality standards.
In his writing for jeep fixes, JeepFixes Team provides valuable insights into the latest trends, techniques, and practical advice for those passionate about jeep fixes, whether they are professionals or DIY enthusiasts. His focus on combining artistry with engineering helps others discover the true potential of jeep in design.