

You are cruising down the highway, enjoying the open road, when suddenly you notice a strange lopsided feeling coming from your car. You glance down at your tires and spot a large bubble protruding out on the sidewall of one of your tires.
“Oh no, not now!” you think to yourself. A tire bubble can be dangerous and needs to be addressed, but luckily it’s an issue that can often be easily repaired.
In this blog post on how to fix a bubble on a tire, I will walk you through the different options for fixing a bubble on your tire and get you safely back on the road. We’ll examine the potential causes of tire bubbles and how to properly patch or plug small bubbles depending on their size and location.
By the end, you’ll have the knowledge to determine if a bubble can be repaired or if it’s time to retire that tire and get a new one. Read on to learn how to fix a bubble and continue enjoying your driving adventure!
What is a Tire Bubble?
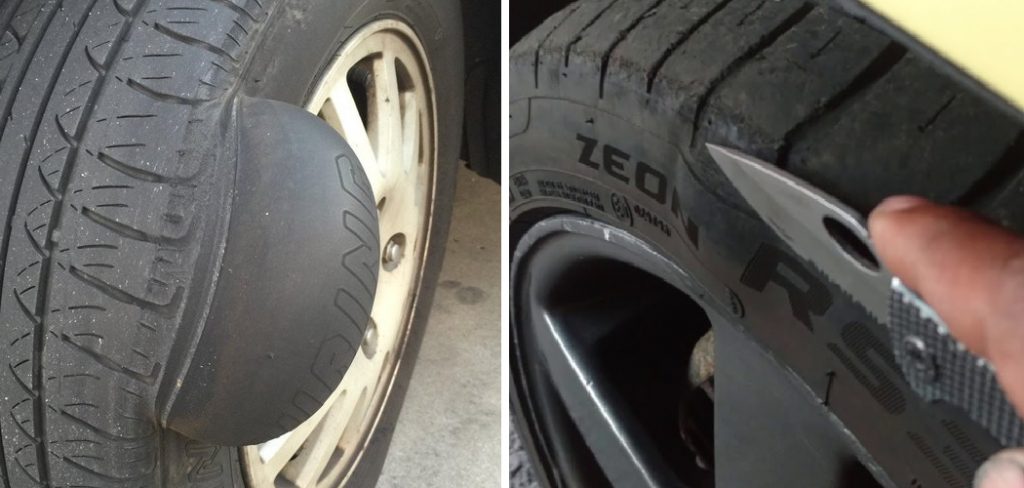
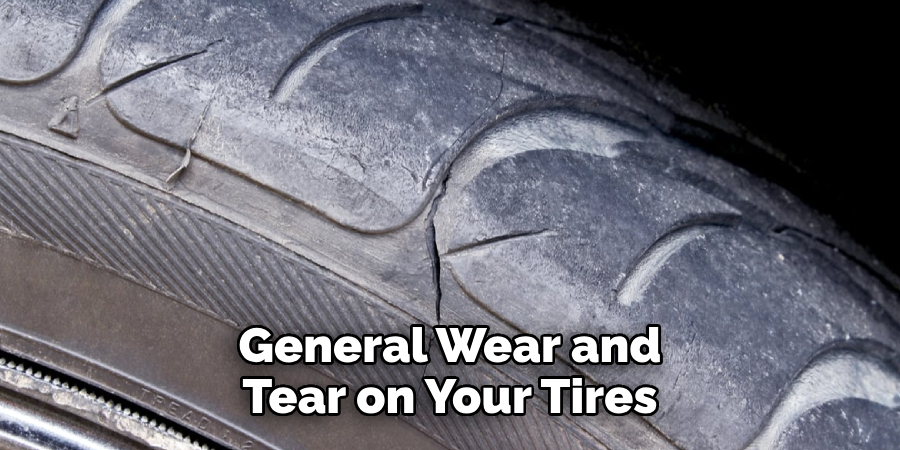
Before we dive into the steps for fixing a bubble on your tire, it’s important to understand what exactly a tire bubble is and how it forms. A tire bubble, also known as a “blister”, is an irregular bulge or bump that appears on the sidewall of your tire.
It’s typically caused by air leaking between the layers of the tire, creating a separation or pocket of air. This results in a visible bulge, often around the size of a golf ball, and can also sometimes be accompanied by a hissing sound or even a flat tire. You may also notice uneven tire wear and steering issues while driving with a tire bubble.
11 Step-by-step Guidelines on How to Fix a Bubble on a Tire
Step 1: Assess the Damage
The first step when you spot a tire bubble is to assess the damage. Take note of where the bubble is located on your tire and its size. This will help determine if it’s repairable or not. You should also inspect the rest of your tire for any additional bubbles or damage. The last thing you want is to fix one bubble only to have another one appear a week later.
Step 2: Determine the Cause
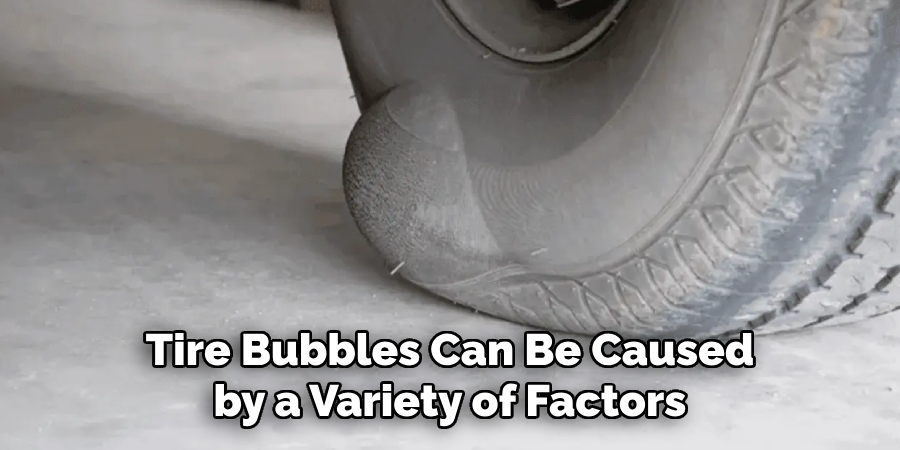
Tire bubbles can be caused by a variety of factors, including impact damage from driving over potholes or curbs, manufacturing defects, or even excessive wear and tear. Identifying the cause will help determine if it’s safe to repair the bubble or if it’s time for a new tire.
You may also want to check the air pressure in your tires, as underinflated tires can increase the risk of a bubble forming. It’s recommended to check your tire pressure at least once a month.
Step 3: Use a Tire Pressure Gauge
To accurately measure the air pressure in your tire, use a tire pressure gauge. This tool will give you an accurate reading and help determine if your tires are properly inflated. If they are not, you may need to inflate them before attempting to fix the bubble. If your tires are continuously losing air, it may indicate a more significant issue and you should consult a professional.
Step 4: Consult a Professional
If you are unsure about repairing the bubble yourself or are uncomfortable doing so, it’s always best to consult a professional mechanic or tire technician. They have the knowledge and experience to properly assess and fix your tire bubble.
But if you’re feeling confident, let’s continue with the steps for fixing a bubble on your tire. If you’re unable to safely drive your vehicle to a mechanic, consider calling for roadside assistance. Although it may cost a bit more, your safety is always the top priority.
Step 5: Gather Materials
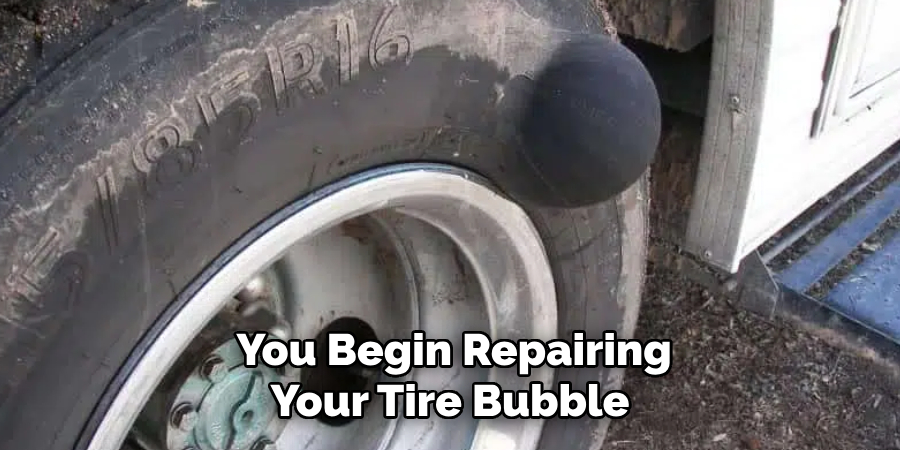
Before you begin repairing your tire bubble, make sure you have all the necessary materials on hand. This includes a tire patch kit or plug kit, rubber cement, pliers, and scissors. You can find these items at most auto supply stores or online. It’s also a good idea to have a spare tire on hand in case the damage is too severe to repair. The last thing you want is to be stranded on the side of the road with no spare.
Step 6: Prepare the Tire
If you’ve determined that your bubble is reparable and have gathered all the necessary materials, it’s time to prepare the tire for repair. First, remove any debris or foreign objects from the damaged area using pliers or tweezers.
Then, use sandpaper or a wire brush to clean the area around the bubble and create a rough surface for the patch or plug to adhere to. It’s important to have a clean and rough surface for the repair to properly bond.
Step 7: Apply Rubber Cement
To ensure a strong bond, apply rubber cement to the inside of the tire around the damaged area. This will help seal any air leaks and create a stronger bond between the tire and the patch or plug. Allow the rubber cement to dry for a few minutes before moving on to the next step. But don’t wait too long, you want the cement to still be tacky when applying the patch or plug.
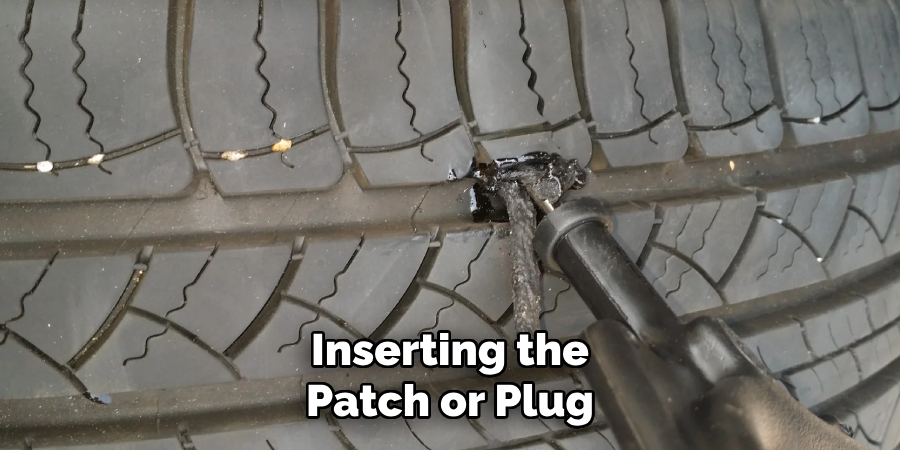
Step 8: Insert Patch or Plug
Depending on the size and location of your bubble, you will either use a patch or plug to repair it. A patch is typically used for larger bubbles, while a plug is more appropriate for smaller ones. Follow the instructions on your patch or plug kit to properly insert it into the tire, making sure to cover the entire damaged area. The patch or plug will act as a barrier to prevent air from leaking out.
Step 9: Trim Excess Material
After inserting the patch or plug, you may have excess material sticking out from the tire. Use scissors to carefully trim any excess material, creating a smooth and even surface on the tire. This will help prevent the patch or plug from catching on anything and becoming dislodged. You can also use a tire repair sealant to further secure the patch or plug in place. The sealant will create a strong bond and help prevent any future air leaks.
Step 10: Let it Cure
Allow the repair to cure for at least an hour before driving on it. This will give the rubber cement and tire repair sealant enough time to dry and create a strong bond with the tire. It’s recommended to avoid excessive speeds or sharp turns for the first 24 hours after a tire repair to ensure the patch or plug sets properly.
Step 11: Monitor Tire Pressure
After you’ve repaired the bubble on your tire, it’s crucial to monitor the tire pressure regularly to ensure there are no further issues. If you notice any changes in pressure or another bubble forming, consult a professional for further assistance. It’s always better to be safe than sorry when it comes to the safety of your vehicle and yourself.
Following these step-by-step guidelines on how to fix a bubble on a tire will help you safely and effectively fix the bubble on your tire. Remember to always prioritize your safety and consult a professional if you are unsure about the repair process. Regularly checking your tire pressure and addressing any issues promptly can also help prevent tire bubbles from forming in the future. So, keep these tips in mind to maintain safe and smooth driving!
Frequently Asked Questions
Q1. Can I Repair a Tire Bubble Myself?
A: Yes, you can attempt to fix a tire bubble yourself if you feel comfortable doing so and have the necessary materials. However, it’s always recommended to consult a professional for further assistance if you are unsure or uncomfortable with the repair process. You should also consider the severity of the bubble and whether a patch or plug will suffice or if the tire needs to be replaced entirely.
Q2. What Causes Tire Bubbles?
A: Tire bubbles can be caused by several factors, including driving over potholes, hitting curbs, or general wear and tear on your tires. They can also form due to underinflated tires, which cause the sidewall of the tire to flex more than usual and eventually form a bubble.
Q3. How Can I Prevent Tire Bubbles?
A: To prevent tire bubbles from forming, it’s essential to regularly check your tire pressure and inflate it as needed. It’s also crucial to drive carefully and avoid hitting potholes or curbs when possible.
Additionally, regularly inspecting your tires for any wear and tear can help catch any potential issues before they become bigger problems. If you notice any abnormalities, consult a professional for further guidance. Proper maintenance and care of your tires can go a long way in preventing tire bubbles from forming.
Conclusion
In conclusion, learning how to fix a bubble on a tire is an important skill for any car owner. Not only does it help save time and money, but it also ensures the safety of both the driver and passengers on the road.
Through this guide, we have covered all the necessary steps and tips to successfully fix a bubble on a tire. Remember, prevention is key when it comes to maintaining your tires, so make sure to regularly check your tire pressure and avoid hitting curbs or potholes.
Additionally, always keep a spare tire handy in case of emergencies. Taking care of your tires may seem like a tedious task, but it is crucial in ensuring smooth and safe travels. By following these steps and making necessary repairs as soon as possible, you can save yourself from potential accidents or blowouts while on the road.

About
JeepFixes Team is a skilled author for Jeep Fixes, bringing 6 years of expertise in crafting a wide range of jeep fixes. With a strong background in jeep fixes work, JeepFixes Team’s knowledge spans various types of fixtures, from decorative pieces to functional hardware, blending precision with creativity. His passion for jeep fixes and design has made him a trusted resource in the industry.
Professional Focus:
Expert in Jeep Fixes : JeepFixes Team aesthetic specializes in creating durable and innovative jeep fixes, offering both appeal and functionality. His work reflects a deep understanding of jeep fixes techniques and materials.
Sustainability Advocate : He is dedicated to using sustainable practices, ensuring that every fixture is crafted with eco-friendly methods while maintaining high-quality standards.
In his writing for jeep fixes, JeepFixes Team provides valuable insights into the latest trends, techniques, and practical advice for those passionate about jeep fixes, whether they are professionals or DIY enthusiasts. His focus on combining artistry with engineering helps others discover the true potential of jeep in design.