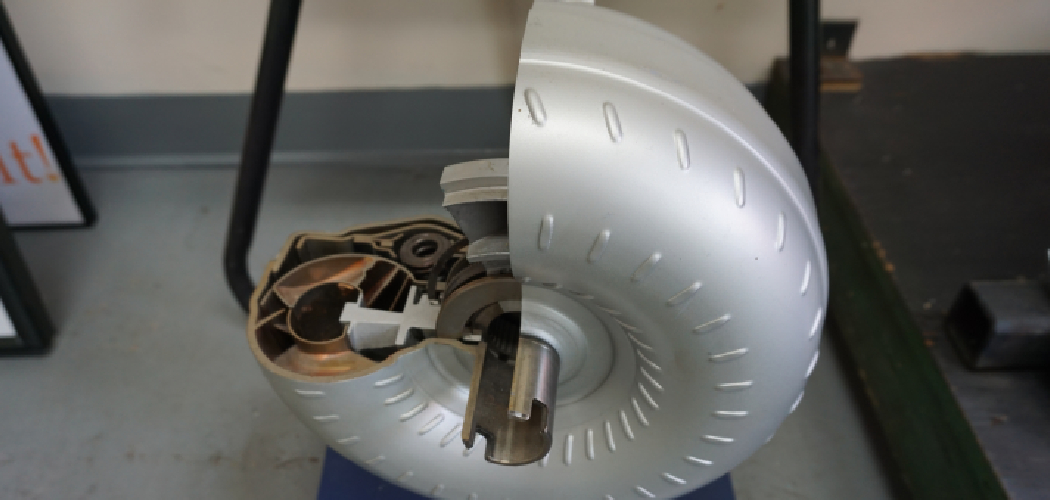
Draining a torque converter is crucial in ensuring the longevity and performance of your vehicle’s transmission system. The torque converter is a fluid coupling device that transfers rotating power from the engine to the transmission, allowing the car to shift gears smoothly and efficiently.
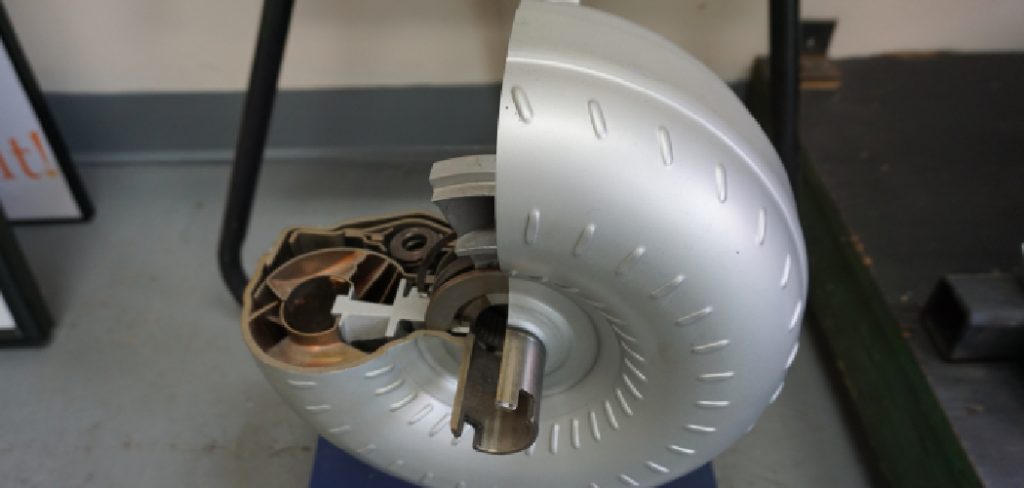
Over time, transmission fluid degrades and can accumulate debris, which may affect the functioning of the torque converter and transmission. Properly draining and replacing the old fluid is essential for maintaining optimal vehicle performance and preventing costly repairs.
This guide will walk you through how to drain a torque converter, ensuring your transmission continues to operate at its best. Whether you’re a seasoned mechanic or a car enthusiast looking to expand your DIY repertoire, the following steps will help you confidently complete this task.
What Will You Need?
Before you begin the process of draining your torque converter, there are a few essential tools and materials that you will need to gather:
- A jack or car lift for lifting the vehicle
- Jack stands for additional support
- A drain pan or container to catch the old transmission fluid
- Latex gloves to protect your hands from potential spills and contaminants
- Safety glasses to shield your eyes
- A socket wrench and a set of pliers
- A funnel for refilling the transmission fluid
- Clean rags or towels for wiping up any spills
It is also recommended to have the following items on hand:
- A new transmission filter (if applicable)
- New transmission fluid, as per your vehicle’s specifications
Additionally, consult your vehicle’s owner manual for specific instructions and recommendations before proceeding.
10 Easy Steps on How to Drain a Torque Converter
Step 1. Prepare the Area:
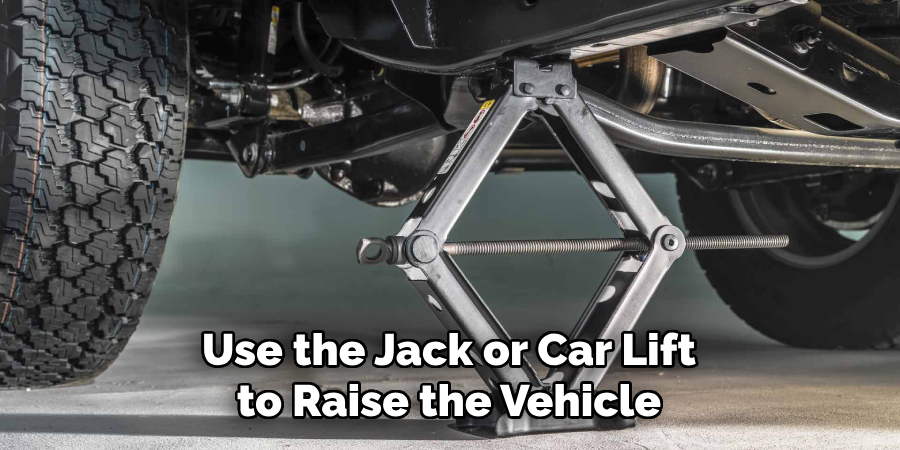
Start by ensuring that your work area is flat and stable. Use the jack or car lift to raise the vehicle, then secure it with jack stands for added safety. It is critical that the car is stable before you begin working underneath it.
Step 2. Locate the Transmission Fluid Drain Plug:
With the vehicle secured, put on your safety glasses and latex gloves for protection. Next, locate the transmission fluid drain plug, typically found on the underside of the transmission.
Some vehicles may have a drain plug on the torque converter itself. Consult your vehicle’s owner’s manual to find the exact location. Once located, position your drain pan underneath the plug to catch the fluid.
Step 3. Drain the Transmission Fluid:
Using a socket wrench, carefully remove the drain plug and allow the old transmission fluid to flow out into the drain pan. Be prepared for the liquid to be released quickly, then slow down as it drains out. Keep the pan in place until all the fluid has stopped dripping.
If your vehicle has a drain plug on the torque converter, repeat this process there as well. Once the liquid is fully drained, clean the drain plug of any debris before you proceed to the next step.
Step 4. Remove the Transmission Pan:
After draining the transmission fluid, the next step is to remove the transmission pan to access the torque converter. Use your socket wrench to unbolt the pan carefully. Once all bolts are removed, gently take the pan off.
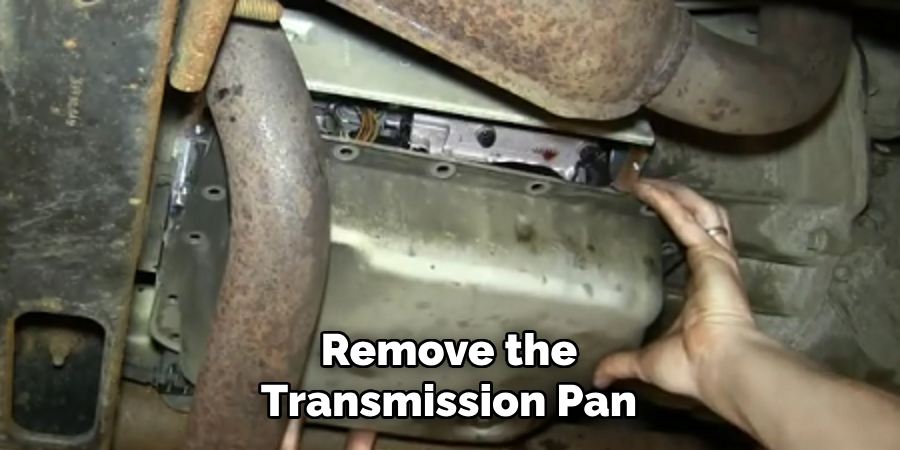
This may require a little force as the pan might be sealed with a gasket maker or adhesive. Be cautious of any remaining fluid that might spill out when the pan is removed. Place the pan aside and dispose of the old fluid responsibly.
Step 5. Inspect the Transmission Pan and Gasket:
Once the transmission pan is removed, take the opportunity to inspect both the pan and the gasket. Look for any signs of excessive wear, damage, or debris indicating internal transmission issues.
If the gasket shows signs of deterioration or if it’s been compromised, it will need to be replaced to prevent leaks. Cleaning the pan with a suitable solvent can remove any residual fluid or debris. Make sure it’s scorched before reinstallation.
Step 6. Examine the Torque Converter:
With the transmission pan removed, you will have better visibility of the torque converter. Carefully inspect it for any signs of damage, corrosion, or wear. It’s crucial to address any issues with the torque converter as soon as they are identified, as these can lead to more significant transmission problems.
If the torque converter appears in good condition, you can proceed to the next step. If not, consult a professional for further assessment or consider replacing the unit if necessary.
Step 7. Clean the Torque Converter and Transmission Housing:
Utilizing clean rags, thoroughly wipe down the torque converter and the area around the transmission housing. Ensure that any dirt or debris is removed, as these can contaminate the new transmission fluid and potentially damage the transmission once it’s reactivated.
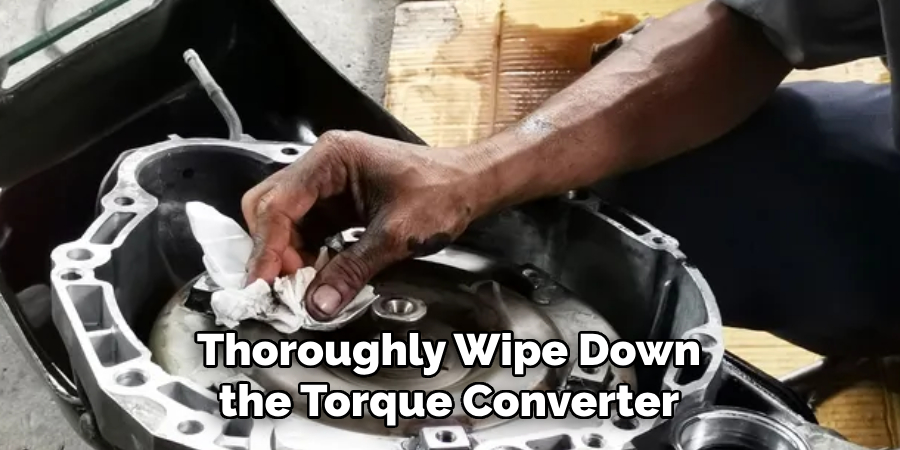
Avoid using any abrasive materials that could scratch the components. This step helps to provide a clean environment for the new fluid, which will optimize the performance and longevity of your transmission system.
Step 8. Replace the Transmission Filter:
Before reassembling everything, check if your vehicle has a replaceable transmission filter. If so, remove the old filter by either unscrewing it or removing it from its housing, depending on your vehicle’s design.
Compare the old filter to the new one to ensure compatibility, then install the new one. It is crucial to handle the filter correctly to avoid contamination of the clean surfaces. Once secured, you can move on to the next step.
Step 9. Reinstall the Transmission Pan:
With the new filter, it’s time to reinstall the transmission pan. Place a new gasket onto the pan, ensuring it fits securely and is aligned correctly. Then, position the pan back onto the transmission housing and start threading all the bolts by hand to avoid cross-threading.
Once all bolts are in place, use a socket wrench to tighten them progressively in a crisscross pattern to the specified torque value mentioned in the vehicle’s service manual. This ensures even pressure and prevents leaks between the pan and the transmission housing.
Step 10. Refill with New Transmission Fluid:
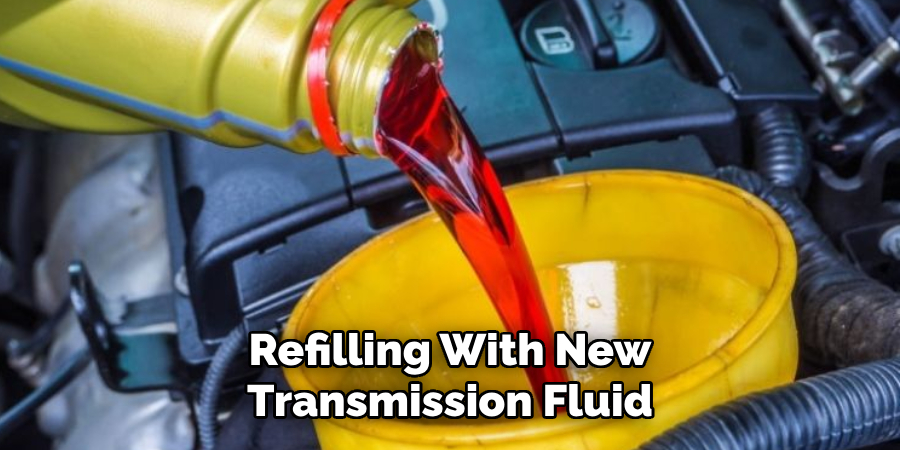
Refilling with new transmission fluid is the final step in this process. Ensure you have the correct vehicle type and amount of transmission fluid, as stated in the owner’s manual. Place a funnel in the transmission fluid dipstick tube to minimize spills and begin pouring the new fluid.
Add the fluid slowly and in small increments, checking the level frequently with the dipstick to prevent overfilling. Once the transmission fluid reaches the appropriate level, remove the funnel and replace the dipstick. Start the engine and allow it to run for a few minutes, then recheck the fluid level and add more if necessary.
By following these steps, you can perform a transmission fluid change safely and effectively, helping to maintain the overall health and performance of your vehicle’s transmission system.
5 Additional Tips and Tricks
- Heat Up the Transmission Fluid:
Before you begin the draining process, driving your vehicle for a few miles is beneficial. This warms up the transmission fluid, which can help it drain out more thoroughly and quickly due to its lower viscosity at higher temperatures.
- Check for a Drain Plug:
Some torque converters have a drain plug, which can make the draining process more straightforward. Check your vehicle manual or inspect the torque converter to see if there’s a drain plug you can utilize.
- Turn the Engine Incrementally:
If there is no drain plug, you may need to turn the engine over manually to align the converter’s drain hole with the access point. Do this incrementally and cautiously, ensuring the transmission is in the “park” position and the parking brake is set.
- Use Appropriate Sealant:
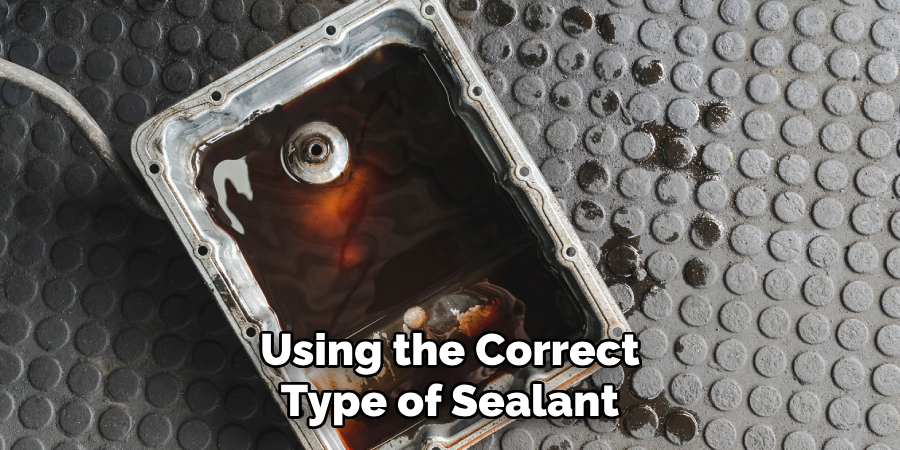
When replacing the gasket and bolting the transmission pan back in place, using the correct type of sealant can prevent future leaks. Consult your service manual to identify the recommended sealant for your vehicle.
- Invest in a Fluid Pump:
For transmissions where accessing the torque converter is more challenging or when precision draining is needed, a fluid pump can be a valuable tool. It allows you to evacuate fluid through the dipstick tube or other narrow access points, minimizing mess and maximizing fluid removal.
With these extra tips and tricks, you can optimize your transmission fluid change process and ensure the best results for your vehicle.
5 Things You Should Avoid
- Neglecting to Warm Up the Vehicle: Skipping the step of warming up your vehicle before draining the fluid can result in a less efficient fluid change, as cold liquid is more viscous and drains more slowly.
- Overlooking the Importance of Correct Fluid Levels: Failing to check the transmission fluid level before, during, and after the process can lead to underfilling or overfilling, both of which can cause transmission issues.
- Using Improper Tools for Removal: Attempting to remove the transmission pan or torque converter with the wrong tools can cause damage to these parts, leading to unnecessary leaks and additional repair costs.
- Not Checking for Debris and Damage: Forgoing the inspection for debris or damage inside the transmission pan or around the torque converter can result in particles contaminating the new fluid, which might lead to transmission failure.
- Ignoring Manufacturer’s Specifications: Disregarding the manufacturer’s specifications for torque values when tightening pan bolts, choosing the wrong type of transmission fluid, or applying incorrect sealants can cause severe damage to the transmission, leading to poor vehicle performance and significant repairs.
Conclusion
In conclusion, how to drain a torque converter is an intricate procedure that demands attention to detail, adherence to the manufacturer’s guidelines, and a systematic approach.
By warming up the vehicle, checking for a drain plug, turning the engine incrementally when required, using the appropriate sealants, and considering the use of a fluid pump, you can enhance the efficiency of the fluid change while protecting the integrity of the transmission system.
On the flip side, be cautious to avoid common pitfalls such as neglecting vehicle warming, improper fluid levels, incorrect tool usage, oversight of debris and damage, or ignoring the manufacturer’s specifications.
Adhering to these best practices contributes to the longevity of your vehicle’s transmission and ensures that it performs optimally, offering a smooth and reliable driving experience.

About
JeepFixes Team is a skilled author for Jeep Fixes, bringing 6 years of expertise in crafting a wide range of jeep fixes. With a strong background in jeep fixes work, JeepFixes Team’s knowledge spans various types of fixtures, from decorative pieces to functional hardware, blending precision with creativity. His passion for jeep fixes and design has made him a trusted resource in the industry.
Professional Focus:
-
- Expert in Jeep Fixes : JeepFixes Team aesthetic specializes in creating durable and innovative jeep fixes, offering both appeal and functionality. His work reflects a deep understanding of jeep fixes techniques and materials.
- Sustainability Advocate : He is dedicated to using sustainable practices, ensuring that every fixture is crafted with eco-friendly methods while maintaining high-quality standards.
In his writing for jeep fixes, JeepFixes Team provides valuable insights into the latest trends, techniques, and practical advice for those passionate about jeep fixes, whether they are professionals or DIY enthusiasts. His focus on combining artistry with engineering helps others discover the true potential of jeep in design.

