
Plastic car mats are a popular choice for vehicle owners who appreciate the durability and ease of maintenance they offer. Unlike fabric mats, plastic ones can withstand wet and muddy shoes without absorbing moisture and odors. Keeping them clean not only contributes to the overall cleanliness of your car but also extends the life of the mats.

In this guide on how to clean plastic car mats, we’ll walk through the simple steps to effectively clean your plastic car mats, ensuring they continue to protect your vehicle’s interior while also looking as good as new.
Benefits of Plastic Car Mats
Before we dive into the cleaning process, let’s first discuss some of the benefits of using plastic car mats.
Durability:
Plastic car mats are highly durable and can withstand heavy foot traffic without showing signs of wear and tear.
Easy to Clean:
As mentioned earlier, plastic car mats are easy to clean and maintain. Unlike fabric mats, they do not absorb moisture, making them less prone to stains and odors.
Custom Fit:
Plastic car mats are designed to fit the specific make and model of your vehicle, ensuring maximum coverage and protection for your car’s flooring. This also prevents any potential slipping or interference with the pedals while driving.
Cosmetically Appealing:
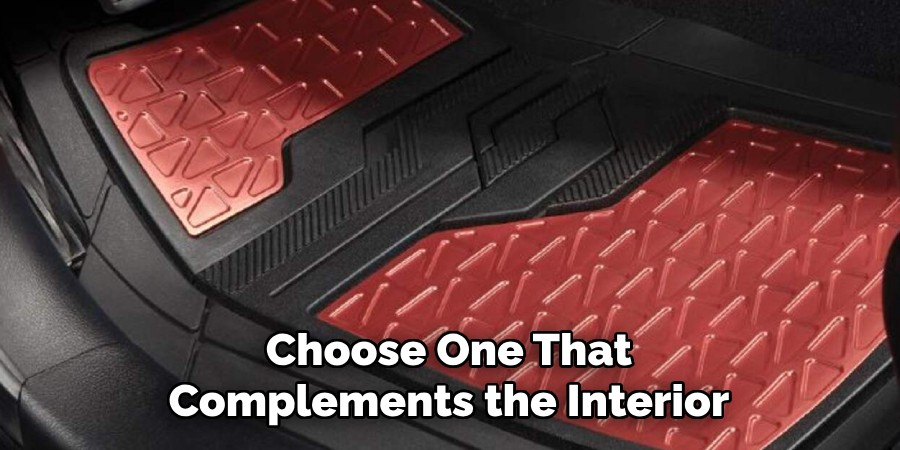
Plastic car mats come in a variety of colors and designs, allowing you to choose one that complements the interior of your car. This adds a touch of personalization to your vehicle while also keeping it looking clean and organized.
Importance of Clean Car Mats
Having clean car mats may seem like a minor detail, but it actually plays a significant role in maintaining the cleanliness and overall appearance of your vehicle. Imagine stepping into a car with dirty or stained mats- it immediately detracts from the otherwise clean interior.
In addition, dirty mats can also harbor bacteria, mold, and other allergens that can affect the air quality inside your car and even lead to health issues. Furthermore, regular cleaning can prevent damage and discoloration of your plastic mats, ensuring they continue to serve their purpose for a long time.
Types of Plastic Car Mats
Before we dive into cleaning methods, it’s important to understand the types of plastic car mats available. The most common ones include:
Rubber Mats:
These are made from heavy-duty rubber and are incredibly durable, making them a popular choice for cars that experience heavy-duty use or harsh weather conditions.
Vinyl Mats:
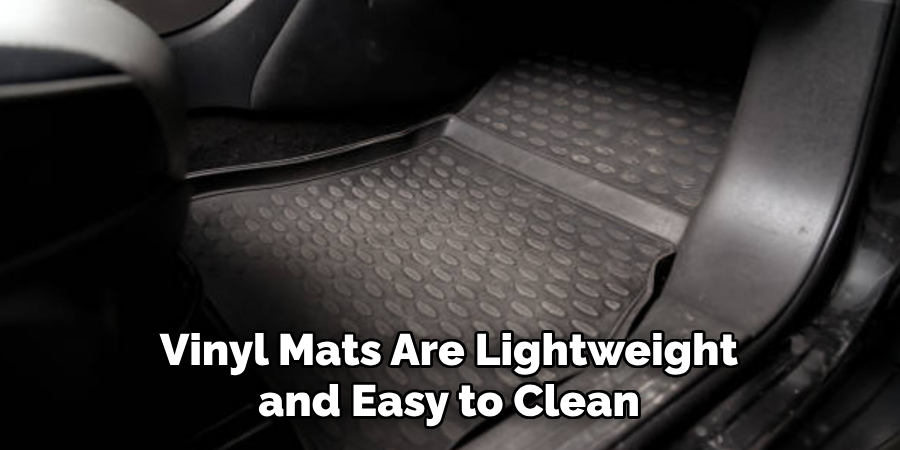
Vinyl mats are lightweight and easy to clean, making them a popular choice for everyday use. They are also less expensive than rubber mats.
Clear Mats:
These are transparent plastic mats that allow the flooring underneath to show through. They are not as durable as rubber or vinyl mats but offer a sleek and modern look to your car’s interior.
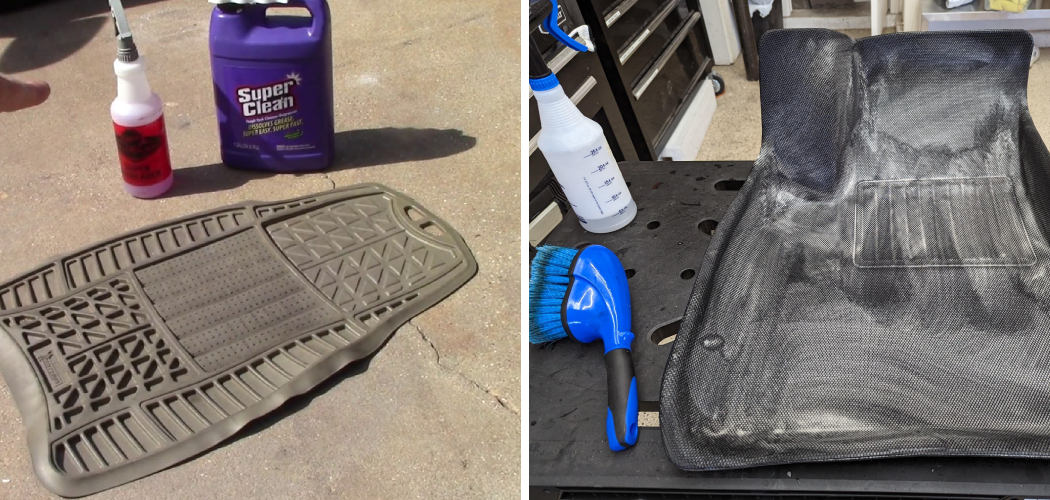
What You’ll Need
Vacuum Cleaner With a Hose Attachment :
This will be used to remove loose debris and dust from the mats before cleaning.
Mild Soap or Detergent:
Choose a gentle soap or detergent that won’t cause damage or discoloration to your mats. Dish soap or laundry detergent are good options.
Scrub Brush:
A stiff-bristled brush is necessary for removing tough stains and grime from the mats.
Water:
You’ll need water to dilute the soap or detergent and to rinse the mats.
Towels:
Have a few towels on hand to dry the mats after cleaning.
11 Step-by-step Guidelines on How to Clean Plastic Car Mats
Step 1: Work in a Well-Ventilated Area

Before you begin cleaning, it’s important to work in a well-ventilated area. This will prevent any fumes from the soap or detergent from accumulating inside your car. The best place to clean your mats would be outside, in a shaded area. If you must clean them indoors, make sure to open all the windows and doors for proper ventilation. You can also use a fan to circulate the air. This will also help the mats dry faster. But avoid direct sunlight, as it can cause the soap or detergent to dry too quickly and leave a residue.
Step 2: Remove Mats From Car
Remove the plastic car mats from your vehicle and shake them outside to remove any loose debris and dirt. If the mats are too large to shake, use a soft-bristled brush or cloth to remove the debris. Although plastic mats are water-resistant, it’s best to remove any excess dirt and debris before cleaning. However, do not use a vacuum cleaner at this point as it may not be effective.
It’s best to wait until the next step. The mats should be completely dry before proceeding to the next step. You can also leave them in the sun to speed up the drying process.
Step 3: Vacuum the Mats
Using a vacuum cleaner with a hose attachment, thoroughly vacuum both sides of the mats to remove any remaining dust and debris. This will make the cleaning process more effective and prevent any dirt from getting trapped in the soap or detergent later on. Thoroughly vacuuming the mats will also make them easier to clean. It’s best to use a vacuum cleaner with strong suction power for this step. You can also use a brush attachment to loosen any stubborn dirt or debris.
Step 4: Prepare Cleaning Solution
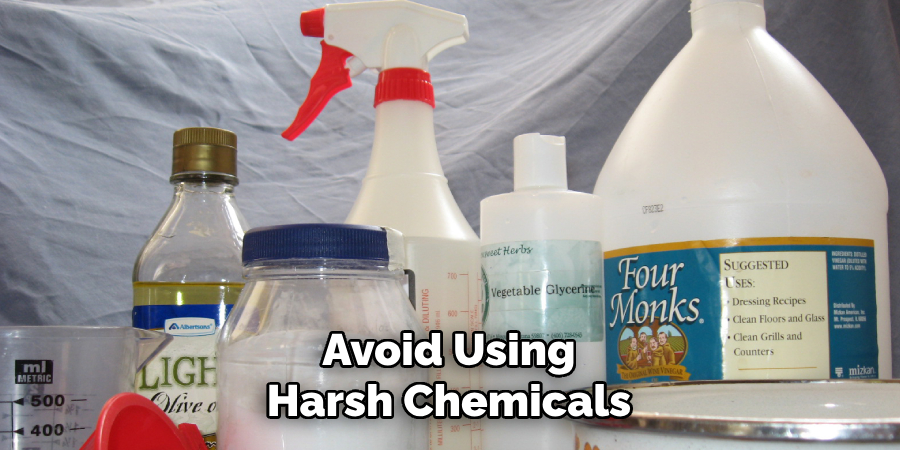
In a large bucket, mix warm water with a few drops of mild soap or detergent. You can also use a mixture of equal parts water and vinegar for an all-natural cleaning solution. Avoid using harsh chemicals or bleach as they can damage the plastic mats. Stir the solution to create a foamy mixture. But be careful not to create too many suds as they can be difficult to rinse off. It’s best to use a scrub brush or cloth for this step.
Step 5: Soak Mats in Cleaning Solution
Place the plastic car mats into the bucket of cleaning solution and let them soak for about 10 to 15 minutes. This will loosen any tough stains and make it easier to remove them. The duration may vary depending on the level of dirt and stains on your mats. You can also add a few drops of dish soap directly onto tough stains for extra cleaning power.
But be sure to rinse the soap thoroughly to prevent any discoloration. The soaking process is also a good time to clean the interior of your car. It can be convenient to clean it while the mats are soaking.
Step 6: Scrub Mats
Using a stiff-bristled brush, scrub both sides of the mat in a back-and-forth motion, concentrating on any tough stains and grime. You can also use circular motions for more effective cleaning. Be sure to cover the entire surface of the mat, including the edges. If there are any grooves or crevices in your mats, use an old toothbrush to clean them. It’s best to start from the top and work your way down so any dirt and debris will fall towards the bottom of the mat. You can also use a cloth for this step if you prefer.
Step 7: Rinse Mats Thoroughly
Using a hose, rinse off the cleaning solution and any dirt from the mats. Be sure to remove all traces of soap or detergent to prevent any residue from building up on your mats. If you’re cleaning indoors, use a bucket filled with clean water to rinse the mats. You may need to rinse the mats multiple times to ensure all the soap is removed.
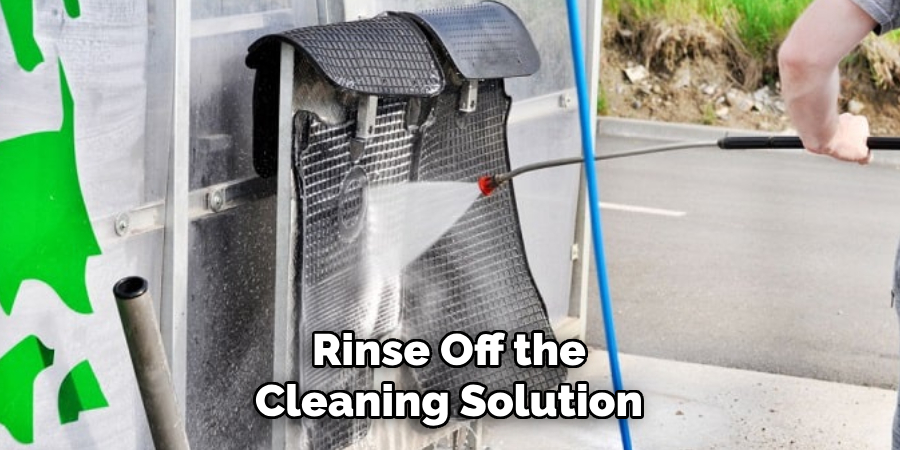
It’s important not to skip this step as any remaining soap can leave a sticky film on your mats. The mats should feel slippery and smooth once all the soap is removed.
Step 8: Dry Mats
Once you have rinsed off all the cleaning solution, use a towel to wipe down both sides of the mat. You can also hang them up on a clothesline or lay them flat to air dry. If you’re in a hurry, you can use a hairdryer on a low setting to speed up the drying process. However, be sure not to use high heat as it can melt the plastic. It’s best to let the mats air dry completely before placing them back in your car.
But if you must use them before they are completely dry, place a towel or cloth underneath to prevent any moisture from seeping onto your car’s carpet. The mats should be completely dry before being put back in the car to prevent any mold or mildew from forming.
Step 9: Clean Car Floor
While the mats are drying, take this time to clean the interior of your car. You can vacuum the floor and carpet mats and wipe down any surfaces with a damp cloth. This is also a good time to clean the car’s dashboard and windows. If there are any stains or spills on the carpet mats, spot-clean them with a mixture of water and mild soap or detergent. Be sure to let the area dry completely before placing the mats back in. You can also use a fabric freshener to remove any odors.
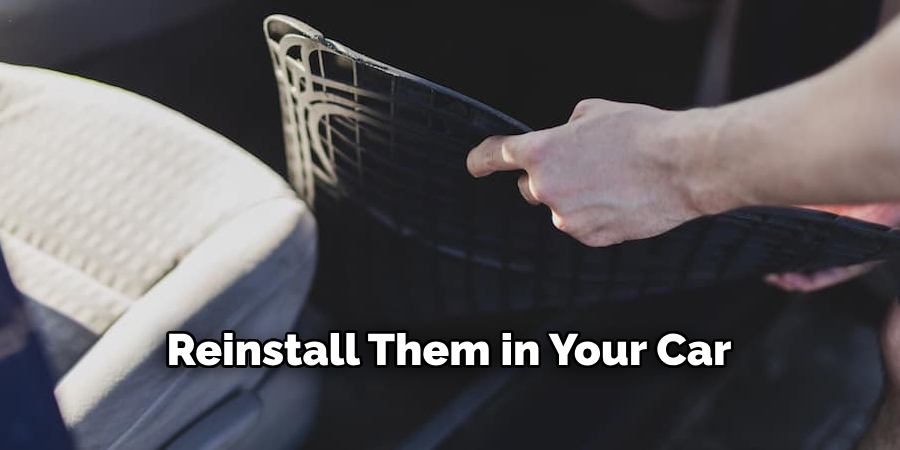
Step 10: Reinstall Mats
Once the mats are completely dry, reinstall them in your car. Be sure to place them correctly, according to their designated positions. Proper alignment of the mats will prevent any slipping or bunching while driving. If your mats have backing or clips, be sure to secure them properly. You can also use a non-slip mat or grip pads underneath the mats for added security.
Enjoy your clean and fresh-smelling car! You can now drive with peace of mind, knowing that your car mats are free from dirt and grime. Regular cleaning and maintenance will not only keep your car looking clean but also prolong the lifespan of your plastic mats. So, make it a habit to clean them regularly to avoid stubborn stains and odors.
Step 11: Maintenance Tips
To keep your plastic car mats clean and in good condition, make sure to regularly shake them out and vacuum them. If there are any spills or stains, spot-clean them immediately with a mild soap solution. It’s also a good idea to deep clean your mats at least once a month, especially if you frequently drive in dirty or muddy areas.
Additionally, avoid using harsh chemicals or abrasive scrubbers on your plastic mats to prevent any damage. With proper maintenance, your car mats will stay clean and last longer. Keep these tips in mind to keep your car looking its best.
Following these steps on how to clean plastic car mats will ensure that your plastic car mats stay clean and in good condition. Regularly cleaning and maintaining them will not only keep your car looking fresh, but it can also help protect the floors from wear and tear. With just a little bit of effort, you can have clean and well-maintained mats that will last for many years. So don’t wait any longer, grab your cleaning supplies and give your car mats the TLC they deserve! Happy cleaning!
Maintaining Clean Car Mats
- Shake Out and Vacuum Mats Regularly to Remove Dirt and Debris.
- Spot Clean Stains Immediately With a Mild Soap Solution.
- Deep Clean Mats at Least Once a Month, Especially if Frequently Driving in Dirty or Muddy Areas.
- Avoid Using Harsh Chemicals or Abrasive Scrubbers on Plastic Mats to Prevent Damage.
- Use Non-slip Mats or Grip Pads Underneath the Mats for Added Security.
- Properly Align and Secure Mats to Prevent Slipping or Bunching While Driving.
- Regular Maintenance Will Help Keep Car Mats Clean, Fresh, and Lasting Longer.
- Enjoy a Clean and Fresh-Smelling Car on Every Drive! Happy Cleaning!
Additional Tips for Car Interior Cleaning
- Use a Microfiber Cloth to Wipe Down Surfaces in Your Car.
- Use Specialized Products for Upholstery, Leather, or Vinyl Seats.
- Vacuum the Floor and Seats to Remove Any Dirt or Debris.
- Use Fabric Freshener or Car Air Fresheners to Keep Your Car Smelling Good.
- Regularly Wash and Clean Floor Mats, Seat Covers, and Other Removable Parts.
- Use a Handheld Vacuum for Hard-to-reach Areas Such as Vents or Crevices.
- Don’t Forget to Clean the Inside of Windows and Windshields for Clear Visibility While Driving.
- Follow the Manufacturer’s Instructions for Any Electronic or Touch Screen Displays in Your Car.
- Regular Maintenance Will Not Only Keep Your Car Clean But Also Help Maintain Its Value. Happy Cleaning!
Common Challenges and Solutions
Removing Stains from Carpet Mats:
Use a Mixture of Water and Mild Soap or Detergent to Spot Clean. You Can Also Use Baking Soda or Vinegar for Tougher Stains.
Lingering Odors:
Vacuuming, Wiping Down Surfaces, and Using Fabric Freshener Can Help Eliminate Unpleasant Smells in Your Car. You Can Also Place an Odor Absorber or Freshener in Your Car.
Preventing Mold and Mildew:
Ensure Mats are Completely Dry Before Placing Them Back in the Car. Regularly Cleaning and Maintaining Mats Will Help Prevent Moisture Build-up and Mold Growth.
Removing Tough Dirt and Grime:
Add a Degreaser or All-Purpose Cleaner to Your Cleaning Solution. You Can Also Use a Scrub Brush for Stubborn Dirt or Stains. Be Sure to Rinse Thoroughly After Cleaning.
Protecting Car Floors:
In addition to using mats, you can also lay down protective liners or floor mats Under the mats for extra protection against spills and wear. Happy Cleaning!
Frequently Asked Questions
Q1: Can I Use a Pressure Washer to Clean My Plastic Car Mats?
A: No, pressure washers can be too harsh and may damage the mats. It’s best to stick to using a mild soap solution and scrubbing by hand.
Q2: Can I Use Bleach or Harsh Chemicals to Clean My Plastic Car Mats?
A: No, bleach and harsh chemicals can damage the plastic material of the mats. Stick to using mild soap solutions or specialized car cleaning products.
Q3: How Often Should I Deep Clean My Car Mats?
A: It’s recommended to deep clean your mats at least once a month or more frequently if you frequently drive in dirty or muddy areas.
Q4: Can I Put My Plastic Car Mats in the Washing Machine?
A: No, it’s not recommended to put plastic car mats in the washing machine as they can get damaged. Stick to hand washing and air drying the mats.
Conclusion
In conclusion, maintaining clean plastic car mats is a straightforward and rewarding process. By following the steps outlined in this guide on how to clean plastic car mats, you can effortlessly remove dirt, grime, and stains, thereby preserving the appearance and longevity of your mats.
Regular cleaning not only keeps your car looking pristine but also contributes to a healthier interior environment. With minimal effort, your plastic car mats can remain a functional and aesthetic component of your vehicle for years to come.