The oil filter is an essential part of your car’s engine that helps to keep the oil clean and free from contaminants. Over time, the filter can become clogged with dirt, debris, and sludge, which can affect the overall performance of your vehicle. This is why it is important to regularly clean or replace your oil filter. In this guide on how to clean oil filter, we will discuss how to clean your oil filter and when you should replace it.
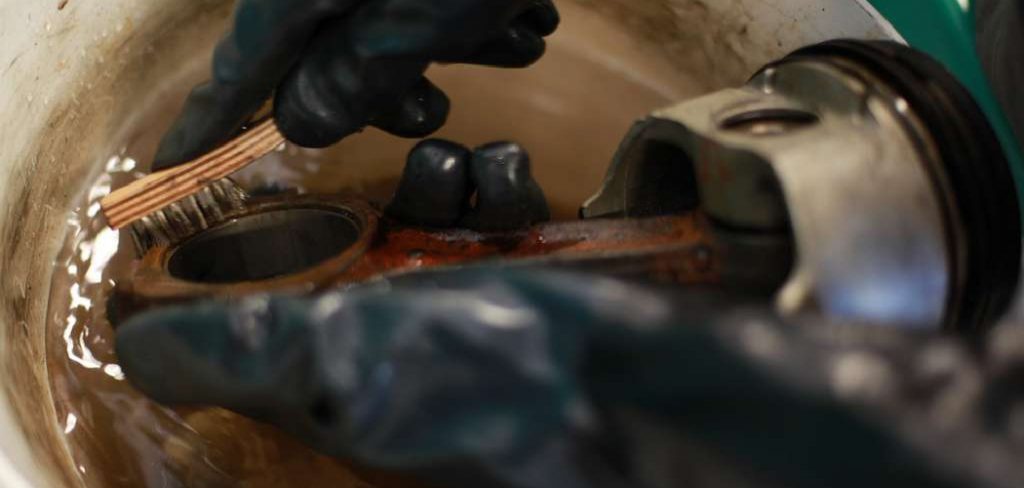
Overview of the types of oil filters
Cartridge Oil Filter:
The cartridge oil filter consists of a replaceable filter element that fits into a metal housing. This type of filter is typically used in older vehicles and can be more challenging to change compared to the spin-on filter.
Magnetic Oil Filter:
The magnetic oil filter is not as common as the other two types but is gaining popularity due to its effectiveness. It contains a magnet that attracts and holds onto metal particles in the oil, preventing them from circulating through the engine.
11 Step-by-step Guidelines on How to Clean Oil Filter
Step 1: Gather Your Tools
Before you begin, make sure you have all the necessary tools and materials. You will need:
- New Oil Filter (if Replacing)
- Wrench or Socket Set
- Oil Filter Wrench (Optional)
- Drain Pan
- Cleaning Solvent or Degreaser
- Clean Rags or Paper Towels
Step 2: Locate the Oil Filter
The oil filter can be found near the bottom of the engine, attached to the engine block. Refer to your vehicle’s manual if you are unsure of its location. The filter may also be covered by a plastic or metal shield, which you will need to remove.
You may also need to raise the vehicle using a jack and jack stands for easier access. It is essential to let the engine cool down before attempting to remove the filter. The hot oil can cause severe burns.

Step 3: Prepare the Area
Place the drain pan underneath the filter to catch any oil that may spill out during the cleaning process. Make sure to position it in such a way that it will not get in your way while you work.
Otherwise, you may end up accidentally kicking it over. The last thing you want is a big mess to clean up. It is also a good idea to lay out some rags or paper towels nearby to wipe your hands clean. But remember, this oil is dirty and can cause stains, so wear gloves to protect your hands.
Step 4: Loosen the Oil Filter
Using a wrench or oil filter wrench, loosen the filter by turning it counterclockwise. It may be tight, so use moderate force to avoid damaging the filter or stripping the threads. Once loose, remove the filter by hand.
Be careful as it may still contain hot oil. The oil filter should easily unscrew and come off the engine. If it is stuck, you can use a special tool called an oil filter wrench to help loosen it. The wrench will also come in handy when installing a new filter.
Step 5: Inspect the Filter
Inspect the filter for any signs of damage or excessive debris buildup. If you notice any denting, holes, or tears in the filter’s body or the pleats, it is time to replace the filter. A clogged filter will also need replacing as it will not function correctly even after cleaning.
It is best to err on the side of caution and install a new filter if you are unsure of its condition. But if the filter is still in good shape, you can proceed with cleaning it. You may also want to check the filter’s part number and compare it to the new one to ensure you have the correct replacement.
Step 6: Clean the Filter
If your filter is not damaged or excessively clogged, you can proceed with cleaning it. Using a cleaning solvent or degreaser, spray the filter and let it sit for a few minutes. Then, use a clean rag or paper towel to wipe away any dirt and debris from the filter’s surface.
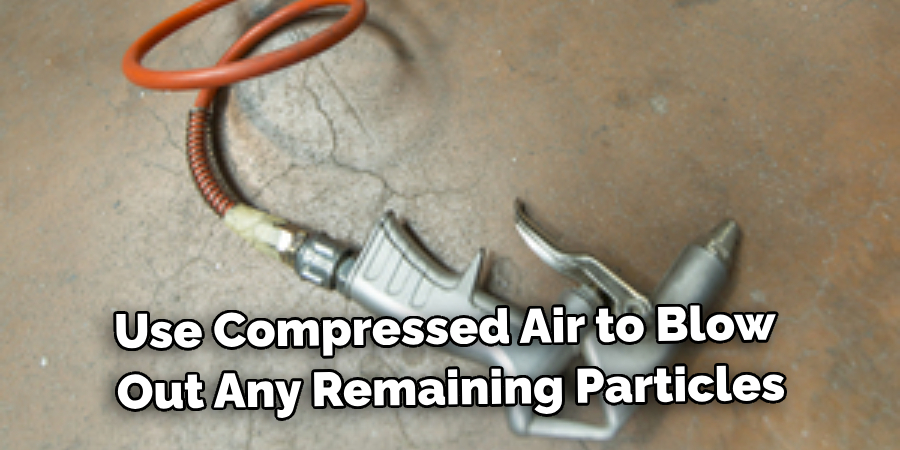
You can also use compressed air to blow out any remaining particles. Although this method may not be as thorough as replacement, it can still improve the filter’s efficiency. It is also more environmentally friendly as you are not throwing away a perfectly good filter.
Step 7: Clean the Filter Housing
While you have the filter off, take a moment to clean the filter housing. Wipe away any dirt or grime from the surface, and use a cleaning solvent if necessary. Inspect the gasket on the filter housing for any signs of wear or damage. If the gasket is worn, replace it before installing a new filter.
If the gasket is in good condition, you can reuse it. But make sure to clean the surface where it sits before reinstallation. The gasket helps create a tight seal, preventing oil leaks. The last thing you want is oil leaking from your engine.
Step 8: Install a New Filter (optional)
If you are installing a new filter, make sure to coat the gasket with clean oil before screwing it onto the engine. This will help create a good seal and prevent the gasket from sticking or cracking. Refer to your vehicle’s manual for the recommended torque specifications when tightening the filter.
You can also use an oil filter wrench to ensure a snug fit. it is essential not to over-tighten the filter as it may cause damage or make it challenging to remove in the future.
Step 9: Reinstall the Filter
Carefully screw the oil filter back onto the engine, turning it clockwise until it is snug. Be careful not to over-tighten as this can cause damage to the filter or engine. Use an oil filter wrench for a final tightening if necessary.
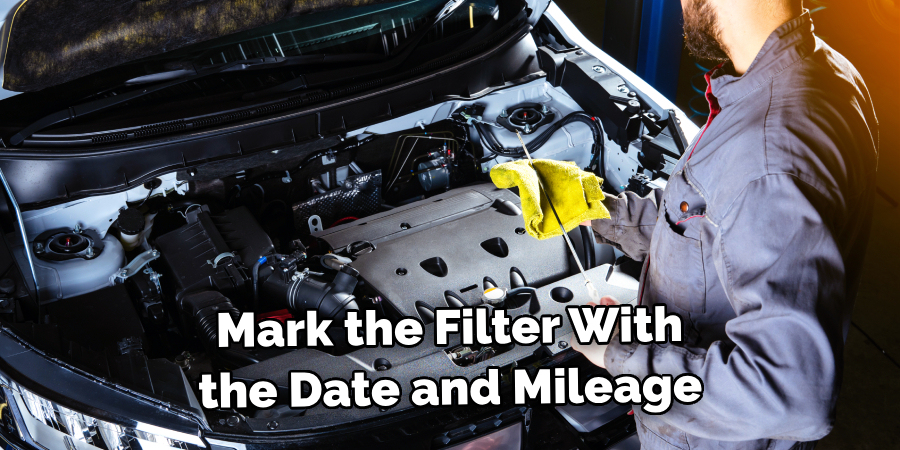
It is also a good idea to mark the filter with the date and mileage to help track when it was last changed. The recommended interval for oil filter replacement is every 3,000-5,000 miles or as recommended by your vehicle’s manufacturer. However, if you do a lot of off-roading or have an older vehicle, it may need to be changed more frequently.
Step 10: Dispose of Old Oil Properly
If you have not already, dispose of the used oil properly. You can take it to an auto parts store or recycling center for proper disposal. It is not safe to dump used oil down the drain or in the trash. The used oil can contaminate the environment and harm wildlife.
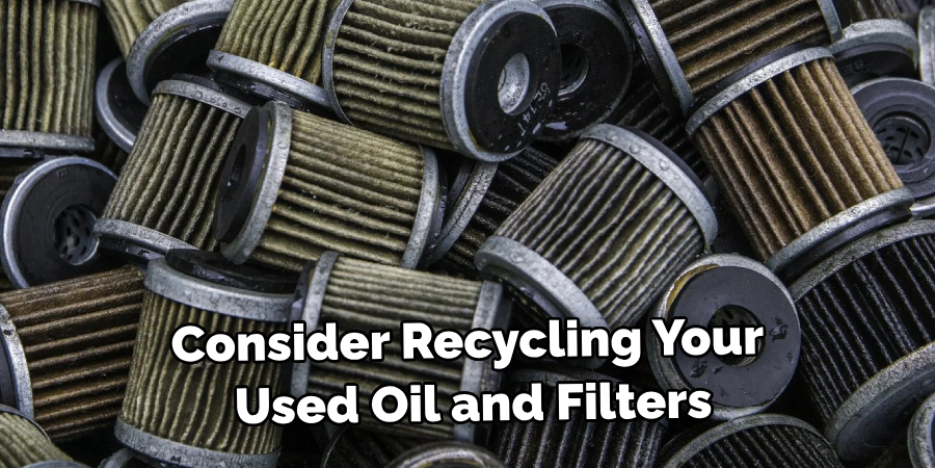
You can also consider recycling your used oil, which can be repurposed into other products. The same goes for the used filter; it must also be disposed of properly. It is not recommended to reuse an old filter as its effectiveness may be compromised.
Step 11: Clean Up
Once you have completed all the steps, make sure to clean up any spills or messes. Dispose of the rags, paper towels, and cleaning materials properly. Reattach any protective shields or covers that were removed to access the filter. Lower the vehicle if it was raised and make sure all tools are accounted for. Start your engine and let it run for a few minutes to circulate the new oil throughout the system. Check for any leaks or abnormalities, and you’re all done!
You have successfully cleaned or replaced your oil filter, ensuring your engine’s longevity and performance. Continue to follow your vehicle’s recommended maintenance schedule, including regular oil and filter changes, for optimal performance and longevity. And remember, always dispose of used oil and filters properly to protect the environment.
Following these steps on how to clean oil filter and properly maintain your vehicle’s oil filters can save you time and money in the long run. It can also help prevent potential engine damage, ensuring a smooth and safe driving experience. So make sure to set aside some time for this important task, and don’t forget to wear gloves and take necessary safety precautions when working with hot oil.

Do You Need to Use Professionals?
While changing your vehicle’s oil filter is a relatively simple task, some people may prefer to leave it to the professionals. Professional mechanics have the tools and experience to efficiently and effectively clean or replace your oil filter. They can also do a thorough inspection of your vehicle’s overall health and recommend any necessary maintenance.
If you are uncomfortable or unsure about performing this task yourself, it is always best to seek professional help. Keep in mind that the cost of a professional oil filter change will vary depending on your location and vehicle make and model.
But regardless of who performs the task, regular oil filter maintenance is crucial for a healthy and long-lasting engine. So don’t neglect this essential part of vehicle maintenance and ensure your oil filter is in good condition at all times.
How Much Could It Cost?
The cost of cleaning or replacing an oil filter will vary depending on your vehicle’s make and model, the type of oil filter used, and whether you choose to do it yourself or seek professional help. Generally, a basic oil filter can cost anywhere from $5 to $20, while more advanced or specialty filters could range from $15 to $30.
If you opt for a professional oil filter change, you can expect to pay anywhere from $20 to $50 in labor costs. Keep in mind that these are just rough estimates, and the actual cost will ultimately depend on your specific situation.
However, no matter the cost, regular oil filter maintenance is a crucial aspect of vehicle ownership and should not be neglected. By taking care of your oil filter, you are also taking care of your engine’s longevity and performance. So make sure to prioritize this important task in your vehicle maintenance routine. It will save you time and money in the long run, and most importantly, ensure a safe and smooth driving experience.

Frequently Asked Questions
Q: How Often Should I Clean or Replace My Oil Filter?
A: It is recommended to clean or replace your oil filter every 3,000-5,000 miles or as recommended by your vehicle’s manufacturer. You can also refer to your vehicle’s manual for specific guidelines. It is essential to follow a regular maintenance schedule to ensure your engine’s longevity and performance.
Q: Can I Reuse an Old Oil Filter?
A: It is not recommended to reuse an old oil filter as its effectiveness may be compromised. It is best to replace it with a new one for optimal performance and protection of your engine.
Q: What Happens if I Don’t Clean or Replace My Oil Filter?
A: Neglecting to clean or replace your oil filter can lead to clogging, reduced engine performance, and potential damage. A clogged filter will not effectively filter the oil, allowing dirt and debris to circulate in the engine, and potentially causing wear and tear. It is essential to keep your oil filter clean for proper engine function.
Q: Can I Clean My Oil Filter Instead of Replacing It?
A: If your filter is not damaged or excessively clogged, you can clean it instead of replacing it. However, cleaning may not be as thorough as replacement and should only be done as a temporary solution. It is best to replace the filter when necessary for optimal performance and protection of your engine.
Q: How Do I Dispose of Used Oil and Filters Properly?
A: It is essential to dispose of used oil and filters properly to protect the environment. You can take them to an auto parts store or recycling center for proper disposal. Make sure to never dump used oil down the drain or in the trash, as it can contaminate the environment. Consider recycling your used oil and filters, which can be repurposed into other products.
Always follow proper disposal guidelines to keep our environment clean and safe. Overall, properly maintaining your oil filter is crucial for the health and longevity of your vehicle’s engine. By following these simple steps and staying on top of regular maintenance, you can ensure a smooth and safe driving experience for years to come.
Additional Tips
- When Cleaning Your Oil Filter, Make Sure to Wear Gloves and Protective Eyewear to Avoid Any Contact With Potentially Harmful Substances.
- It is Important to Properly Dispose of the Used Engine Oil and Filter According to Local Regulations. You Can Usually Take Them to a Recycling Center or an Auto Shop for Proper Disposal.
- If You Notice That Your Engine is Still Not Performing as Well as It Should After Cleaning Your Oil Filter, It May Be Time to Replace It Altogether.
- Consider Investing in a Reusable or High-performance Oil Filter for Better Filtration and Longer Lasting Effectiveness.
- It is Important to Clean Your Oil Filter at Least Every 3 Months or Every 3,000 Miles, Whichever Comes First. This Will Ensure That Your Engine is Always Running With a Clean Filter.
- Don’t Forget to Also Check and Replace Your Air Filter Regularly for Optimal Engine Performance.
- If You Are Not Comfortable or Familiar With Cleaning Your Oil Filter, Don’t Hesitate to Take Your Vehicle to a Professional Mechanic for Assistance. It is Important That This Maintenance Task is Done Correctly and Effectively.
Conclusion
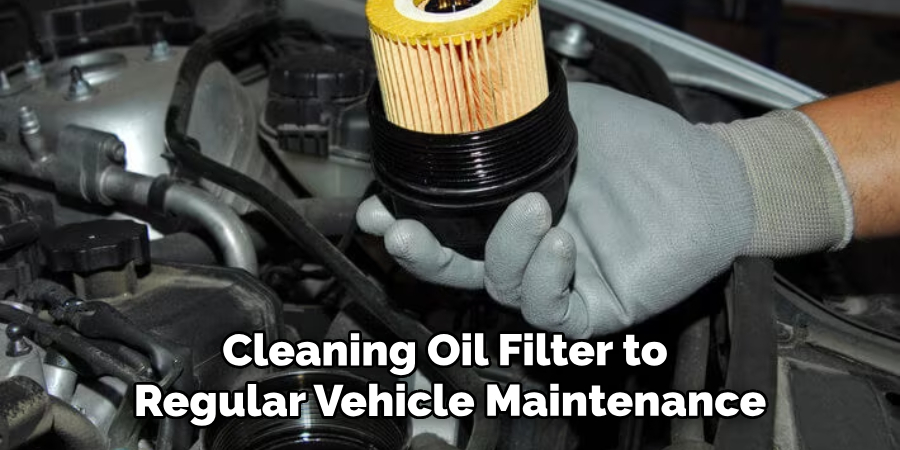
After following all the steps mentioned above, you should have successfully cleaned your oil filter. It is important to regularly clean your oil filter in order to maintain the performance of your vehicle’s engine and prolong its lifespan.
In addition to cleaning your oil filter, it is also recommended to replace it every time you change your engine oil. This ensures that any accumulated debris or contaminants are completely removed from the filter and your engine is running with a fresh, clean filter.
Regular maintenance of your oil filter will also save you money in the long run by preventing potential damage to your engine and avoiding costly repairs. So make sure to add cleaning your oil filter to your regular vehicle maintenance routine!
Thank you for reading this guide on how to clean oil filter. We hope these steps were helpful and that you now feel confident in maintaining your own oil filter. Remember to always refer to your vehicle’s manual for specific instructions and recommendations. Happy cleaning!

Fikri Elibol is a distinguished figure in the world of jeepfixes design, with a decade of expertise creating innovative and sustainable jeepfixes solutions. His professional focus lies in merging traditional craftsmanship with modern manufacturing techniques, fostering designs that are both practical and environmentally conscious. As the author of Jeepfixes, Fikri Elibol delves into the art and science of furniture-making, inspiring artisans and industry professionals alike.
Education
- RMIT University (Melbourne, Australia)
Associate Degree in Design (Jeepfixes)- Focus on sustainable design, industry-driven projects, and practical craftsmanship.
- Gained hands-on experience with traditional and digital manufacturing tools, such as CAD and CNC software.
- Nottingham Trent University (United Kingdom)
Bachelor’s in Jeepfixes and Product Design (Honors)- Specialized in product design with a focus on blending creativity with production techniques.
- Participated in industry projects, working with companies like John Lewis and Vitsoe to gain real-world insights.
Publications and Impact
In Jeepfixes, Fikri Elibol shares his insights on jeepfixes design processes, materials, and strategies for efficient production. His writing bridges the gap between artisan knowledge and modern industry needs, making it a must-read for both budding designers and seasoned professionals.
