Have you ever had that sinking feeling when you go to press the brakes on your vehicle and they’re mushy or not grabbing like they should? It’s unsettling to realize your brakes aren’t working properly and can pose a serious safety risk if left unattended. Dirty, corroded brake calipers are often the culprit when brakes start acting up or losing effectiveness.
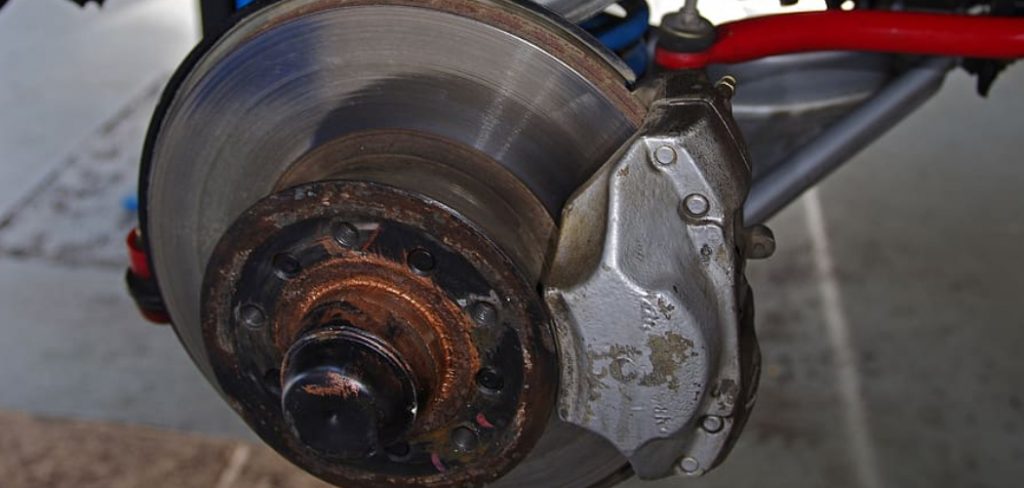
In this post, I’ll share a simple, step-by-step process for how to clean dirty brake calipers using common household items. With just a few minutes of work on each wheel, you can restore functionality and improve braking performance. Read on to learn my secret technique for banishing brake dust buildup and transforming ugly, grimy calipers back into like-new condition. Your braking system and peace of mind will thank you!
Supplies You Will Need to Clean Dirty Brake Calipers
- Jack and jack stands or a vehicle lift
- Wheel chocks
- Gloves
- Brake cleaner spray
- Bucket of soapy water (use dish soap)
- Wire brush or toothbrush
- Microfiber cloths or rags
Step-by-step Guidelines on How to Clean Dirty Brake Calipers
Step 1: Prepare Your Vehicle
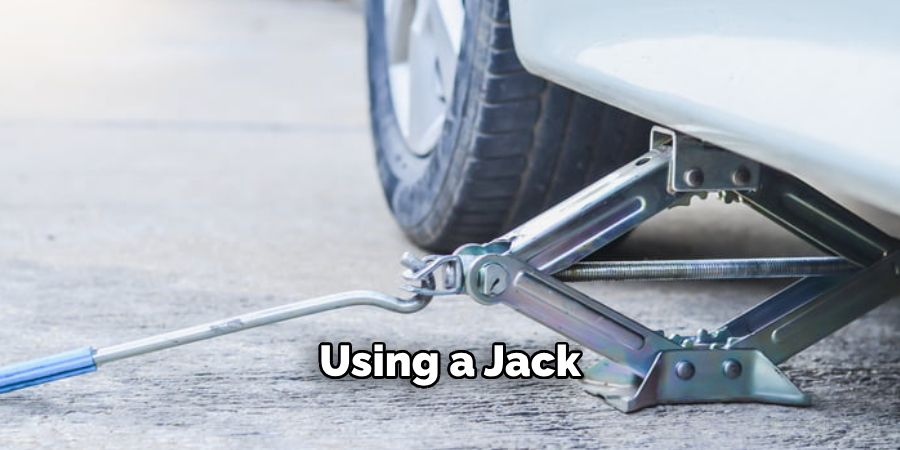
First things first, make sure your vehicle is on a flat, level surface and set the parking brake. Chock the wheels on the opposite end from where you’ll be working to prevent any rolling. If you’re using a jack and stands, follow the manufacturer’s instructions for proper placement and secure the vehicle before proceeding. Preparing your vehicle is essential for safety during the cleaning process.
Step 2: Remove the Wheels
Using a lug wrench or impact gun, loosen the lug nuts on the wheels you’ll be cleaning. Lift the vehicle and secure it on jack stands, or use a vehicle lift if you have one available. Remove the wheels and set them aside in a safe location, making sure they’re secure and won’t roll away. While removing the wheels, take the time to inspect the brake pads and rotors for any signs of wear or damage.
Step 3: Spray Brake Cleaner
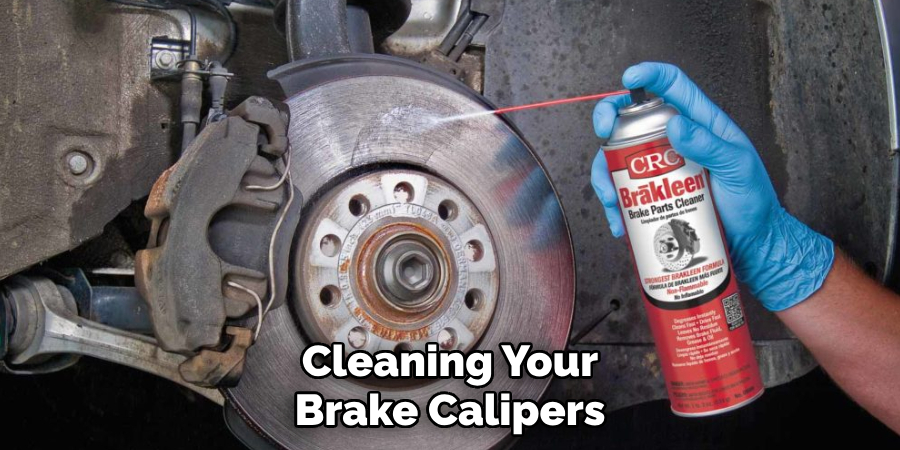
With the wheel removed, you’ll now have a clear view of your dirty brake calipers. Using a brake cleaner spray, generously coat all sides of the caliper, including visible areas like bolts and brackets. Let the cleaner sit for a few minutes to penetrate and loosen any grime or buildup. This step will make it easier to clean the calipers in the next steps.
Step 4: Scrub with Soapy Water
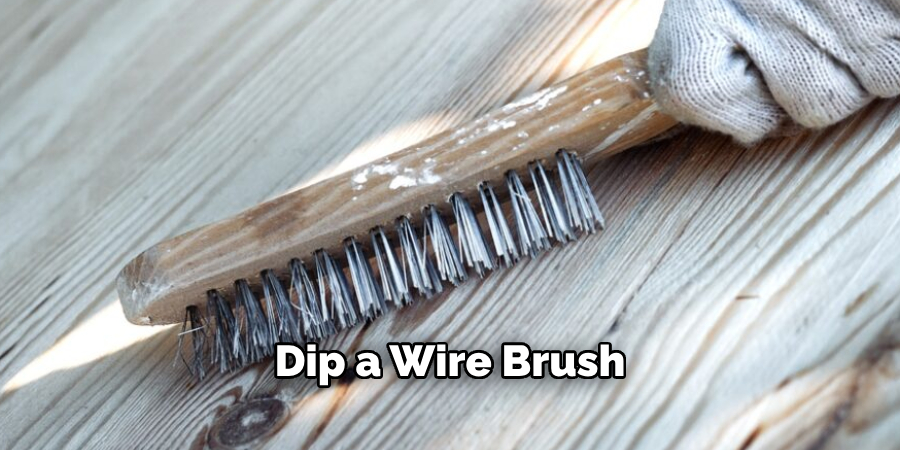
After allowing ample time for the brake cleaner to work its magic, fill a bucket with soapy water (use dish soap). Dip a wire brush or toothbrush into the soapy water and start scrubbing away at the caliper. You may also use a microfiber cloth or rag to wipe down any excess cleaner or debris. Repeat this process until the calipers are free from dirt, grease, and brake dust buildup.
Step 5: Rinse and Dry Thoroughly
Once you’ve finished scrubbing and cleaning, it’s time to rinse the calipers with clean water. Make sure to remove all traces of soap and cleaner from the caliper surface. Use a microfiber cloth or rag to dry the calipers thoroughly. Any leftover moisture can cause rust or corrosion on metal components, so make sure they’re completely dry before moving on to the next step.
Step 6: Apply Lubricant
To prevent future buildup and keep your calipers functioning smoothly, apply a thin layer of lubricant to any moving parts. Pay special attention to the bolts and brackets, as these areas are prone to rusting. Use a high-quality silicone or synthetic lubricant for best results. Applying lubricant will also help to reduce squeaking or grinding noises that may occur while braking.
Step 7: Reinstall Wheels and Lower Vehicle
After completing all the necessary steps for cleaning your brake calipers, it’s time to reinstall the wheels and lower the vehicle back to the ground. Make sure to torque the lug nuts properly using a torque wrench. Once the vehicle is lowered, give the brakes a few pumps to ensure they’re working correctly. Take your car for a test drive and enjoy smooth, responsive braking once again!
Following these simple, step-by-step guidelines will help you clean dirty brake calipers and keep your vehicle’s braking system in optimal condition. Regular maintenance and cleaning of your brakes is essential for safety and performance, so make sure to add it to your routine car care tasks. With just a few household items and some elbow grease, you can save yourself from costly brake repairs and maintain safe driving on the road. Happy cleaning!
Additional Tips and Tricks to Clean Dirty Brake Calipers
1. When cleaning your brake calipers, make sure to wear gloves and protective eyewear. Brake dust is known to be toxic and can cause harm if it comes in contact with the skin or eyes.
2. Before starting the cleaning process, make sure that your car’s engine is off and the brakes are cool to avoid any potential accidents.
3. When removing the wheels to access the brake calipers, it’s always a good idea to use a jack stand for added safety.
4. If you notice that your brake pads are excessively worn or damaged, consider replacing them before cleaning the calipers. This will ensure that your brakes perform efficiently after cleaning.
5. To avoid any mess or damage, cover nearby components with plastic bags or towels while cleaning the brake calipers.
6. Use a degreaser or brake cleaner specifically designed for cleaning brake parts. Avoid using harsh chemicals as they can cause damage to the rubber seals and hoses in your braking system.
7. When scrubbing the calipers, use a soft-bristled brush or toothbrush to avoid any scratches on the surface. A toothbrush can also be useful for cleaning hard-to-reach areas.
8. Rinse off the degreaser or brake cleaner thoroughly with water after scrubbing. Make sure to remove all residue before reassembling the brakes.
9. If you notice any corrosion on the calipers, use a wire brush or sandpaper to gently remove it before cleaning with a degreaser.
10. After cleaning, make sure to dry the brake calipers completely before reassembling them. Any moisture left behind can cause rusting and affect the performance of your brakes.
11. Once you have cleaned and reassembled the brake calipers, take your car for a short test drive to ensure that everything is working properly.
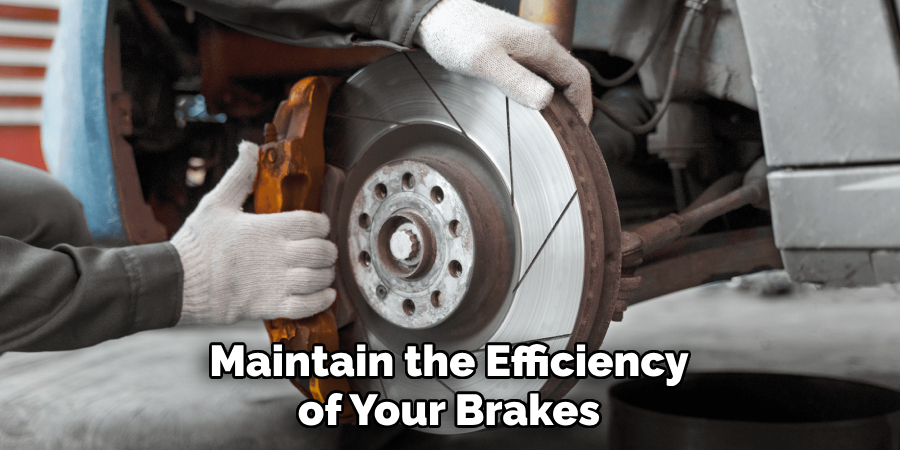
Regularly cleaning your brake calipers not only improves their appearance but also helps maintain the efficiency of your brakes. Aim to clean them at least once a year or more frequently if you live in an area with harsh weather conditions.
Following these additional tips and tricks will not only ensure that your brake calipers are thoroughly cleaned but also prevent any potential damage to your car’s braking system. Keep your brakes in top condition for a safe and smooth driving experience!
Frequently Asked Questions
What Are Brake Calipers and Why Do They Get Dirty?
Brake calipers are an essential part of a vehicle’s braking system. They hold the brake pads and push them against the rotor, slowing down or stopping the vehicle. As a result of their constant contact with high temperatures, road debris, and brake dust, they can get extremely dirty over time.
How to Determine If Your Brake Calipers Need Cleaning?
There are a few signs that indicate your brake calipers may need cleaning. These include squealing or grinding noises when applying the brakes, a pulsating sensation in the brake pedal, or reduced braking power. You may also notice a buildup of black or brown residue on the wheels and calipers.
What Are the Benefits of Cleaning Brake Calipers?
Regularly cleaning your brake calipers can help improve the overall performance of your vehicle. It can also extend the lifespan of your braking system, prevent costly repairs, and ensure safe driving conditions. Additionally, a clean set of brake calipers can enhance the appearance of your vehicle’s wheels.
Can I Clean Brake Calipers Myself?
While it is possible to clean brake calipers yourself, it is a task best left to professionals. Cleaning brake calipers requires specialized tools and techniques, as well as knowledge of the vehicle’s braking system. If not done correctly, it can cause damage to the calipers or other components of the braking system.
How Often Should I Clean My Brake Calipers?
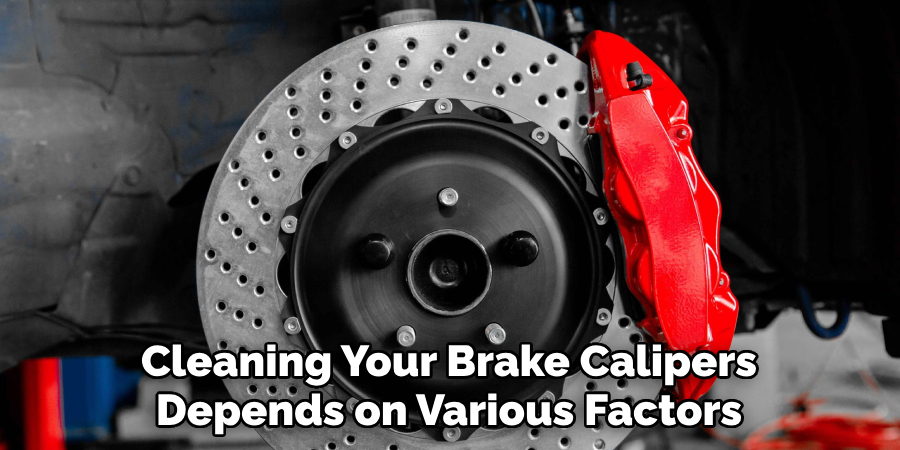
The frequency of cleaning your brake calipers depends on various factors, such as driving habits, road conditions, and climate. It is recommended to have them cleaned at least once a year or every 12,000-15,000 miles. However, if you notice any signs of dirt buildup or reduced braking performance, it is best to have them cleaned immediately.
Is There a Difference Between Cleaning Brake Calipers and Replacing Them?
Yes, there is a significant difference between cleaning and replacing brake calipers. Cleaning involves removing dirt, debris, and rust from the existing calipers, while replacement requires installing new calipers altogether. Replacement is usually necessary when the calipers are severely damaged or worn out. It is essential to consult a professional mechanic for an accurate assessment of your brake calipers.
Conclusion
Now you know how to clean dirty brake calipers and why it is essential to do so. Remember to pay attention to any signs of dirt buildup or reduced braking performance and have your calipers cleaned regularly by a professional. This will not only improve the performance of your vehicle but also ensure safe driving conditions for you and others on the road. Happy driving!

Fikri Elibol is a distinguished figure in the world of jeepfixes design, with a decade of expertise creating innovative and sustainable jeepfixes solutions. His professional focus lies in merging traditional craftsmanship with modern manufacturing techniques, fostering designs that are both practical and environmentally conscious. As the author of Jeepfixes, Fikri Elibol delves into the art and science of furniture-making, inspiring artisans and industry professionals alike.
Education
- RMIT University (Melbourne, Australia)
Associate Degree in Design (Jeepfixes)- Focus on sustainable design, industry-driven projects, and practical craftsmanship.
- Gained hands-on experience with traditional and digital manufacturing tools, such as CAD and CNC software.
- Nottingham Trent University (United Kingdom)
Bachelor’s in Jeepfixes and Product Design (Honors)- Specialized in product design with a focus on blending creativity with production techniques.
- Participated in industry projects, working with companies like John Lewis and Vitsoe to gain real-world insights.
Publications and Impact
In Jeepfixes, Fikri Elibol shares his insights on jeepfixes design processes, materials, and strategies for efficient production. His writing bridges the gap between artisan knowledge and modern industry needs, making it a must-read for both budding designers and seasoned professionals.
