

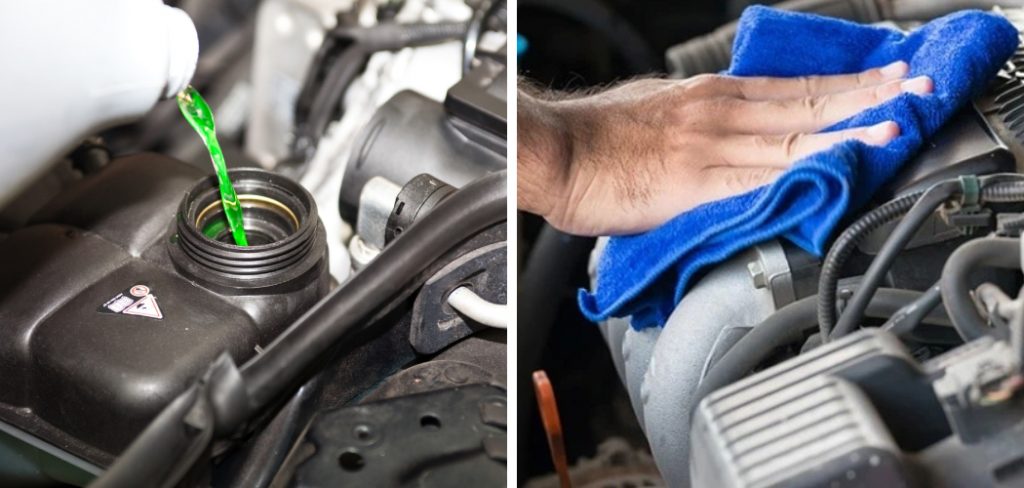
Are you tired of seeing that sticky, slimy coolant splattered all over your engine? Cleaning coolant off an engine is necessary to keep your vehicle running smoothly and looking its best.
Coolant spills on your engine can be unsightly and cause your engine to work less efficiently if not cleaned promptly. Over time, the spilled coolant can attract dirt and debris, leading to potential clogging and overheating issues.
This guide aims to provide you with simple, step-by-step instructions on how to clean coolant off engine. Cleaning coolant spills is an essential maintenance that can save you from expensive repairs and keep your vehicle in top-notch condition. Whether you’re a seasoned mechanic or a first-time car owner, this guide will equip you with the knowledge to tackle this task confidently.
What are the Uses of Engine Coolant?
Before delving into the process of cleaning coolant off an engine, let’s first understand what engine coolant is and its purpose. Also known as antifreeze, engine coolant is a liquid that circulates through your vehicle’s cooling system to regulate your engine’s temperature. It prevents your engine from overheating in hot weather and freezing in cold temperatures.
Additionally, engine coolant contains additives that protect your engine from corrosion and rust, ensuring its longevity. Over time, engine coolant can break down, losing its effectiveness and putting your engine at risk of damage. Regularly checking and replacing your coolant is crucial for the optimal performance of your vehicle.
Why Clean Coolant Off Engine?
While it may not seem like a big deal, leaving coolant spills on your engine can cause several problems in the long run. First and foremost, coolant is highly corrosive and can damage your engine’s components if left unaddressed. Coolant contains chemicals that help regulate your engine’s temperature, but these same chemicals can also harm rubber, plastic, and metal parts.
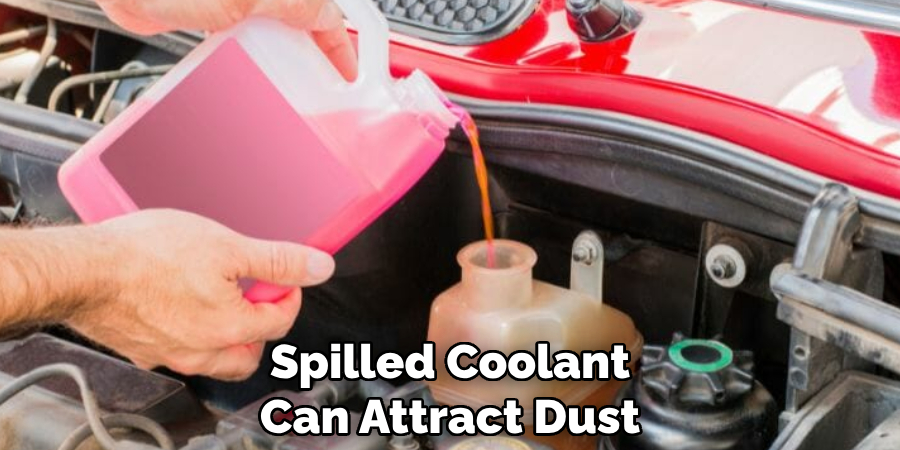
Moreover, spilled coolant can attract dust, grime, and other debris, creating a sticky mess that can hinder the proper functioning of your engine. As the coolant dries, it can form a layer of residue that can prevent air from reaching critical components and cause overheating issues.
Spilled coolant can also leave behind stains on your engine, making it look dirty and unappealing. Regularly cleaning up spills will help maintain your engine’s performance and keep it looking clean and well-maintained.
What Will You Need?
Before you begin cleaning the coolant off your engine, make sure you have all the necessary materials on hand. Here’s a list of items you’ll need:
- Safety gloves
- Safety goggles
- Rags or paper towels
- Degreaser or car wash soap
- Bucket of water
- Soft-bristled brush or sponge
- Garden hose with a spray nozzle
- Engine degreaser (optional)
Once you have all these items, you’re ready to get started!
10 Easy Steps on How to Clean Coolant Off Engine
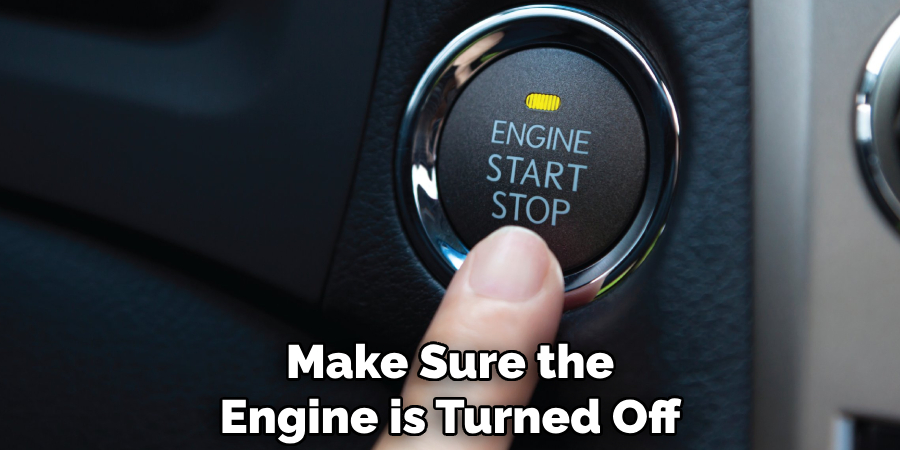
Step 1. Ensure Safety First:
Before you start, make sure the engine is turned off and cool to the touch. This is crucial to prevent burns and other injuries. Wear safety gloves and goggles to protect your skin and eyes from chemicals or debris. Additionally, park your vehicle on a flat surface and ensure the parking brake is engaged.
Step 2. Remove Loose Dirt and Debris:
Begin by using a soft brush or a dry rag to gently remove any loose dirt or debris from the engine surface. This step is important to prevent scratching the engine parts when you start the wet cleaning process. Pay special attention to the nooks and crannies where coolant and grime can accumulate.
Step 3. Apply Degreaser or Soap:
Next, apply a generous amount of degreaser or car wash soap directly onto the areas affected by the coolant spill. If you’re using a degreaser, ensure it’s suitable for engine components to avoid any potential damage. For car wash soap, diluting it with water, as the manufacturer, recommends can make it more effective. This step helps break down the sticky residue, making it easier to clean off. Allow the solution to sit on the surface for a few minutes to penetrate and loosen the coolant and grime buildup.
Step 4. Scrub Affected Areas Gently:
After allowing the degreaser or soap to sit for a few minutes, use a soft-bristled brush or sponge to gently scrub the areas where you applied the cleaning solution. Focus on areas with noticeable coolant spillage or sticky residue. The goal is to break up and lift any grime without damaging the engine’s surfaces or components. Use circular motions for effective scrubbing and reach into crevices where coolant may have settled. This step requires patience and a gentle touch to ensure that you are thoroughly cleaning the engine while preserving its integrity.
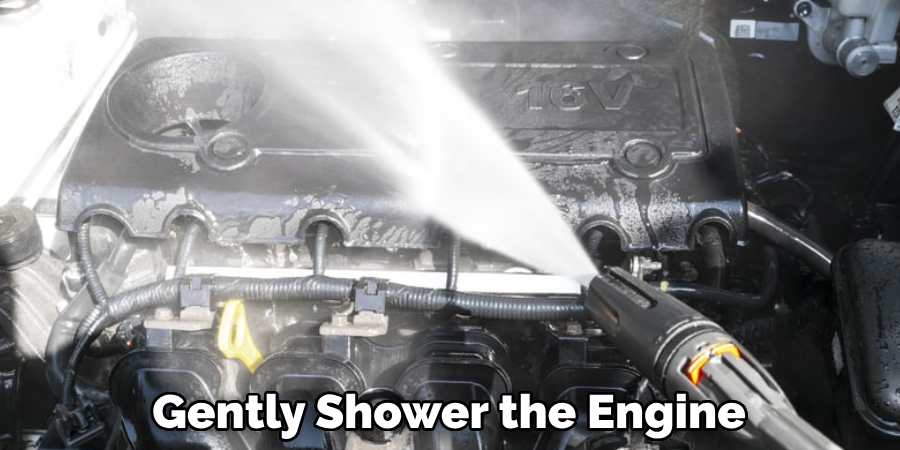
Step 5. Rinse Thoroughly:
Once you have scrubbed the entire area, it’s time to rinse off the loosened dirt, grime, and any remaining coolant residue. Use a garden hose with a spray nozzle to gently shower the engine, focusing on the areas you cleaned. Ensure that all cleaning solutions, as well as the dislodged dirt and coolant, are completely washed away. Be careful not to spray electrical components directly, as water can potentially damage them. Rinsing thoroughly ensures that no soap or degreaser residue remains, which could attract more dirt over time.
Step 6. Dry the Engine:
After rinsing, it’s important to dry the engine thoroughly to prevent any water spots or corrosion. Use clean, soft rags or microfiber towels to gently pat dry the surface of the engine and components. Be meticulous and ensure you reach into all the nooks and crannies where water could accumulate. If available, you can use compressed air to blow out water from hard-to-reach areas, but do so carefully to avoid spreading water into sensitive components. Drying the engine properly also helps in identifying any spots that might need additional cleaning.
Step 7. Inspect and Touch-Up as Needed:
After drying, take a moment to inspect the engine closely. Look for any areas that may still show signs of coolant residue or spots that might not have been cleaned thoroughly. It’s possible that some sections could require a bit more attention. If you find any, simply reapply a small amount of degreaser or soap, scrub gently, rinse, and dry again. This step ensures that you’ve effectively removed all traces of coolant and that your engine is clean and free from potential damage caused by leftover chemicals.
Step 8. Apply Engine Protectant (Optional):
For an extra measure of care, consider applying an engine protectant after the engine is completely dry. This can help guard against corrosion and make future cleaning easier by creating a barrier against dust, grime, and fluids. Ensure the protectant is suitable for engine components and apply it according to the manufacturer’s instructions. This step is not mandatory but can significantly enhance the longevity and appearance of your engine.
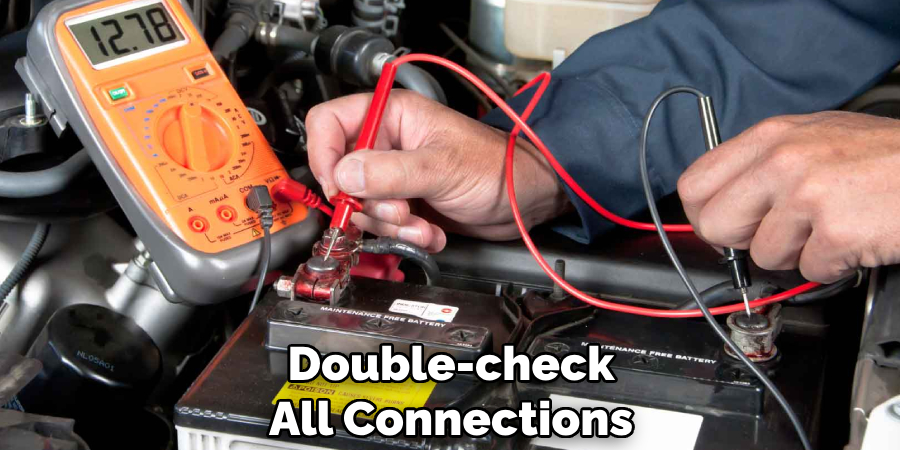
Step 9. Reassemble Any Removed Parts:
If you had to remove parts of the engine or surrounding components to clean them thoroughly or access hidden areas, now is the time to carefully put everything back together. Follow the manufacturer’s guidelines or your own markings and notes taken during disassembly to ensure each piece is reattached correctly and securely. Double-check all connections and fasteners to ensure nothing is loose or improperly fitted, as this could lead to issues when the engine is running. Reassembling everything properly is crucial for your vehicle’s safe and efficient operation.
Step 10. Conduct a Final Check and Test Run:
Before wrapping up, inspect the engine and the area around it to ensure that no tools or rags have been left behind. Start the engine and let it run for a few minutes while monitoring for any unusual noises or leaks. This step allows you to verify that everything is functioning correctly after the cleaning process and that no issues have arisen from disassembling or reassembling parts. If everything appears to be in order, you’ve successfully cleaned the coolant off your engine and taken steps to maintain your vehicle’s performance and safety.
By following these steps, you can effectively remove coolant spills and residue from your engine without causing damage or compromising its performance.
5 Additional Tips and Tricks
- Use Distilled Water for Rinsing: When rinsing the engine after cleaning off the coolant, opt for distilled water. It does not contain minerals found in tap water that can leave deposits or cause corrosion over time.
- Apply a Degreaser Sparingly: A mild degreaser can be effective if the coolant spill is particularly stubborn. However, use it sparingly and choose a product that’s safe for your engine’s materials to avoid any damage.
- Dry Thoroughly After Cleaning: After rinsing off the cleaning solution, thoroughly dry the engine compartment. Moisture can lead to corrosion or electrical issues. A leaf blower or compressed air can expedite this process, reaching nooks and crannies where water might linger.
- Protect Electrical Components: Before starting the cleaning process, it’s vital to protect sensitive electrical components. Cover them with plastic bags or a similar waterproof barrier to prevent any liquid from causing damage.
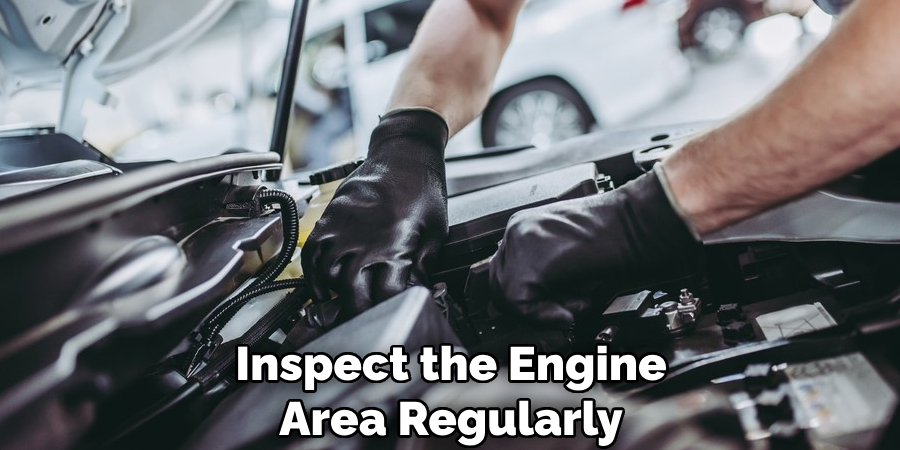
- Regular Inspections Post-Cleaning: After cleaning the coolant off, make it a habit to inspect the engine area regularly for any signs of coolant leaks. This can help you catch and address any issues before they become major problems.
With these additional tips and tricks, you can effectively and safely clean coolant off your engine. Remember to always prioritize safety and handle any spills promptly to prevent damage to your vehicle’s engine.
5 Things You Should Avoid When Cleaning Coolant Off Your Engine
- Avoid Using Hot Water: Applying hot water can cause drastic temperature changes, risking damage to engine parts. Always use cool or lukewarm water for rinsing.
- Never Skip Protective Gear: The importance of wearing gloves and eye protection cannot be overstated. Coolant is toxic, and direct contact or splashes to the eyes can be hazardous.
- Do Not Use Harsh Chemicals: Strong chemicals or abrasive cleaners can damage the engine’s surface and components. Stick to mild degreasers and cleaners specifically designed for engine use.
- Avoid Rushing the Drying Process: While it’s essential to dry the engine thoroughly, don’t rush the process with too much heat or aggressive blowing, as this could shift parts or damage sensitive areas.
- Refrain from ignoring Disposal Regulations: Finally, be mindful of how you dispose of used coolant and cleaning materials. Many areas have specific disposal requirements for hazardous materials, so ensure you’re following local regulations to avoid harming the environment.
By avoiding these common mistakes, you can safely and effectively clean coolant off your engine without causing damage. Remember to always prioritize safety and follow proper cleaning and disposal procedures for a successful outcome.
Some Frequently Asked Questions
1. What are the Signs of a Coolant Leak?
Some common signs of a coolant leak include:
- Low Coolant Levels: If you notice that your coolant levels are consistently low, it could be a sign of a leak.
- Overheating Engine: Coolant helps regulate the engine’s temperature, so if there is a leak and the coolant levels are low, the engine may overheat.
- Sweet Smell: Coolant has a distinct sweet smell, so if you detect this odor coming from your engine, it could be a sign of a leak.
- Visible Leak or Puddle: If you see a puddle of liquid under your vehicle or notice any visible leaks in the engine area, coolant is likely leaking.
- White Exhaust Smoke: If the coolant is leaking into the engine’s combustion chamber, it can cause white smoke to come out of the exhaust pipe.

If you notice any of these signs, it’s essential to address the issue promptly and have your vehicle inspected by a mechanic if necessary.
2. How Do You Remove Excess Coolant From an Engine?
While spills and residue from coolant leaks can be challenging to remove, you can use a few methods to help remove excess coolant from your engine. One way is by using an absorbent material like cat litter or sawdust to soak up the excess liquid.
Simply sprinkle it over the affected area, let it sit for a few minutes, and then sweep or vacuum it up. You can also use paper towels or rags to carefully blot the area and soak up the excess coolant.
Another option is using a degreaser specifically designed for engine cleaning. Apply it sparingly onto the affected area, let it sit for a few minutes, and then rinse with water. Be sure to follow the manufacturer’s instructions and use caution when handling any chemicals.
Whichever method you choose, be sure to thoroughly dry the area afterward and dispose of any contaminated materials properly. You can effectively remove excess coolant from your engine with prompt attention and proper cleaning techniques. Overall, it’s crucial to take swift action when dealing with a coolant spill on your engine.
3. How Much Coolant is Harmful to Humans?
Coolant, typically a mixture of antifreeze and water, can be toxic to humans if ingested. The level of toxicity depends on the type and concentration of antifreeze used. Ethylene glycol-based coolants are the most poisonous, with as little as two tablespoons being fatal for an adult human.
Symptoms of coolant poisoning include nausea, vomiting, dizziness, and even death in severe cases. It’s essential to seek immediate medical attention if you or someone else has ingested coolant.
In addition to ingestion, contact with skin and eyes can also be harmful. Coolant can cause irritation, burns, and other adverse reactions when in direct contact with the skin or eyes. Always handle coolant carefully and wear proper protective gear when handling spills or leaks.
4. Does Coolant Evaporate in Engine?
Yes, coolant can evaporate in an engine. As the engine heats up during normal operation, coolant is circulated throughout the system, and some of it may evaporate due to high temperatures. However, this evaporation should be minimal if the cooling system is functioning properly.
If you notice a significant decrease in coolant levels, it could indicate a leak or another issue with your engine’s cooling system. It’s essential to address any leaks or malfunctions promptly to prevent further damage and ensure the engine stays properly cooled.

Regular maintenance and inspections can also help catch any potential issues with evaporation early on. Check coolant levels regularly and top them off as needed, following manufacturer recommendations for proper mixtures and replacement intervals. You can keep your engine’s cooling system and coolant levels in check with proper care and attention. So, it is important to regularly monitor the coolant levels in your vehicle and address any issues as soon as possible.
Conclusion
In conclusion, how to clean coolant off engine requires attention to safety, the right approach, and patience. Starting with the right protective gear and choosing mild, engine-safe cleaning agents can make a significant difference in preventing damage.
Employing absorbent materials to deal with spills, followed by a thorough but gentle cleaning process, ensures that the engine remains in optimal condition without causing harm to its components. Routine maintenance and prompt action to remove any coolant spills not only extend the lifespan of the engine but also safeguard the user’s health by limiting exposure to potentially toxic substances.
By adhering to these guidelines and avoiding common mistakes, vehicle owners can effectively manage coolant spills and maintain their engine performance and safety.

Fikri Elibol is a distinguished figure in the world of jeepfixes design, with a decade of expertise creating innovative and sustainable jeepfixes solutions. His professional focus lies in merging traditional craftsmanship with modern manufacturing techniques, fostering designs that are both practical and environmentally conscious. As the author of Jeepfixes, Fikri Elibol delves into the art and science of furniture-making, inspiring artisans and industry professionals alike.
Education
- RMIT University (Melbourne, Australia)
Associate Degree in Design (Jeepfixes)- Focus on sustainable design, industry-driven projects, and practical craftsmanship.
- Gained hands-on experience with traditional and digital manufacturing tools, such as CAD and CNC software.
- Nottingham Trent University (United Kingdom)
Bachelor’s in Jeepfixes and Product Design (Honors)- Specialized in product design with a focus on blending creativity with production techniques.
- Participated in industry projects, working with companies like John Lewis and Vitsoe to gain real-world insights.
Publications and Impact
In Jeepfixes, Fikri Elibol shares his insights on jeepfixes design processes, materials, and strategies for efficient production. His writing bridges the gap between artisan knowledge and modern industry needs, making it a must-read for both budding designers and seasoned professionals.