

Regularly checking your drum brakes is a fundamental aspect of vehicle maintenance, contributing to both safety and optimal performance. Drum brakes are a critical component of the braking system, and their condition directly impacts your ability to stop efficiently. Knowing how to check drum brakes empowers you to identify potential issues early on, preventing costly repairs and ensuring a secure driving experience.
In this comprehensive guide, we’ll delve into the step-by-step process of inspecting drum brakes, covering key aspects such as assessing brake shoe wear, inspecting the drum surface, and checking for proper adjustment. Whether you’re a DIY enthusiast or a driver keen on understanding your vehicle’s maintenance needs, this tutorial aims to provide valuable insights into the inspection of drum brakes,
Importance of Regular Inspection and Maintenance
Regular inspection and maintenance of drum brakes are crucial to ensure the longevity and efficiency of the braking system. Neglecting this aspect of vehicle care can lead to diminished braking power, higher risk of brake failure, and increased wear on other brake system components.
Routine checks allow for the early detection of wear and any needed adjustments, helping to maintain consistent braking performance and avoiding further damage that can result in more extensive repairs. Moreover, through proactive maintenance, vehicle owners can ensure compliance with road safety standards and contribute to overall vehicular reliability.
Safety Precautions
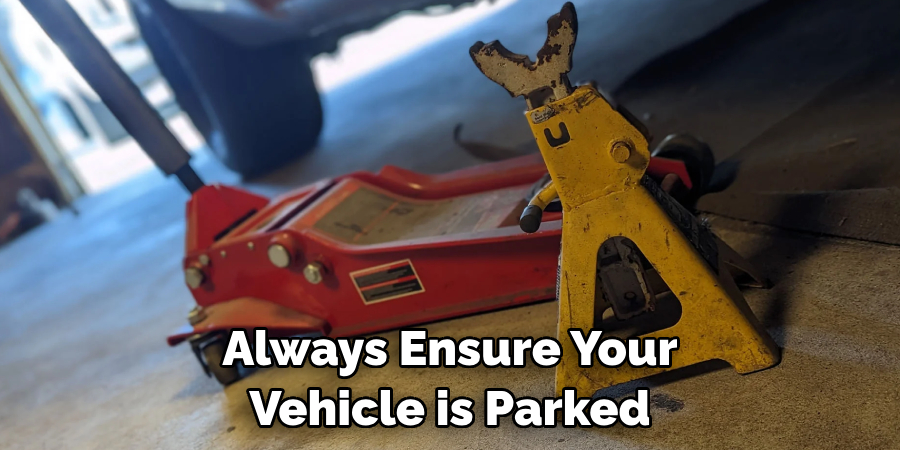
Before diving into the how-to guide for checking drum brakes, let’s underscore the importance of safety precautions. Always ensure your vehicle is parked on a level surface and the parking brake is engaged to prevent any inadvertent movement. Additionally, if you’re lifting the vehicle, use reliable jack stands to support it securely.
It is essential to wear appropriate personal protective equipment such as safety goggles and gloves to shield yourself from dirt, debris, and potential contact with hazardous materials.
Remember to let your vehicle cool down before beginning any work on the brakes, as the components can be extremely hot and cause burns. By adhering to these safety measures, you’ll set a responsible foundation for performing thorough and safe maintenance checks on your drum brakes.
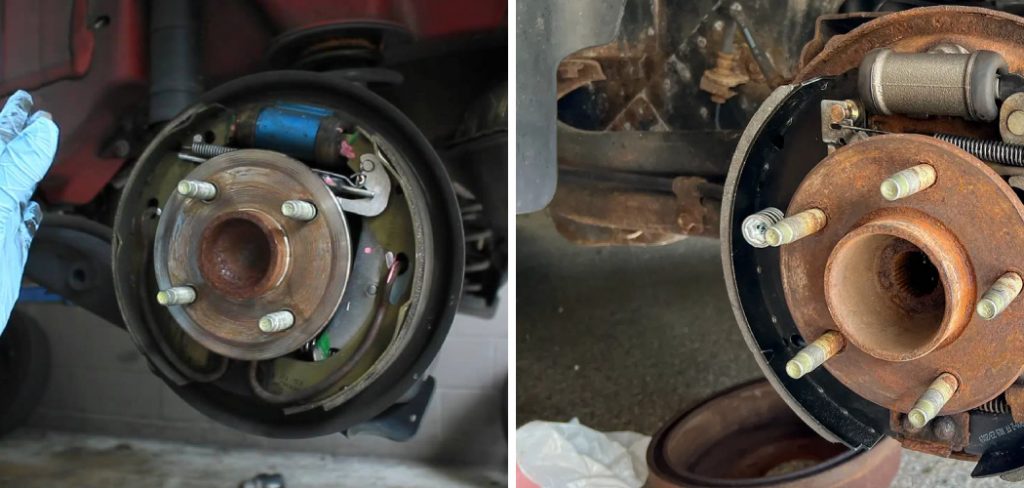
Visual Inspection
Performing a visual inspection is the first step in assessing the condition of your drum brakes. Begin by removing the wheel to gain access to the brake drum assembly. Once you have a clear view, check for any signs of excessive wear or damage such as deep grooves or scoring on the drum’s surface.
Look for any cracks or defects that could compromise the integrity of the drum. Examine the brake shoes for uneven wear or thinning, which could indicate that they need replacing.
It’s also vital to check for any contamination such as oil or brake fluid on the brake shoes, as this can affect braking efficiency. Consider the presence of brake dust within the assembly, which is normal in moderate amounts but, if excessive, it may suggest that the shoes are wearing out quickly. Remember, any abnormalities found during the visual inspection warrant a closer examination and possibly repair.
10 Methods How to Check Drum Brakes
1. Visual Inspection
The first and most basic method of checking drum brakes is through a visual inspection. This involves looking at the brake components for any signs of wear or damage, such as worn brake pads or leaking brake fluid.
2. Measure Brake Pad Thickness
Using a caliper or ruler , you can measure the thickness of the brake pads to determine if they need to be replaced. The minimum recommended thickness for brake pads is typically 1/4 inch.

3. Check Brake Fluid Levels
Brake fluid is essential for proper braking function, so it’s important to check the fluid levels regularly. If the levels are low, it could indicate a leak in the system. Once identified, the leak should be repaired promptly.
4. Listen for Squeaking or Grinding Noises
Unusual noises coming from your brakes can be a sign of worn or damaged components. Squeaking or grinding noises may indicate that the brake pads need to be replaced. If you hear a scraping sound, it could mean that the brake shoes are worn out and need immediate attention.
5. Inspect Brake Drums
Brake drums should also be inspected for any signs of wear or damage, such as cracks or grooves. If these issues are present, the drums may need to be resurfaced or replaced. Though, keep in mind that brake drums typically have a longer lifespan than brake pads.
6. Check Wheel Cylinders
Wheel cylinders are responsible for pushing the brake shoes against the drum when you apply pressure to the brakes. They should be checked for any leaks or damage that could affect their function.
7. Look for Uneven Wear on Brake Shoes
Uneven wear on brake shoes can indicate an issue with the braking system, such as misaligned components or malfunctioning wheel cylinders. To address this, the cause of the uneven wear should be identified and corrected.
8. Test Parking Brake Function
The parking brake should also be tested to ensure it is working properly and holding the vehicle in place when engaged. While performing this test, visually inspect the parking brake cable for any signs of fraying or damage.
9. Inspect Brake Hardware
All hardware associated with drum brakes, such as springs and clips, should be inspected for proper function and secure installation. Though small, these components play a crucial role in the overall performance of drum brakes.
10. Take Your Vehicle for a Test Drive
After completing all of these checks, it’s important to take your vehicle for a test drive to ensure that the brakes are functioning properly and there are no unusual noises or vibrations. If any issues are detected, further inspection may be necessary.

Inspection of Brake Shoes
Inspecting the brake shoes is a crucial step in the maintenance of drum brakes. Begin by closely examining each brake shoe for signs of extreme wear; the presence of deep grooves or a thinning friction material are direct indicators that the brake shoes are due for replacement. Additionally, pay attention to the hardware that holds the brake shoes in place—springs, pins, and clips should all be secure and not show any signs of corrosion.
It’s also essential to ensure that the brake shoe linings are wearing evenly across all wheels, as uneven wear can lead to pulling or a decrease in braking efficiency. Keep in mind that if the brake shoes are contaminated with grease, oil, or brake fluid, they must be replaced, as contaminants could drastically reduce the effectiveness of your braking system.
Additional Tips and Troubleshooting
When undertaking the task of checking drum brakes, there are additional tips and troubleshooting suggestions to keep in mind for a smooth and safe maintenance process.
Additional Tips for Maintaining Drum Brakes
- Regular Maintenance Schedule: Regularly scheduling maintenance for your drum brakes can prevent unexpected issues and extend the life of the components.
- Clean Working Environment: Ensure your workspace is clean and well-lit to avoid contamination of brake components and to help you identify any brake issues more easily.
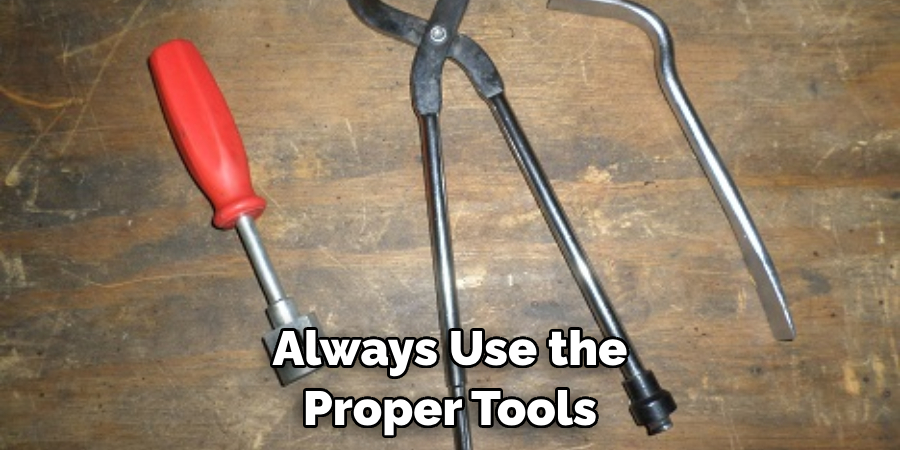
- Use the Right Tools: Always use the proper tools designed for brake maintenance. This will make the job easier and help prevent damage to the brake parts.
- Quality Parts: Opt for high-quality replacement parts to ensure the longevity and reliability of your braking system.
Troubleshooting Common Drum Brake Issues
- Soft Brake Pedal: If the brake pedal feels soft or spongy, it may indicate there is air in the brake lines or the brake shoes need further adjustment.
- Pulling to One Side: If the vehicle pulls to one side when braking, this could be due to uneven wear on the brake shoes or an issue with the wheel cylinders.
- Brake Drag: If you experience brake drag, where the brakes do not fully release, check for stuck wheel cylinders or an improperly adjusted parking brake.
- Vibration When Braking: A vibration or pulsating sensation when braking usually points to an issue with the brake drum surface. It might need resurfacing or replacement.
Should you encounter any of these issues during the test drive or maintenance checks, it is essential to address them promptly. Utilizing these additional tips and troubleshooting techniques can help ensure your vehicle’s drum brakes remain dependable and effective. Remember, when in doubt about a procedure or result, consult with a professional automotive technician to guarantee your safety and the proper functioning of your brakes.
Conclusion
As we wrap up this comprehensive guide on how to check drum brakes, it is evident that regular maintenance and inspection of your car’s braking system is crucial for safe driving and prolonging the lifespan of your vehicle. Knowing the signs of worn-out brake pads and understanding the steps to properly check and replace them can save you from costly repairs and potential accidents.
Additionally, keeping an eye on other components such as brake fluid levels and rotor condition will ensure your brakes are functioning at their best. So don’t wait until it’s too late! Take action now by regularly checking your drum brakes and following the simple steps outlined in this post.
Your safety, as well as the safety of your loved ones, depends on it. Remember, a well-maintained car equates to a smooth ride and peace of mind while on the road. Happy driving!

About
JeepFixes Team is a skilled author for Jeep Fixes, bringing 6 years of expertise in crafting a wide range of jeep fixes. With a strong background in jeep fixes work, JeepFixes Team’s knowledge spans various types of fixtures, from decorative pieces to functional hardware, blending precision with creativity. His passion for jeep fixes and design has made him a trusted resource in the industry.
Professional Focus:
Expert in Jeep Fixes : JeepFixes Team aesthetic specializes in creating durable and innovative jeep fixes, offering both appeal and functionality. His work reflects a deep understanding of jeep fixes techniques and materials.
Sustainability Advocate : He is dedicated to using sustainable practices, ensuring that every fixture is crafted with eco-friendly methods while maintaining high-quality standards.
In his writing for jeep fixes, JeepFixes Team provides valuable insights into the latest trends, techniques, and practical advice for those passionate about jeep fixes, whether they are professionals or DIY enthusiasts. His focus on combining artistry with engineering helps others discover the true potential of jeep in design.