Are you worried about your car’s alternator? Need a multimeter to check it? Fret not. There are several ways to perform an alternator test without a multimeter. A malfunctioning alternator can cause issues like dim or flickering headlights, battery problems, and other electrical failures in your vehicle.
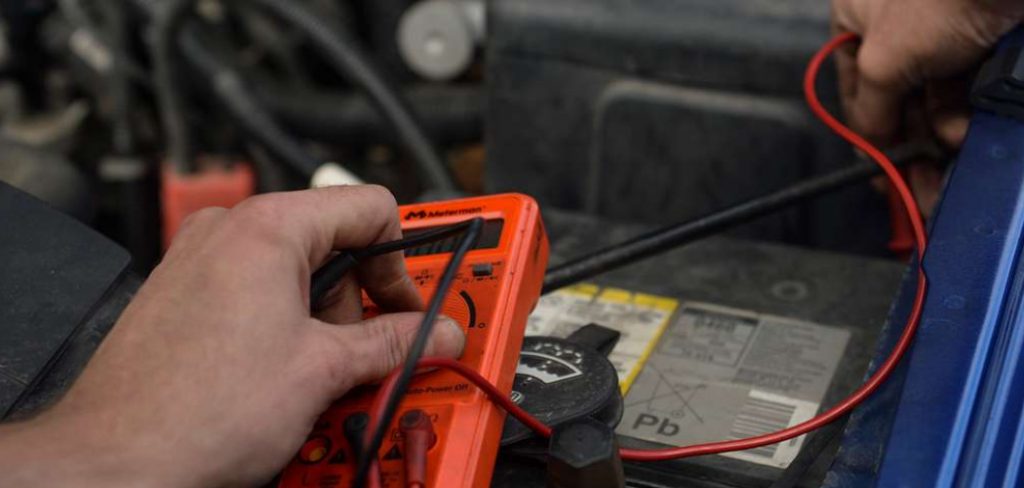
This guide on how to check alternator without multimeter, will introduce you to several methods to check your alternator’s health without the need for specialized equipment.
We’ll look at simple yet effective ways to diagnose issues with your alternator using just the car’s ignition sequence, headlight behavior, and battery condition indicators. While these techniques may not be as precise as using a multimeter, they can still provide valuable insights into your alternator’s performance and help you identify potential problems before they escalate.
What are the Benefits of Checking Alternator?
Before we dive into the methods of checking your alternator without a multimeter, let’s first understand why it is crucial to check your alternator regularly.
- Prevents Unexpected Breakdowns: A malfunctioning alternator can lead to unexpected breakdowns and leave you stranded on the road. Regularly checking your alternator can help identify potential issues before they escalate and cause a study.
- Saves Money: Regular maintenance of your alternator can help prevent costly repairs in the future. By catching minor problems early, you can avoid expensive replacements or repairs down the line.
- Ensures Safety: A faulty alternator can affect various electrical components in your vehicle, including headlights, power windows, and windshield wipers. Regular checks can help keep these systems functioning correctly, ensuring your safety while driving.
- Improves Fuel Efficiency: A malfunctioning alternator can strain your car’s battery, causing it to drain faster and reduce fuel efficiency. By keeping your alternator in good condition, you can save money on gas and improve the overall performance of your vehicle.
These are just a few of the many benefits of regularly checking your alternator. Now, let’s explore some methods to check it without using a multimeter.
What Will You Need?
Before attempting any of the methods described below, it’s essential to gather all the necessary tools and materials. While these techniques do not require a multimeter, you’ll still need some basic equipment to perform an alternator test effectively. Here are some things you should have on hand before getting started:
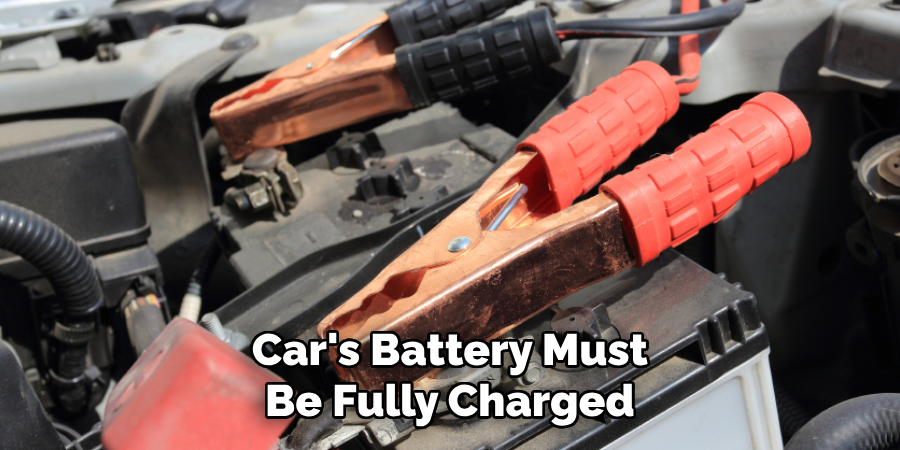
- A Fully Charged Battery: To perform an accurate alternator test, your car’s battery must be fully charged. If the battery is low on charge, it can give false readings and lead to incorrect diagnosis.
- A Flashlight: A bright flashlight will help you observe changes in your headlights’ brightness during the alternator test.
- Basic Hand Tools: You may need some basic hand tools like wrenches or screwdrivers to access certain parts of your car during the test.
- A Helper: It’s always a good idea to have an extra pair of hands when working on your vehicle. A helper can assist you in performing some tasks, such as revving the engine or turning on headlights while you observe their behavior.
- Safety Gear: Whenever working with your car’s electrical system, it’s crucial to take necessary precautions. Wear safety gear, such as gloves and protective eyewear, to avoid accidents.
You can begin testing your alternator once you have all the necessary items. Now, let’s look at some methods for how to check the alternator without a multimeter.
10 Easy Steps on How to Check Alternator Without Multimeter
Step 1. Start Your Car’s Engine:
Begin by starting your vehicle’s engine. Make sure that all accessories, including the radio, air conditioning, and lights, are turned off. This will ensure that the alternator is not under any additional load while you are testing it. If your car struggles to start or stalls after starting, it could mean that your alternator is not functioning correctly.
Step 2. Observe Your Headlights:
With the engine running, turn on your headlights and take note of their brightness. They should be bright and steady without any flickering. If you notice dimming or flickering headlights, it could indicate an issue with the alternator’s ability to provide consistent power.
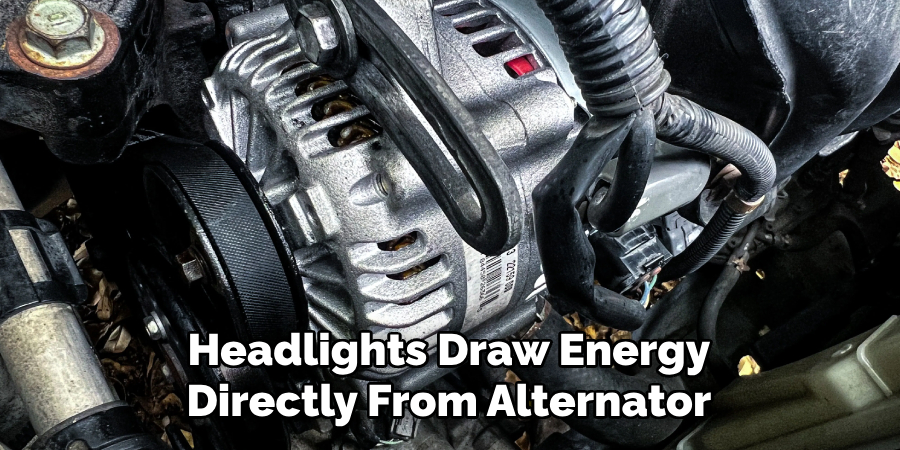
This is because the headlights draw electrical energy directly from the alternator when the engine is running. Dimming can be particularly noticeable when you rev the machine; if the lights become brighter as the RPM increases, it’s a sign that your alternator may be struggling to keep up with the electrical demand at lower speeds.
Step 3. Listen for Strange Noises:
An alternator in good working order should run quietly. However, if you hear any unusual noises, such as whining, clicking, or grinding sounds while the engine is running, it could be a sign of alternator problems. These sounds may result from worn bearings, damaged belts, or other mechanical failures within the alternator itself.
It’s essential to address these sounds promptly, as they can indicate more severe issues that might lead to a complete alternator failure. Generally, if you hear any strange noises from your car’s engine, it’s best to get it checked by a mechanic.
Step 4. Test the Battery Voltage:
Next, turn off your headlights and other accessories to eliminate any extra load on the alternator. Allow your engine to run for a few minutes to stabilize the charge. Then, if available, use a voltmeter or battery tester to measure the battery voltage. A fully charged battery should typically read around 12.6 volts when the engine is off and between 13.7 and 14.7 volts when the engine is running.
If the voltage readings are outside of these ranges, it could suggest an issue with the charging system, most likely the alternator, if the voltage significantly doesn’t increase when the engine is running.
Step 5. Monitor the Battery Warning Light:
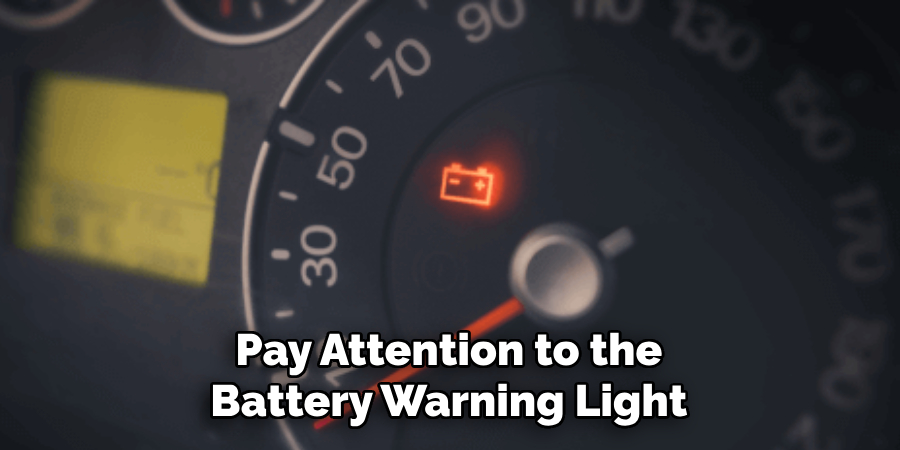
Pay attention to your dashboard, specifically the battery warning light. This indicator is usually shaped like a battery and can also resemble the letters “ALT” or “GEN,” signifying issues with the alternator or generator. If this light is illuminated while the engine is running, it’s a strong signal that there’s a charging system failure.
Keep in mind that a faulty battery can also trigger this warning, so it’s crucial to rule that out before proceeding. However, the alternator may need to be inspected or replaced if the battery is in good condition and the warning light is on.
Step 6. Check the Condition of the Belts:
Inspect the belts that drive the alternator to ensure they are tight and in good condition. A loose or worn belt can slip, reducing the alternator’s ability to charge the battery effectively. Look for signs of wear, such as cracks, glazing, or fraying. If a belt adjustment is necessary, make sure to do it carefully, according to your vehicle’s specifications.
If you’re unsure how to check or adjust the belts, consult your vehicle’s repair manual or seek the help of a professional. A defective belt can lead to insufficient alternator output and negatively affect the charging system’s performance.
Step 7. Perform a Load Test:
Conduct a simple load test by turning on several electrical accessories, such as the air conditioning, rear window defogger, and radio, while the engine is running. Observe how your vehicle’s electrical system responds. If the headlights dim significantly or other electrical accessories operate sluggishly, your alternator may need to produce more current to meet the electrical demands.
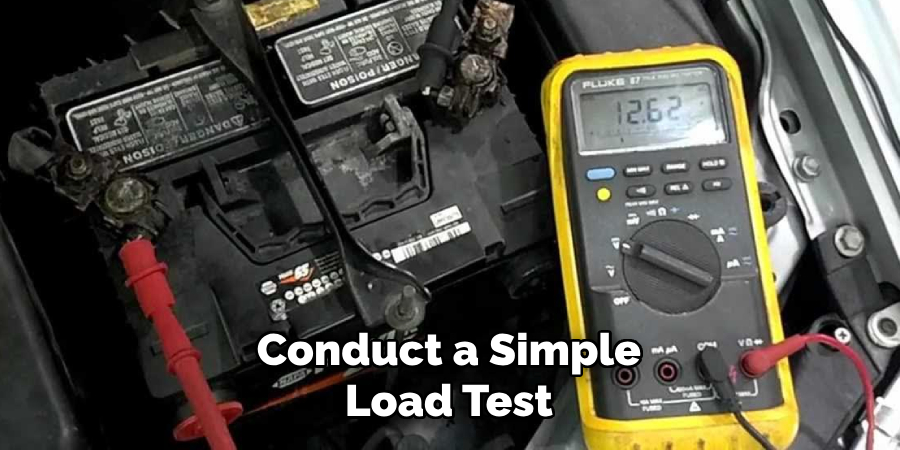
This is a standard test to gauge the alternator’s performance under a typical load and can further indicate if the alternator is weakening or faulty.
Step 8. Inspect the Alternator Connection:
Check the alternator’s connections to ensure they are secure and not corroded. A good link can lead to efficient charging or no charging at all. Alternators have several associations, including the battery output, field terminal, and often a ground connection.
Make sure all links are tight and free from corrosion. If necessary, clean the terminals with a wire brush, and consider applying dielectric grease to prevent future decay. Remember to disconnect the battery before attempting to clean or tighten alternator connections.
Step 9. Check the Alternator Amperage Output:
While a specific tool is required to measure the amperage output of the alternator accurately, you can perform a rough estimation. With the engine running and all your accessories turned on (headlights, air conditioning, radio), observe how the system is holding up.
If your car shows signs of power lagging or if electrical components like lights dim and then brighten, it could be a signal that your alternator isn’t outputting sufficient amperage. For an accurate test of amperage output, it is recommended to visit a mechanic or use an ammeter, adhering to the tool’s instructions carefully.
Step 10. Seek Professional Diagnosis:
If you have performed all the previous steps and still suspect alternator issues, it’s time to consult a professional. A certified mechanic can conduct a thorough diagnosis using specialized equipment to comprehensively assess your alternator’s health. They can check for issues that might not be apparent during a basic inspection, such as internal faults or problems with the alternator’s voltage regulator.
A professional diagnosis can save you time and money in the long run by accurately pinpointing the issue and avoiding unnecessary replacements or repairs. Remember, the alternator is critical to your vehicle’s operation, so ensuring its proper function is essential for reliable performance.
By following these steps and being vigilant about your vehicle’s charging system, you can catch any alternator issues early on and avoid costly breakdowns.

6 Things You Should Avoid
- Ignoring Safety Precautions: Even without a multimeter, it’s vital to ensure your safety by turning off the vehicle and removing the keys from the ignition before examining the alternator. Be cautious to avoid any moving parts or hot surfaces when the engine has been running.
- Skipping the Battery Inspection: Check the battery’s condition before blaming the alternator. A dead battery can sometimes be mistaken for a faulty alternator. Look for signs of corrosion on the terminals and ensure the connections are tight.
- Disregarding the Drive Belt: The alternator relies on a belt to operate. If the belt is loose, frayed, or broken, it could be the source of your problem rather than the alternator itself.
- Overlooking Dashboard Warning Lights: Modern vehicles have warning lights that indicate various issues, including alternator failure. If the battery or check engine light is on, it’s a sign that you may need a more thorough diagnostic.
- Ignoring Strange Noises: If you hear a growling or whining noise from the engine, the alternator bearings may fail. Such mechanical symptoms can indicate alternator issues, which should not be ignored.
- Trying DIY Repairs without Proper Knowledge: Attempting to fix the alternator on your own can be dangerous and cause further damage to your vehicle. It’s always best to consult a professional mechanic or refer to the manufacturer’s manual for guidance.
It’s crucial to take these precautions and avoid these common mistakes when trying to check the alternator without a multimeter. Doing so can prevent accidents, save time and money, and ensure an accurate diagnosis of the issue at hand.
What Can Damage an Alternator?
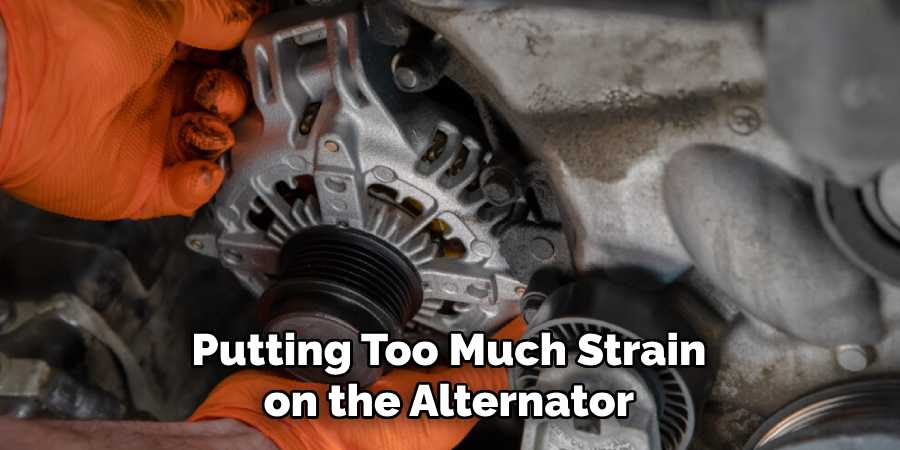
While it’s helpful to know what you should avoid when checking an alternator without a multimeter, it’s also important to understand what can potentially damage the alternator. Here are some common causes of alternator damage:
- Excessive Electrical Load: Putting too much strain on the alternator can cause it to overheat and fail. This often happens when running multiple high-power accessories such as headlights, air conditioning, and sound systems simultaneously.
- Poor Battery Maintenance: As the alternator charges the battery, it’s essential to maintain a healthy battery. Neglecting regular maintenance can cause strain on the alternator and eventually lead to its failure.
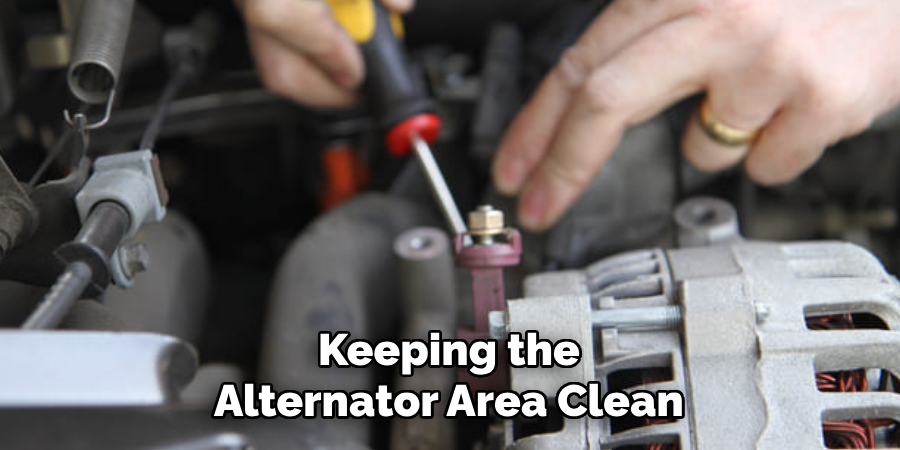
- External Factors: Exposure to extreme temperatures or moisture can damage the alternator’s internal components. Keeping the alternator and its surrounding area clean and dry is crucial.
- Mechanical Wear and Tear: Over time, the various moving parts of the alternator, such as bearings and brushes, can wear out due to regular use. This can cause malfunctions or hinder the alternator’s ability to function correctly.
Knowing these potential causes of alternator damage can help you take preventative measures and ensure the longevity of your vehicle’s alternator. Regular maintenance, safe driving habits, and prompt repairs can all contribute to keeping your alternator in good condition.
What is the Most Common Problem With an Alternator?
The most common problem with an alternator is a malfunctioning voltage regulator. The voltage regulator regulates the alternator’s output to prevent overcharging or undercharging of the battery. When the voltage regulator fails, it can cause issues such as dimming headlights, flickering dashboard lights, and even a dead battery.
It’s essential to address this issue promptly, as it can further damage your vehicle’s alternator and other electrical components. Regular maintenance and replacing the voltage regulator can help prevent this common problem with alternators. So, it is essential to keep an eye on these warning signs and address them immediately before they cause more significant issues.
Overall, understanding how to check an alternator without a multimeter properly and being aware of potential causes of damage can help you maintain your vehicle’s electrical system and ensure a smoothly running car. Remember always to prioritize safety, seek professional assistance when needed, and stay on top of regular maintenance for the best results.
Do Alternators Fail Suddenly?
Alternators can fail suddenly, but in most cases, there are warning signs leading up to the failure. These signs include dimming headlights, flickering dashboard lights, and difficulty starting the vehicle.
Paying attention to these warning signs and addressing them promptly to avoid a sudden alternator failure while driving is essential. Regular maintenance and inspections can also help catch potential issues before they become significant problem.
However, sometimes alternators can fail without warning due to unexpected mechanical failures or external factors such as extreme temperatures. In these cases, it’s crucial to have your vehicle regularly serviced and be prepared for possible sudden alternator failure.
So, it is always best to be proactive and handle potential issues before they escalate into more significant problems.
Conclusion
In conclusion, while a multimeter is an optimal tool for checking an alternator, there are viable alternatives for diagnosing potential issues. Visual inspection, attention to warning lights, listening for unusual noises, and noting the performance of electrical components can all offer valuable clues to the state of your alternator.
By understanding and avoiding the common mistakes listed above, you can effectively troubleshoot alternator problems. It is important to remember that while these methods can be helpful, they are not failproof, and consulting with a professional mechanic is often the best course of action to ensure a complete and accurate diagnosis.
Stay vigilant with regular maintenance checks to catch issues early, and drive with the assurance that your vehicle’s alternator is in good working order.
Hopefully, the article on how to check alternator without multimeter has provided valuable insights and will help you maintain your vehicle’s electrical system in good condition. Keep your car running smoothly and efficiently by regularly checking your alternator for any potential issues. Happy driving!

Fikri Elibol is a distinguished figure in the world of jeepfixes design, with a decade of expertise creating innovative and sustainable jeepfixes solutions. His professional focus lies in merging traditional craftsmanship with modern manufacturing techniques, fostering designs that are both practical and environmentally conscious. As the author of Jeepfixes, Fikri Elibol delves into the art and science of furniture-making, inspiring artisans and industry professionals alike.
Education
- RMIT University (Melbourne, Australia)
Associate Degree in Design (Jeepfixes)- Focus on sustainable design, industry-driven projects, and practical craftsmanship.
- Gained hands-on experience with traditional and digital manufacturing tools, such as CAD and CNC software.
- Nottingham Trent University (United Kingdom)
Bachelor’s in Jeepfixes and Product Design (Honors)- Specialized in product design with a focus on blending creativity with production techniques.
- Participated in industry projects, working with companies like John Lewis and Vitsoe to gain real-world insights.
Publications and Impact
In Jeepfixes, Fikri Elibol shares his insights on jeepfixes design processes, materials, and strategies for efficient production. His writing bridges the gap between artisan knowledge and modern industry needs, making it a must-read for both budding designers and seasoned professionals.
