

Ensuring the effectiveness of your vehicle’s windshield wipers is crucial for maintaining optimal visibility in various weather conditions. Over time, wiper arms can wear out or become damaged, affecting their performance and leaving streaks on the windshield. In this article, we’ll guide you through the process of how to change wiper arm, a relatively simple yet essential task for every vehicle owner.
Whether you’ve encountered a damaged wiper arm during a storm or noticed diminished wiping efficiency, understanding how to replace the wiper arm can save you time and money.
From assessing the type of wiper arm your vehicle uses to the step-by-step removal and installation process, we’ll provide practical insights to empower you in maintaining clear and unobstructed vision while driving. Get ready to tackle this DIY task, enhancing your driving safety and ensuring your wipers are up to the challenge of any weather conditions.
Importance of Functional Wiper Arms
Functional wiper arms are an essential component of any vehicle, directly contributing to the driver’s visibility, particularly during inclement weather conditions such as rain, snow, or fog. The wiper arms, along with the attached wiper blades, work in synergy to clear off the windshield, ensuring an unobstructed view of the road ahead.
Consequently, this plays a vital role in road safety, preventing potential accidents that could arise from impaired visibility. Thus, understanding how to change a wiper arm is a valuable skill for maintaining your vehicle’s safety functionality.
Assessing the Wiper Arm
Before proceeding with the replacement, it’s crucial to first assess the condition of your wiper arm. Start by checking for visible signs of wear, such as rust, bending, or cracking. These symptoms might indicate that the wiper arm is compromised and in need of replacement. Also, observe the wiper arm in action during rainfall or when you wash your car.
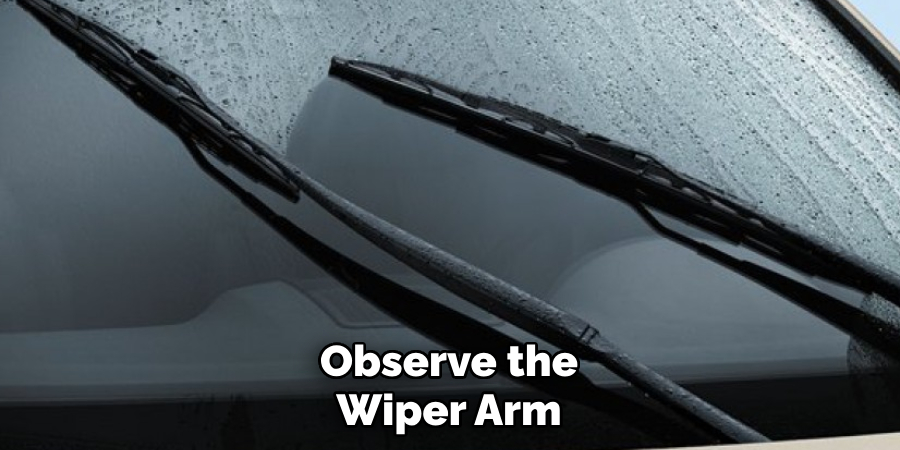
If it does not clear the water effectively, leaving streaks or unwiped areas, this is often a sign of a malfunctioning wiper arm. You should also check the attachment point of the wiper arm to the vehicle. If it’s loose, it may not hold the wiper blade against the windshield effectively, subsequently affecting its performance. Thoroughly inspecting the wiper arm will help you make an informed decision about whether a replacement is necessary.
Gathering Necessary Tools and Materials
Before you start replacing your wiper arm, it’s important to gather all the necessary tools and materials. Having everything at hand will make the process smoother and more efficient. Here’s what you’ll need:
- Replacement Wiper Arm: Make sure to purchase the correct wiper arm that is specifically designed for your vehicle model. You can usually find this information in your vehicle’s manual or by asking at an auto parts store.
- Socket Wrench: This tool is needed to unscrew the nuts that hold the wiper arm in place.
- Flathead Screwdriver: A flathead screwdriver can help to pry the wiper arm off the motor post if it’s stuck.
- Cloth or Rag: A cloth or rag can be used to clean off any debris or rust from the wiper motor post before installing the new wiper arm.
- Lubricant (optional): If the wiper arm is stuck and hard to remove, a lubricant can aid in loosening it.
Ensure to gather these tools and materials before you start the process of replacing your wiper arm. It’s always better to be prepared in advance to avoid any delays or inconveniences during the process.
10 Methods How to Change Wiper Arm
1. Gather Necessary Tools and Materials
Before attempting to change a wiper arm, make sure you have all the necessary tools and materials. This includes a new wiper arm, a wrench or socket set, and possibly a screwdriver.
2. Park Your Car in A Safe Location

Find a flat, level surface to park your car on before beginning the process of changing the wiper arm. Make sure the car is turned off and in park. While it’s not necessary to raise the wiper arm, you can do so for easier access.
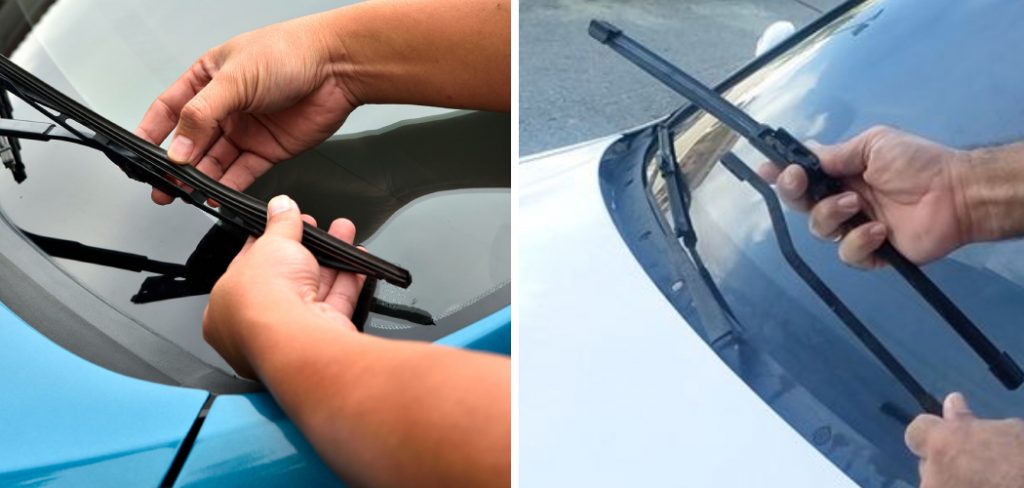
3. Lift the Wiper Arm Away from The Windshield
Gently lift the wiper arm away from the windshield until it is perpendicular to the windshield. This will give you better access to the nut that holds the wiper arm in place.
4. Remove the Old Wiper Arm
Using a wrench or socket set, loosen and remove the nut that holds the wiper arm in place. Once removed, carefully pull off the old wiper arm. Though it may be stuck, avoid using excessive force as this could damage the wiper motor.
5. Inspect for Any Damage or Wear
Before installing the new wiper arm, take a moment to inspect it for any damage or wear. If there are any issues, return it for a replacement. Additionally, check the wiper motor post for any signs of wear or debris that could affect the performance of the new wiper arm.
6. Attach New Wiper Arm
Carefully align and attach the new wiper arm onto the designated post on your car’s windshield. If it doesn’t fit, double check that you have the correct wiper arm for your vehicle.
7. Tighten Nut with Wrench or Socket Set
Using your wrench or socket set, tighten the nut onto the post to secure the new wiper arm in place. Though be careful not to over tighten as it may cause damage.

8. Test Movement of New Wiper Arm
Turn on your car’s windshield wipers and test out the movement of your newly installed wiper arm. Make sure it is functioning properly before continuing. However, if it’s not working correctly, you may need to adjust the wiper arm’s position and tighten the nut further.
9. Repeat Process for Other Side (if Needed)
If you need to change both wiper arms, repeat this process for the other side of your windshield. However, it’s important to note that wiper arms on some cars may not be identical, so make sure you have the correct replacement for each side.
10. Dispose of Old Wiper Arms Properly
Dispose of your old worn out wiper arms properly by recycling them at an auto parts store or throwing them away in a designated trash bin. If they are still in good condition, you can also consider donating them or selling them as used parts. This will help reduce waste and benefit others who may need a replacement wiper arm for their vehicle.
Preparing for The Replacement
Before you embark on the process of changing the wiper arm, it’s essential to gather all the necessary tools to ensure a smooth operation. A new wiper arm compatible with your vehicle type is the primary requirement. You’ll also need a socket wrench or pliers to remove the old arm, and a flat-head screwdriver can be handy for leverage. Ensure you have a clean, dry cloth to protect the windshield during the process. Remember to park your vehicle in a secure, flat area and ensure the engine is turned off before starting.
Adjusting Wiper Arm Position
If after installation, the wiper arm isn’t cleaning the windshield effectively or is hitting the edge of the windshield or the car body, it may require adjustment. Here’s how to adjust the wiper arm position:
- Turn Off the Wipers: Ensure the wipers are turned off and in their resting position. This position will be your reference point for making adjustments.
- Loosen Nut: Using your socket wrench, slightly loosen the nut at the base of the wiper arm. Be careful not to remove the nut completely.
- Adjust Position: Carefully reposition the wiper arm on the windshield. Ensure it’s not going too far off the edge nor hitting the car body when in motion.
- Retighten Nut: Once you have adjusted the wiper arm to the correct position, retighten the nut securely. Be cautious not to overtighten as it may damage the threads.
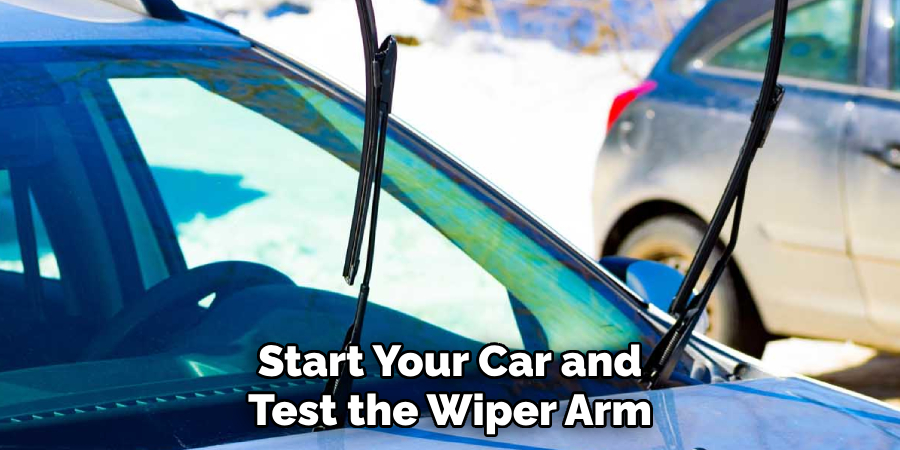
- Test Wiper Arm: Start your car and test the wiper arm to ensure it’s moving properly and cleaning the windshield effectively. If it’s not, you may need to repeat the adjustment process until you find the optimal position.
Remember, the goal here is to get the wipers to clear the maximum area of your windshield without going beyond the glass or hitting any part of the car.
Conclusion
In conclusion, changing your wiper arm is a simple and easy task that can save you time and money in the long run. By following the steps outlined in this post, you can confidently replace your wiper arm with ease and ensure that your windshield remains clear and safe to drive. Remember to always use caution when working on your vehicle and consult a professional if you encounter any difficulties.
Don’t forget to also regularly inspect and maintain your wiper arms to avoid any unexpected issues in the future. Now that you have all the knowledge and skills needed, it’s time to put them into practice and change those worn-out wiper arms. You’ll be amazed at the difference it will make in your driving experience! So, go ahead and give it a try, you won’t regret it. Keep your windshield clean and clear for better visibility with these tips on how to change wiper arm.

About
JeepFixes Team is a skilled author for Jeep Fixes, bringing 6 years of expertise in crafting a wide range of jeep fixes. With a strong background in jeep fixes work, JeepFixes Team’s knowledge spans various types of fixtures, from decorative pieces to functional hardware, blending precision with creativity. His passion for jeep fixes and design has made him a trusted resource in the industry.
Professional Focus:
Expert in Jeep Fixes : JeepFixes Team aesthetic specializes in creating durable and innovative jeep fixes, offering both appeal and functionality. His work reflects a deep understanding of jeep fixes techniques and materials.
Sustainability Advocate : He is dedicated to using sustainable practices, ensuring that every fixture is crafted with eco-friendly methods while maintaining high-quality standards.
In his writing for jeep fixes, JeepFixes Team provides valuable insights into the latest trends, techniques, and practical advice for those passionate about jeep fixes, whether they are professionals or DIY enthusiasts. His focus on combining artistry with engineering helps others discover the true potential of jeep in design.