
Maintaining your vehicle’s brake system is crucial for safety and optimal performance, and changing brake fluid is a key aspect of that upkeep. Contrary to the traditional method of bleeding the brake system, learning how to change brake fluid without bleeding offers a convenient and efficient approach for DIY enthusiasts.
This guide will take you through the step-by-step process of refreshing your brake fluid, ensuring that air bubbles are minimized without the need for an extra pair of hands or specialized tools.
From understanding the importance of regular brake fluid changes to selecting the right fluid and mastering the technique of a solo brake fluid exchange, this comprehensive tutorial aims to empower you with the knowledge and skills needed to confidently tackle this essential maintenance task. Get ready to enhance your automotive DIY repertoire as you discover a streamlined method for keeping your brake system in top-notch condition.
Introduction to the Alternative Method
In this part of the guide, we will delve into the alternative method of how to change brake fluid without bleeding. This procedure focuses on avoiding the complete purging of air from the system, a process normally required when air has infiltrated the brake lines. Instead, we will introduce you to the technique of fluid replacement, which refreshes the fluid in a way that is less time-consuming and doesn’t require any special bleeding equipment.
By carefully managing the fluid levels and ensuring a continuous flow during the exchange, this method minimizes the risk of air entering the system. Let’s begin by understanding the tools and preparations necessary to execute this innovative approach effectively.
Materials Needed
To successfully change the brake fluid in your vehicle without bleeding, you’ll need to gather a few essential tools and materials. Preparing these ahead of time will streamline the process, allowing for a smooth and efficient fluid change. Here’s what you will require:

- Fresh Brake Fluid: Ensure you have the correct type of fluid that meets your vehicle’s specifications.
- Brake Fluid Catch Container: To safely collect the old fluid, you’ll need an appropriate container.
- Brake Fluid Funnel: A funnel fitted for your vehicle will help in adding new brake fluid without spillage.
- Wrench Set: Including wrenches that fit your vehicle’s brake fluid reservoir and bleeder valves.
- Clear Tubing: Suitable for attaching to the bleeder valves to direct old fluid to your catch container.
- Clean Rags or Towels: To clean up any spills and wipe away dirt around the brake fluid reservoir and bleeder valves.
- Gloves: To protect your hands from the caustic nature of brake fluid.
- Safety Glasses: To shield your eyes from any potential splashes while working on the brake system.
Gathering these items before beginning the procedure of how to change brake fluid without bleeding will ensure that you can complete the task in a safe and clean manner. Let’s move on to the preparation steps necessary for this method.
Draining the Old Brake Fluid
Before introducing new brake fluid into the system, it’s essential to drain out the old fluid, which over time may have absorbed moisture and collected debris, leading to reduced braking efficiency. The following steps will guide you through the draining process:
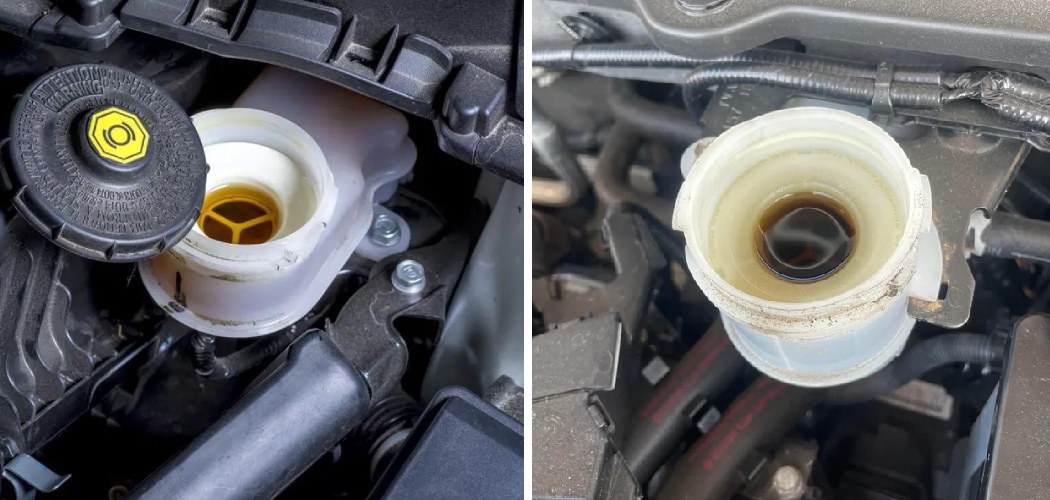
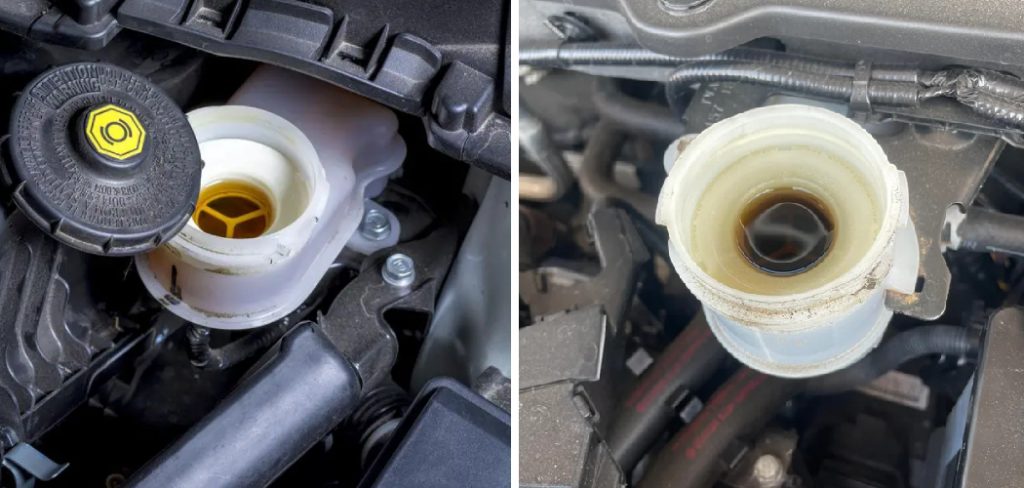
- Locate the Brake Fluid Reservoir: Open the hood of your vehicle and find the brake fluid reservoir, which is typically mounted on or near the firewall on the driver’s side.
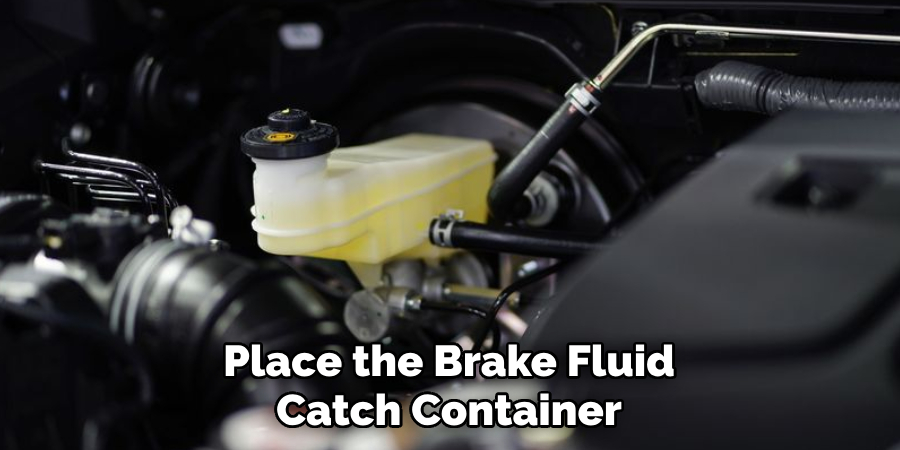
- Prepare the Catch Container: Place the brake fluid catch container under the brake fluid reservoir to safely collect the fluid as it drains. Ensure that the container is clean to prevent contaminants from entering the recycling process or disposal facility.
- Remove the Reservoir Cap: Carefully unscrew the cap of the brake fluid reservoir. Inspect the reservoir’s seal and cap for any signs of wear and replace if necessary.
- Connect the Clear Tubing: Attach one end of the clear tubing to the brake bleeder valve located at the wheel farthest from the reservoir. The other end should be submerged in the brake fluid catch container to prevent air from entering the system.
- Open the Bleeder Valve: Using the wrench set, gently open the bleeder valve. Begin with the wheel furthest from the master cylinder, usually the rear passenger side, then progress systematically to each wheel.
- Allow the Fluid to Drain: As the valve opens, old brake fluid will start to flow into the tubing and into your catch container. Monitor the fluid level in the reservoir and continuously top it up with new fluid to avoid air being drawn into the brake lines.
- Close the Bleeder Valve: Once you notice clean fluid flowing into the tubing with no air bubbles, close the bleeder valve. Do not over-tighten to avoid stripping the threads.
10 Methods How to Change Brake Fluid without Bleeding
1. Use a Vacuum Pump
One of the most popular methods for changing brake fluid without bleeding is by using a vacuum pump. This tool allows you to suck out the old brake fluid from the master cylinder and refill it with new fluid, without having to open any bleed screws.
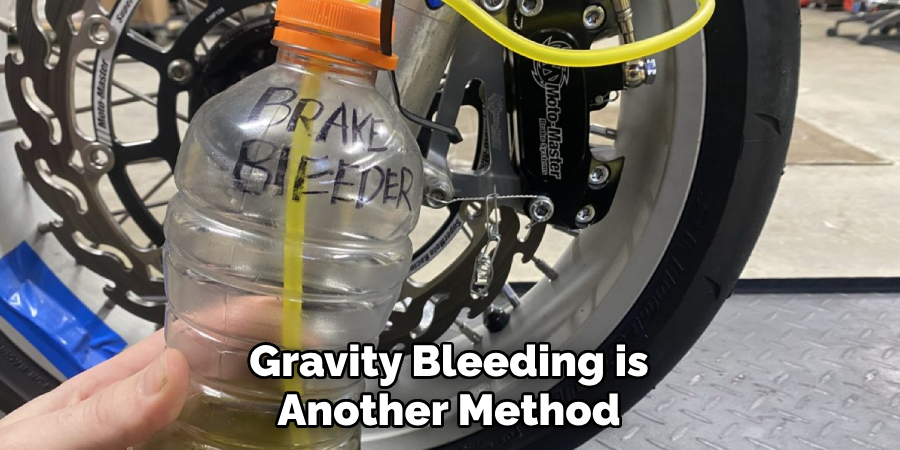
2. Gravity Bleeding
Gravity bleeding is another method that can be used to change brake fluid without bleeding. This method involves opening the bleed screw and allowing gravity to push the old brake fluid out of the system while simultaneously adding new fluid through the master cylinder.
3. Pressure Bleeding
Pressure bleeding is a more advanced method that requires special equipment, such as a pressure bleeder or power bleeder. This method uses pressure to force new brake fluid into the system while pushing out the old fluid through the bleed screws.
4. Reverse Bleeding
Reverse bleeding is similar to pressure bleeding, but instead of pushing new fluid in from the top, it pushes it in from the bottom of the system. This method can be done using a specialized reverse bleeder tool or by creating your own DIY version with a syringe and tubing.
5. Vacuum Brake Bleeder Kit
Another option for changing brake fluid without bleeding is by using a vacuum brake bleeder kit. These kits come with all necessary tools and instructions for quickly and easily removing old brake fluid from your system.
6. Turkey Baster Method
If you don’t have access to any specialized tools, you can also use a turkey baster to remove old brake fluid from your master cylinder and refill it with new fluid.
7. Two-Person Method
The two-person method involves having one person press on the brake pedal while another opens and closes each bleed screw in sequence, allowing air bubbles and old fluid to escape.
8. Power Steering Pulley Trick
For vehicles with hydraulic power steering systems, you can use this trick to change brake fluid without bleeding: loosen the power steering pulley bolt slightly, start the engine, and turn the steering wheel back and forth to create pressure in the system. This will push old brake fluid out of the master cylinder.
9. Use a Clear Plastic Tube
When using any bleeding method that involves opening bleed screws, it can be helpful to attach a clear plastic tube to the screw to direct the old fluid into a container for proper disposal.
10. Repeat the Process
After completing any of these methods, it is important to repeat the process until you see clean, new brake fluid coming out of each bleed screw. This ensures that all old fluid and air bubbles have been removed from your brake system.
Testing the Brakes
Once you’ve completed the process of changing the brake fluid without bleeding, it’s critical to test your brakes to ensure they are functioning correctly. To start the test:
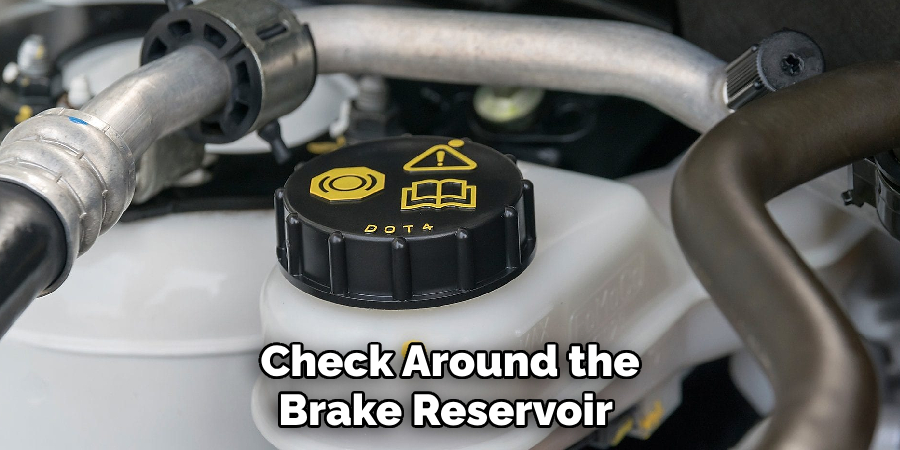
Perform a Visual Inspection:
Before driving, check around the brake reservoir and beneath the vehicle for any signs of leakage.
Press the Brake Pedal:
With the vehicle stationary, press the brake pedal several times. The pedal should feel firm, not spongy or loose.
Start the Engine:
With the engine on, the brake pedal should remain firm under foot pressure. If the pedal sinks towards the floor, this indicates a possible system leak or air in the braking system that requires attention.
Test Drive at a Safe Location:
Begin with a slow-speed test drive in a safe, enclosed area away from traffic to ensure the brakes respond promptly and evenly when applied.
Monitor for Abnormal Noises:
Listen for any unusual noises upon brake application. Grinding, squeaking, or clicking can signal issues that might need further inspection.
Conclusion
Congratulations! You have now learned the essential steps on how to change brake fluid without bleeding. With the right tools and proper knowledge, you can easily maintain your car’s braking system and ensure your safety on the road. Remember, brake fluid plays a crucial role in your vehicle’s ability to stop efficiently, so it’s essential to regularly check and change it when needed.
By following this guide, you can save time and money by avoiding unnecessary trips to the mechanic. So why wait? Give it a try and see the results for yourself. Don’t forget to share this helpful guide with your friends and family who may also benefit from this knowledge.