

Buffing a Jeep body from scratch is a meticulous process that, when done correctly, can restore the vehicle’s exterior to a like-new appearance. This task is not just about aesthetics; it’s also a vital part of vehicle maintenance that protects the paintwork and body from environmental elements.

In this guide on how to buff a jeep body from scratch, we’ll cover the essential steps and tools needed to buff your Jeep, ensuring that even beginners can achieve professional results with patience and careful execution. Whether you’re prepping for a sale, recovering from off-road adventures, or simply maintaining your Jeep for longevity, the following sections will lead you through the entire buffing process.
What is Buffing?
Buffing is the process of removing scratches, swirl marks, and other imperfections from a vehicle’s paintwork by gently polishing the surface with a buffer or polisher. In some cases, this process may also involve the use of abrasive compounds to remove deeper scratches or stains.
A successful buffing job will restore shine and gloss to the paintwork and create a smooth, even surface that is free of imperfections.
Why is Buffing Important for Your Jeep?
Jeeps are built to withstand tough off-road conditions, but that doesn’t mean they don’t require proper care and maintenance. Dirt, mud, rocks, and other debris can easily scratch and damage the paintwork of your Jeep during adventures.
Regular buffing will help remove these imperfections and keep your Jeep looking its best. Additionally, buffing can help prevent rust and corrosion by removing any build-up or contaminants that may cause damage over time. The process of buffing also creates a protective layer over the paintwork, making it more resistant to future damage.
What You Will Need
Before you begin, it’s essential to gather all the necessary tools and materials. Here are the primary items you’ll need:
Buffer or Orbital Sander:
A high-quality buffer or orbital sander is an essential tool for this task. These machines allow for the even distribution of polishing compounds and speed up the buffing process.
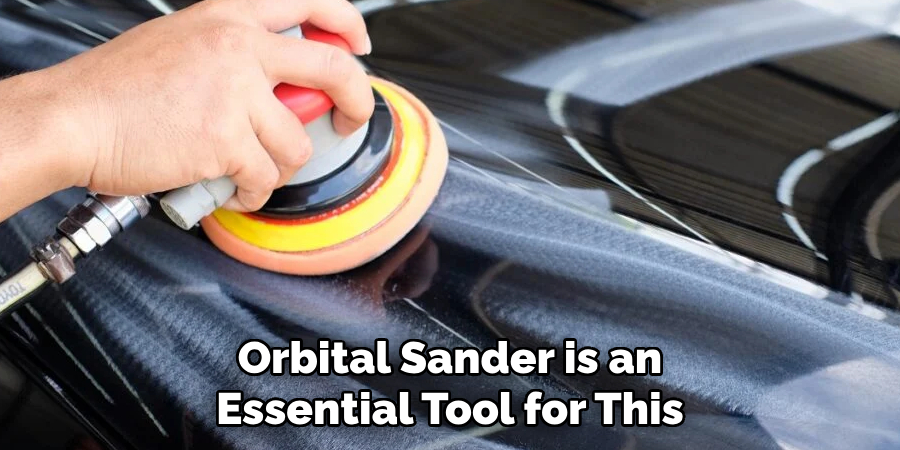
However, if you don’t have access to these machines, you can still achieve satisfactory results with just your hands and some elbow grease.
Polishing Compounds:
Polishing compounds are abrasive pastes that remove scratches, oxidation, and imperfections from the paint surface. There are different types of polishing compounds available, such as heavy cut, medium cut, and fine cut. The type you use will depend on the condition of your Jeep’s paintwork.
Polishing Pads:
Polishing pads are the applicators used to apply polishing compounds to the body. These pads come in various materials and densities, so it’s essential to choose the right one for your specific needs.
Clean Microfiber Towels:
Microfiber towels are crucial for buffing, as they help to remove excess compound and leave a clean, polished surface. It’s essential to have several clean microfiber towels on hand throughout the buffing process.
11 Step-by-step Guidelines on How to Buff a Jeep Body From Scratch
Step 1: Prepare Your Jeep
Before you begin buffing, make sure your vehicle is clean and dry. This step also includes removing any debris or contaminants that may be stuck to the surface of your Jeep. You can use a clay bar or detailing spray to remove any stubborn grime.
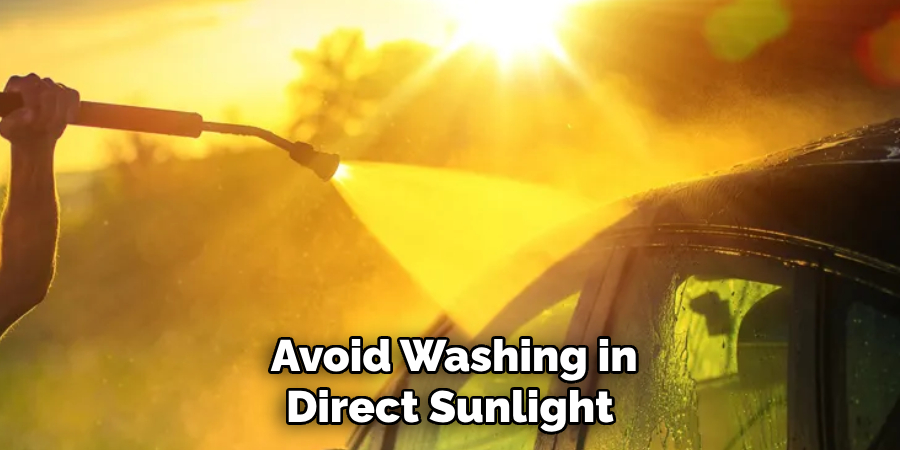
It’s also essential to work in a shaded area, as direct sunlight can cause the polishing compounds to dry too quickly. But, if you must work in direct sunlight, make sure to move quickly and keep the surface of your Jeep damp.
Step 2: Choose the Right Polishing Compound
As mentioned earlier, there are different types of polishing compounds available. If your Jeep’s paintwork has minor scratches or swirl marks, a fine cut compound will do the job.
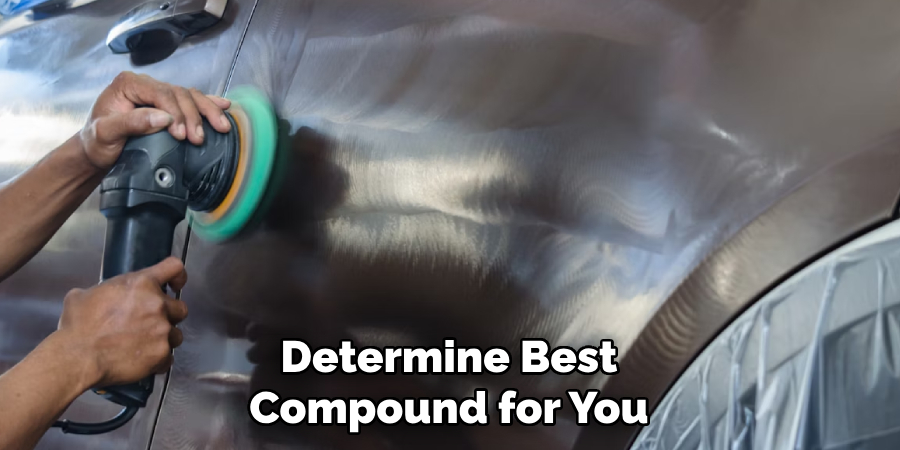
However, for deeper scratches or oxidation, you may need to start with a heavier cut compound and work your way down to a finer one. You can also consult a professional or do some research to determine which compound is best for your specific situation. The key is to start with the least aggressive option and gradually work your way up if needed.
Step 3: Prime Your Polishing Pad
Before applying the polishing compound, you’ll need to prime your pad. This step involves spreading a thin layer of the compound over the surface of the pad. It’s essential not to use too much as it may fling off the pad while buffing. You can also use a spray bottle to dampen the pad instead of using compound directly.
But make sure to evenly distribute the compound or water over the pad. You can also use multiple pads for the buffing process to avoid cross-contamination and ensure even distribution. The type of pad you use will also depend on the condition of your paintwork, with heavier cut compounds requiring stiffer pads and finer compounds needing softer pads.
Step 4: Start Buffing
Now, it’s time to start buffing! Begin with a small section of your Jeep and apply light pressure while moving the buffer in a back-and-forth or circular motion. Remember to work in small areas and keep the surface of your Jeep damp as you buff. Keep an eye on the pad and add more compound or water when needed.
It’s also essential to work in overlapping sections, moving onto the next one only when you’ve thoroughly covered and polished the previous area. You’ll start to see the scratches and imperfections disappear as you buff, but be patient, and don’t rush through the process.
Step 5: Check Your Progress
After each section, it’s crucial to stop and check your progress. Look at the surface of your Jeep from different angles and under various lighting conditions. This step will help you determine if you need to apply more compound or work on a specific area for longer.
The key is to achieve a smooth, even surface before moving on to the next section. It’s also essential to wipe away any excess compound or water with a clean microfiber towel before moving on to the next step. The surface should be clean and dry before you continue buffing.
Step 6: Repeat the Process
Continue buffing in small sections, checking your progress after each one. Remember to add more compound or water when needed and work in overlapping sections.
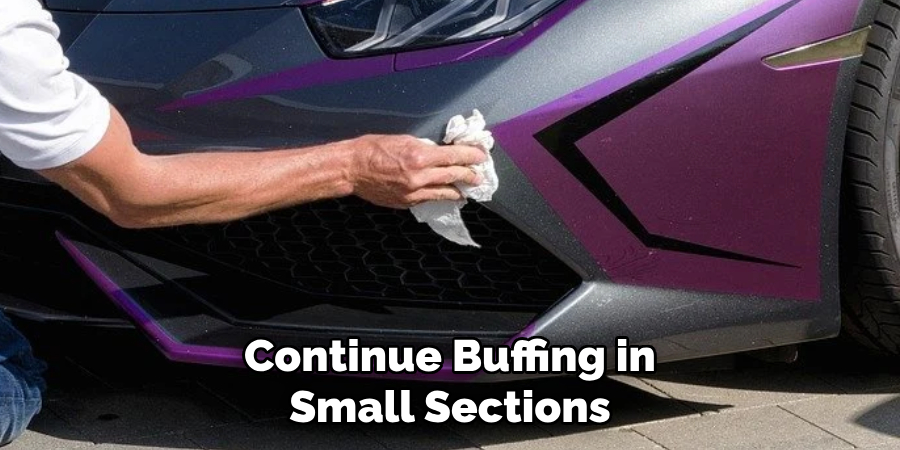
It may take several passes to achieve the desired results, so don’t get discouraged if it’s not perfect on the first try. You can also change to a finer compound and pad for the final passes to achieve a glossy finish. But be careful not to over-buff, as this can damage the paintwork.
Step 7: Focus on Problem Areas
Some areas of your Jeep may have more scratches or imperfections than others. If this is the case, you may need to work on those areas for longer or use a heavier cut compound. Just make sure to blend in with the rest of the surface to avoid any noticeable differences in the paintwork.
It’s also essential to be gentle on corners and edges, as these areas can be easily damaged by the buffer. The key is to work slowly and carefully to achieve a uniform finish. You can also use a smaller pad or hand-buffing technique for hard-to-reach areas.
Step 8: Rinse and Dry
Once you’ve buffed the entire surface of your Jeep, it’s time to rinse off any remaining compound or residue. You can use a hose or pressure washer for this step, but be careful not to spray too close to the surface. After rinsing, dry the Jeep thoroughly with a clean microfiber towel to avoid water spots or streaks.
However, if you plan on waxing your Jeep after buffing, you can skip this step. It’s also essential to wash your pads and towels after each use to avoid any contamination during the next buffing session.
Step 9: Inspect Your Work
After drying, it’s time to inspect your work. Take a step back and look at your Jeep from different angles and under different lighting conditions. You should see a significant difference in the appearance of your paintwork, with a glossy, smooth finish.
If you notice any missed spots or areas that need touch-ups, you can go back and work on them before moving on to the final step. You can also use a paint depth gauge to ensure you haven’t removed too much clear coat during the buffing process. But if done correctly, your Jeep should look brand new!
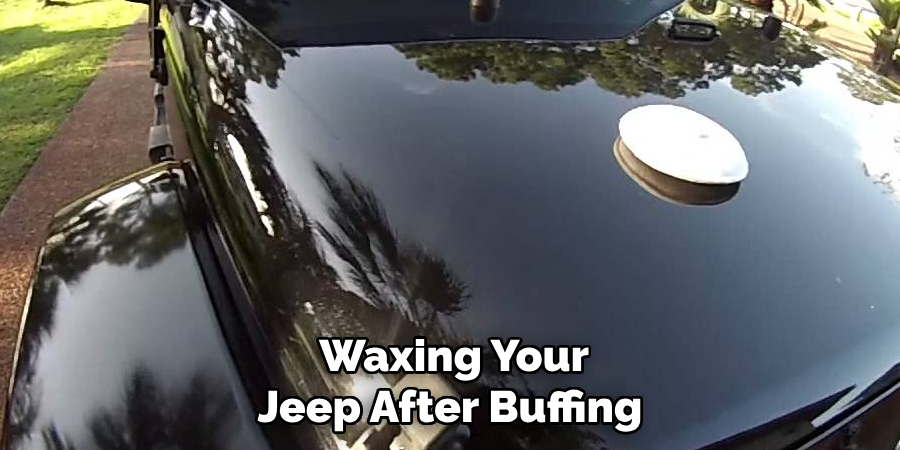
Step 10: Apply Protection
The final step is to protect your hard work by applying a coat of wax or sealant. This step will not only enhance the shine but also provide a protective barrier against environmental elements such as UV rays and pollution.
You can use a traditional carnauba wax or opt for a synthetic sealant for longer-lasting protection. Apply the wax or sealant in a thin, even layer and let it dry before buffing off with a clean microfiber towel. You can also add another layer for added protection, but make sure not to overdress as this can cause buildup and decrease the shine.
Step 11: Maintain Your Results
Congratulations, you’ve successfully buffed and polished your Jeep’s paintwork to a flawless finish! But the work doesn’t end here. To maintain your results, it’s essential to wash and wax your Jeep regularly with proper car care products.
You should also avoid washing in direct sunlight and using harsh chemicals or accessories that can scratch the surface. And if any scratches or imperfections do appear, you can always repeat the buffing process to restore your Jeep’s shine. With proper maintenance, your Jeep will continue to turn heads for years to come.
Following these steps on how to buff a jeep body from scratch will ensure that your Jeep’s paintwork remains in pristine condition and turns heads wherever you go. So, go ahead and give your Jeep the professional buffing treatment it deserves, and enjoy a shiny, flawless finish!
Awareness of Paint Thickness
One important factor to keep in mind while buffing your Jeep is the thickness of the paint. Every time you buff, a tiny layer of clear coat is removed from the surface. While this is necessary to remove scratches and imperfections, excessive buffing can lead to thinning of the paint.
It’s essential to use a paint depth gauge before and after buffing to ensure that you’re not removing too much clear coat. If the gauge shows a significant decrease in paint thickness, it may be time to seek professional help or repaint the affected area. Regularly checking the paint depth can help prevent long-term damage to your Jeep’s paintwork.
So, make sure to keep this factor in mind during and after buffing sessions to maintain the integrity of your Jeep’s paint. So, go ahead and give your Jeep the professional buffing treatment it deserves, and enjoy a shiny, flawless finish that will last for years to come.
DIY vs. Professional Buffing: Which is Better?
Many Jeep owners may wonder if it’s better to buff their vehicle themselves or leave it to the professionals. The answer ultimately depends on your budget, time, and skill level. If you have experience with detailing and access to professional equipment, then DIY buffing can be a cost-effective option.
However, if you’re unsure of your abilities or don’t have the necessary tools, it’s best to leave it to the professionals. Not only will they have the expertise and equipment to achieve a flawless finish, but they can also spot potential issues and prevent any damage during the buffing process.
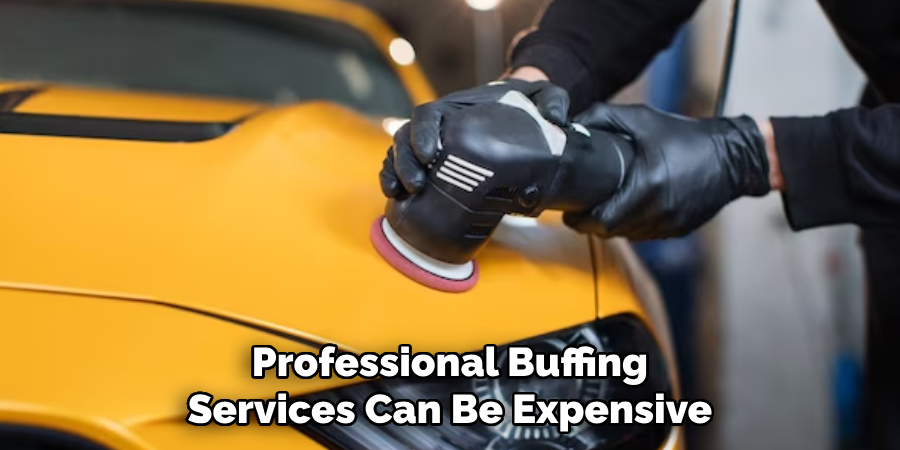
On the other hand, professional buffing services can be expensive, and you may need to schedule an appointment and wait for your Jeep to be returned. DIY buffing allows you to work on your own time and at your own pace, and you can also make adjustments or touch-ups as needed.
Ultimately, the decision is yours, but with proper research and preparation, both options can result in a beautifully buffed Jeep. So, assess your needs and abilities before deciding which route to take for buffing your jeep’s body. Take your time and do it right, and you’ll be enjoying a shiny, flawless Jeep in no time! Happy buffing! Keep on adventuring with your newly restored ride.
Frequently Asked Questions
Q: How Long Will the Buffing Process Take?
A: The time it takes to buff a Jeep depends on several factors, such as the size of your Jeep, the severity of scratches and imperfections, and your experience level. On average, it can take anywhere from 4-8 hours to buff a Jeep’s entire body. The key is to take your time and not rush through the process, as this can lead to uneven results.
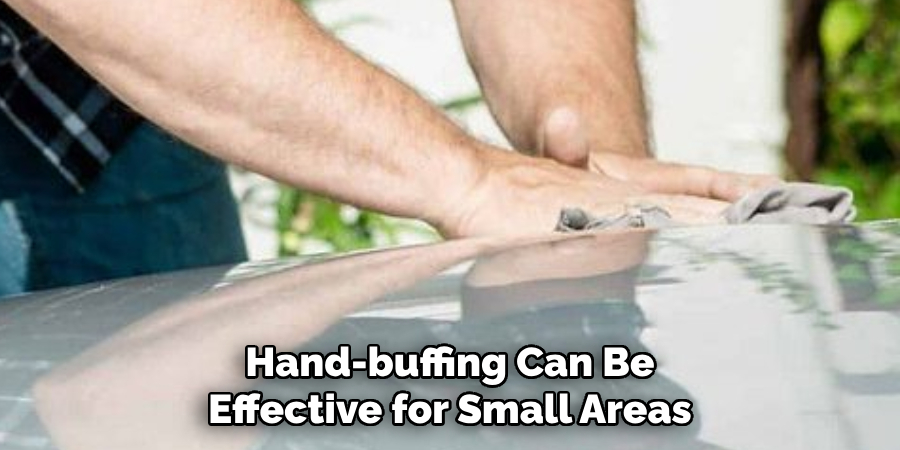
Q: Can I Buff a Jeep by Hand?
A: While hand-buffing can be effective for small areas or hard-to-reach places, it’s not recommended for buffing an entire Jeep. Using a machine buffer will save you time and effort and provide more consistent results. It’s also essential to use the correct pads and compounds for machine buffing.
Q: Can I Buff a Newly Painted Jeep?
A: Yes, you can buff a newly painted Jeep, but we recommend waiting at least 30 days after painting before buffing. This allows the paint to fully cure and avoids any damage or swirl marks during the buffing process. It’s also essential to follow the paint manufacturer’s instructions for curing time before buffing.
Q: Can I Wash My Jeep After Buffing?
A: Yes, you can wash your Jeep after buffing, but we recommend waiting at least 24 hours before doing so. This allows the wax or sealant to fully cure and provide maximum protection. You should also use gentle car wash products and avoid high-pressure washing to maintain the buffed finish.
Q: Can I Use a Rotary Buffer on My Jeep?
A: While rotary buffers can provide faster results, they are not recommended for beginners as they require a higher level of skill and experience to handle properly. Orbital or dual-action polishers are more forgiving and safer to use on your Jeep’s paintwork.
However, if you have experience with rotary buffers, you can use one for buffing your Jeep. Just make sure to work carefully and avoid excessive pressure or heat that can damage the paint.
Conclusion
In conclusion on how to buff a jeep body from scratch, buffing a Jeep body from scratch may require time and effort, but the results are undeniably rewarding. Armed with the proper tools, a clear step-by-step process, and a touch of patience, you can restore your Jeep’s body to its former glory. Remember to always prioritize safety and take breaks as needed during the process.
With each polished section, you’ll not only see a transformation in the vehicle’s appearance but also gain a sense of accomplishment for preserving the rugged beauty of your Jeep. Feel free to revisit sections of this guide as you work your way through the buffing process and happy polishing

About
JeepFixes Team is a skilled author for Jeep Fixes, bringing 6 years of expertise in crafting a wide range of jeep fixes. With a strong background in jeep fixes work, JeepFixes Team’s knowledge spans various types of fixtures, from decorative pieces to functional hardware, blending precision with creativity. His passion for jeep fixes and design has made him a trusted resource in the industry.
Professional Focus:
Expert in Jeep Fixes : JeepFixes Team aesthetic specializes in creating durable and innovative jeep fixes, offering both appeal and functionality. His work reflects a deep understanding of jeep fixes techniques and materials.
Sustainability Advocate : He is dedicated to using sustainable practices, ensuring that every fixture is crafted with eco-friendly methods while maintaining high-quality standards.
In his writing for jeep fixes, JeepFixes Team provides valuable insights into the latest trends, techniques, and practical advice for those passionate about jeep fixes, whether they are professionals or DIY enthusiasts. His focus on combining artistry with engineering helps others discover the true potential of jeep in design.