

Cylinder boring is a critical process in the refurbishment and maintenance of engines, particularly for vehicle enthusiasts looking to revive or boost the performance of their machinery. While traditionally completed by professionals in a machine shop, advances in tools and accessible information have made it feasible for DIY enthusiasts to undertake this task at home.

This guide on how to bore a cylinder at home aims to provide you with a step-by-step approach to bore a cylinder in the comfort of your own garage, emphasizing the importance of precision and care required for such an endeavor. Whether you’re aiming to restore an old classic or simply looking to fine-tune your current vehicle, mastering cylinder boring is a valuable skill that can save you time and money.
Understanding Cylinder Boring
Before we dive into the process itself, it’s essential to understand what cylinder boring entails and why it is a necessary step in engine refurbishment.
Cylinder boring refers to the process of enlarging an engine’s cylinder bore diameter by removing material from its inner walls. This allows for a larger piston size and ultimately increases the engine’s displacement, resulting in more power and torque. Additionally, cylinder boring can also remove any imperfections or damage on the cylinder walls, improving engine performance and efficiency.
Why Bore a Cylinder at Home?
While cylinder boring may seem like a daunting task, there are several reasons why you should consider doing it at home. Firstly, it can save you a significant amount of money compared to having it done by a professional.
With the right tools and knowledge, you can complete this process without incurring expensive machine shop fees. Additionally, doing it at home also gives you more control over the precision and quality of work, ensuring that your engine performance is optimized to your specific needs and preferences.
It is also a great way to learn and understand the inner workings of your engine, allowing you to develop valuable mechanical skills. But most importantly, it can be a fulfilling and rewarding experience for any vehicle enthusiast. It’s not every day that you get to bore a cylinder and see the direct impact on your engine’s performance.
Safety First
As with any mechanical task, safety should be your top priority when undertaking cylinder boring at home. Always wear protective gear such as gloves and safety glasses, and make sure the work area is well-ventilated. It’s also crucial to have a fire extinguisher nearby in case of any accidents. You should also ensure that the engine is cool and disconnected from any power source before beginning the process.

Tools and Materials
To bore a cylinder at home, you’ll need:
A Cylinder Boring Bar or a Drill With a Boring Head Attachment:
This is the primary tool used to remove material from the cylinder walls and enlarge its diameter. A boring bar, typically made of steel, is inserted into the cylinder at a slight angle and rotated using a hand crank or drill.
Boring Stones or Carbide Bits:
These are attached to the end of the boring bar and come in various grit levels for different stages of the boring process.
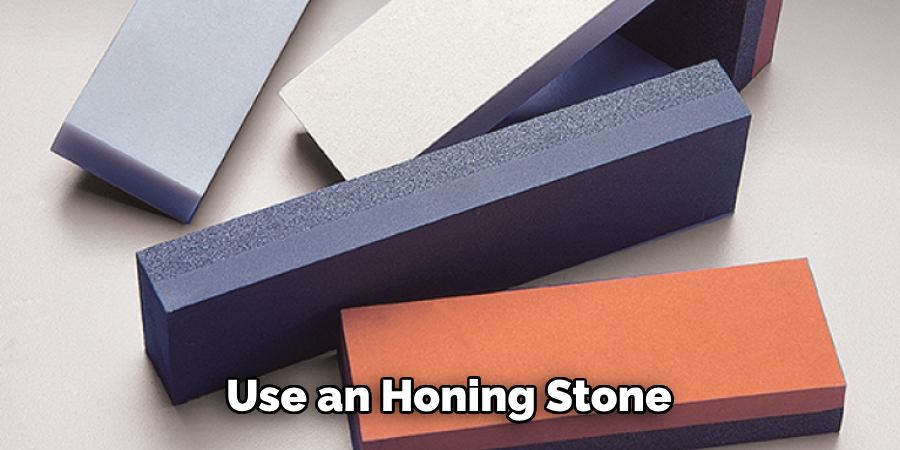
Honing Stones:
After the cylinder has been bored, honing stones are used to create a cross-hatch pattern on the inner walls, ensuring proper lubrication and piston ring seating.
Measuring Tools:
To ensure precision during the cylinder boring process, you’ll need measuring tools such as a micrometer, dial bore gauge, and telescopic gauge to measure the cylinder’s current and desired bore diameter accurately.
10 Step-by-step Guidelines on How to Bore a Cylinder at Home
Step 1: Prepare the Cylinder
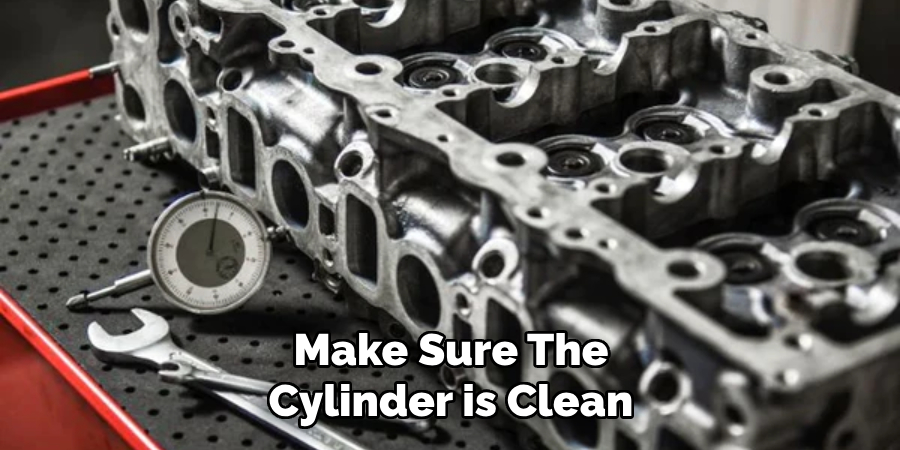
Before beginning, make sure the cylinder is clean and free of any debris or oil. Secure it in a vice with soft jaws to avoid damaging the outer surface. You can also use a cylinder-honing tool to remove any glaze from the cylinder walls. The cylinder must be perfectly round and have a smooth finish for the boring process to be successful. It’s also crucial to measure the cylinder’s current bore diameter before starting.
Step 2: Determine the Desired Bore Diameter
Based on your engine’s specifications and goals, determine the desired bore diameter. This will dictate how much material needs to be removed during the boring process. But remember, it’s always better to remove less material and create a tighter tolerance than to remove too much.
You can always hone the cylinder later for a perfect fit. The general rule of thumb is to aim for a 0.005-inch clearance between the cylinder and the piston. It’s also essential to keep the cylinder walls at a consistent thickness throughout.
Step 3: Choose the Right Boring Bar and Attachments
Select a boring bar and attachments that are appropriate for your engine’s size and desired bore diameter. Refer to the manufacturer’s instructions for specific recommendations. If using a drill with a boring head attachment, make sure to secure it tightly and check for runout. The boring bar must be straight and free of any bends or warps. The attachments should also be sharp and in good condition.
Step 4: Mark the Boring Depth
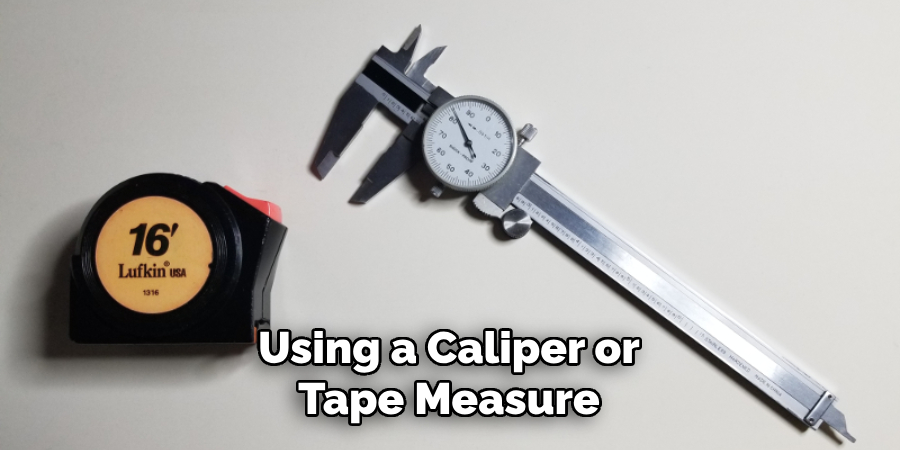
Using a caliper or tape measure, mark the desired boring depth on the outside of the cylinder. This will serve as a reference point during the boring process to ensure consistency and precision. It’s essential to keep the cylinder and boring bar aligned and perpendicular to avoid any taper in the bore diameter.
The boring bar should also have enough clearance to pass through the cylinder until it reaches the marking. You may need to adjust the angle of the boring bar accordingly. If using a drill, make sure to secure the cylinder in place and keep it steady while boring. The drill’s speed should also be set to around 500 RPM for better control.
Step 5: Begin Boring
Start the boring process by lightly rotating the boring bar or drilling with a low speed and gradually increasing as needed. Apply consistent pressure and make sure to check for any binding or unevenness. Measure the bore diameter frequently using your measuring tools to ensure you’re on track to reach the desired size.
But remember, it’s always better to err on the side of caution and remove less material than intended. The process may take some time, so be patient and don’t rush. It’s also essential to keep the boring bar lubricated throughout the process to prevent overheating. You can use engine oil or a specialized cutting fluid.
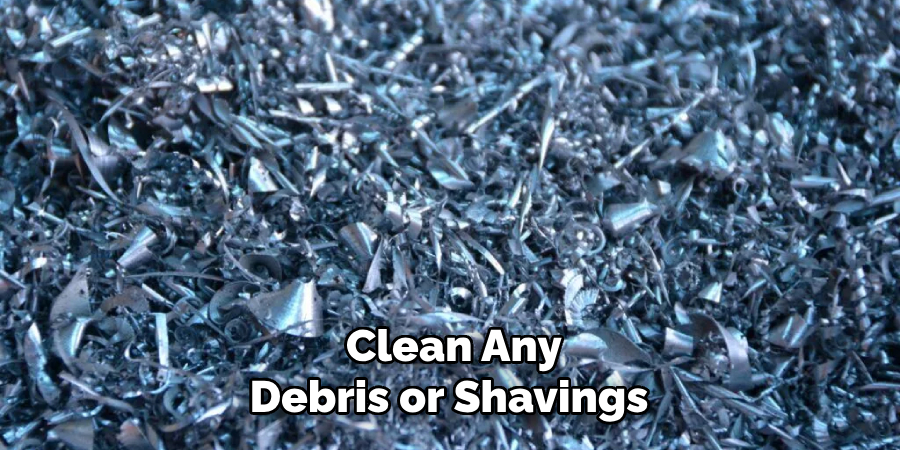
Step 6: Clean the Cylinder
After reaching the desired bore diameter, clean any debris or shavings from the cylinder using a brush and vacuum. Inspect the inner walls for any rough spots or imperfections, and use honing stones if necessary to achieve a smooth surface. The cylinder walls must be free of any burrs and have a cross-hatch pattern for proper lubrication.
It’s also crucial to measure the bore diameter again to ensure it’s consistent throughout. The cylinder should also be thoroughly cleaned before being reinstalled. The bore diameter can also be checked using a telescopic gauge. The gauge should slide smoothly through the cylinder, with a slight drag for optimal performance.
Step 7: Install New Piston Rings
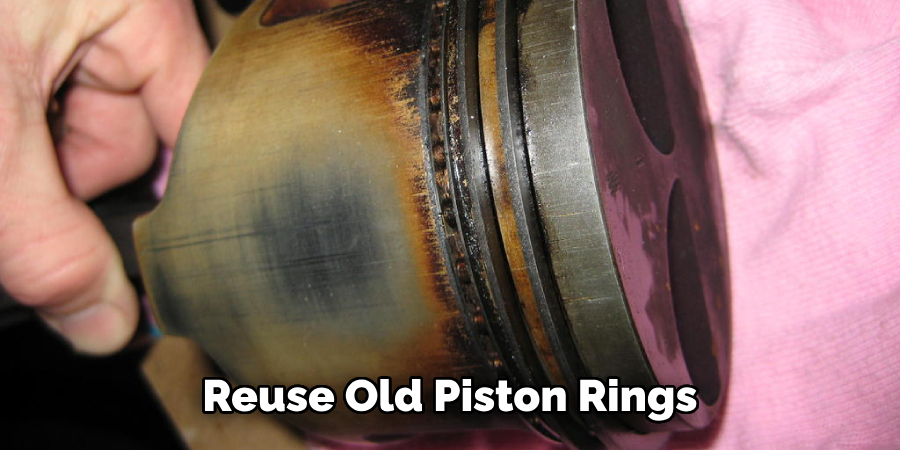
Before reinstalling the cylinder, make sure to install new piston rings that match your engine’s specs. This will ensure proper sealing and optimal performance. Refer to the manufacturer’s instructions for specific recommendations.
But remember, never reuse old piston rings as they may cause engine damage. If the piston rings are not installed correctly, they may cause scoring and other issues during operation. You can also check the ring end gap to ensure it falls within the manufacturer’s specifications. But if unsure, it’s always best to consult a professional.
Step 8: Install the Cylinder
Carefully slide the cylinder over the piston and onto the engine block. Make sure it’s aligned properly and that all components such as gaskets and seals are in place. Use a torque wrench to tighten the cylinder head studs or bolts to manufacturer specifications. Double-check for any leaks or loose components before starting the engine. The cylinder should also be adequately lubricated before running.
The engine may need some time to break in and achieve optimal performance. You may also need to make some minor adjustments, such as re-tightening the cylinder head bolts or adjusting the carburetor.
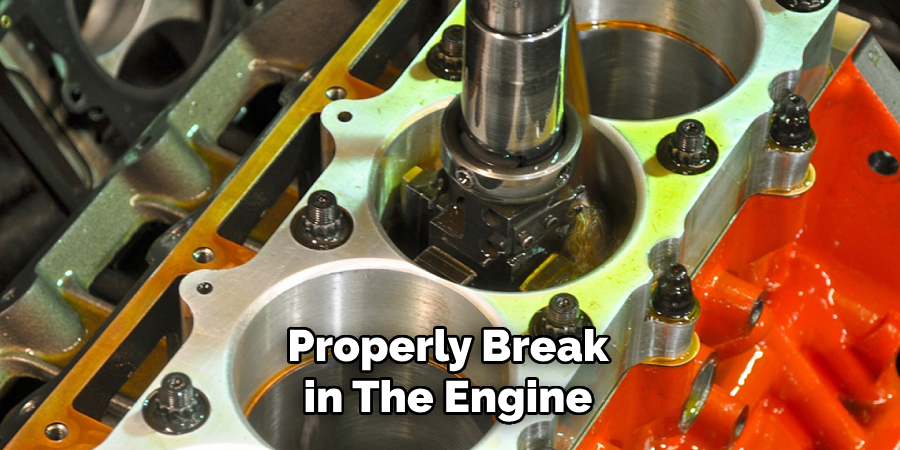
Step 9: Break in the Engine
After installing the cylinder, it’s crucial to properly break in the engine to ensure optimal performance and longevity. Refer to your engine’s manual for specific instructions on how to break in the engine.
It’s essential to vary the speed and load during the break-in period to help seal the rings against the cylinder walls. The engine should also be run at a slightly richer air-fuel ratio during this time. After the break-in period, check for any leaks or issues and make any necessary adjustments.
Step 10: Regular Maintenance
To ensure your engine runs smoothly and efficiently, it’s crucial to perform regular maintenance, including checking and adjusting valve clearance, changing oil and filters, and inspecting the cylinder for any wear or damage.
Proper maintenance will help extend the life of your engine and prevent any major issues from arising. It’s also essential to properly break in any new cylinders or engine rebuilds to ensure optimal performance and longevity. Always refer to your engine’s manual for specific maintenance instructions and schedules.
Following these steps on how to bore a cylinder at home will help you accurately and precisely bore a cylinder for your engine. Remember to always follow manufacturer instructions and take your time to achieve the best results.
Properly boring a cylinder is crucial for optimal engine performance and longevity, so don’t rush the process and make sure everything is done correctly. With proper maintenance, your engine will continue to run smoothly for years to come.
Tips for Troubleshooting and Adjustment
- If the Boring Process is Not Going Smoothly, Check for Any Binding or Unevenness in the Cylinder Walls.
- Use an Honing Stone to Smooth Out Any Rough Spots on the Inner Walls of the Cylinder.
- Always Measure and Remeasure the Bore Diameter Frequently to Ensure It’s Consistent Throughout.
- Make Sure to Properly Break in the Engine After Installing a New Cylinder to Ensure Optimal Performance.
- Regular Maintenance is Crucial for the Longevity and Proper Functioning of Your Engine.
- Seek Professional Help if You’re Unsure About Any Step in the Boring Process or if You Encounter Any Issues. It’s Always Better to Be Safe Than Sorry When It Comes to Your Engine. In addition, Never Hesitate to Seek Advice From Experienced Mechanics or Consult the Manufacturer’s Instructions for Specific Recommendations and Troubleshooting Tips.
Do You Need to Use Professionals?
Boring a cylinder at home requires proper tools, skills, and knowledge. If you’re not experienced with engine rebuilding or don’t have the necessary equipment, it may be best to seek professional help. Any mistake during the boring process can lead to costly damage to your engine.
It’s always better to trust an experienced mechanic or machine shop with the task of boring a cylinder. They have the expertise and equipment to ensure a precise and accurate bore diameter, as well as perform any necessary adjustments or troubleshooting. If you’re unsure about the process or encounter any issues, it’s always better to err on the side of caution and seek professional help. Your engine’s performance and longevity depend on it.
How Much Will It Cost?
The cost of boring a cylinder at home will vary depending on several factors, such as the type of engine and its condition, the necessary tools and parts, and whether you choose to do it yourself or seek professional help.
In general, it can range from a few hundred dollars to over a thousand dollars. It’s essential to consider the costs versus the potential benefits and to weigh your options before deciding whether to bore a cylinder at home or seek professional services. Remember, proper maintenance is crucial for the longevity and performance of your engine, so it’s worth investing in ensuring it’s done correctly.
So, always take your time and prioritize precision and accuracy when boring a cylinder at home. With the right tools and knowledge, you can successfully complete this task and enjoy a smoothly running engine. And remember, when it comes to your engine’s health and performance, never compromise on quality! Happy engine rebuilding!
Frequently Asked Questions
Q: Can I Reuse Old Piston Rings When Reinstalling the Cylinder?
A: No, it’s not recommended to reuse old piston rings as they may cause engine damage. Always install new piston rings that match your engine’s specifications. It’s also crucial to follow the manufacturer’s recommendations for proper installation. If the piston rings are not installed correctly, they may cause scoring and other issues during operation.
Q: How Often Should I Perform Regular Maintenance on My Engine?
A: It’s recommended to perform regular maintenance every 50-100 hours of engine usage. This includes checking and adjusting valve clearance, changing oil and filters, and inspecting the cylinder for any wear or damage. Routine maintenance will help extend the life of your engine and prevent any major issues from arising.
Q: What Should I Do After Boring a Cylinder?
A: After boring a cylinder, make sure to thoroughly clean it and measure the bore diameter to ensure it’s consistent throughout. Install new piston rings that match your engine’s specifications, and carefully reinstall the cylinder onto the engine block. Follow manufacturer instructions for proper torque and break-in procedures. It’s also essential to perform regular maintenance on your engine to ensure optimal performance and longevity.
Q: How Long Does it Take to Bore a Cylinder?
A: The time it takes to bore a cylinder can vary based on factors such as the material being bored, the desired bore diameter, and the equipment being used. It’s essential to take your time and follow proper procedures to achieve the best results. Rushing the process may lead to errors and cause issues with engine performance.
Conclusion
In conclusion, cylinder boring at home can be a rewarding and cost-effective way to maintain and improve your engine’s performance. With the right tools, careful planning, and a steady hand, you can achieve professional-level results in your own garage. Remember that attention to detail and patience are paramount when boring cylinders, as the slightest miscalculation can lead to significant engine damage.
Armed with the knowledge from this guide on how to bore a cylinder at home, you have taken the first step towards self-sufficiency in engine maintenance and the enjoyable world of DIY automotive projects. Happy boring!

About
JeepFixes Team is a skilled author for Jeep Fixes, bringing 6 years of expertise in crafting a wide range of jeep fixes. With a strong background in jeep fixes work, JeepFixes Team’s knowledge spans various types of fixtures, from decorative pieces to functional hardware, blending precision with creativity. His passion for jeep fixes and design has made him a trusted resource in the industry.
Professional Focus:
Expert in Jeep Fixes : JeepFixes Team aesthetic specializes in creating durable and innovative jeep fixes, offering both appeal and functionality. His work reflects a deep understanding of jeep fixes techniques and materials.
Sustainability Advocate : He is dedicated to using sustainable practices, ensuring that every fixture is crafted with eco-friendly methods while maintaining high-quality standards.
In his writing for jeep fixes, JeepFixes Team provides valuable insights into the latest trends, techniques, and practical advice for those passionate about jeep fixes, whether they are professionals or DIY enthusiasts. His focus on combining artistry with engineering helps others discover the true potential of jeep in design.