

Bending brake lines is a crucial skill for automotive enthusiasts and DIY mechanics alike, allowing them to customize and optimize their vehicle’s brake system. Whether you’re upgrading to a high-performance braking setup, replacing corroded lines, or simply looking to enhance your vehicle’s aesthetics, mastering the art of bending brake lines is a fundamental aspect of automotive maintenance.
This intricate process involves shaping rigid metal tubing to fit the unique contours of your vehicle, ensuring proper fluid flow and optimal brake performance. In this comprehensive guide, we will delve into how to bend brake lines.
From selecting the right materials and tools to understanding the intricacies of line routing and avoiding common pitfalls, this article will equip you with the knowledge and confidence needed to tackle brake line bending projects effectively.
As we explore the intricacies of this skill, you’ll discover that bending brake lines is not only a practical necessity but also an art that elevates your automotive craftsmanship to new heights.
Safety Considerations in Brake Line Bending
Before we delve into the step-by-step process of how to bend brake lines, it is crucial to emphasize the importance of using appropriate safety gear. Brake lines are typically made of steel or copper-nickel, and when cutting or bending these materials, sharp edges and metal shards can present a safety hazard. Therefore, donning protective gloves is essential to prevent cuts and abrasions on your hands.
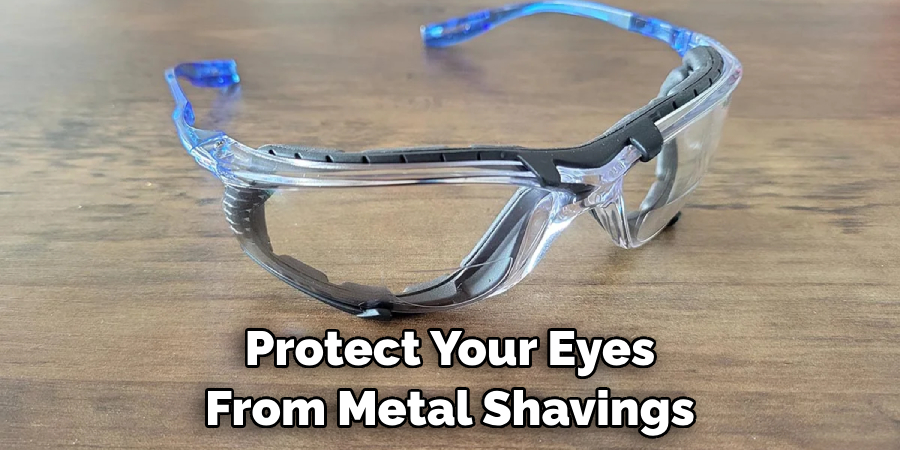
Similarly, eye protection should never be overlooked. The use of safety goggles helps protect your eyes from any metal fragments that may be propelled during the cutting or flaring processes.
Additionally, for those who are sensitive to metal dust or debris, a dust mask or respirator will provide an extra layer of safety, ensuring that you can work on your project without health concerns related to inhalation. Remember, no step in bending brake lines is too minor to skip on safety precautions; prioritizing your protection is paramount in any automotive task.
Materials Needed
Before you begin the process of bending brake lines, gathering all necessary materials is essential to ensure a smooth and efficient workflow. Below is a list of items you will need:
- Brake Line Tubing: The most common materials are steel and copper-nickel. Choose the type and size appropriate for your vehicle.
- Tube Bender: This tool is crucial for achieving precise bends without crimping or weakening the tubing.
- Tube Cutter: A clean and accurate cut is vital when preparing the tubing for bending and installation.
- Flaring Tool: This is used to create a flared end on the tubing to ensure a tight, leak-free connection.
- Brake Line Fittings: Ensure you have the correct size and thread for your vehicle’s braking system.
- Penetrating Oil: Useful for lubricating fittings and easing the disassembly of old brake lines.
- Safety Glasses: Protect your eyes from metal shavings and debris during cutting and flaring.
- Protective Gloves: Shield your hands from sharp edges and potential injury.
- Measuring Tape or Ruler: Precision is key in measuring the brake lines for accurate bending.
- Fine-point Marker: To mark exact bend points and cut lines on your tubing.
- Workbench or Vise: To secure the brake lines while working on them, making the process safer and more precise.
With these materials at hand, you can approach the task of bending brake lines with confidence, knowing you’re prepared for each step of the process.
Preparing the Brake Line
Before initiating the bending process, correctly preparing the brake line is imperative for a successful outcome. Start by determining the length of the brake line you’ll need. Use your measuring tape or ruler to measure the route the line will take, accounting for any additional length required for bends.
Once you have the measurements, lay out the brake line tubing on your workbench or secure it in a vise. Using the fine-point marker, meticulously mark the areas where cuts and bends will be made according to your measurements.
Next, take the tube cutter and align its cutting wheel with the marked line for the cut. Rotate the cutter around the tube, gently tightening the tool’s knob after each rotation. Continue until the tubing has been cleanly cut through.
It’s critical to ensure the cut is perpendicular to the tube to avoid any potential leaks at the flare connections. After cutting the tubing, check for any burrs or sharp edges; these can be removed with a file or deburring tool to ensure a smooth end, which is vital for a proper flare.
With the brake line cut to the correct length and the ends prepared, you can now plan out the specific bends. Use your marker to indicate the precise location of each bend. Remember that the more accurate your preparation, the smoother the actual bending process will be, resulting in a brake line that fits flawlessly within your vehicle’s chassis.
10 Methods How to Bend Brake Lines
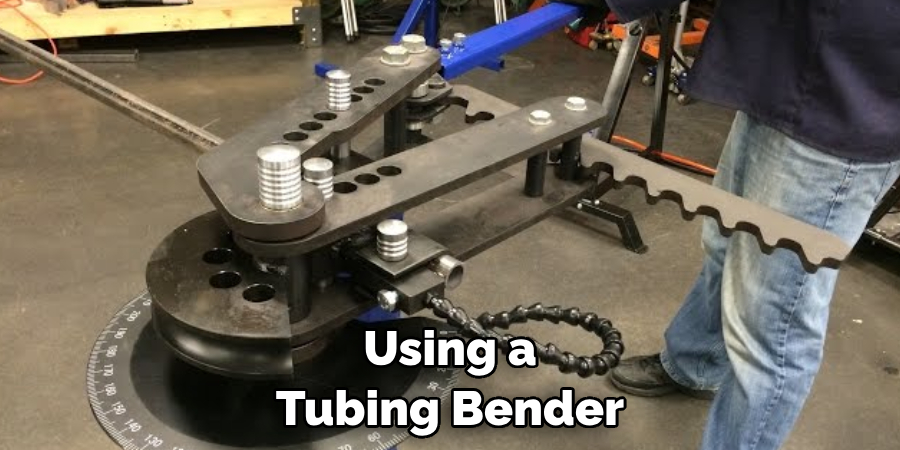
1. Use a Tubing Bender
One of the most common methods for bending brake lines is by using a tubing bender. This tool allows you to create smooth, precise bends in your brake lines without causing any kinks or creases.
2. Create a Template
Another method is to create a template of the desired bend using a piece of cardboard or paper. Once you have the template, you can use it as a guide for bending your actual brake line.
3. Use Heat
In some cases, heating up the brake line can make it easier to bend. You can use a heat gun or even a propane torch to warm up the area where you want to make the bend. With the right amount of heat, you can achieve smooth bends without damaging the tubing.
4. Fill With Sand
Filling the inside of the brake line with sand can also help to prevent kinks and creases when bending. The sand acts as support and keeps the line from collapsing during the bending process.
5. Make Multiple Bends
Sometimes, it may be necessary to make multiple small bends instead of one large bend in order to achieve the desired shape for your brake line. This can help prevent any sharp angles or kinks.
6. Use a Spring Bender
A spring bender is another tool that can be used for bending brake lines. This tool works similarly to a tubing bender but uses springs instead of rollers to create bends. Although it may take longer, this method can be useful for more complex bends.
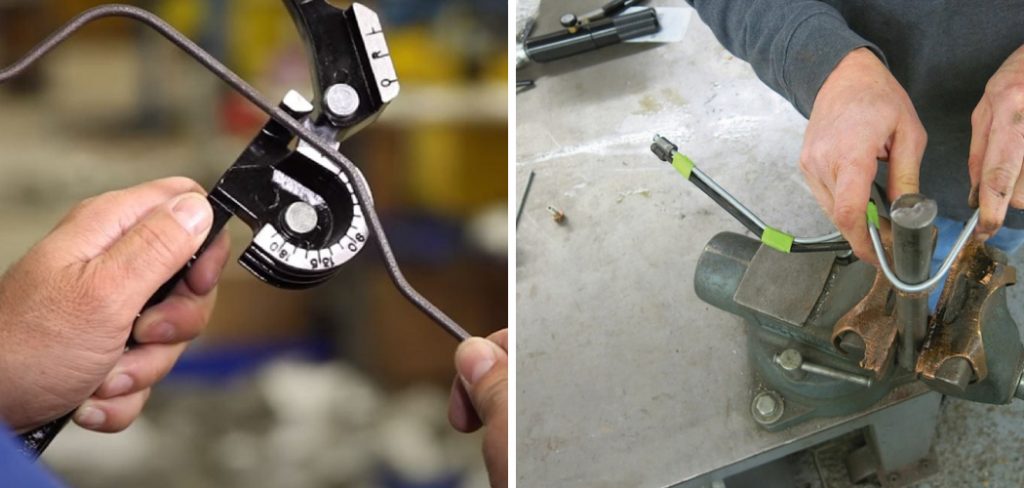
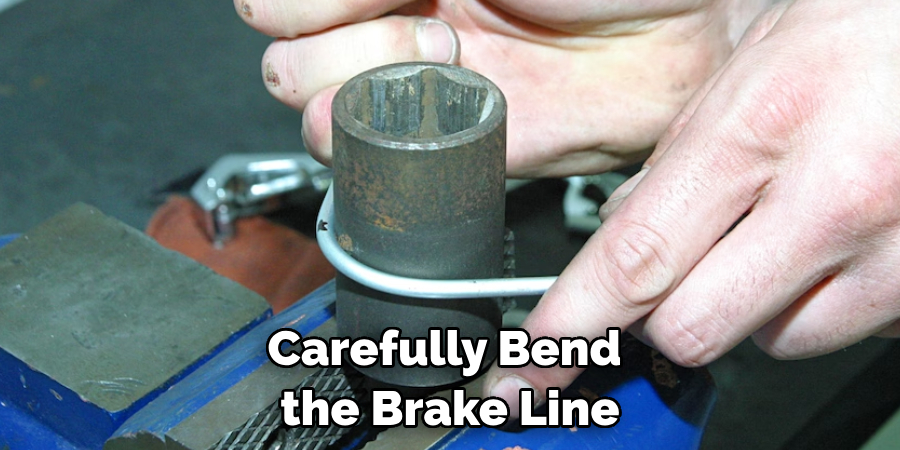
7. Bend By Hand
For simple bends, you may be able to carefully bend the brake line by hand without needing any special tools or techniques. To avoid kinks or creases, be sure to go slowly and use steady pressure.
8. Invest in Pre-Bent Lines
If you are not confident in your ability to bend brake lines correctly, you can always purchase pre-bent lines from an auto parts store or online retailer. Although this may be the easiest option, it may not always fit perfectly in your vehicle.
9. Seek Professional Help
If you are unsure about how to properly bend your brake lines, it is always best to seek professional help from a mechanic or experienced DIYer who has experience with this task. If done incorrectly, bent brake lines can affect the performance of your vehicle and even compromise your safety.
10. Practice Makes Perfect
Bending brake lines takes practice and patience. Don’t be discouraged if your first attempts are not perfect. With practice, you will become more skilled at creating smooth, precise bends in your brake lines.
Testing and Inspection
After you’ve finished bending your brake lines according to the methods outlined above, it’s essential to thoroughly test and inspect your work. Start by ensuring that the line fits properly against the chassis of the vehicle, without any unnecessary tension or stress points. Confirm that the bends allow the brake line to be free from contact with any moving parts or areas where it could rub and potentially wear through the material.
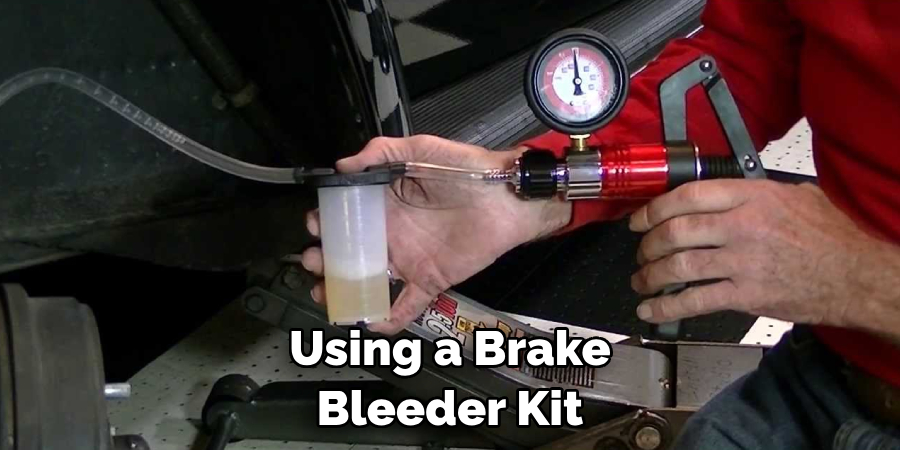
Next, when you’re satisfied with the fit, it’s time to perform a pressure test to check for leaks. This is done by connecting the brake line to the braking system and using a brake bleeder kit to apply pressure to the line. You’ll need to inspect each connection and bend for signs of weeping or leakage, which could indicate a need for additional flaring or that the bend has compromised the integrity of the line.
Conclusion
In conclusion, learning how to bend brake lines is an essential skill for any car enthusiast or mechanic. By following the steps outlined in this blog post, you can achieve perfectly bent and functional brake lines that will ensure safe and efficient braking for your vehicle.
Remember to take your time and use the appropriate tools and techniques to avoid any mishaps. With a little practice and patience, anyone can master the art of bending brake lines.
So why not give it a try? Whether you’re working on restoring a classic car or simply need to replace some old brake lines, having this skill in your repertoire will come in handy time and time again. Don’t be afraid to experiment and try out different bending methods until you find what works best for you.

About
JeepFixes Team is a skilled author for Jeep Fixes, bringing 6 years of expertise in crafting a wide range of jeep fixes. With a strong background in jeep fixes work, JeepFixes Team’s knowledge spans various types of fixtures, from decorative pieces to functional hardware, blending precision with creativity. His passion for jeep fixes and design has made him a trusted resource in the industry.
Professional Focus:
Expert in Jeep Fixes : JeepFixes Team aesthetic specializes in creating durable and innovative jeep fixes, offering both appeal and functionality. His work reflects a deep understanding of jeep fixes techniques and materials.
Sustainability Advocate : He is dedicated to using sustainable practices, ensuring that every fixture is crafted with eco-friendly methods while maintaining high-quality standards.
In his writing for jeep fixes, JeepFixes Team provides valuable insights into the latest trends, techniques, and practical advice for those passionate about jeep fixes, whether they are professionals or DIY enthusiasts. His focus on combining artistry with engineering helps others discover the true potential of jeep in design.