

Automotive enthusiasts and do-it-yourself mechanics often find themselves embroiled in the heart of vehicle maintenance, dissecting complex engine parts to troubleshoot issues. The Ignition Control Module (ICM) is one critical component that can impact a vehicle’s performance.
Acting as the command center for the ignition system, the ICM influences aspects like fuel delivery and engine timing, making it an essential part of the vehicle’s operation.
This comprehensive guide dives into how to bench test ignition control module with multimeter, equipping you with the knowledge and skills necessary to diagnose potential ICM issues and get your vehicle running smoothly again.
Understanding the ICM: A Preliminary Overview
Before delving into the testing procedures, it’s crucial to understand what the ICM does and why it’s an integral part of the ignition system. The Ignition Control Module is a component of the Motor control unit (MCU), an essential part of the ignition system that generates the signal for the ignition coil. It determines the ignition timing and controls the firing of the spark plugs, thus affecting fuel economy and engine performance.
Gathering Your Tools: What You’ll Need
The bench testing process isn’t overly complex, but it does require several tools to be on hand:
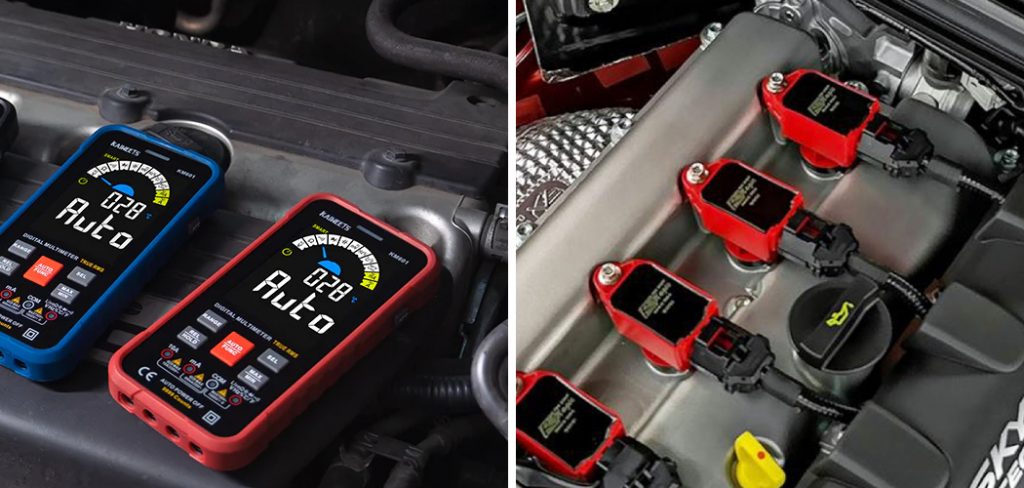
- A multimeter capable of measuring resistance (ohms) and voltage (volts)
- Safety goggles and protective gloves
- A flathead screwdriver or a wrench set
With these essentials in your toolbox, you can embark on this testing adventure.
How to Bench Test Ignition Control Module with Multimeter: Step-by-Step Guide
Step 1: Prioritize Safety
Safety should be your top priority when working with the ignition system. Disconnect the vehicle’s battery to avoid any electrical mishaps.
Step 2: Removal of the ICM
Locate the ignition control module within the vehicle engine. It’s usually found near the ignition coil. Use the appropriate tools to carefully disconnect any wiring harnesses and mounting hardware.
Step 3: Setting Up the Multimeter
Set your multimeter to measure resistance. The specific setting depends on the multimeter, but it generally involves adjusting a dial and selecting the appropriate scale. If your multimeter doesn’t have auto-range, start with the highest resistance range and work your way down.

Step 4: Testing for Resistance
Touch the multimeter probes to the ICM’s electrical terminals. Measure the resistance across all terminals with the multimeter.
Step 5: Testing for Voltage Output
Turn the multimeter dial to the voltage setting. Place the red probe on the ICM’s positive terminal and the black probe on the negative terminal. Record the reading.
Step 6: Interpreting the Results
If the resistance or voltage readings are outside your vehicle’s specified range, it indicates a potential ICM issue. Refer to your vehicle’s service manual for the correct resistance and voltage specifications.
Troubleshooting Common ICM Issues
Discovering abnormal test results doesn’t necessarily mean it’s time to replace the ICM. Here are some common ICM issues and their potential solutions:
No Spark
If the ignition system fails to deliver a spark, it might be due to an ICM with poor resistance readings. Clean the ICM’s terminals and connections and retest. If the issue persists, it’s likely time for a replacement.
Engine Misfires
Inconsistencies in voltage output can lead to engine misfires. Check the wiring and connectors leading to the ICM, as these can also contribute to the issue.
Overheating
If the ICM becomes too hot, it can lead to system failures. Ensure that the ICM is mounted properly with sufficient cooling and is not exposed to excessive engine temperatures.
5 Common Mistakes People Make When Trying to Bench Test Ignition Control Module with Multimeter
Testing an ignition control module (ICM) is a crucial diagnostic step in automotive repair. However, it’s an area where many DIY mechanics and electrical hobbyists encounter issues. Utilizing a multimeter to bench test an ICM is often where mistakes can occur, potentially leading to misdiagnosis and wasted time. Let’s explore the five most common errors and how to avoid them.
Mistake 1: Incorrect Multimeter Settings
Setting the Stage
The multimeter is your ally in the fight against engine problems, but only if you speak its language. The first mistake is setting the multimeter to the wrong function, be it measuring current, voltage, or resistance (ohms), which can lead to flawed readings and confusion.
Tip for Success
Before anything, consult your vehicle’s service manual to determine the correct multimeter settings for your ICM. As a rule of thumb, when testing the ICM:
- Use the DC voltage setting if checking for a signal pulse at the module.
- Use the resistance (ohms) setting to verify internal coil and power or control circuit connectivity.

Double-checking the settings ensures that the readings you obtain are accurate and pertinent to your diagnosis.
Mistake 2: Poor Multimeter Connection
The Pitfall of Poor Connection
Testing the ICM is all about electrical continuity; a shaky connection compromises your results. A loose probe can skew resistance measurements significantly and introduce unnecessary variability.
Secure Your Readings
When probing the ICM, ensure the contacts are clean and the connection is firm. Place the multimeter probes on the designated test points, holding them steady during readings. This simple step can prevent erroneous results and save you from chasing ghost issues.
Mistake 3: Ignoring Safety Precautions
A Shocking Oversight
Dealing with electrical components carries the risk of electric shock and vehicle damage. Not using safety precautions could lead to serious injury or further system malfunction.
Power Down
Always disconnect the vehicle’s battery before any electrical testing. Additionally, wear insulated gloves if available and work in a dry environment. These simple measures safeguard against injury and protect the ICM from accidental damage due to mishandling.
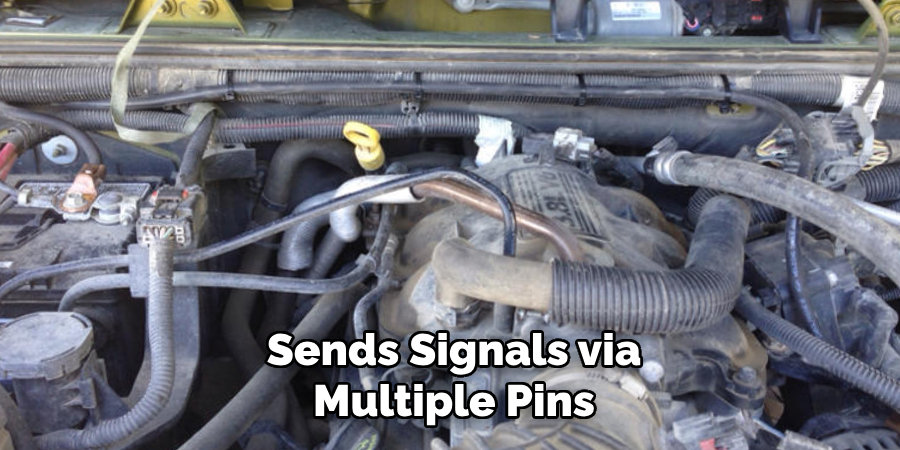
Mistake 4: Not Testing All Pins
The Missed Connections
An ICM is more than just a solitary component; it has connections that must be evaluated as part of the system. Neglecting to test all relevant pins or connectors limits your troubleshooting and could result in a partial diagnosis at best.
A Comprehensive Approach
Remember that an ICM typically receives power and sends signals via multiple pins. Use your multimeter to test every relevant pin or connector to ensure each function is correct. System faults can often hide in plain sight on untested pins, so never assume one test covers the whole component.
Mistake 5: Misinterpreting Readings
The Data Dilemma
Even when the multimeter is set correctly, and readings are taken, understanding what those numbers mean can be a stumbling block. Misinterpreting readings is akin to reading a map incorrectly; you might end up in the wrong diagnostic town.
Decode Your Diagnosis
Always compare the readings you obtain with the values specified in the service manual. If a value falls outside the provided range, it indicates that part of the ICM is faulty. Resist the urge to round and interpret readings liberally—precision is key. Record all your findings and ensure they align with the node’s functionalities within the spark control system.
By avoiding these top five mistakes, you’re on your way to mastering the art of bench testing an ignition control module. Remember, patience and precision pay dividends in fine-tuning your diagnosis and getting your vehicle back on the road.
Frequently Asked Questions about ICM Testing with a Multimeter
What Should I Do if My Multimeter Readings Are Inconsistent?
Inconsistencies can be due to loose connections, a faulty multimeter, or an issue within the ICM itself. Make sure all connections are secure, and the multimeter probes are in good condition, and if the issue persists, consider repeating the test with a different multimeter.
Can a Malfunctioning ICM Still Pass a Bench Test?
An ICM can appear functional during a bench test but fail under operating conditions. If you suspect this, perform an in-circuit test or consult a professional for a more dynamic testing environment.

How Do I Know if My ICM Is Causing My Engine Misfires?
While an ICM can cause engine misfires, so can other components like spark plugs or fuel injectors. If you’ve confirmed that the ICM is not functioning correctly through testing, it’s worth investigating further or replacing the component.
Is Disconnecting the Car Battery Necessary Every Time I Test the ICM?
Yes, disconnecting the battery is a crucial safety step to avoid electric shock or damage to the ICM and other electronic components. Always disconnect the battery before performing electrical tests.
How Often Should I Test My ICM?
Regular testing of the ICM isn’t necessary unless you’re experiencing engine problems that suggest an ignition issue. Include ICM testing in your diagnostic process when issues like engine misfires, no start, or rough running occur.
Conclusion: The Value of Bench Testing Your ICM
Benchtesting your ignition control module with a multimeter allows you to isolate and accurately identify potential issues within your vehicle’s ignition system. This step-by-step process empowers you to troubleshoot with precision, potentially saving you money by avoiding unnecessary part replacements.
Remember, the information provided here is a general guideline. Always consult your vehicle’s service manual for specific testing and maintenance procedures tailored to your make and model.
By conducting this DIY diagnostic, you are taking charge of your vehicle’s health and deepening your understanding of its intricate systems. Thanks for reading our post about how to bench test ignition control module with multimeter. Happy testing!

Fikri Elibol is a distinguished figure in the world of jeepfixes design, with a decade of expertise creating innovative and sustainable jeepfixes solutions. His professional focus lies in merging traditional craftsmanship with modern manufacturing techniques, fostering designs that are both practical and environmentally conscious. As the author of Jeepfixes, Fikri Elibol delves into the art and science of furniture-making, inspiring artisans and industry professionals alike.
Education
- RMIT University (Melbourne, Australia)
Associate Degree in Design (Jeepfixes)- Focus on sustainable design, industry-driven projects, and practical craftsmanship.
- Gained hands-on experience with traditional and digital manufacturing tools, such as CAD and CNC software.
- Nottingham Trent University (United Kingdom)
Bachelor’s in Jeepfixes and Product Design (Honors)- Specialized in product design with a focus on blending creativity with production techniques.
- Participated in industry projects, working with companies like John Lewis and Vitsoe to gain real-world insights.
Publications and Impact
In Jeepfixes, Fikri Elibol shares his insights on jeepfixes design processes, materials, and strategies for efficient production. His writing bridges the gap between artisan knowledge and modern industry needs, making it a must-read for both budding designers and seasoned professionals.