

Attaching a tire carrier to your Jeep’s tailgate is a practical and convenient solution for carrying spare tires while off-roading or exploring rugged terrain. Whether you’re gearing up for an adventure or simply looking to optimize storage space on your Jeep, knowing how to securely attach a tire carrier to the tailgate is essential.

A tire carrier not only provides a safe and stable mounting point for your spare tire but also helps distribute weight evenly and prevent damage to your Jeep’s tailgate. In this comprehensive guide, we’ll explore the step-by-step process of How to Attach a Tire Carrier on Jeep Tailgate, from selecting the right carrier to ensuring proper installation and alignment.
With the right tools, techniques, and attention to detail, you can confidently equip your Jeep with a reliable tire carrier that enhances both its functionality and appearance.
Importance of Attaching a Tire Carrier
The importance of properly attaching a tire carrier to a Jeep’s tailgate cannot be overstated. A dependable tire carrier not only ensures that your spare tire is always available when you need it most, but it also protects your vehicle during off-road adventures. It prevents undue stress on your tailgate from the weight of the spare tire, which could otherwise lead to structural damage and costly repairs.
Moreover, a well-mounted tire carrier can enhance the overall balance of the vehicle by strategically distributing the weight of the tire. This balance is crucial when navigating challenging terrains, as it provides stability and reduces the risk of tire and vehicle wear.
Additionally, with a secure tire carrier, Jeep owners have peace of mind, knowing their spare tire is safely stowed and readily accessible in the event of a puncture or blowout.
Select the Right Tire Carrier
Choosing the appropriate tire carrier is crucial to ensure compatibility with your Jeep tailgate and to meet your specific off-roading needs. The market offers a variety of tire carriers, each designed with different features – from simple, rugged styles to more advanced carriers with additional functionalities like integrated storage and fuel can holders.
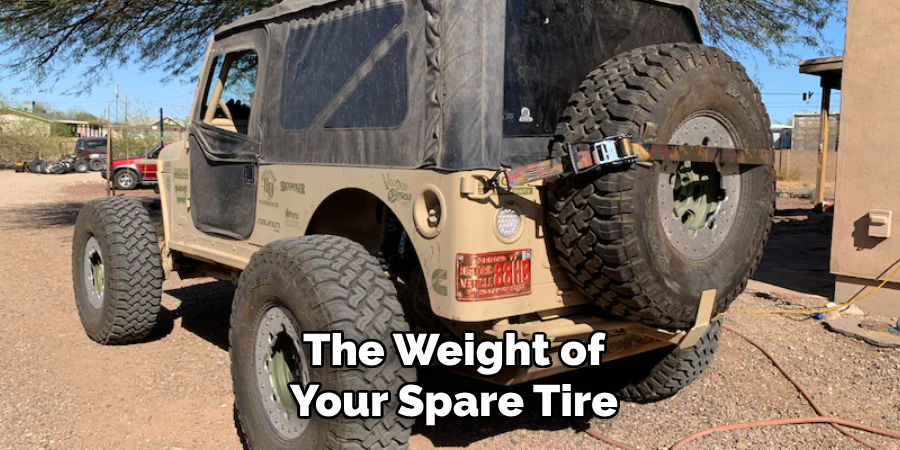
When selecting a tire carrier, consider factors such as the weight of your spare tire, ease of installation, durability of materials, and the ability to handle harsh terrain.
This choice should also take into account the tire size, tailgate strength, and whether the carrier allows for hassle-free access to the rear of the vehicle. Opt for a model that aligns with both your Jeep’s specifications and your lifestyle, ensuring a functional and aesthetically pleasing addition to your off-road companion.
Inspect Tailgate and Carrier Compatibility
Before proceeding with the installation, it is crucial to inspect both the tailgate and tire carrier for compatibility. Begin by reviewing your Jeep’s make, model, and tailgate specifications to confirm it can support the weight and dimensions of the tire carrier you’ve selected.
Ensure that your Jeep’s tailgate hinges and mounting points are in good condition and have no structural damage or excessive wear that may compromise the installation.
Next, check the tire carrier for any prerequisites it might require from the tailgate – such as specific mounting holes or reinforced areas. Lay out the tire carrier and align it with the tailgate to visually inspect the fit and confirm that no modifications are necessary.
If you find discrepancies or potential issues, consult the tire carrier’s manufacturer or a professional installer to address them prior to attaching it. This preliminary inspection is a key step in securing safe and lasting use of your tire carrier.
Prepare Tailgate Surface
Before you can attach a tire carrier, it’s essential to prepare the tailgate surface properly to ensure a secure and lasting fit. Start by cleaning the tailgate thoroughly, removing any dirt, grime, or rust that could affect the carrier’s attachment. Use a mild detergent and water for the initial wash, then follow up with a metal cleaner or rust remover if necessary.
After the tailgate is clean, dry the area completely. Next, mark the locations where the carrier will be attached to the tailgate. If drilling is required, measure and mark the precise spots for the drill holes to prevent mistakes during the installation process. Use masking tape to protect the surrounding paint, and apply a primer or rust inhibitor to any exposed metal after drilling.
This preparation is not only crucial for the carrier’s attachment but also for preserving the integrity of your Jeep’s tailgate over time. Ensure the surface is prepped and primed properly before moving on to the actual installation of the tire carrier.
Install Mounting Plate or Bracket
Once the tailgate surface is fully prepared, the next step is to install the mounting plate or bracket that comes with your tire carrier. Begin by positioning the mounting plate or bracket against the tailgate where it will be attached. Use the marks you’ve previously made as a guide. If the carrier includes a template, align it to the marked areas to ensure accuracy.
Next, secure the mounting plate or bracket to the tailgate. If the installation requires bolts, insert them through the pre-drilled holes in the tailgate and through the mounting plate or bracket.
Apply a thread-locking compound to the bolts before tightening them to prevent loosening from vibration during off-roading. Tighten each bolt progressively, in a cross pattern, to apply even pressure and avoid warping the mounting plate or bracket.
Once all bolts are in place and securely tightened, double-check for proper alignment and make any necessary adjustments. Be cautious to not over-tighten which may strip the bolts or damage the tailgate. The mounting plate or bracket must be firmly attached, without any movement or play, to provide a solid foundation for the tire carrier.
9 Methods How to Attach a Tire Carrier on Jeep Tailgate
1. Select the Right Tire Carrier:
Start by selecting a tire carrier that is compatible with your Jeep’s make and model. Consider factors such as tire size, weight capacity, and mounting style when choosing a tire carrier.
There are various types of tire carriers available, including swing-away, bolt-on, and bumper-mounted carriers, so choose the option that best suits your needs and preferences. Make sure to also check the tire carrier’s durability and quality, as you want it to be able to withstand rough off-road conditions.
When installing your new tire carrier, make sure to follow the manufacturer’s instructions carefully. This will ensure proper installation and prevent any potential issues or malfunctions. It is also important to regularly inspect and maintain your tire carrier, especially if you frequently go off-road.
This includes checking for any signs of wear and tear, tightening bolts and hinges as needed, and lubricating moving parts to keep them functioning smoothly.
2. Inspect Tailgate and Carrier Compatibility:

Before installation, carefully inspect your Jeep’s tailgate and the tire carrier to ensure compatibility. Check for any obstructions, such as brake lights, hinges, or other accessories, that may interfere with the installation process. Make any necessary modifications or adjustments to ensure a proper fit.
It’s also important to consider the weight of your spare tire and any additional accessories that may be mounted on the carrier. Exceeding the weight capacity can lead to damage or failure, so make sure to check the maximum weight allowance before installing the carrier.
3. Prepare Tailgate Surface:
Clean the surface of the tailgate where the tire carrier will be mounted to remove any dirt, grease, or debris. Use a mild detergent and water to scrub the surface thoroughly, then dry it completely with a clean towel or rag. This will ensure a secure and stable mounting surface for the tire carrier.
You may also want to consider applying a rust inhibitor or primer to the surface if it is prone to rusting. This will help protect the tailgate and prolong its lifespan. Once the surface is clean and dry, you can proceed with mounting the tire carrier according to manufacturer’s instructions.
It is important to note that some tire carriers require additional drilling or modifications to properly secure them to the tailgate. Be sure to read and follow the instructions carefully to avoid damaging your vehicle or creating an unsafe mounting situation.
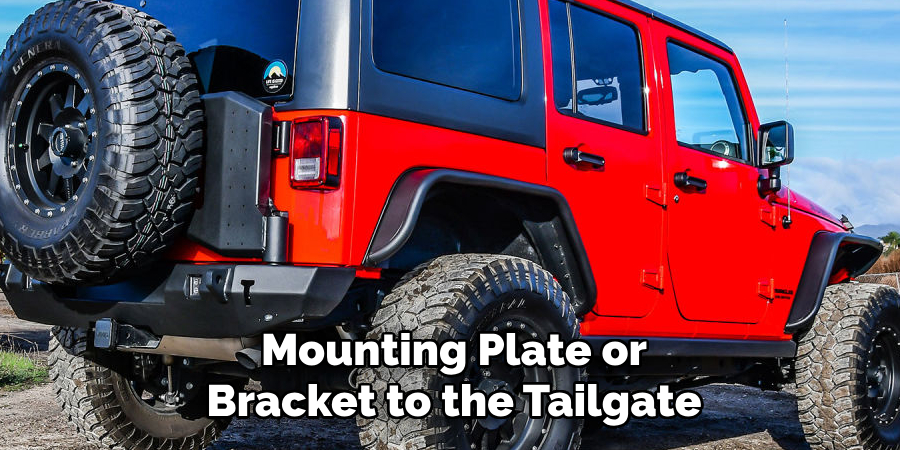
4. Install Mounting Plate or Bracket:
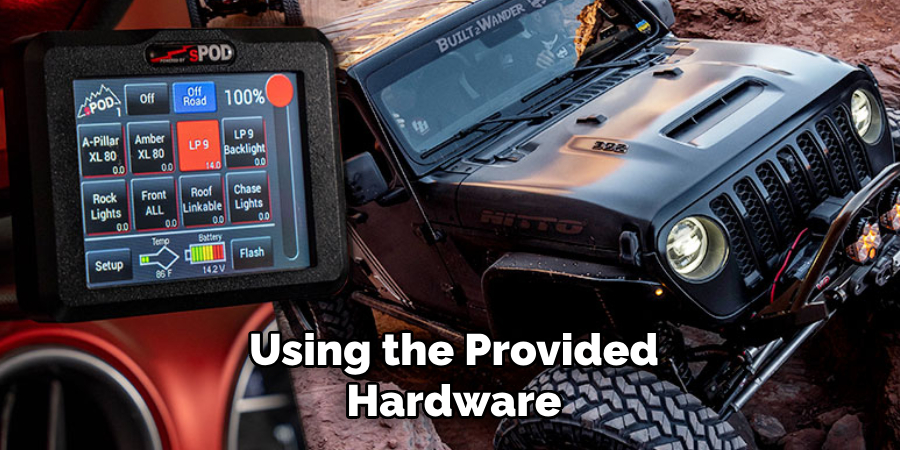
Depending on the type of tire carrier you’ve chosen, you may need to install a mounting plate or bracket onto the tailgate. Follow the manufacturer’s instructions carefully to position the mounting plate or bracket in the correct location and secure it tightly using the provided hardware. It’s important to make sure the mounting plate or bracket is securely attached, as this will be the foundation for your tire carrier.
Once the mounting plate or bracket is in place, you can then attach the tire carrier to it. Again, refer to the manufacturer’s instructions for the proper installation process and use all provided hardware to ensure a secure fit.
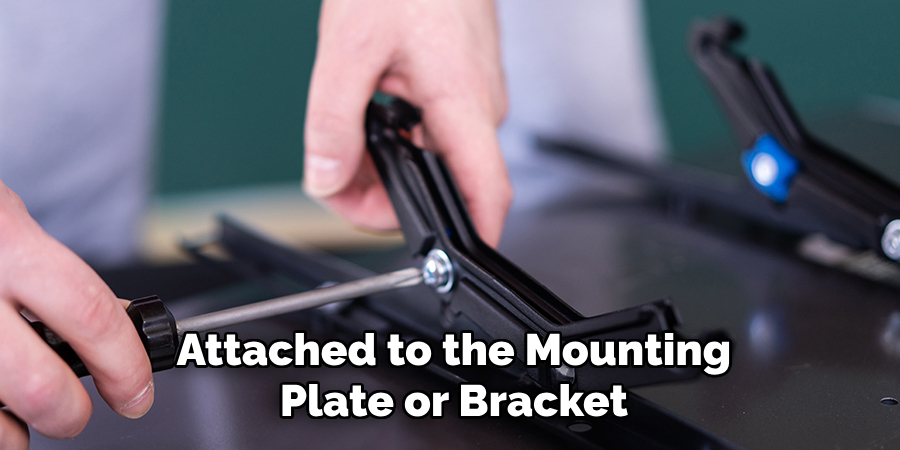
5. Attach Tire Carrier to Mounting Plate:
Once the mounting plate or bracket is installed, carefully attach the tire carrier to the mounting surface. Align the holes in the carrier with the corresponding holes in the mounting plate or bracket, then insert the bolts or screws provided with the carrier. Tighten the bolts or screws securely to ensure a snug fit. This will prevent the tire carrier from shaking or moving while driving.
Once the tire carrier is attached, place the spare tire onto the carrier and secure it with any necessary straps or latches. Make sure to follow the manufacturer’s instructions for properly securing the spare tire. Additionally, check the tire carrier and spare tire periodically for any signs of damage or wear.
6. Adjust Carrier Position:
Once the tire carrier is attached to the mounting plate or bracket, adjust its position as needed to ensure proper alignment and clearance. The carrier should be centered on the tailgate and positioned at the appropriate height to accommodate the spare tire without obstructing visibility or interfering with other vehicle components.
Adjusting the carrier position may require loosening and tightening bolts or adjusting the mounting hardware. This step is crucial to ensure that the tire carrier is securely attached and can support the weight of the spare tire.
It is also important to regularly check and adjust the carrier position, especially if you frequently change tires or add/remove cargo from your vehicle. Over time, the weight distribution may shift and affect the position of the tire carrier, so it is necessary to make any needed adjustments.
7. Secure Carrier with Locking Mechanism:
To prevent theft or tampering, secure the tire carrier with a locking mechanism. Many tire carriers come equipped with built-in locks or provisions for adding a padlock or security bolt.
Install the locking mechanism according to the manufacturer’s instructions and test it to ensure it functions properly. Additionally, make sure to keep the key or code for the lock in a safe place and not easily accessible to potential thieves.
Adding extra security measures such as a locking mechanism can greatly reduce the risk of someone stealing your spare tire. However, it is important to also regularly check and maintain the locking mechanism to ensure it remains functional and secure.
In addition to a locking mechanism, installing a tire carrier with a sturdy and durable construction can also provide added security. Look for carriers made of high-quality materials such as steel or aluminum, and consider ones with reinforced hinges and latches.
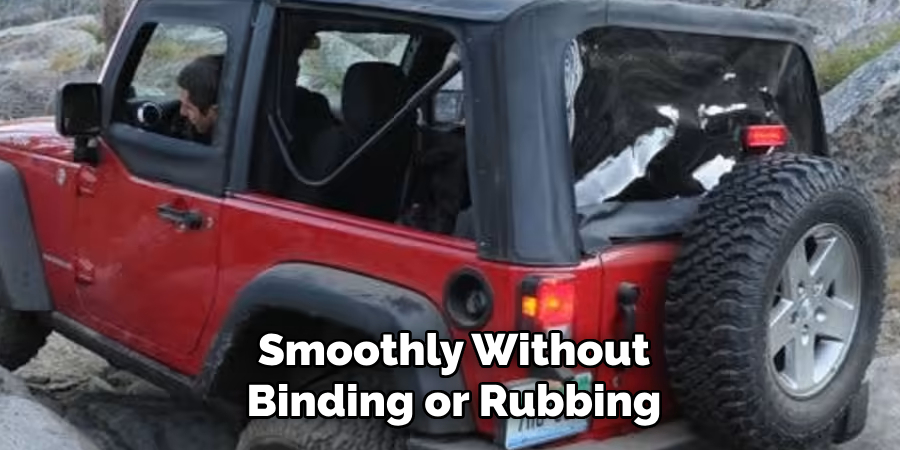
8. Check for Proper Clearance and Functionality:
Before finalizing the installation, carefully check for proper clearance and functionality of the tire carrier. Ensure that the carrier opens and closes smoothly without binding or rubbing against the tailgate or other vehicle components.
Test the clearance around the spare tire to verify that it does not interfere with the tailgate operation or obstruct rear visibility. Additionally, make sure that the tire carrier is securely mounted and does not shift or rattle while driving.
After checking for proper clearance and functionality, it is important to carefully inspect all hardware and connections. Make sure all bolts are tightened to the manufacturer’s specifications and no components are loose or damaged. Any missing or damaged parts should be replaced before proceeding with the installation.
Once everything is properly installed and functioning, take the vehicle for a test drive to ensure everything is working as it should. Pay close attention to any unusual sounds or vibrations that could indicate an issue with the tire carrier installation. If any issues are noticed, address them immediately to prevent further damage.
9. Tighten All Hardware:
Once the tire carrier is properly aligned and functioning smoothly, go back and tighten all hardware to the manufacturer’s specifications. Use a torque wrench to ensure that bolts and screws are tightened to the recommended torque settings, as over-tightening can cause damage to the tailgate or carrier components.
Additionally, make sure to check the tire carrier periodically for any signs of wear or loosening, and tighten as needed to maintain safe and secure operation. However, always refer to the manufacturer’s instructions and guidelines for proper maintenance and adjustments. To prevent corrosion and rust, it is also recommended to apply a coating of anti-seize compound to the hardware before reassembly.
Perform Final Inspection and Test
After completing the installation, perform a final inspection of the tire carrier and tailgate to ensure everything is secure and properly aligned. Test the tire carrier by opening and closing it several times to verify smooth operation and check for any signs of looseness or instability. Once satisfied, take your Jeep for a test drive to confirm that the tire carrier remains secure and stable under normal driving conditions.
Additionally, it is recommended to periodically check and inspect the tire carrier and tailgate, especially after off-road excursions or if any modifications have been made. This will help ensure that everything remains secure and in proper working condition.
In case of any issues or concerns with the tire carrier or tailgate, consult a professional for assistance. It is always better to address any potential problems early on to avoid any accidents or damage.
Conclusion
In conclusion, attaching a tire carrier to your Jeep’s tailgate is a significant upgrade that requires attention to detail and precision to ensure proper functionality and safety.
By following the steps on how to attach a tire carrier on jeep tailgate, including selecting the right tire carrier, preparing the tailgate surface, installing mounting hardware, adjusting carrier position, and securing with a locking mechanism, you can confidently equip your Jeep with a reliable tire carrier that enhances its versatility and utility.
Remember to carefully follow manufacturer instructions, perform thorough inspections, and seek professional assistance if needed to ensure a successful installation. With the tire carrier securely attached to your Jeep’s tailgate, you’ll have peace of mind knowing that your spare tire is readily accessible whenever you need it, whether you’re hitting the trails or navigating city streets.

About
JeepFixes Team is a skilled author for Jeep Fixes, bringing 6 years of expertise in crafting a wide range of jeep fixes. With a strong background in jeep fixes work, JeepFixes Team’s knowledge spans various types of fixtures, from decorative pieces to functional hardware, blending precision with creativity. His passion for jeep fixes and design has made him a trusted resource in the industry.
Professional Focus:
Expert in Jeep Fixes : JeepFixes Team aesthetic specializes in creating durable and innovative jeep fixes, offering both appeal and functionality. His work reflects a deep understanding of jeep fixes techniques and materials.
Sustainability Advocate : He is dedicated to using sustainable practices, ensuring that every fixture is crafted with eco-friendly methods while maintaining high-quality standards.
In his writing for jeep fixes, JeepFixes Team provides valuable insights into the latest trends, techniques, and practical advice for those passionate about jeep fixes, whether they are professionals or DIY enthusiasts. His focus on combining artistry with engineering helps others discover the true potential of jeep in design.