

Adjusting the stock clutch cable in a Mustang is an essential maintenance task that can significantly improve the vehicle’s clutch engagement and overall driving experience.The clutch cable serves as a critical link between the clutch pedal and the clutch assembly, and over time, it may stretch or become misaligned, leading to issues such as clutch slippage or difficulty in shifting gears.
Understanding how to adjust stock clutch cable mustang allows Mustang owners to fine-tune the clutch engagement point and ensure smooth operation of the transmission.
Whether it’s a classic Mustang or a modern model, the process of adjusting the clutch cable remains relatively straightforward, requiring basic tools and attention to detail. By following the correct procedure, Mustang enthusiasts can restore optimal clutch performance and enjoy a more responsive driving experience behind the wheel of their beloved pony car.
Importance of Clutch Cable Adjustment
Proper clutch cable adjustment is critical for the health and longevity of a Mustang’s transmission system. A correctly adjusted clutch ensures that the clutch fully engages and disengages with each shift, preventing excessive wear on the clutch components. It also reduces the strain on the engine and transmission by providing smoother transitions between gears.
Moreover, this adjustment can prevent the clutch from dragging or slipping, two common issues that can lead to more significant and expensive repairs if left unaddressed. For Mustang owners, regular maintenance, including clutch cable adjustments, is essential to maintain the vehicle’s performance and to avoid the costly consequences of neglect.
Understanding the Clutch Cable System
The clutch cable system in a Mustang consists of a few key components that work in unison to control the vehicle’s clutch engagement. The central element is the clutch cable itself, which is a steel cable that connects the clutch pedal to the release fork within the transmission.
When the clutch pedal is pressed, tension is applied to the cable, causing the release fork to disengage the clutch disc from the flywheel, allowing for gear changes. Over time, the clutch cable can stretch or wear, leading to a lack of tension and an ineffective clutch system.
Regular inspection and adjustment of the clutch cable are crucial for maintaining the integrity of this system and ensuring that the Mustang continues to perform as expected. Understanding the mechanics behind the clutch cable will help owners diagnose problems more effectively and carry out the necessary adjustments with confidence.
Components of the Clutch Cable System
The clutch cable system in a Mustang is comprised of several crucial components that each play a role in clutch operation:
- Clutch Pedal: The starting point of the system where the driver’s input is registered.
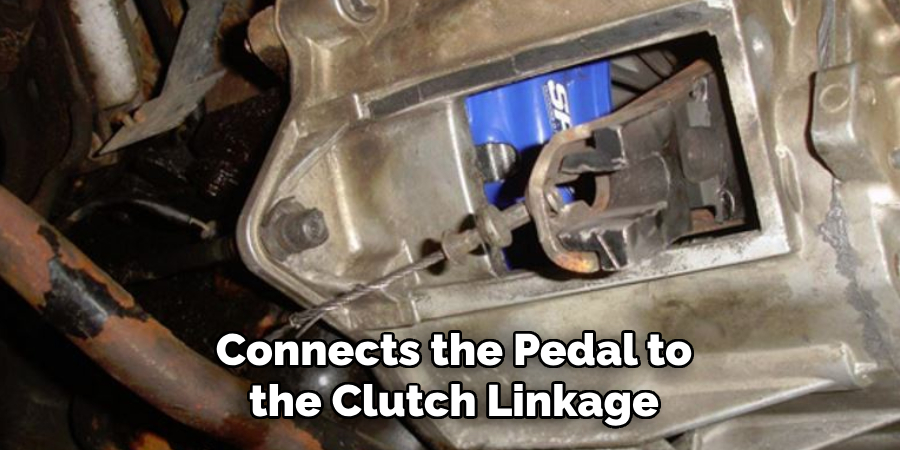
- Clutch Cable: A sturdy steel cable that connects the pedal to the clutch linkage.
- Clutch Fork: Also known as the release fork, this lever pushes the throw-out bearing against the pressure plate.
- Throw-Out Bearing: A bearing that applies pressure to the pressure plate’s release tabs.
- Pressure Plate: Spins with the flywheel and clamps the clutch disc to transfer engine power to the transmission.
- Clutch Disc: Sandwiched between the flywheel and the pressure plate, it carries the engine power through the transmission when engaged.
- Adjustment Mechanism: A quadrant and pawl assembly, cable adjuster, or an on-cable adjuster body—depending on the model—that allows for the fine-tuning of cable tension.
Each of these components must be in good working order for the system to function correctly. Regular inspection, adjustment, or replacement where necessary ensures that the clutch cable system operates smoothly and reliably.
Signs that Clutch Cable Adjustment is Needed
A failing clutch cable can manifest several symptoms that signal the need for adjustment. Mustang drivers might experience a clutch pedal that feels spongy or has excessive free play, indicating that the cable may be stretching or losing tension.
Difficulty in shifting gears, especially when moving into first or reverse, can also suggest that the clutch is not fully disengaging. In contrast, a clutch that does not engage at all means that there’s not enough tension in the clutch cable.
Unusual noises like squeaking or chirping from the clutch pedal when depressed are often telltale signs of a clutch cable that requires lubrication or adjustment. Lastly, if the vehicle creeps forward with the clutch pedal fully depressed, or there’s noticeable slipping when accelerating, these are clear indicators that the clutch cable’s tension needs to be corrected promptly for optimal vehicle performance.
Preparing for Clutch Cable Adjustment
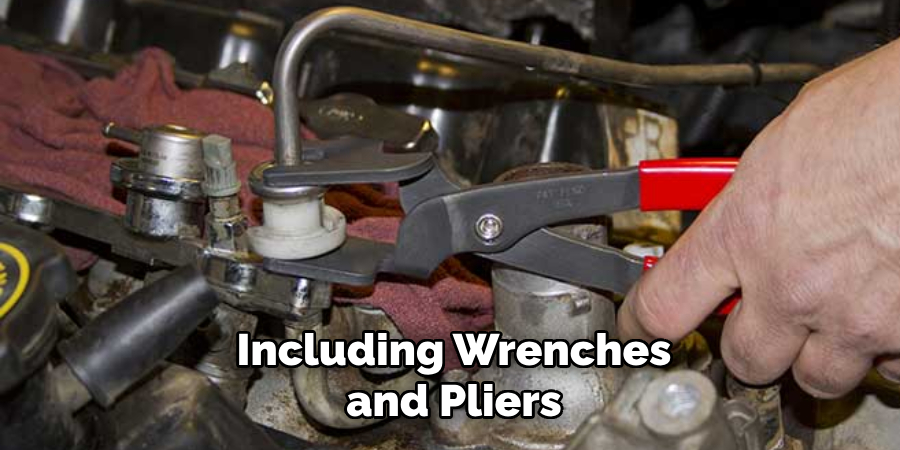
Before beginning the clutch cable adjustment, it’s important to gather all necessary tools and ensure that the Mustang is parked on a level surface with the parking brake engaged. You will need a basic set of hand tools, including wrenches and pliers, and possibly a jack with jack stands if the adjustment point is not easily accessible from the top of the engine compartment.
Ensure the engine is cool to avoid any risk of burns, and it may be beneficial to have a helper to press the clutch pedal during the adjustment process. Before getting started, familiarize yourself with the exact location of the adjustment mechanism on your Mustang model, as it may vary.
It’s equally important to perform a quick inspection of the clutch cable and related components to check for any signs of excessive wear or damage that might require repair or replacement before adjustment.
10 Methods How To Adjust Stock Clutch Cable Mustang
1. Locate the Adjustment Points:
The first step in adjusting the stock clutch cable on a Mustang is to locate the adjustment points. These points are typically located near the firewall where the clutch cable attaches to the clutch pedal assembly and near the clutch fork at the transmission. Refer to your vehicle’s manual for specific location and instructions. If you are unable to locate the adjustment points, it is best to consult a professional mechanic for assistance.
2. Park the Vehicle on a Level Surface:
Before adjusting the clutch cable, ensure that the vehicle is parked on a level surface and the engine is turned off. This provides a stable working environment and prevents the vehicle from rolling during the adjustment process. Although this step may seem obvious, it is important to emphasize as it is often overlooked and can lead to accidents or incorrect adjustments.
3. Gather Necessary Tools:
To adjust the stock clutch cable, you will need basic tools such as a wrench or socket set. Ensure that you have the correct size wrench or socket to fit the adjustment nuts on the clutch cable. You may also need a pair of pliers to help loosen or tighten the nuts if they are difficult to turn.
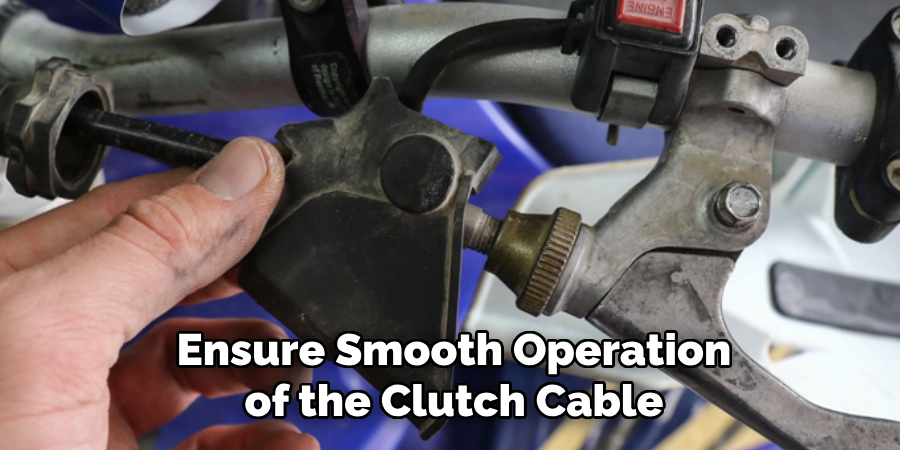
It is recommended to have a cloth or rag on hand to wipe away any excess grease or dirt before making adjustments. This will help prevent contamination and ensure smooth operation of the clutch cable. Additionally, having some lubricant such as WD-40 or lithium grease can also help with the adjustment process.
4. Loosen the Adjustment Nuts:
Using the appropriate wrench or socket, loosen the adjustment nuts on the clutch cable. These nuts control the tension of the clutch cable and need to be loosened before making any adjustments.
Loosening the adjustment nuts will make it easier to move the clutch cable and adjust its length. However, make sure not to loosen them too much or completely remove them as this can cause the cable to become disconnected from the lever.
5. Adjust Cable Tension:
To adjust the tension of the clutch cable, turn the adjustment nuts either clockwise or counterclockwise. Turning the nuts clockwise will increase the tension on the cable, while turning them counterclockwise will decrease the tension.
If the clutch cable is too loose, shifting gears may become difficult as there won’t be enough tension to properly engage the clutch. On the other hand, if the cable is too tight, it can put unnecessary strain on the clutch and cause premature wear.
To find the correct tension for your bike’s clutch cable, refer to its manual or consult a mechanic. The ideal tension will vary depending on the make and model of your bike.
6. Check Clutch Pedal Feel:
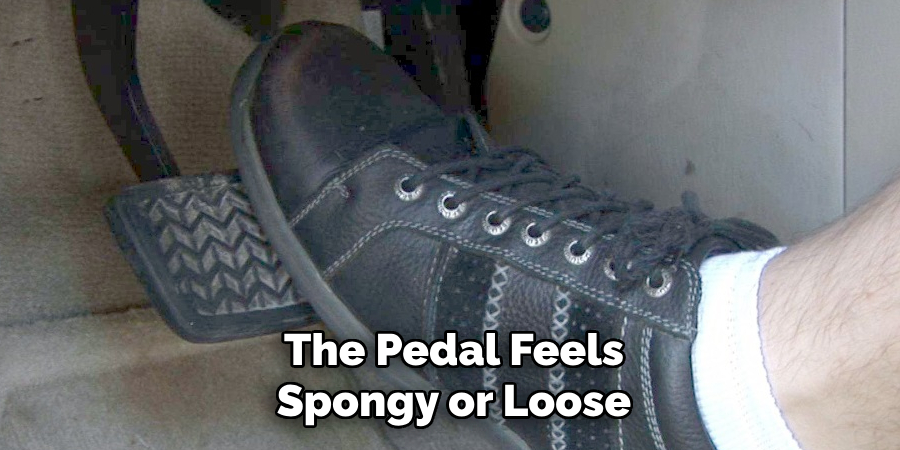
After making adjustments to the clutch cable tension, check the clutch pedal feel. The clutch pedal should have a firm and consistent feel when depressed. If the pedal feels spongy or loose, further adjustments may be necessary.
To check the clutch pedal feel, press down on the pedal with your foot and pay attention to how it feels. It should resist being pressed down and have a solid, consistent resistance throughout the entire range of motion. If you notice any changes in the resistance or if the pedal feels too easy to depress, this may indicate an issue with the clutch system.
Possible causes for a spongy or loose clutch pedal feel include air in the hydraulic system, worn out clutch components, or a damaged clutch cable. In these cases, it is important to have the issue diagnosed and repaired by a professional mechanic.
7. Test Clutch Engagement Point:
With the engine running and the vehicle in neutral, depress the clutch pedal and test the engagement point. The clutch should engage smoothly and without slipping. If the clutch engages too early or too late, adjust the cable tension accordingly.
If the clutch slips during this test, it may need to be replaced. However, before replacing the clutch, check for any other potential issues such as low transmission fluid or a worn out release bearing. Make sure to also check the clutch pedal for any excessive play or binding, as this could be a sign of a larger issue.
It is important to regularly test the clutch engagement point to ensure proper operation and prevent potential problems down the road. If you notice any abnormalities during this test, it is best to address them promptly rather than waiting for more serious issues to arise.
8. Fine-Tune Adjustment:
Make small adjustments to the clutch cable tension as needed to achieve the desired clutch engagement point. It may take several adjustments to find the optimal tension for smooth clutch operation.
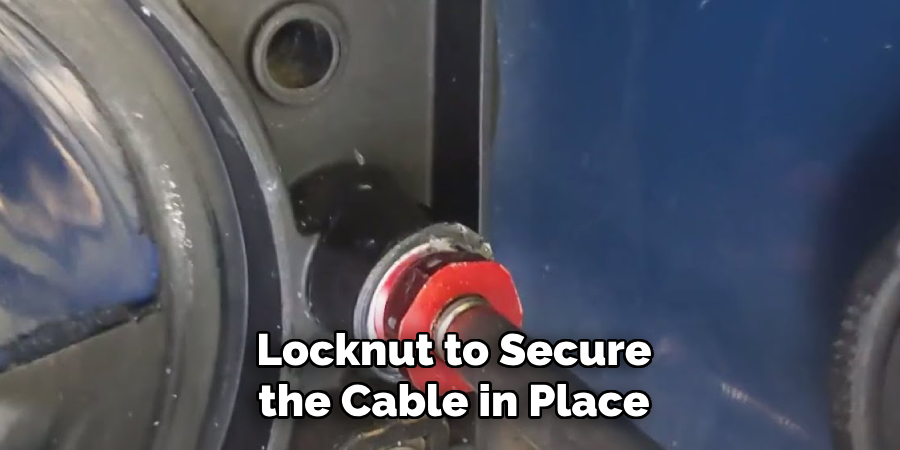
Once you have found the perfect balance, tighten the locknut to secure the cable in place. To check for proper clutch engagement, pull in the clutch lever and shift into first gear. The bike should smoothly engage and start to move forward without any slippage or jerking. If there is still some slippage or hesitation, further adjustments may be necessary.
9. Tighten Adjustment Nuts:
Once the desired clutch pedal feel and engagement point are achieved, tighten the adjustment nuts securely using the wrench or socket. Ensure that the nuts are tightened evenly to prevent uneven cable tension.
To check the cable tension, press and release the clutch pedal a few times and observe its movement. It should have a smooth and consistent feel without any slipping or excessive play. If there is still too much slack in the cable, adjust the nuts again until the desired tension is achieved.
It is important to regularly check and maintain proper cable tension in order to ensure smooth operation and prolong the lifespan of the clutch system. If the cable tension is too loose, it can lead to premature wear and tear on the clutch components, resulting in expensive repairs.
10. Test Drive the Vehicle:
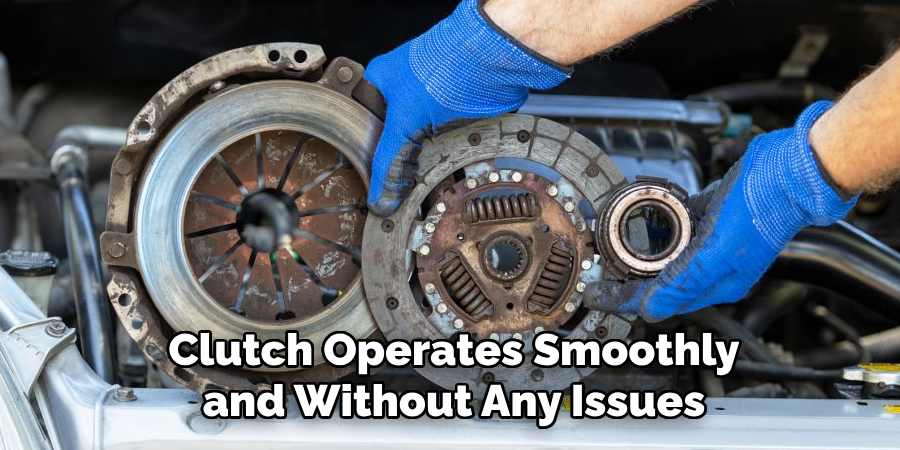
After completing the adjustment process, take the vehicle for a test drive to ensure that the clutch operates smoothly and without any issues. Pay attention to clutch engagement, shifting feel, and overall drivability. If you notice any problems, make note of them and consult a mechanic if necessary.
Although not required, it is also recommended to test the vehicle on different types of terrain and in varying traffic conditions to get a better understanding of its performance.
It is important to note that driving a manual transmission vehicle may feel different from an automatic one. The use of clutch and gear shifting requires coordination and practice. It may take some time to get used to the feeling, but don’t get discouraged. With practice, you will become more comfortable with the vehicle and be able to enjoy its benefits such as better control and fuel efficiency.
Continue Monitoring Clutch Performance
After taking your vehicle for a test drive, continue to monitor the clutch’s performance over the next several days. Pay attention to the ease of shifting gears, the consistency of the clutch pedal feel, and any unusual noises or sensations that point to potential issues.
For instance, if you hear a grinding sound during shifting, or if the vehicle shudders when the clutch engages, there may be additional fine-tuning required or possibly more expensive repairs needed.
If any adjustments are needed after the initial test drive, repeat the fine-tuning process with minor tweaks to the clutch cable tension. Remember, small incremental changes can have a significant impact on the driving experience.
Moreover, always ensure to tighten the adjustment nuts after making changes, to maintain the new settings. With regular checks and maintenance, you can help ensure the longevity and performance of your vehicle’s clutch system.
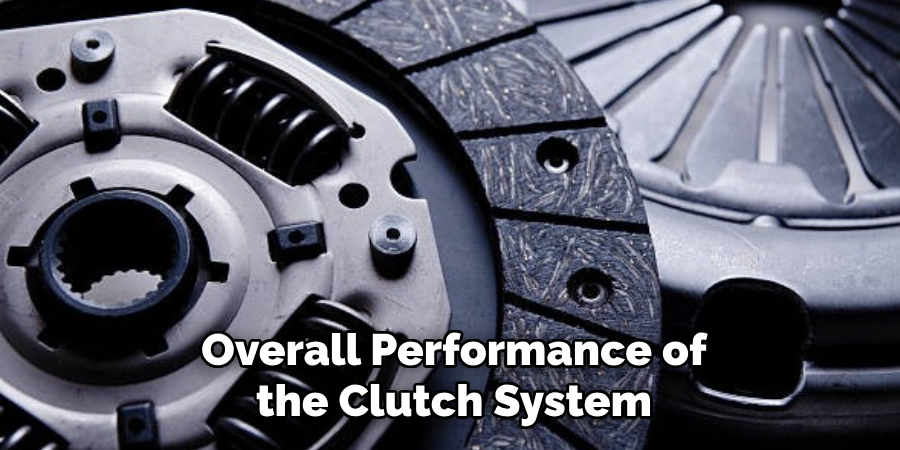
Evaluate Clutch Performance Through Test Drives
Conducting test drives is a critical step in evaluating the overall performance of the clutch system following any adjustments. When performing a test drive, begin by assessing how the vehicle responds when shifting gears.
Note whether the shifts are smooth or if there are any hesitations which could indicate misadjusted tension. Also, pay close attention to the clutch pedal’s response as you engage and disengage it. Is the pedal returning to its position smoothly or sticking at any point?
As you drive, try to include a range of driving conditions such as driving up a hill, in stop-and-go traffic, and at highway speeds. These varying conditions can reveal different performance issues with the clutch that may not be noticeable at a consistent speed or on a level surface. Listen for any unusual noises like grinding or squealing, as these are key indicators that there might be underlying issues requiring attention.
Lastly, be attuned to the overall “feel” of the vehicle while you’re driving. A well-performing clutch should contribute to a comfortable and controlled driving experience. Repeat the test drive if necessary, especially if you make additional adjustments, to ensure the clutch system operates reliably under real-world conditions.
Conclusion
In conclusion, adjusting the stock clutch cable in a Mustang is a straightforward process that can significantly enhance the vehicle’s clutch performance and overall driving experience.
By following the outlined methods for adjusting cable tension, Mustang owners can achieve smoother clutch engagement, improved pedal feel, and better control over gear shifts. Regular maintenance and adjustment of the clutch cable are essential for ensuring optimal clutch operation and preventing premature wear and tear on the clutch components.
Additionally, a properly adjusted clutch cable contributes to safer driving by reducing the risk of clutch slippage and transmission-related issues. Now that you know how to adjust stock clutch cable mustang. While it does take a few steps each time, hopefully now you understand the process and why it’s worth taking the extra step to make sure your floor is properly cared for. So don’t wait any longer, take action today!