
Are you looking to adjust the hydraulic roller lifters in your vehicle? This guide will walk you through the process.
Adjusting hydraulic roller lifters is critical in ensuring your engine runs smoothly and efficiently. These components play a vital role in the valve train of an internal combustion engine, facilitating precise valve timing and reducing friction and wear. Inadequately adjusted lifters can lead to a multitude of engine issues, including poor performance, increased noise, and even engine failure.

This introduction will guide you through the foundational steps needed on how to adjust hydraulic roller lifters, ensuring your engine maintains its performance and longevity. Whether you’re a seasoned mechanic or an enthusiast looking to expand your automotive knowledge, these insights will give you a clear understanding of the adjustment process.
What are the Uses of Hydraulic Roller Lifters?
Before we dive into the adjustment process, let’s first understand the role of hydraulic roller lifters in an engine. These components maintain proper valve function and timing by keeping constant contact between the camshaft lobe and the valve stem. This allows for the precise opening and closing of valves, which is crucial in achieving optimal engine performance.
Moreover, hydraulic roller lifters act as a buffer between the camshaft and valve, reducing friction and wear on these crucial engine components. Additionally, they help prevent excessive valve lash, which can cause noise and inefficient operation.
Understanding the uses of hydraulic roller lifters is essential in realizing the importance of adjusting them correctly. Now, let’s move on to the adjustment process.

What Will You Need?
Before you begin adjusting hydraulic roller lifters, gathering all the necessary tools and materials is important. This will save you time and frustration throughout the process. Here are some essential items you’ll need:
- A suitable torque wrench
- Feeler gauges
- Appropriate sockets and extensions for your engine’s valve adjustment bolts
- Rags or towels for clean up
- Engine oil and filter
- A service manual or repair guide for your specific engine model
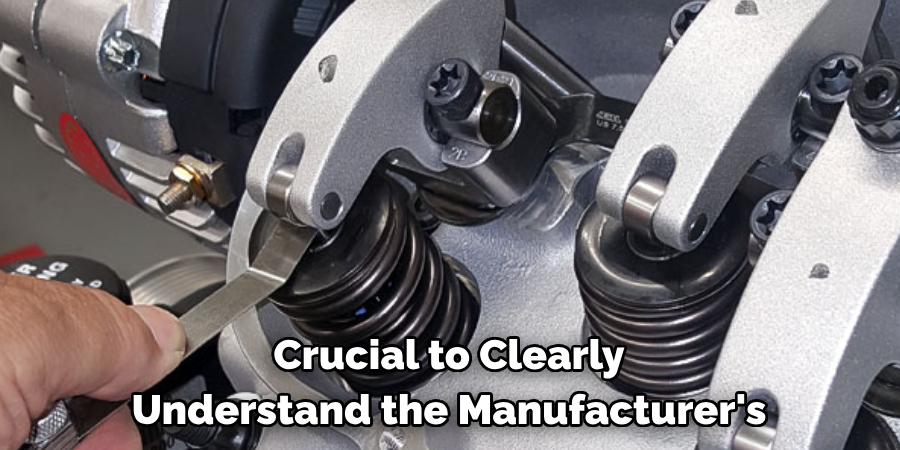
It’s also crucial to clearly understand the manufacturer’s recommended specifications for your engine’s hydraulic roller lifters. These can usually be found in the service manual or online. Following these specifications closely during the adjustment process is essential to ensure optimal engine performance.
10 Easy Steps on How to Adjust Hydraulic Roller Lifters
Step 1. Start with a Cold Engine:
Starting with a cold engine is essential for accurately adjusting hydraulic roller lifters. Ensure that your vehicle has been off for several hours, preferably overnight, to allow the engine to reach ambient temperature. A cold engine provides a stable adjustment baseline since metal components expand when heated, potentially skewing accurate measurements.
Step 2. Remove the Valve Covers:
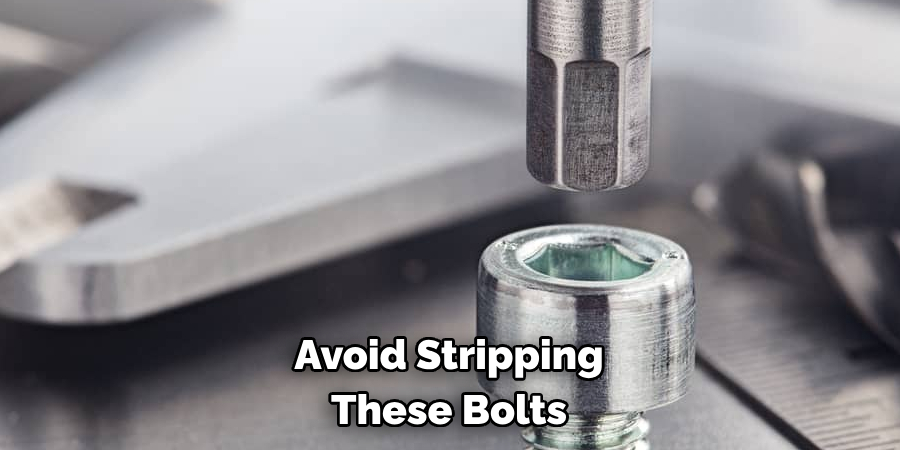
Carefully remove the valve covers from the top of your engine. This requires loosening and removing the bolts or fasteners that secure them in place. Use the suitable sockets and extensions to avoid stripping these bolts. Once removed, set the valve covers aside in a secure location. This will expose the rocker arms and the hydraulic lifters you’ll adjust. Ensure you have your rags or towels ready to clean any oil that may spill from the valve covers during removal.
Step 3. Identify the Firing Order:
Before making adjustments, it’s imperative to determine your engine’s firing order, which dictates the sequence in which the cylinders fire. This information is critical for adjusting the lifters in the correct order and can usually be found in the engine’s service manual or repair guide. Mark the distributor cap or keep a reference diagram handy to ensure you follow the correct order without confusion.
Step 4. Set the Engine to the Top Dead Center:
Rotate the engine manually until the first cylinder is at Top Dead Center (TDC) on the compression stroke to begin adjustments. You can achieve this by turning the crankshaft with a ratchet and socket until the timing mark on the harmonic balancer aligns with the TDC mark on the timing chain cover. At this point, both the intake and exhaust valves should be closed. If you have a manual transmission, ensure the vehicle is in neutral before turning the crankshaft. This position provides a starting point for adjusting the lifters in the correct firing order.

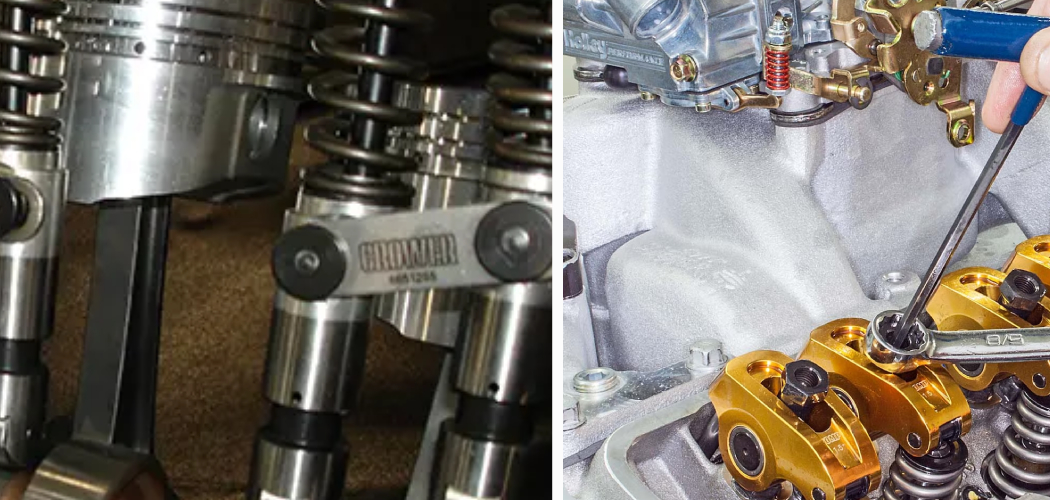
Step 5. Adjust the Intake Valve Lifter:
With the first cylinder at TDC, begin with the intake valve adjustment. Locate the intake rocker arm for the cylinder you’re working on. Loosen the adjusting nut or bolt just enough to turn the pushrod with your fingers.
Tighten the adjuster until you feel a slight resistance when spinning the pushrod, indicating that the lifter is in contact with both the valve stem and pushrod. Use a feeler gauge to check the clearance according to the manufacturer’s specifications. Once the correct clearance is achieved, tighten the adjuster lock-nut to the torque specified in the service manual, using a torque wrench to ensure accuracy.
Step 6. Adjust the Exhaust Valve Lifter:
Once the intake valve lifter has been adjusted, move on to the exhaust valve lifter for the same cylinder. The process is similar to the intake valve adjustment. Begin by loosening the adjusting nut or bolt on the exhaust rocker arm.
Rotate the pushrod between your fingers while tightening the adjuster until there is a slight resistance. Again, use a feeler gauge to measure the clearance, ensuring it adheres to the manufacturer’s specifications. Should you achieve the right clearance, secure the lock nut with the torque wrench set to the service manual’s recommended torque setting. This will ensure the overhead valve train maintains proper function throughout engine operation.
Step 7. Rotate the Engine:
After completing the adjustments on the first cylinder, continue to the next cylinder in the engine’s firing order. Rotate the crankshaft by turning it in the normal direction of engine rotation until the next cylinder in the firing order is at Top Dead Center on the compression stroke. As with the first cylinder, make sure that the timing marks are aligned and both the intake and exhaust valves are closed before proceeding with the lifting adjustments. This ensures that the adjustments are made under uniform conditions for each cylinder.
Step 8. Repeat the Adjustment Process for Each Cylinder:
Continue the process of adjusting both the intake and exhaust valve lifters for each cylinder. Follow the same steps you took for the first cylinder—loosen the adjusting nut, find the resistance point, and check clearance with a feeler gauge. Once the correct clearance is confirmed, tighten the adjuster lock nut to the specified torque. Proceed in the firing order sequence, ensuring that each cylinder is at the Top Dead Center on the compression stroke before making any adjustments. This methodical approach guarantees consistency and precision across all cylinders, leading to smoother engine performance.
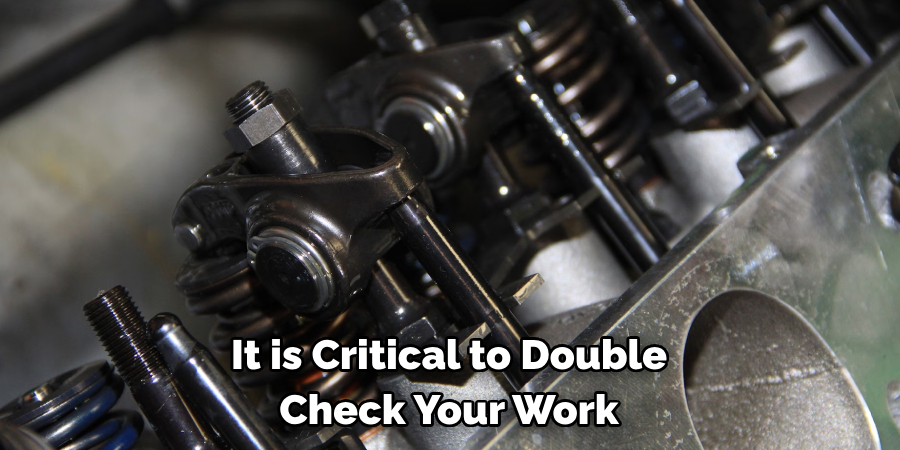
Step 9. Double-Check All Adjustments:
After completing adjustments for every cylinder, it is critical to double-check your work. Begin again at the first cylinder and verify that all the rocker arms are correctly torqued to the manufacturer’s specification. Confirm that the valve lifters maintain the correct clearance using the feeler gauge. This step ensures accuracy and can prevent potential engine issues due to improper valve lifter adjustments. If any discrepancies are found, make the necessary adjustments before moving on.

Step 10. Reinstall the Valve Covers:
Once you have double-checked all adjustments and are confident that each valve lifter is correctly set, you can begin to reinstall the valve covers. Clean the mating surfaces on the cylinder head and valve cover thoroughly to ensure a good seal. Replace any gaskets or seals as needed to prevent oil leaks. Carefully place the valve cover back onto the cylinder head and secure it with the bolts or fasteners. Tighten these to the manufacturer’s specified torque setting to avoid over-tightening and potential damage. With the valve covers back in place, you have completed the mechanical aspect of valve lifter adjustment.
By following these steps, you can successfully adjust the valve lifters in your engine and ensure proper engine performance. Regular maintenance on your valve lifters is essential for prolonging their lifespan and keeping your engine running smoothly.
5 Additional Tips and Tricks
- Pre-lube Your Lifters: Before installation, submerge your hydraulic roller lifters in high-quality engine oil. This helps to remove air from the lifter’s internals and ensures proper lubrication upon first start-up, reducing the risk of lifter tick.
- Use the Correct Sequence: When adjusting the lifters, work in your engine’s firing order. This systematic approach ensures that each lifter is adequately set at the precise time in the engine’s cycle, helping to maintain engine balance and performance.
- Double-check Lifter Preload: After initial adjustment, rotate the engine through a couple of cycles, then recheck the preload on the lifters. A lifter that is not preloaded correctly can cause noise and affect performance, so it’s worth taking the time to double-check.
- Monitor Oil Pressure: After the lifters are adjusted and the engine is running, monitor the oil pressure. Properly adjusted lifters should allow the engine to maintain steady oil pressure. Fluctuating pressure could be a sign that adjustments need to be revisited.
- Listen for Noise: Listen closely to your engine after the adjustment. Any ticking or tapping sounds could indicate that the lifters are either too tight or too loose. If you detect unusual noises, it’s critical to shut down the engine immediately and recheck your adjustments to prevent damage.
With these additional tips and tricks, you can ensure proper adjustment and maintenance of your hydraulic roller lifters for optimal engine performance.
6 Things You Should Avoid
Avoiding certain pitfalls is essential when adjusting hydraulic roller lifters. Here are six things you should steer clear of:
- Never Adjust Lifters When the Engine is Cold: Always allow the engine to reach operating temperature before adjusting. Cold engines can give false readings due to thermal expansion.
- Don’t Rush the Process: Take your time with each adjustment step. Hasty adjustments can lead to improper preload and potential engine damage.
- Avoid Using Worn out tools: Always use the proper, high-quality tools for adjustment. Worn out tools can slip and cause damage to the engine or result in inaccurate adjustments.
- Pay Attention to Manufacturer’s Specifications: Always follow the lifter manufacturer’s specifications for preload and adjustment settings. Each engine can have unique requirements, and ignoring these can lead to suboptimal performance or engine failures.
- Don’t Ignore Dirty Oil or Contaminants: Before any adjustments, ensure your oil is clean, and no contaminants could impact lifter performance. Dirty oil can cause blockages and impede lifter function.
- Avoid Over-tightening: Over-tightening can lead to lifter damage or camshaft wear. It’s crucial to achieve the correct balance to maintain optimal engine health.
Avoiding these common mistakes can ensure a successful and safe adjustment process for your hydraulic roller lifters.
How Do You Test a Hydraulic Roller Lifter?
Testing a hydraulic roller lifter is crucial to ensure your engine operates at peak performance. Follow these steps to test your lifters effectively:
- Perform a Visual Inspection: Begin with a thorough visual inspection of the lifters for any signs of physical damage, unusual wear, or debris that might affect their functionality.
- Check for Leaks: Compress each lifter using a hydraulic press. If the lifter leaks excessively under pressure, it may be faulty and require replacement.
- Measure Lifter Leak-Down Rate: A leak-down test can help assess the health of the lifter. An average leak-down rate ensures the lifter maintains proper valve lash under engine operation, preventing performance issues.
- Listen for Irregular Noises: While the engine runs, listen for any irregular lifter noise, which can signal improper operation. Utilize a mechanic’s stethoscope to isolate any troubling sounds.
- Conduct a Spin Test: Spin the lifter’s roller with your fingers. It should turn freely without roughness or excessive play, indicating the roller bearings are in good condition.
- Check for Proper Oil Flow: Ensure proper oil flow to the lifters. Inadequate oil supply can cause lifter malfunction and subsequent engine damage.
Remember, a lifter must pass all these tests to be considered fully operational. Any sign of malfunction means it may be time for a replacement to maintain the integrity of your engine’s valvetrain.
What Causes Hydraulic Lifters to Fail?
Unfortunately, hydraulic lifters can fail for various reasons. Some of the most common causes include:
- Poor Maintenance: Refrain from neglecting regular oil changes or using low-quality oil can lead to lifter failure. Dirty oil and debris can clog passages and prevent proper lifter function.
- Incorrect Adjustment: Adjusting tight or loose lifters can cause premature failure. It’s crucial to follow the correct procedure and specifications for each engine.
- Worn Components: Lifters can wear out over time due to constant contact with other components in the valvetrain. This can lead to loss of preload and eventual lifter failure.
- Contaminants in Oil: Contaminants such as dirt, metal shavings, or sludge can cause lifter malfunction. It’s essential to check and change your oil to prevent these issues regularly.
- Excessive Revving: Constant high-revving of the engine can strain lifters excessively, causing them to fail prematurely.
By understanding the common causes of lifter failure, you can take preventative measures to ensure your hydraulic lifters last as long as possible. Proper maintenance, adjustment, and care can all contribute to the longevity of your engine’s performance.

How Do You Clean Hydraulic Lifters?
Cleaning hydraulic lifters is essential to maintaining your engine’s valvetrain health. Dirty or clogged lifters can lead to poor engine performance, increased wear, and eventual failure. To clean your hydraulic lifters correctly, follow these steps:
- Disassemble and Inspect: Carefully remove the lifters from the engine, keeping track of their placement. Disassemble the lifters if necessary and inspect for wear or damage.
- Soak in Cleaning Solution: Place the lifters in an automotive parts cleaner or a solution suitable for the material of the lifters. Allow them to soak to loosen any dirt or sludge buildup.
- Clean Internal Passages: Use a small brush or compressed air to clean out the oil passages within the lifters. Be thorough to ensure no debris is left inside that could hinder performance.
- Rinse and Dry: Rinse the lifters thoroughly with clean solvent after soaking and brushing. Dry them completely, ensuring no cleaning fluid remains as it may dilute the engine oil.
- Reassemble and Prime: Once clean and dry, reassemble the lifters. If they were disassembled, it’s crucial to prime them with engine oil to ensure proper lubrication upon startup and prevent air lock.
- Reinstall: Reinstall the lifters in the position they were removed from to maintain the established wear pattern with the camshaft.
It’s important to note that if lifters are heavily worn or damaged, they should be replaced rather than just cleaned. Always consult your vehicle’s service manual and follow any specific instructions related to maintaining hydraulic lifters.
Conclusion
How to adjust hydraulic roller lifters is critical for maintaining your engine’s efficiency and longevity. The right process involves precise steps, ranging from ensuring you’re working with clean oil to avoid introductions of contaminants to your lifters to carefully tuning your engine according to manufacturer specifications.
By circumventing common pitfalls such as over-tightening and keeping a strict schedule for regular maintenance, you safeguard the optimal performance of your hydraulic lifters. Always remember to operate within your vehicle’s prescribed parameters and consult professional guidance in case of uncertainty.
Proper adjustment and meticulous attention to detail will preserve the health of your engine’s valvetrain and enhance your vehicle’s overall reliability and performance.