

Are you tired of the way your car’s suspension is handled? Does it feel too soft or loose? It may be time to consider stiffening your suspension. This can improve your vehicle’s overall performance and handling, especially if you do a lot of high-speed driving or take sharp turns frequently.
Stiffening a vehicle’s suspension can dramatically alter its handling characteristics, often leading to improved responsiveness and a firmer ride. Before tackling this undertaking, it’s crucial to understand the interplay of components such as springs, shock absorbers, and anti-roll bars, which all contribute to a car’s suspension system.
This guide on how to stiffen suspension aims to provide an overview of the methodologies and implications of stiffening your suspension to deliver a more track-oriented driving experience or simply to refine the vehicle’s performance according to your preferences.
Why Should You Stiffen Your Suspension?
Stiffening your suspension can provide a variety of benefits, including:
- Improved Handling: By reducing body roll and increasing stability, a stiffer suspension can improve the overall handling of your vehicle. This is especially useful for high-performance driving.
- Increased Responsiveness: Stiffening the suspension can also result in quicker response times, making it easier to take sharp turns and navigate corners.
- Better Weight Distribution: A stiffened suspension can help distribute the weight of your vehicle more evenly, which can improve traction and overall balance.
- Enhanced Performance: For those who enjoy high-speed driving or participate in track days, a stiffer suspension can significantly improve your vehicle’s performance, allowing for faster speeds and sharper handling.
- Customization: By stiffening your suspension, you can customize the feel of your vehicle according to your personal preferences, allowing for a more comfortable or sporty ride.
Now that you understand the benefits of stiffening your suspension let’s dive into the different methods you can use to achieve a stiffer suspension.
Types of Suspension Stiffening
There are several ways to stiffen your suspension, each with its own advantages and considerations. These include:
- Upgrading Springs: The most common method of stiffening a suspension is by replacing the existing springs with stiffer ones. This method is relatively simple and cost-effective, but it may also affect ride height and comfort.
- Adjusting Shock Absorbers: By changing the damping force of your shock absorbers, you can alter the stiffness of your suspension. This method allows for more precise tuning but may require additional tools and knowledge.
- Adding Sway Bars: Also known as anti-roll bars, adding sway bars to your suspension can significantly reduce body roll and improve stability during turns. However, it may also result in a harsher ride.
- Using Coilovers: These fully adjustable suspension systems combine springs and shock absorbers into one unit. While they offer the most customization options, they can be more costly than other methods.
These are just a few ways to stiffen your suspension, and the best method for you will depend on your specific needs and preferences.
What Will You Need?
Before beginning any modifications to your suspension, it’s essential to gather all necessary tools and equipment. Here are some suggested items:
- Jack and Jack Stands: These will be used to lift and support your vehicle.
- Torque Wrench: This is needed to tighten bolts to the appropriate specifications.
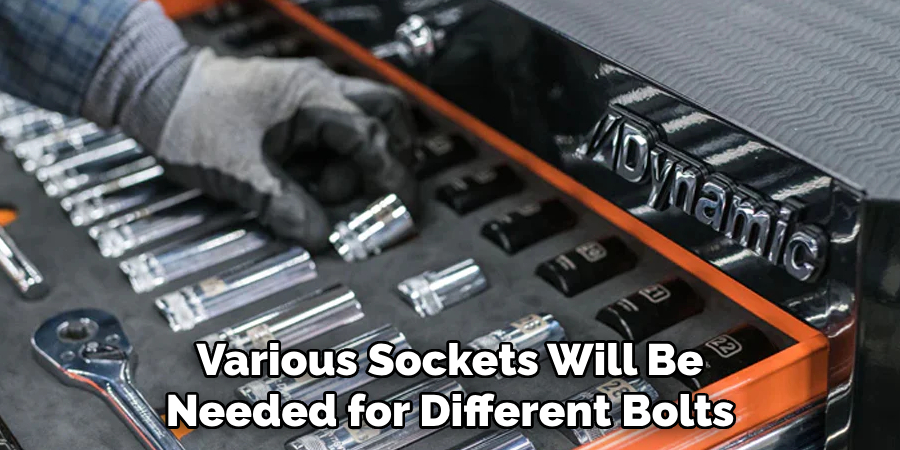
- Socket Set: Various sockets will be needed for different bolts and nuts on your suspension components.
- Spring Compressor: This tool may be necessary to replace or adjust your springs.
- Anti-roll Bar Kit: If you upgrade your anti-roll bars, ensure you have the appropriate kit for your vehicle.
- Shocks and Struts: These may need to be replaced if worn out or if you want to upgrade to a stiffer option.
- Coilovers: If you want to drastically change your suspension’s stiffness, consider investing in coilovers, which allow for adjustable spring rates.
- Camber Plates: These are used to adjust the camber angle of your wheels, which can affect handling and tire wear.
You can begin stiffening your suspension once you have all the necessary tools and components.
10 Easy Steps on How to Stiffen Suspension
Step 1: Evaluate Your Vehicle’s Current Suspension Setup
Before making any changes, take the time to assess your vehicle’s current suspension setup. This involves checking the condition of your shocks, struts, springs, and existing hardware. Look for signs of wear, such as leaks, rust, or damage.
Understanding the baseline of your suspension’s performance will help you make informed decisions about which components to stiffen or replace for optimal results.
Step 2: Choose the Right Components
Once the initial evaluation is complete, the next step involves selecting the right components for your suspension stiffening project. Consider upgrading to higher-performance shocks and struts designed to complement a stiffer suspension. If you are focusing on springs, opt for lower and firmer springs that reduce body roll and improve cornering.
Keep in mind that the right components should align with your driving needs and the performance level you’re aiming for, whether it’s street driving or track racing. It’s also advisable to consult with an automotive specialist if you are unsure about the best components for your car.
Step 3: Prepare Your Vehicle
Before you start the hands-on work, it’s essential to prepare your vehicle to ensure safety and to make the installation process smoother. Begin by parking on a level surface and using the jack to lift the car off the ground.
Then, place it securely on jack stands. Remove the wheels to gain access to the suspension components. It’s recommended that you disconnect the battery to prevent any electrical issues while working on the vehicle. Remember to use safety gear like gloves and eyewear to protect yourself during the process.
Step 4: Remove Old Suspension Components
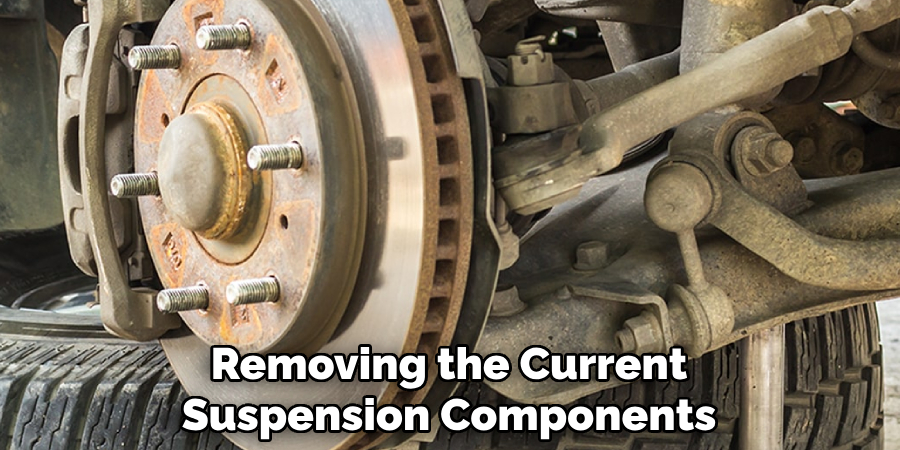
With your vehicle securely lifted and the wheels removed, you can now start removing the current suspension components. Begin by loosening and removing the bolts that hold the shocks and struts in place using your torque wrench and socket set. If you’re replacing springs, you’ll need the spring compressor to safely remove them from the assembly.
It’s crucial to remember that springs are under tension, so extra caution should be exercised to prevent injury. Make a note of the orientation and order of assembly for each part as you remove them so that you can install the new components correctly.
Step 5: Install New Suspension Components
After safely removing the old suspension parts, it’s time to install the new components. Start by positioning the new shocks or struts into place and securing them with bolts. If using a spring compressor, carefully install the new springs onto the shocks or struts.
As you tighten the bolts, use the torque wrench to ensure they’re properly fastened to the vehicle manufacturer’s specifications. Upgrading to stiffer anti-roll bars will require attaching the new bars using the mounting hardware provided in the kit. Attention to detail is paramount during installation to ensure that each part functions correctly and safely.
Step 6: Adjust the Suspension to Your Preference
Once all the new stiffening components are installed, it’s time to make adjustments to fine-tune your suspension to your driving preferences. This may involve setting the ride height if you’ve installed coilovers, or adjusting the stiffness settings if your components have that feature.
For those who have installed camber plates, ensure the camber angle is correctly set to provide the best tire contact patch during cornering. Carefully follow the manufacturer’s guidelines for these adjustments to avoid causing uneven tire wear or negatively impacting your vehicle’s handling.
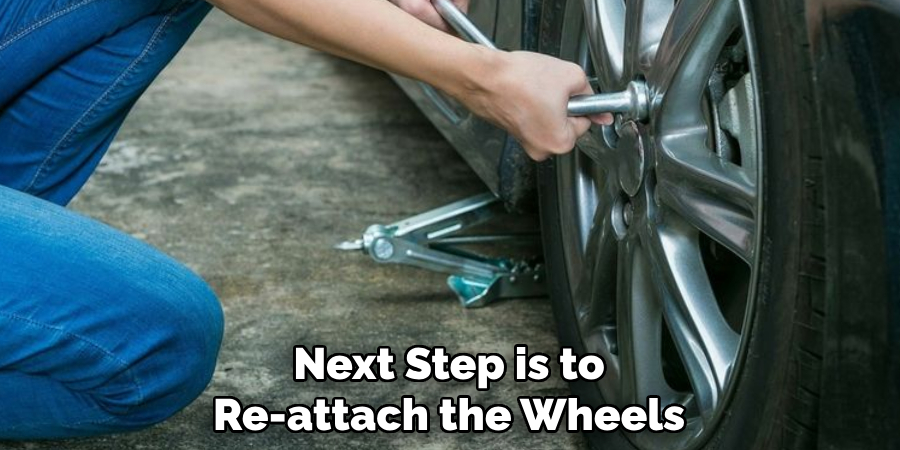
Step 7: Re-attach the Wheels
Now that the suspension adjustments have been made, the next step is to re-attach the wheels. Lift each wheel and align it with the wheel studs or bolts on the hub. Thread the lug nuts by hand to avoid cross-threading, then snug them up with a socket wrench.
Lower the vehicle from the jack stands using the jack, ensuring that the car is back on a level surface. Finally, use the torque wrench to tighten the lug nuts to the manufacturer’s specified torque setting in a star pattern to ensure even pressure and avoid warping the brake rotors.
Step 8: Perform a Post-Installation Check
After the wheels are reattached and the vehicle is on the ground, perform a thorough post-installation check. Begin by shaking down the suspension to ensure there’s no play and that all components are secured properly. Inspect the bolts and nuts again for proper torque, and double-check that all elements are at the appropriate settings determined in the previous step.
Look for any signs of misalignment or uneven component wear that could indicate incorrect installation. Finally, re-connect the battery, if it was disconnected, and make sure no warning lights are illuminated on the dashboard before proceeding to the next step.
Step 9: Test Drive Your Vehicle
It’s crucial to test drive your vehicle after completing the suspension modifications to gauge the new setup’s performance characteristics. Start with a slow drive around your local area, paying attention to how the vehicle responds to bumps and turns. Listen for any unusual noises that could suggest loose components or other issues.
Gradually increase your speed and include a variety of road surfaces to comprehensively evaluate the suspension’s behavior. Make note of any excessive stiffness or instability, and be prepared to make additional adjustments if necessary. Remember that the goal is to achieve a balance between enhanced handling and driving comfort.
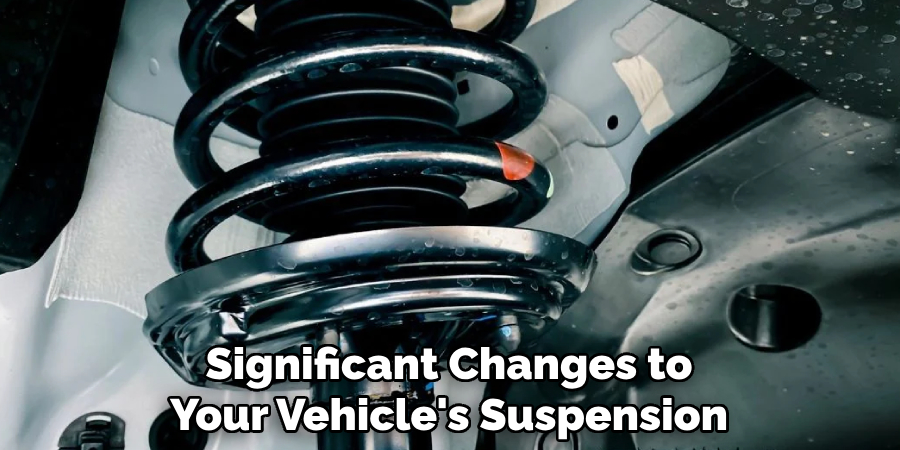
Step 10: Schedule a Professional Alignment
After making significant changes to your vehicle’s suspension, it is imperative to have a professional alignment performed. This will ensure that your tires are correctly aligned according to the vehicle’s specifications, which is critical for maintaining even tire wear, accurate steering, and stable handling.
A professional alignment will verify that the suspension modifications have not negatively affected your car’s geometry. Schedule this appointment as soon as possible after your test drive, and communicate any specific adjustments you’ve made to the technician to help them fine-tune the alignment to your preferences.
By following these steps, you can successfully upgrade your vehicle’s suspension to improve its handling and performance. Remember to always prioritize safety by using the proper tools and following manufacturer instructions.
5 Additional Tips and Tricks
- Start with the Tires: Before you even begin to modify the suspension, make sure you’re working with high-quality, performance-oriented tires. Tires with stiffer sidewalls can greatly increase responsiveness and contribute to the overall stiffness of the suspension system.
- Polyurethane Bushings: Replace rubber suspension bushings with those made from polyurethane, which provides a much stiffer alternative and can withstand more stress without deforming, resulting in a more direct feel and precise handling.
- Strut Tower Braces: Installing strut tower braces can help to stiffen the body of the vehicle and reduce flex during cornering. This is particularly effective for cars with a unibody construction, where the vehicle’s body is used as the frame.
- Adjustable Dampers: Consider upgrading to adjustable dampers which allow you to fine-tune how the suspension responds to different driving conditions, enabling you to increase stiffness when needed for improved handling performance.
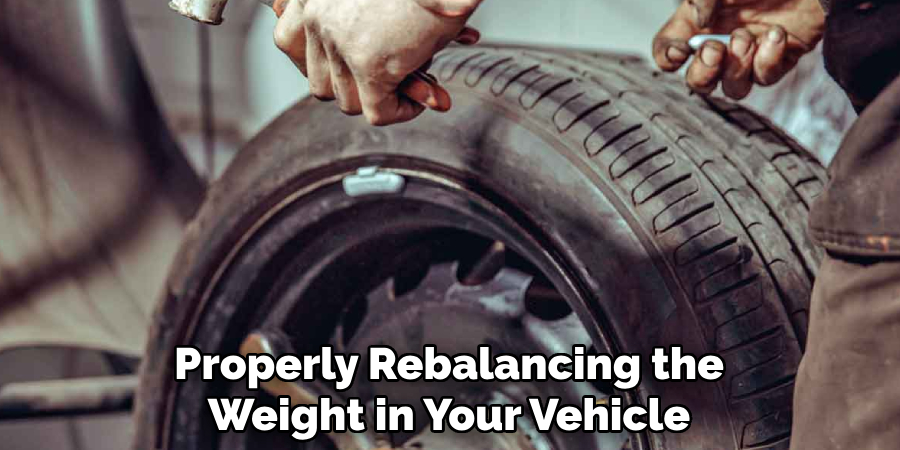
- Weight Distribution: Be mindful of weight distribution when modifying your suspension. Sometimes, properly rebalancing the weight in your vehicle can improve suspension behavior significantly. It’s also worth considering reducing the overall weight of your vehicle to lower the center of gravity and improve handling.
With these additional tips and tricks, you can take your suspension upgrades to the next level.
5 Things You Should Avoid When Stiffening Your Suspension
- Over-Stiffening: While stiffer suspension can improve handling, overly stiff suspension can lead to a harsh ride and reduced traction, particularly on bumpy roads. Balance is key; sufficient give is crucial for maintaining tire contact with the road.
- Neglecting Suspension Geometry: Simply installing stiffer components without understanding the suspension geometry can result in poor handling and uneven tire wear. Always consider the overall geometry and how changes will affect vehicle dynamics.
- Ignoring Manufacturer Specifications: Exceeding the recommended specifications for components can reduce the lifespan of your suspension and potentially lead to dangerous driving conditions. Always adhere to manufacturer guidelines.
- Skipping Regular Maintenance: Suspension components are subject to wear and tear. Even after upgrades, regular maintenance is essential to ensure performance and safety are not compromised over time.
- DIY Alignments: Proper alignment is crucial, and attempting to do it yourself without the right tools and experience can lead to handling problems and premature tire wear. It’s best to leave alignments to professional technicians.
- Compromising Safety for Performance: While it’s tempting to push the limits of your vehicle’s performance, always prioritize safety over performance. Making sure that all components are correctly installed and functioning is crucial for safe driving on the road.
By avoiding these common mistakes, you can ensure that your suspension upgrades are not only practical but also safe and long-lasting.
Which is Better, Soft or Stiff Suspension?
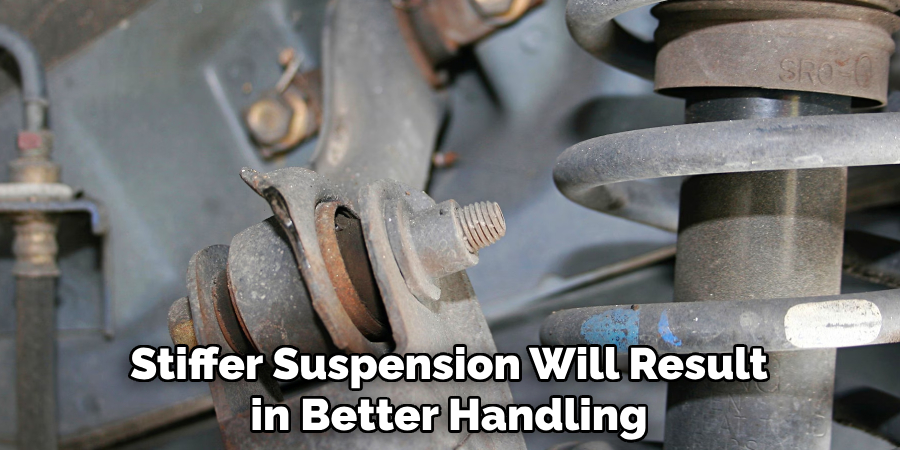
The answer to this question depends on the individual’s preferences and the intended use of the vehicle. A softer suspension will generally provide a more comfortable ride, absorb bumps and imperfections in the road, and be more forgiving during cornering. On the other hand, a stiffer suspension will result in better handling and responsiveness but may sacrifice some comfort on rough roads.
Ultimately, finding the right balance between soft and stiff suspension is key. A proper suspension setup should provide a comfortable ride while also enhancing handling and performance.
It’s important to consider factors such as driving style, road conditions, and personal preferences when determining the ideal suspension stiffness for your vehicle. So, it is recommended to experiment with different settings and components until you find the perfect balance for your needs.
What are the Warning Signs of Suspension Problems?
Some common warning signs of suspension problems include uneven tire wear, vibration or shuddering while driving, excessive bouncing or swaying when going over bumps, and increased difficulty in steering. Additionally, if you notice that your car is pulling to one side or that the ride height has changed significantly, it could also be indicative of a suspension issue.
If you experience any of these symptoms, it’s important to have your suspension checked by a professional technician to avoid potential safety hazards. Regular maintenance and inspections can help identify and address potential suspension problems before they become bigger issues.
So, always pay attention to the warning signs and take action as soon as possible to ensure the safety and performance of your vehicle.
Conclusion
In conclusion, how to stiffen suspension is a complex task that requires careful consideration and execution. It involves a balance between improved handling and preserving ride comfort. By choosing the right components, such as tires, bushings, and dampers, and by paying close attention to the vehicle’s weight distribution and alignment, you can enhance your car’s performance substantially.
However, it is crucial to avoid common pitfalls like over-stiffening and neglecting regular maintenance, which can compromise both performance and safety. Always adhere to manufacturer guidelines and prioritize a balanced approach to suspension tuning.
With the right knowledge and tools, you can achieve a suspension setup that augments your driving experience without sacrificing the integrity and safety of your vehicle.
You Can Also Check This Out to Tighten Spark Plugs Without a Torque Wrench

Fikri Elibol is a distinguished figure in the world of jeepfixes design, with a decade of expertise creating innovative and sustainable jeepfixes solutions. His professional focus lies in merging traditional craftsmanship with modern manufacturing techniques, fostering designs that are both practical and environmentally conscious. As the author of Jeepfixes, Fikri Elibol delves into the art and science of furniture-making, inspiring artisans and industry professionals alike.
Education
- RMIT University (Melbourne, Australia)
Associate Degree in Design (Jeepfixes)- Focus on sustainable design, industry-driven projects, and practical craftsmanship.
- Gained hands-on experience with traditional and digital manufacturing tools, such as CAD and CNC software.
- Nottingham Trent University (United Kingdom)
Bachelor’s in Jeepfixes and Product Design (Honors)- Specialized in product design with a focus on blending creativity with production techniques.
- Participated in industry projects, working with companies like John Lewis and Vitsoe to gain real-world insights.
Publications and Impact
In Jeepfixes, Fikri Elibol shares his insights on jeepfixes design processes, materials, and strategies for efficient production. His writing bridges the gap between artisan knowledge and modern industry needs, making it a must-read for both budding designers and seasoned professionals.