

Are you tired of constantly repairing your engine after a head gasket failure? Don’t worry. We have got you covered!
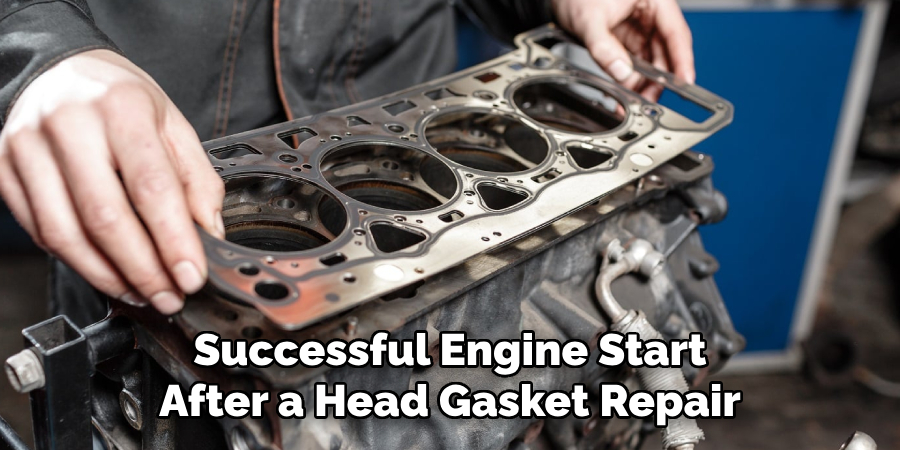
After successfully completing a head gasket repair, one of the most critical steps before fully returning your vehicle to service is safely and correctly starting the engine.
This initial startup is not just about turning a key; it encompasses a series of checks and procedures ensuring that the repair was successful and that the engine is in optimal condition to resume operation. Properly starting the engine after such a significant repair helps detect any immediate issues and prevent potential damage.
This guide on how to start engine after head gasket repair aims to walk you through the essential steps and tips to ensure a smooth, damage-free startup after your head gasket repair, laying the foundation for a reliable and prolonged engine life.
What Are the Importance of Starting the Engine Correctly?
For several reasons, starting the engine correctly after a head gasket repair is crucial.
Firstly, it helps detect any immediate issues with the repair or other engine components. By properly starting and running the engine, you can quickly identify if there are any leaks or malfunctions that may have been missed during the repair process. This allows you to address these issues promptly before they cause further damage.
Secondly, a proper startup ensures that the engine is running at optimal conditions. After a head gasket repair, some residual debris or air pockets in the cooling system may affect the engine’s performance. Following the correct startup procedures, you can flush out any remaining contaminants and ensure the engine runs smoothly.
Lastly, a proper startup helps in preventing potential damage to the engine. A head gasket failure can cause severe damage to the engine if not addressed promptly and correctly. By correctly starting the engine after a head gasket repair, you can ensure that all components work together correctly and prevent further issues.
What Will You Need?
Before starting the engine, gathering all the necessary tools and equipment is essential.
- A Battery Charger: This is especially crucial if the vehicle has been sitting for an extended period. The battery may have drained, making it difficult to start the engine.
- Coolant and a Funnel: If there are any air pockets or contaminants in the cooling system, you will need to add more coolant to flush them out.
- A Digital Multimeter: This tool will help you test various engine components, such as the battery and alternator, to ensure they are functioning correctly.
- A Diagnostic Scan Tool: This is optional but recommended as it can help identify any error codes or issues with the vehicle’s computer system.
- Safety Gear: It is essential to wear safety gear, such as gloves and goggles, to protect yourself from any potential hazards.

With all the necessary tools and equipment, you can now start your engine after a head gasket repair.
10 Easy Steps on How to Start Engine After Head Gasket Repair
Step 1: Prepare Your Vehicle
Before starting the engine, it is important to prepare your vehicle. This includes ensuring it is in a well-ventilated area with enough space to start and run safely. You should also check the engine oil level and ensure all other fluids, such as coolant and transmission fluid, are at their proper levels.
Step 2: Check for Leaks
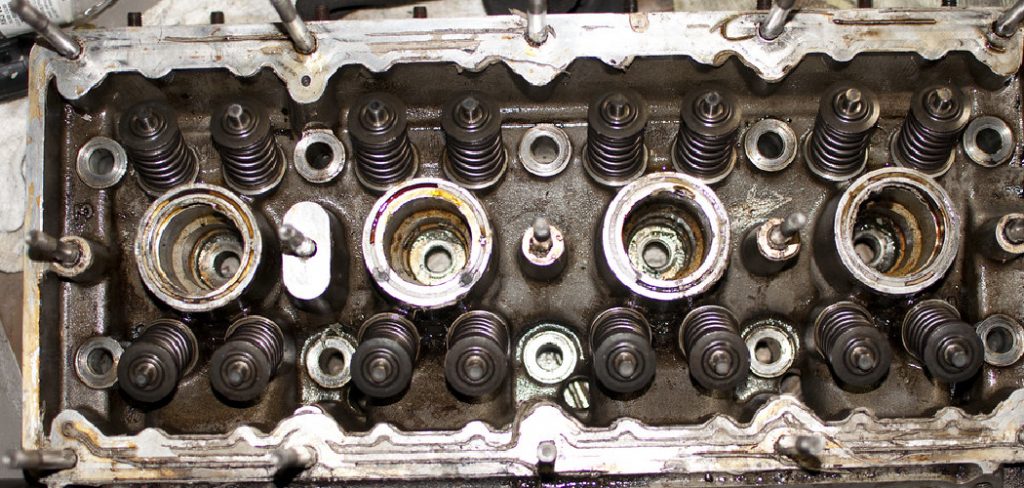
Before proceeding to start the engine, take the time to carefully inspect the engine and the surrounding areas for any signs of leaks. Focus on identifying any traces of coolant or oil that might be leaking out. This step is crucial as leaks can indicate that the head gasket repair might not be fully sealed, or there could be other related issues not addressed during the repair process.
Pay special attention to the areas around the head gasket itself and any connectors or hoses that were removed or replaced during the repair. Catching and addressing any leaks now can prevent future engine damage and ensure the longevity of your repair work.
Step 3: Charge the Battery
After extended repairs or downtime, it’s common for the battery to lose its charge. Before attempting to start the engine, connect the battery to a charger to ensure it has sufficient power.
A weak or undercharged battery might not turn the engine over or result in an incomplete start that doesn’t allow the engine to run properly. Fully charging the battery also helps ensure that all electronic systems within the vehicle have the correct operating voltage, reducing the likelihood of error codes or malfunctions during initial startup.
Step 4: Prime the Oil System
It’s essential to prime the oil system before starting your engine for the first time after a head gasket repair. This step ensures that all the engine components are properly lubricated, reducing the risk of damage caused by dry starting.
To do this, remove the spark plugs and crank the engine for a few seconds. This process circulates the oil throughout the engine without the stress of combustion, ensuring that all moving parts are coated and ready for operation. Remember to reinstall the spark plugs before proceeding to the next step.
Step 5: Check the Coolant Level
After ensuring that the oil system is primed, the next critical step is to check and refill the coolant system if necessary. A proper coolant level is crucial for preventing overheating, especially after a head gasket repair, which could have introduced air pockets that disrupted coolant flow. Use the funnel to add coolant to the reservoir, filling it up to the marked level.
Doing so will help remove any air pockets that might have formed during the repair process. Ensure that the radiator cap is securely fastened afterward. This step prepares the engine for a safe startup and plays a significant role in maintaining optimal engine temperature during operation.

Step 6: Reconnect the Battery
Now that you’ve charged the battery, it’s time to reconnect it. Ensure the terminals are clean and corrosion-free before attaching the battery cables. Start by connecting the positive (+) cable, followed by the negative (-) cable. This ensures safety and prevents any potential short circuits.
After connecting, ensure the connections are tight and secure to avoid any starting issues due to a loose connection. Reconnecting the battery is a crucial step in preparing your vehicle’s electrical systems for the engine to start after the head gasket repair.
Step 7: Conduct a Pre-Start Check
Before attempting to start the engine, performing a comprehensive pre-start check is wise. This involves verifying that all fluids are at their correct levels, ensuring no tools or foreign objects are left in the engine bay, and double-checking all work carried out during the head gasket repair.

Look over the electrical connections and hoses to confirm they are secure and properly attached. This step helps identify potential issues that could prevent the engine from starting or cause damage shortly after starting. It’s a crucial part of the process, providing peace of mind that everything is in order for a successful engine start.
Step 8: Start the Engine
With all preparations complete, it’s time to start the engine. Turn the ignition key to the start position and hold it there until the engine fires up. Do not crank the engine for more than a few seconds at a time to avoid draining the battery or causing unnecessary stress on the starter motor.
Once the engine starts, allow it to idle for a few minutes. This idling period is crucial for monitoring the engine’s behavior, ensuring there are no unusual noises, and verifying that all systems are functioning as expected. Keep an eye on the temperature gauge or warning light to make sure the engine does not overheat, and check for any signs of leaks or smoke that could indicate a problem.
Step 9: Inspect the Engine While Running
While the engine is idling, perform a thorough inspection around and under the engine for any signs of leaks. Monitor closely for any coolant or oil leaks, particularly around the head gasket area, as these could suggest the repair was unsuccessful.
Listen carefully for any irregular noises that could indicate internal issues. It’s also important to observe the exhaust for excessive smoke, which could signal incomplete combustion or oil burning within the engine. Addressing these observations early can prevent further damage and ensure the repair’s integrity.
Step 10: Test Drive the Vehicle
After performing a thorough check while the engine is idling and ensuring everything operates as expected, it’s time for a test drive. This step is essential to confirm that the head gasket repair has been successful under driving conditions. Begin with a gentle drive around the neighborhood, avoiding high speeds or heavy acceleration.
Pay close attention to the vehicle’s performance, including acceleration, braking, and idle behavior. Monitor the temperature gauge to ensure the engine maintains an acceptable temperature range throughout the drive. A test drive verifies the repair’s success and helps identify any unnoticed issues that could require further attention.
By following these ten steps, you can ensure a successful engine start after a head gasket repair. Remember to take your time and perform each step carefully to avoid any potential problems.
5 Additional Tips and Tricks
- Check and Double-Check Your Work: Before attempting to start your engine, meticulously recheck your repair work. Ensure all connections, including hoses and wiring, are securely refitted. This can prevent leaks or electrical issues arising from missed connections.
- Prime the Oil System: Before starting the engine, consider priming the oil system to avoid dry starting. This can be done by turning the engine over with the starter motor (without ignition) to circulate the oil throughout the engine, ensuring all moving parts are lubricated.
- Ensure Coolant is Adequately Filled: After a head gasket repair, it’s crucial to refill the coolant system properly. Remove any air locks by bleeding the system, ensuring the coolant circulates throughout the engine without obstruction.
- Inspect for Leaks: Once everything is connected and before starting the engine, inspect the area around the head gasket and associated components for any signs of oil or coolant leaks. Doing so can help catch any issues before they become troublesome.
- Gradually Bring the Engine to Temperature: After the engine starts, allow it to idle and gradually come up to operating temperature. Monitor the engine closely for any unusual noises, leaks, or performance issues during this time. This careful approach can help in identifying and rectifying any minor issues before they escalate.
With these additional tips and tricks, you can ensure a successful start of your engine after a head gasket repair. It’s essential to take your time and double-check everything before starting the engine to avoid potential problems.
5 Things You Should Avoid
- Don’t Rush the Process: Avoid hastily starting the engine immediately after completing the head gasket repair. It’s important to give the sealant adequate time to cure according to the manufacturer’s specifications. Starting the engine too soon can compromise the seal and lead to leaks or failure.
- Avoid Skipping Pre-Check Steps: Skipping the initial checks and preparations, such as ensuring all hoses and connections are secure, can lead to severe issues. These steps are crucial for identifying potential problems that could cause damage once the engine runs.
- Do Not Ignore Manufacturer’s Guidelines: Each vehicle and engine may have specific requirements or steps for starting the engine after repairs. Ignoring these guidelines can lead to improper handling and potentially damage the engine.
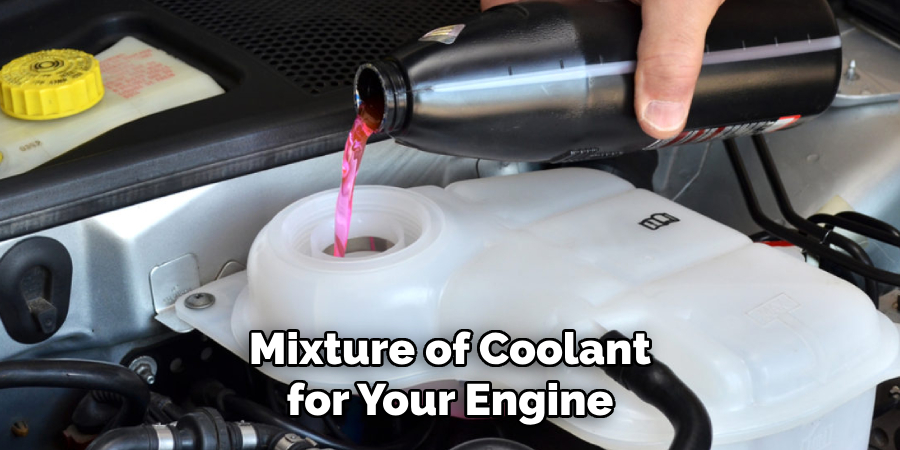
- Avoid Using Old Coolant: Reusing old coolant or improperly mixing coolants can lead to contamination and corrosion within the cooling system. Always use the recommended type and mixture of coolant for your engine.
- Do Not Overlook Warning Signs: After starting the engine, any unusual noises, smoke, or leaks should not be ignored. These could be indicators of a problem that needs immediate attention to prevent further damage.
By avoiding these common mistakes, you can greatly increase the chances of a successful and smooth start-up of your engine after a head gasket repair, ensuring longevity and optimal performance.
Why Won’t My Car Start After Replacing a Head Gasket?
There are several reasons why a car may not start after replacing a head gasket. Here are some of the most common causes:
- Faulty Installation: If the head gasket is not installed correctly, it can lead to issues such as oil or coolant leaks, improper compression, or overheating. This can prevent the engine from starting properly.
- Damaged Components: During the head gasket repair process, other components such as spark plugs, wiring, or sensors may have been damaged unintentionally. This can cause issues with starting the engine.
- Improper Coolant System Bleeding: It’s crucial to properly bleed the coolant system after a head gasket repair. If not done correctly, air pockets can cause overheating and damage to the engine.
- Electrical Issues: If electrical connections are not reattached correctly or if there are any damaged wires or sensors, it can prevent the engine from starting properly.
- Incorrect Timing: If the timing belt or chain is not aligned correctly during the repair process, it can affect the engine’s timing and cause starting issues.
If your car is not starting after a head gasket repair, it’s important to inspect these potential causes and address them accordingly. Seeking professional assistance may also be necessary in some cases. By being aware of these potential problems, you can take the necessary precautions to ensure a smooth start-up of your engine after a head gasket repair.
Is an Engine Good After Head Gasket Replacement?
Yes, an engine can still be in good condition after a head gasket replacement. In fact, a properly performed head gasket repair can extend the life of an engine and restore its performance. However, it’s important to note that several factors can affect an engine’s longevity and overall health after a head gasket replacement.
One crucial factor is the quality of the head gasket itself. It’s important to use a high-quality, properly sized head gasket for your specific engine. Additionally, proper installation and following the manufacturer’s guidelines are essential to ensure a successful repair.
Regular maintenance and timely repairs can also greatly impact the longevity of an engine after a head gasket replacement. Properly maintaining the cooling system, using recommended fluids, and promptly addressing any warning signs can help prevent further damage and prolong the engine’s life.
Conclusion
How to start engine after head gasket repair is a critical process that requires patience, precision, and adherence to specific guidelines. From ensuring that all components are properly reinstalled and connections securely fastened to patiently allowing the engine to reach its normal operating temperature post-repair, each step plays a vital role in safeguarding against potential issues.
You can greatly enhance the chances of a successful engine start by avoiding common pitfalls such as rushing the process or overlooking manufacturers’ guidelines. Remember, a well-executed head gasket repair brings your engine back to life and lays the groundwork for its future performance and reliability.
Ultimately, taking these careful steps can lead to a smoother restart of your engine, extending its life and ensuring its optimal performance for miles to come.

Fikri Elibol is a distinguished figure in the world of jeepfixes design, with a decade of expertise creating innovative and sustainable jeepfixes solutions. His professional focus lies in merging traditional craftsmanship with modern manufacturing techniques, fostering designs that are both practical and environmentally conscious. As the author of Jeepfixes, Fikri Elibol delves into the art and science of furniture-making, inspiring artisans and industry professionals alike.
Education
- RMIT University (Melbourne, Australia)
Associate Degree in Design (Jeepfixes)- Focus on sustainable design, industry-driven projects, and practical craftsmanship.
- Gained hands-on experience with traditional and digital manufacturing tools, such as CAD and CNC software.
- Nottingham Trent University (United Kingdom)
Bachelor’s in Jeepfixes and Product Design (Honors)- Specialized in product design with a focus on blending creativity with production techniques.
- Participated in industry projects, working with companies like John Lewis and Vitsoe to gain real-world insights.
Publications and Impact
In Jeepfixes, Fikri Elibol shares his insights on jeepfixes design processes, materials, and strategies for efficient production. His writing bridges the gap between artisan knowledge and modern industry needs, making it a must-read for both budding designers and seasoned professionals.