

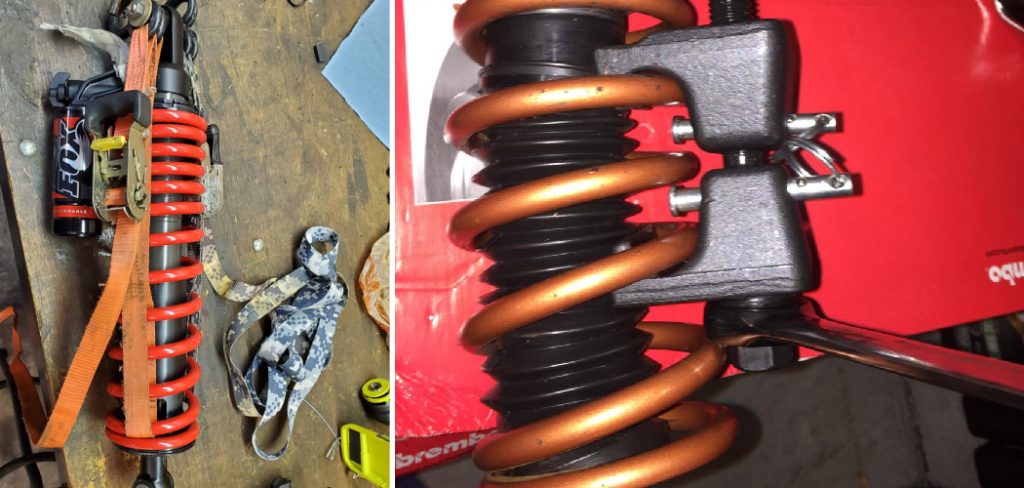
Compressing a coil spring using ratchet straps is a task that, while not traditional, can be performed with caution. This guide aims to deliver step-by-step instructions on how to compress a coil spring with ratchet straps to safely compress coil springs, an essential component of a vehicle’s suspension system, using ratchet straps, which are more commonly available.
It’s important to note that using purpose-made spring compressors is the recommended method, but in a pinch, ratchet straps can serve as a makeshift solution. Please be aware that this procedure can be dangerous if not performed correctly, as the stored energy in a coil spring can cause injury if suddenly released. Always prioritize safety and consider consulting with a professional if in doubt.
What is a Coil Spring?
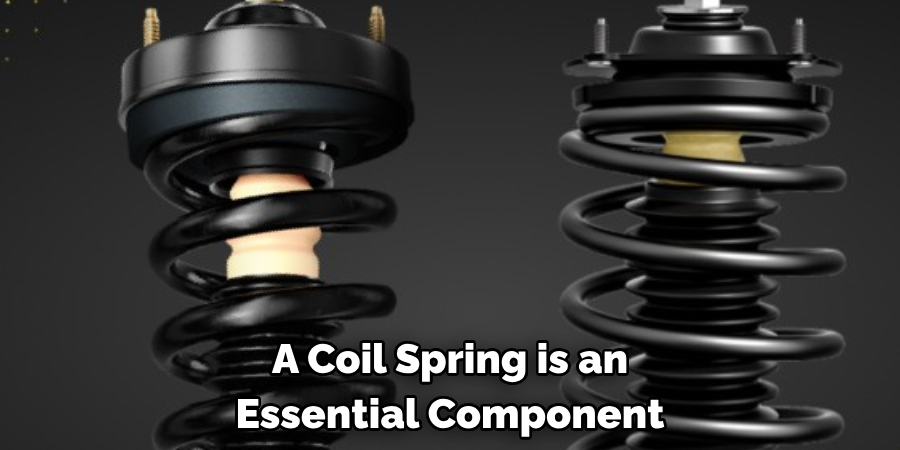
A coil spring is an essential component of a vehicle’s suspension system, responsible for absorbing shocks and maintaining the height and stability of the vehicle. It is made up of a long metal wire coiled into a helix shape, providing flexibility and strength to withstand the weight of the vehicle.
Coil springs are found in both the front and rear suspension systems of most vehicles. It is important to regularly check and maintain the condition of coil springs, as they can wear out over time and affect the overall performance and safety of a vehicle.
Why Compress a Coil Spring?
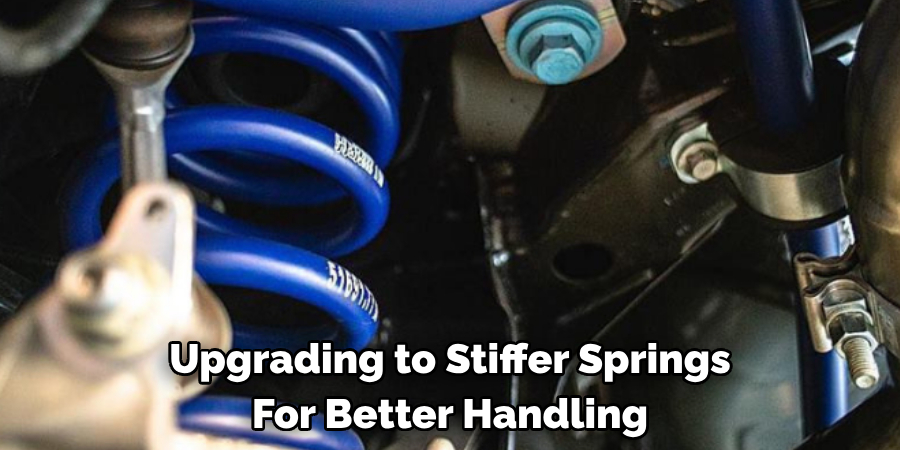
There are various reasons why one may need to compress a coil spring. It could be for replacing worn-out springs, upgrading to stiffer springs for better handling or lowering the vehicle’s ride height.
Whatever the reason may be, compressing a coil spring allows for easier removal and installation of the spring, avoiding damage to other components or injury to yourself. The coil spring must be compressed before removing it from the suspension system, as it is under significant tension and can cause harm if suddenly released.
Needed Materials
Before starting the process, gather all the necessary materials. These include:
Ratchet Straps:
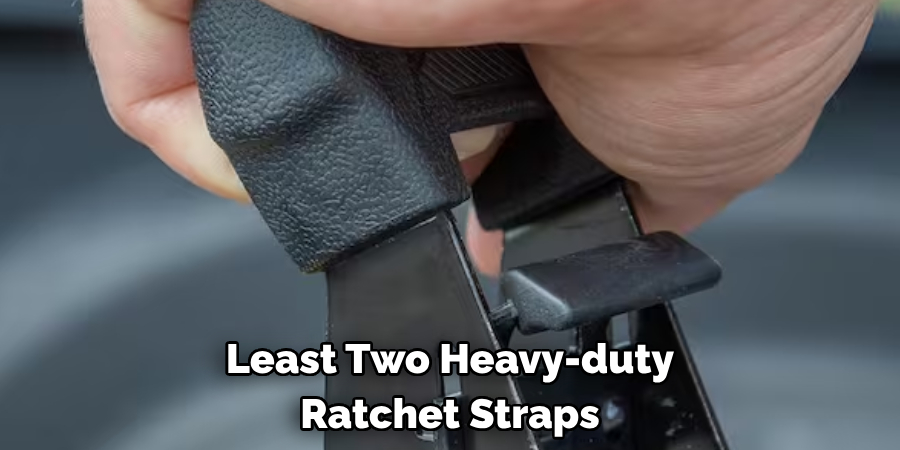
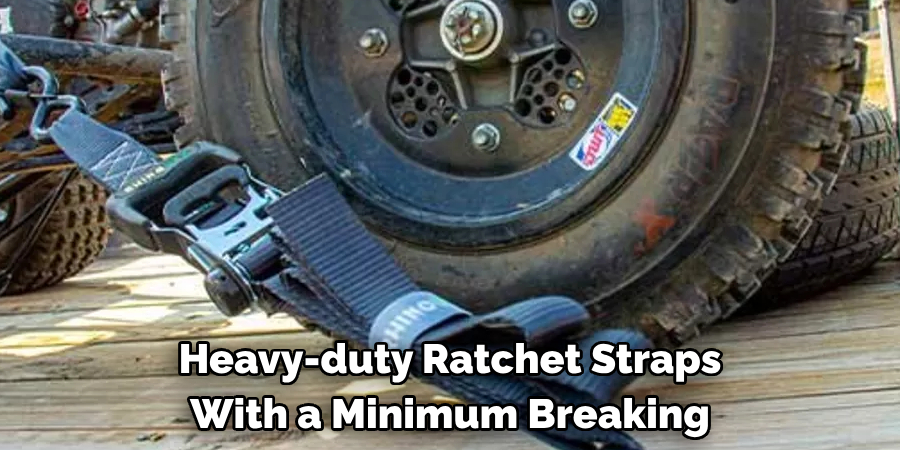
Ratchet straps are a type of tie-down strap that utilizes a ratcheting mechanism to secure and tighten the strap. They come in various sizes, strengths, and lengths. For this task, you will need at least two heavy-duty ratchet straps with a minimum breaking strength of 10,000 pounds. It’s essential to use high-quality straps that can withstand the pressure of compressing a coil spring.
Coil Spring Compressor Clamps:
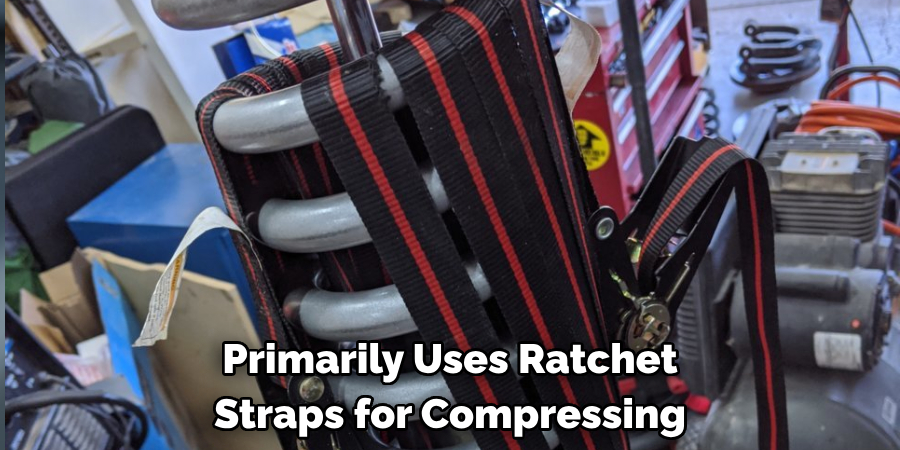
While this guide primarily uses ratchet straps for compressing the coil spring, it’s still essential to have a set of coil spring compressor clamps as they provide added security and stability during the process. You can purchase these from most auto parts stores or online retailers.
Safety Gear:
As mentioned earlier, compressing coil springs can be dangerous. Therefore, it’s crucial to wear proper safety gear such as gloves and eye protection to prevent any injuries in case of a mishap.
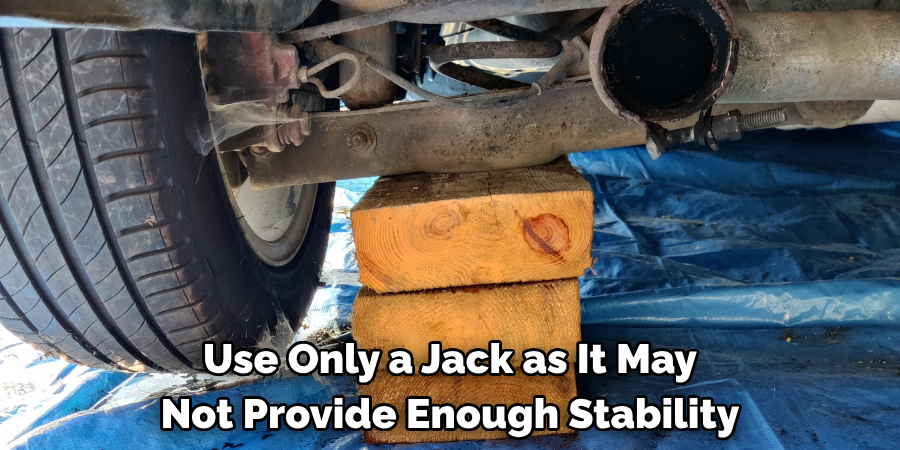
Jack and Jack Stands:
A jack and jack stands are necessary for safely lifting the vehicle off the ground. It’s not recommended to use only a jack as it may not provide enough stability during the compression process.
Wheel Chocks:
Wheel chocks are wedges placed behind the wheels to prevent the vehicle from rolling while it’s lifted off the ground. It’s essential to have them in place before starting the procedure for added safety.
Preparation and Safety Measures
Before beginning the process of compressing a coil spring, it’s essential to take necessary precautions and follow these safety measures:
- Park the Vehicle on a Flat, Level Surface and Engage the Parking Brake.
- Loosen the Lug Nuts on the Wheel Where You Will Be Working Before Lifting the Vehicle. This Step is Crucial as It Prevents the Wheel From Spinning While Trying to Remove the Strut Assembly.
- Wear Proper Safety Gear, Including Gloves and Eye Protection.
- Ensure All Materials Are in Good Condition Before Starting the Process. Damaged or Worn-out Ratchet Straps Can Lead to Accidents.
- Securely Place Wheel Chocks Behind the Wheels of the Vehicle That Will Remain on the Ground.
- Familiarize Yourself With Your Specific Vehicle’s Suspension System and the Locations of the Coil Springs.
11 Step-by-Step Guide on How to Compress a Coil Spring With Ratchet Straps
Step 1: Choosing the Right Ratchet Straps
As mentioned earlier, it’s crucial to use high-quality, heavy-duty ratchet straps with a minimum breaking strength of 10,000 pounds. Make sure the straps are in good condition and free of any cuts or damages. Otherwise, they may fail during the compression process.
If using multiple straps, ensure they are of similar strength and length for better stability. The longer the straps, the more significant distance it will cover and provide a better grip on the coil spring. You can also use a ratchet strap with hooks on both ends, which makes it easier to attach and tighten.
Step 2: Lifting the Vehicle
Using a jack and jack stands, lift and secure the vehicle off the ground. Ensure that the vehicle is stable before starting to compress the coil spring. You may also choose to remove the wheel for better access to the spring. But if you decide to keep the wheel on, make sure it’s securely chocked in place. You can also use a jack stand under the control arm for added stability. The key is to have a stable and secure vehicle before starting the process.
Step 3: Identifying the Coil Spring and Its Location
Before starting, familiarize yourself with the location of the coil spring you need to compress. It’s usually located near the shock absorber, and you can visually identify it as a large metal coil. But if you’re unsure, consult a repair manual or seek professional help. The process may differ slightly depending on the type and location of the coil spring. You may also need to remove other components such as the strut assembly or control arm for better access to the spring. But ensure you have the necessary tools and knowledge before doing so.
Step 4: Attaching the Ratchet Straps
Take one of the ratchet straps and wrap it around the center of the coil spring. Make sure to position it as close to the upper end of the coil as possible without interfering with other components. The strap should be perpendicular to the spring and have enough slack to wrap around multiple times. Once in place, secure the strap by tightening it using the ratchet mechanism. Repeat this process with another strap on the lower end of the spring.
Step 5: Tightening the Straps
Using both straps, tighten them evenly until they are firmly gripping the coil spring. You can use a torque wrench to measure the tension on the straps. The ideal pressure should be between 3000-4000 pounds, but it may vary depending on your specific vehicle’s suspension system and the thickness of the coil spring. The straps should be tight enough to compress the spring but not too tight that they may snap during the process. You can also ask for assistance from another person to help tighten the straps while you hold them in place.
Step 6: Inspecting for Any Misalignment or Twisting
Before proceeding further, inspect the coil spring and make sure it’s aligned correctly. A misaligned spring can cause uneven compression and may lead to accidents. If you notice any misalignment or twisting, adjust the straps and re-tighten them until the spring is even. Although rare, if the spring is severely misaligned or damaged, it’s best to seek professional help. You don’t want to risk further damage or injury by attempting to compress a defective spring.
Step 7: Removing the Shock Absorber
In some cases, you may need to remove the shock absorber to access and compress the coil spring. If that’s the case, use a socket wrench to loosen and remove the bolts holding the shock absorber in place. Be cautious as it may still be under pressure from the coil spring. Once removed, set it aside in a safe place. There may also be other components attached to the spring, such as stabilizer links or sway bar end links, that you’ll need to remove.
Step 8: Compressing the Coil Spring
With the ratchet straps in place and tightened, slowly begin compressing the coil spring. As you start compressing, make sure to keep an eye on the straps and the coil spring for any signs of failure or misalignment. It’s essential to go slowly and carefully, making small adjustments along the way. Keep compressing until you have enough clearance to remove the spring from its location safely. It may take a few tries, but be patient and make sure to follow all safety measures. You can also use a spring compressor tool for added convenience and safety.
Step 9: Removing the Coil Spring
Once you have compressed the coil spring, carefully remove it from its location. Make sure to handle it with care, as it may still be under pressure from the straps. Inspect the spring for any damages or misalignment before proceeding further. If everything looks good, you can continue with your repairs or maintenance. But if there are any issues, it’s best to seek professional help. But, if you’re confident in your skills and knowledge, you can also replace the damaged spring yourself.
Step 10: Releasing the Tension from the Ratchet Straps
After removing the coil spring, release the tension from the ratchet straps slowly and carefully. Make sure to handle the straps with caution, as they may still be under pressure from the spring. Once released, carefully remove them from the coil spring and set them aside for future use. Make sure to inspect the straps for any signs of damage or fraying before storing them. Otherwise, it’s recommended that you replace them for your next coil spring compression process. You can also use this opportunity to clean and lubricate the straps for better performance.
Step 11: Reassembling and Lowering the Vehicle
If you had to remove any components, such as the shock absorber or control arm, it’s time to reattach them. Make sure to follow proper torque specifications and secure all bolts and fasteners in place. Once everything is reassembled, gently lower the vehicle back onto the ground. Remove any chocks or jack stands and give the suspension a few bounces to ensure everything is in place and functioning correctly. Congratulations, you have successfully compressed a coil spring using ratchet straps!
Following these steps on how to compress a coil spring with ratchet straps will help you safely and efficiently compress a coil spring for repairs or maintenance. Remember to always prioritize safety and seek professional help if you’re unsure about any step in the process. With proper tools, knowledge, and caution, you can confidently perform this task on your own and save time and money in the long run. Happy wrenching!
How Much Will It Cost?
The cost of compressing a coil spring with ratchet straps will vary depending on the type of vehicle you have and the specific repair or maintenance needed. If you already own ratchet straps, this method may be more cost-effective compared to purchasing specialized tools or seeking professional help.
However, if your vehicle requires additional components to be removed for better access, such as the strut or control arm, it may increase the overall cost. It’s best to consult with a mechanic or do some research beforehand to get an estimate of the total cost. So, if you’re on a budget and have some basic tools and knowledge, using ratchet straps to compress coil springs can be an affordable option for your vehicle maintenance needs.
Post-Compression Inspection
After compressing the coil spring and reassembling the components, it’s essential to conduct a post-compression inspection. This step ensures that everything is in place and there are no issues with the compressed spring.
Start by visually inspecting the spring for any signs of misalignment or damage. Next, take your vehicle for a test drive to check if there are any strange noises or vibrations coming from the suspension. If everything looks and feels good, then your coil spring compression was successful. But if you notice any issues, it’s best to have a professional mechanic take a look at your vehicle to ensure safe driving. It’s always better to be cautious and double-check for any potential problems after performing mechanical tasks on your vehicle.

Tips for Troubleshooting and Safety
- Always Wear Proper Protective Gear, Including Gloves and Eye Protection, When Working With Heavy Machinery Like Vehicles.
- Use High-quality Ratchet Straps That Can Withstand the Tension Required to Compress a Coil Spring.
- Make Sure to Follow Proper Torque Specifications and Secure All Bolts and Fasteners in Place After Reassembling Your Vehicle.
- Be Cautious of Potential Hazards Such as Sharp Edges or Components Under Pressure While Compressing a Coil Spring.
- If You’re Unsure About Any Step in the Process, Seek Professional Help to Avoid Accidents and Injury. So, Safety First!
- Regularly Inspect Your Vehicle’s Suspension for Any Signs of Wear and Tear and Address Them Promptly to Prevent Further Damage.
By following these tips and steps, you can safely and effectively compress a coil spring using ratchet straps. Remember to prioritize safety and seek professional help if needed, and you’ll be able to maintain your vehicle’s suspension for smooth and safe driving. Happy wrenching!
Frequently Asked Questions
Q: Can I Use Any Type of Ratchet Straps for This Process?
A: It’s recommended to use heavy-duty ratchet straps with a minimum capacity of 5,000 pounds to ensure safety and proper compression. You can also use specialized coil spring compressor tools for added convenience and safety.
Q: Can I Compress Multiple Coil Springs at Once?
A: No, compressing multiple coil springs at once is not recommended. It may put too much strain on the straps and lead to failure or accidents. It’s best to compress one spring at a time and take the necessary precautions.
Q: What Do I Do if the Straps Snap During the Process?
A: If the straps snap during the compression process, immediately release any tension and remove them from the coil spring. Inspect for any damages or issues with the straps before proceeding further. It’s recommended to replace them with new ones before attempting the process again. Taking proper safety measures and using high-quality straps can help prevent strap failure.
Q: Can I Use Other Tools to Compress a Coil Spring?
A: Yes, there are various tools available, such as coil spring compressors or impact wrenches, that can help you compress a coil spring. However, make sure to always follow manufacturer instructions and take proper safety precautions when using any tools.
Conclusion
In conclusion, while ratchet straps can be used to compress coil springs in emergency scenarios or when the proper tools are not available, it is paramount to approach this method with extreme caution.
The risks involved in compressing springs without dedicated tools cannot be overstated; incorrect handling may lead to personal injury or damage to the vehicle. Always prioritize safety, adhere strictly to guidelines, and consult a professional mechanic if there’s any uncertainty. Proper maintenance and use of the correct tools are essential to vehicle safety and performance. Thanks for reading this article on how to compress a coil spring with ratchet straps.