

Are you facing problems with your car’s valve clearance? Adjusting the valve clearance on a 4-cylinder engine is an essential maintenance task that should be performed regularly to ensure optimal performance and longevity of your vehicle.
Valve clearance adjustment is essential to maintaining your 4-cylinder engine, ensuring optimal performance and longevity. This technical procedure, often called setting the valve lash, involves precise measurements and adjustments to maintain proper gaps between the valves and their respective tappets or cam followers.
In this guide on how to adjust valve clearance on 4 cylinder, we’ll discuss the importance of this maintenance task, the symptoms that may suggest it’s time for adjustment, and the overall impact of valve clearance on engine health.
With the right tools and a methodical approach, even novice mechanics can learn to perform this vital operation to keep their engines running smoothly.
What is Valve Clearance?
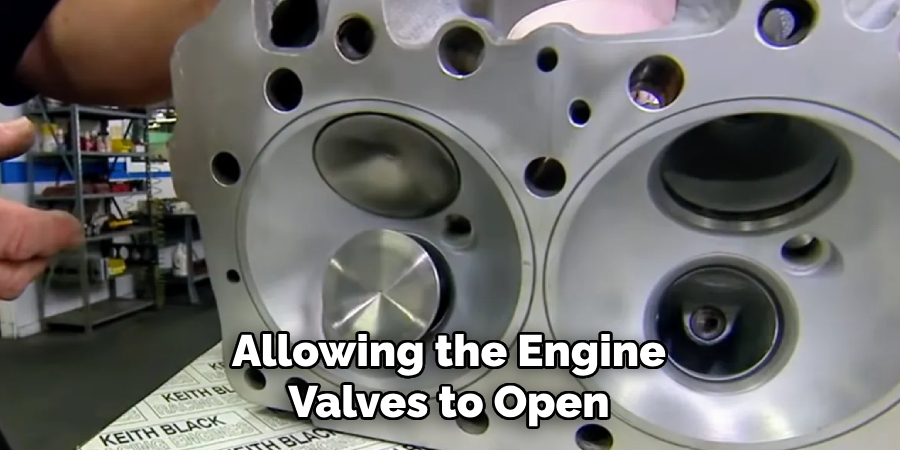
Valve clearance, also known as valve lash, is the gap between an engine’s camshaft and valves. This space allows for proper operation of the valves, which are responsible for opening and closing to allow fuel and air into the combustion chamber and exhaust gases out.
If this clearance becomes too small or too large, it can result in poor engine performance and potential damage to the valves or camshaft.
Additionally, as the engine heats up during operation, metal components expand and can cause the valve clearance to change. This is why it’s essential to regularly check and adjust the valve clearance to maintain optimal performance.
What are the Importance and Symptoms of Valve Clearance Adjustment?
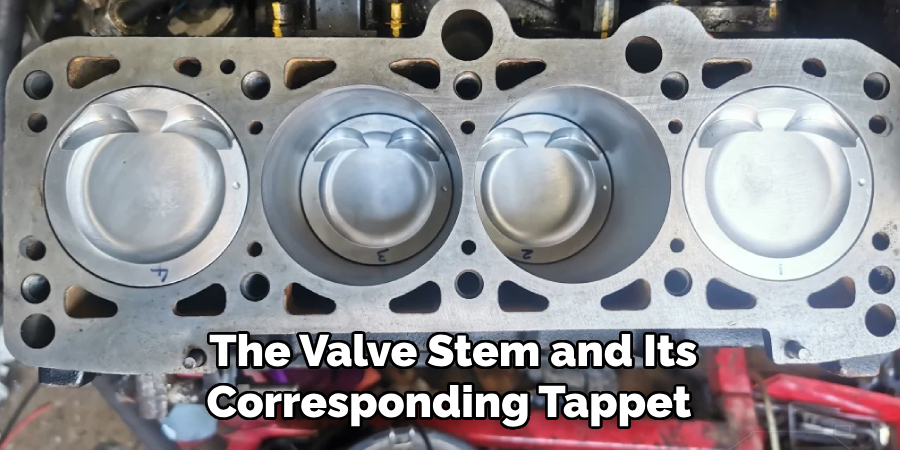
Valve clearance refers to the gap between the valve stem and its corresponding tappet or cam follower. This gap is crucial because it allows for thermal expansion of engine components as well as proper lubrication.
When this clearance becomes too wide, it can lead to poor engine performance, decreased power output, and increased emissions. On the other hand, if the gap is too small, it can lead to valve burning or damage due to constant contact with the tappet.
Some common symptoms of incorrect valve clearance include engine noise, loss of power, and misfiring. If you notice any of these issues in your vehicle, it may be time for a valve clearance adjustment.
Overall, setting the correct valve clearance is essential for maintaining engine health and performance and preventing costly repairs in the future.
What Tools and Materials Do You Need?
To adjust the valve clearance on a 4-cylinder engine, you will need a few basic tools and materials:
- Spark plug wrench
- Feeler gauge set
- Torque wrench
- Flathead or Phillips screwdriver (depending on your engine)
- Clean cloth or rag
Once you have these tools ready, you can begin the valve clearance adjustment process.
10 Easy Steps on How to Adjust Valve Clearance on 4 Cylinder
Step 1. Ensure the Engine is Cool:
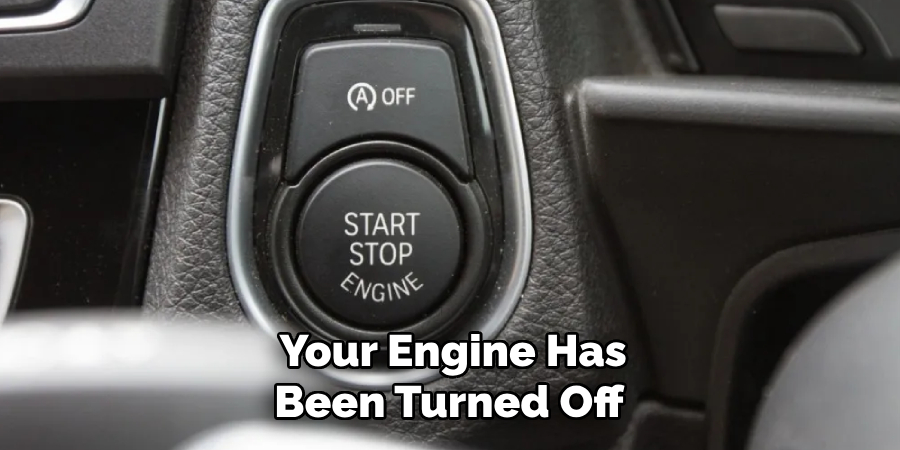
Before beginning any adjustments, it’s crucial to make sure your engine has been turned off for several hours and is completely cool. Attempting to adjust the valve clearance on a hot engine can result in inaccurate settings due to metal expansion, and it can also pose a safety hazard.
Step 2. Remove Spark Plugs:
Using a spark plug wrench, carefully remove all the spark plugs from the engine. This will make it easier to rotate the crankshaft later in the process. Removing the spark plugs also prevents compression build-up and allows for a more accurate valve clearance adjustment, as the crankshaft can be turned by hand without resistance.
Step 3. Locate Top Dead Center (TDC):
Locate the TDC mark on your engine’s crank pulley or flywheel. This indicates when the piston of the first cylinder is at the highest point of its compression stroke. Aligning the TDC mark with the reference point on the engine block or timing cover is crucial for accurately setting the valve clearance, as it ensures that the valves are in the correct position for adjustment.
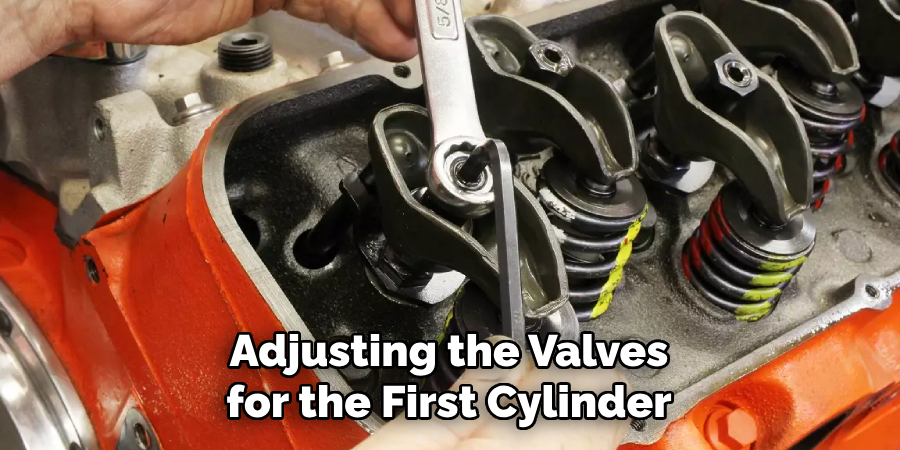
Step 4. Adjust Valves for Cylinder 1:
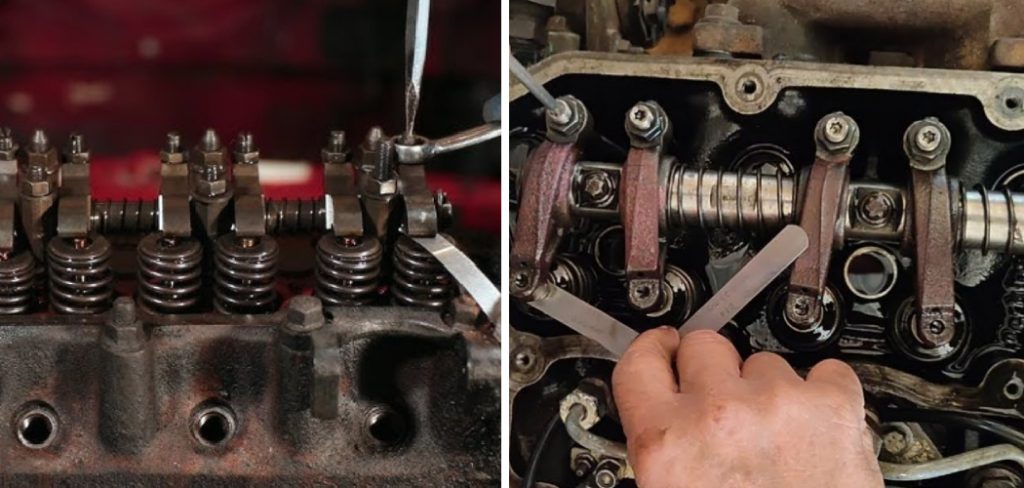
Once the TDC mark is aligned for Cylinder 1, use your feeler gauge to measure the clearance between the cam lobes and the tappets (or cam followers) for this cylinder’s valves. Consult your vehicle’s service manual for the correct specifications.
If adjustment is needed, loosen the locknut on the tappet with a wrench and turn the adjuster screw until the feeler gauge slides between the tappet and cam with slight resistance. Once the proper clearance is achieved, tighten the locknut firmly while holding the adjuster screw in place. Recheck the clearance after tightening to ensure it didn’t change.
Step 5. Rotate the Crankshaft to Adjust the Remaining Cylinders:
After adjusting the valves for the first cylinder, you will need to rotate the crankshaft to bring the next cylinder in the firing order to TDC. For most 4-cylinder engines, the firing order typically follows a 1-3-4-2 sequence.
Rotate the crankshaft using a wrench on the crank pulley bolt, and align the TDC mark for the next cylinder to be adjusted. Repeat the measurement and adjustment process for each cylinder in the firing order, ensuring that each valve’s clearance meets the manufacturer’s specifications.
Step 6. Recheck the Valve Clearances:
After all the valves have been adjusted, it’s essential to go through each cylinder again to verify that the clearances still meet the specified measurements.
Adjustments can sometimes shift during the process, especially when you tighten the locknuts. Double-checking will ensure that all clearances remain within the recommended range, saving you from future engine issues.
Step 7. Replace the Spark Plugs:
You can now replace the spark plugs with the valve clearances correctly adjusted and double-checked. Insert each spark plug by hand initially to prevent cross-threading, then use the spark plug wrench to tighten them to the manufacturer-specified torque.
This ensures the pins are secure and will not loosen while the engine operates. Remember not to overtighten, as that might damage the threads or the spark plug, leading to future maintenance issues.
Step 8. Reassemble Engine Components:
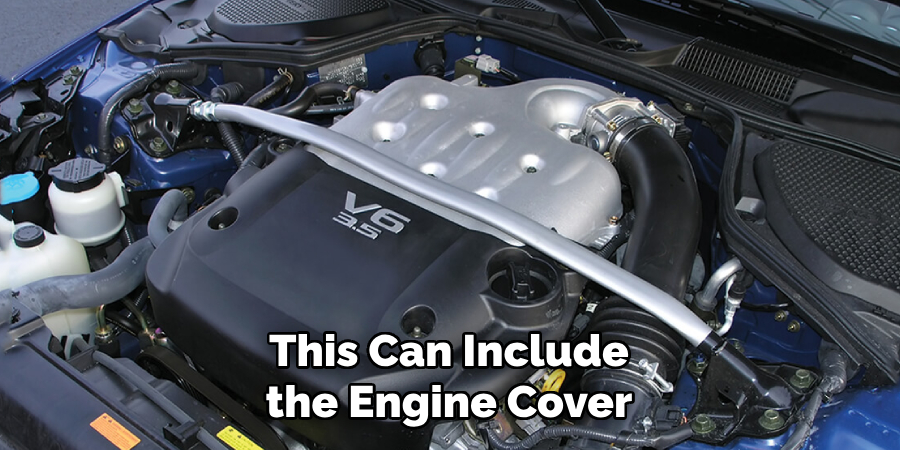
After replacing the spark plugs, it’s time to reassemble any other components that may have been removed or displaced during the valve clearance adjustment. This can include the engine cover, air filter housing, and other parts taken off to gain better access to the valves.
Ensure that all parts are reattached securely using the correct torque specifications from your service manual. It’s essential to replace everything to its original position to prevent any loose components or potential leaks.
Step 9. Start the Engine and Inspect for Irregular Noises:
Once you’ve reassembled all engine components, start your engine and listen carefully for any unusual sounds. Pay close attention to any ticking or tapping noises that may indicate improper valve clearance. If you detect irregular sounds, it might be necessary to repeat the adjustment process to fine-tune the clearances. This step is critical as it validates the adjustments and helps ensure the engine runs smoothly.
Step 10. Perform a Test Drive:
After confirming that the engine sounds normal at idle, take your vehicle for a test drive. This will allow the engine to reach its average operating temperature, and under various speed and load conditions, you can assess the effectiveness of your valve clearance adjustment.
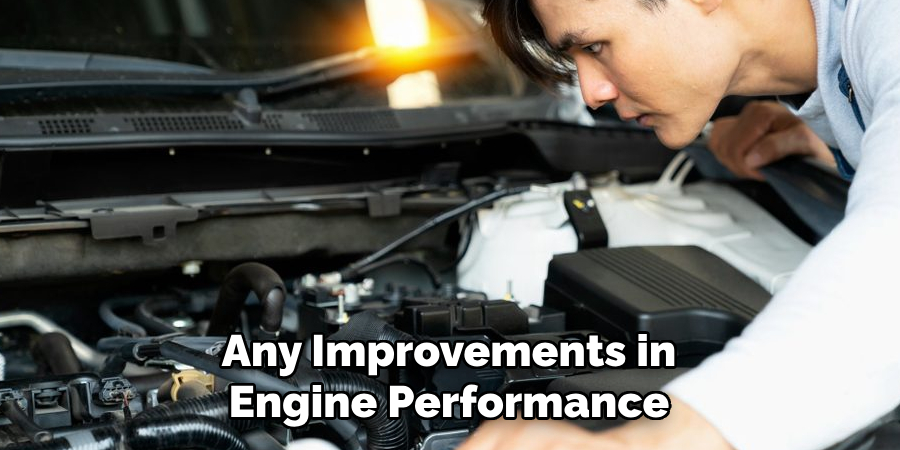
Any improvements in engine performance, such as smoother acceleration and stable idling, will indicate a successful adjustment. Further inspection and possible readjustment may be necessary if you encounter persistent issues.
By following these steps, you can successfully adjust the valve clearance on your 4-cylinder engine.
5 Additional Tips and Tricks
- Keep a Detailed Log: Throughout the valve adjustment process, maintain a meticulous record of all measurements and changes made to each valve. This log can be invaluable for future adjustments and help troubleshoot any issues post-adjustment.
- Invest in Quality Tools: Utilize high-grade, precision tools such as a torque wrench and a set of feeler gauges in various thicknesses. High-quality tools offer more accurate readings and adjustments, ultimately contributing to a more reliable engine performance.
- Warm-up and Cool-down: Before beginning the adjustment process, it can be beneficial to warm up the engine slightly for a few minutes and then let it cool down completely. This preheat can help stabilize metal components, reducing the risk of discrepancies in valve clearance due to thermal expansion when the engine heats up during operation.
- Check for Wear: As you go through the adjustment process, inspect the tappets, cam lobes, and valves for signs of wear or damage. Identifying and addressing these issues early can prevent more extensive engine repairs in the future.
- Be Patient and Methodical: Take your time with each step of the adjustment process. Hurrying through the measurements and adjustments can result in errors that could affect engine performance. Adhering to a methodical approach will ensure that each valve clearance is set accurately for optimal engine function.
With these additional tips and tricks, you can confidently adjust the valve clearance on your 4-cylinder engine, ensuring its peak performance for miles to come.
5 Things You Should Avoid When Adjusting Valve Clearance on a 4-Cylinder Engine
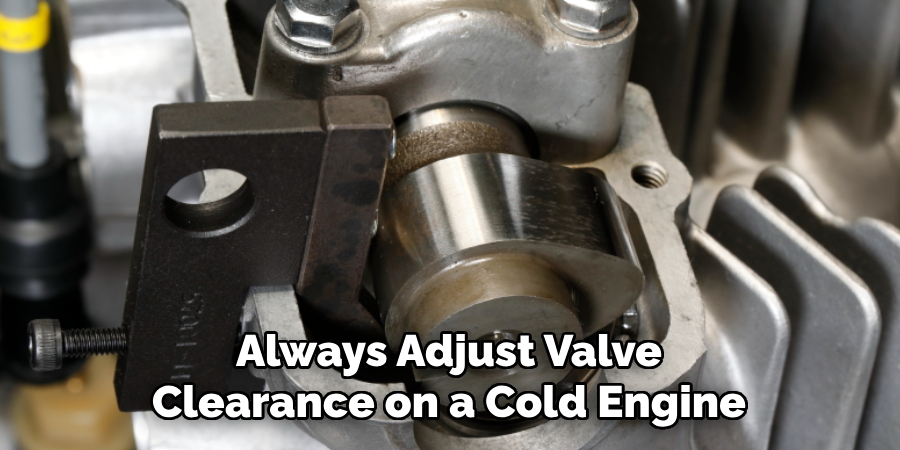
- Neglecting Engine Temperature: Always adjust valve clearance on a cold engine. Expanding metal can skew clearance measurements, so overlook the common mistake of adjusting while the engine is warm or hot.
- Guesswork Over Precision: Refrain from estimating or guessing the clearance measurements. Use precise tools like a feeler gauge to get accurate readings, as even slight deviations can lead to engine performance issues.
- Rushing the Process: Avoid the urge to rush through the adjustments. Each step requires careful attention and rushing can lead to mistakes or improper clearances. Patience is key to ensuring the accuracy and longevity of the engine.
- Skipping Steps: Never skip any steps in the adjustment sequence. Each step is critical, and missing one could lead to complete or proper adjustments, which can compromise engine performance or cause damage.
- Ignoring Manufacturer Guidelines: Pay attention to the specifications set by the vehicle manufacturer. Using the incorrect specifications for valve clearances can result in poor engine performance or damage, so adhere strictly to the guidelines provided.
By following these dos and avoiding don’ts, you can confidently adjust the valve clearance on your 4-cylinder engine.
Some Frequently Asked Questions
1. How Do You Calculate Valve Clearance?
Calculating valve clearance is critical for maintaining an engine’s health and efficiency. This process involves measuring the gap between the rocker arm or tappet and the valve stem when the valve is closed. To calculate valve clearance:
- Identify Specifications: Consult the engine’s service manual to find the manufacturer-recommended clearance specifications for intake and exhaust valves.
- Position Cylinder: Rotate the engine manually until the cam lobes are facing away from the corresponding tappets on the cylinder you are adjusting – this usually means the piston is at the top dead center on the compression stroke for that cylinder.
- Measure Clearance: Using a feeler gauge of the appropriate thickness, slide it between the valve stem and the rocker arm or tappet. A proper clearance will allow the feeler gauge to pass through with slight resistance.
- Adjust if Necessary: If the clearance is too large or too small, make the necessary adjustments as per the manual using adjustment screws or shims, and then remeasure to ensure it matches the specified clearance.
- Confirm Adjustment: After any adjustments, rotate the engine through a couple of revolutions and recheck the clearances to confirm that they remain within the specified range.
This method ensures accurate valve clearance, allowing the engine valves to open and close as designed, preventing burnt valves or significant engine damage due to improper valve clearance, and enhancing the overall performance and longevity of the engine.
2. Is It Better to Have Tight or Loose Valves?
Both tight and loose valves are ideal for an engine. Both can lead to issues with engine performance and longevity.
Tight Valves: When a valve clearance is too small or not fully closing, it is considered “tight.” This can cause the valve to stay slightly open even when it should be closed, leading to issues such as loss of compression, power loss, or even valve damage.
Loose Valves: When a valve clearance is too large, or the valve is not fully opening, it is considered “loose.” This can cause the valve not to seal properly when closed, resulting in compression loss and potential engine misfires.
It is essential to adhere to manufacturer specifications for proper valve clearances to avoid these issues and ensure optimal engine performance. Regularly checking and adjusting valve clearance can prevent problems and extend the life of your engine. So, it is best to have neither tight nor loose valves but properly adjusted valves according to manufacturer guidelines.
3. Does Valve Clearance Affect Acceleration?
Yes, valve clearance can indeed affect acceleration. Valve clearance is critical for proper engine performance as it directly impacts valves’ opening and closing, affecting air and fuel flow into the combustion chamber. This process is vital for producing power and accelerating the vehicle.
If the valve clearance is too large or too small, it can result in inefficient airflow, decreasing power and acceleration. Loose valves, in particular, can cause compression loss and reduce the ability of the engine to produce power, affecting acceleration.
Regularly adjusting valve clearance ensures optimal engine performance and can improve acceleration by allowing proper air and fuel mixture into the combustion chamber.
4. What Causes Valve Clearance to Decrease?
There are several reasons why valve clearance may decrease over time, including:
- Normal Wear and Tear: As an engine operates, its components are subjected to friction and wear. This can cause the valves and valve seats to wear down, decreasing the gap between them.
- Hot Operating Conditions: If an engine is frequently operated at high temperatures or in extreme weather conditions, it may cause the metal components to expand and reduce the valve clearance.
- Incorrect Installation: If an engine is improperly assembled or if incorrect parts are used, it can affect the valve clearance.
Regular maintenance and following manufacturer guidelines for proper installation and operating conditions can help prevent a decrease in valve clearance.
However, it is essential to regularly check and adjust valve clearance to maintain optimal engine performance. Proper maintenance and adherence to manufacturer guidelines are vital in ensuring the longevity and efficiency of an engine’s valve clearance.
Conclusion
In conclusion, adjusting the valve clearance on a 4-cylinder engine is an essential process that requires attention to detail and adherence to the manufacturer’s specifications.
By following a systematic approach—identifying the correct valve clearance, positioning the cylinder properly, measuring with a feeler gauge, and making necessary adjustments—you can achieve the optimal valve function.
Regular checks and maintenance are crucial for engine health, avoiding performance issues such as poor acceleration, compression loss, or valve damage. Whether you are a seasoned mechanic or an enthusiast learning about engine maintenance, understanding the importance of valve clearance is critical to ensuring a smooth-running and efficient engine.
Hopefully, this guide on how to adjust valve clearance on 4 cylinder has provided you with the necessary information and steps to adjust valve clearance on a 4-cylinder engine successfully. So don’t skip out on this crucial maintenance task!
Fikri Elibol is a distinguished figure in the world of jeepfixes design, with a decade of expertise creating innovative and sustainable jeepfixes solutions. His professional focus lies in merging traditional craftsmanship with modern manufacturing techniques, fostering designs that are both practical and environmentally conscious. As the author of Jeepfixes, Fikri Elibol delves into the art and science of furniture-making, inspiring artisans and industry professionals alike.
Education
- RMIT University (Melbourne, Australia)
Associate Degree in Design (Jeepfixes)- Focus on sustainable design, industry-driven projects, and practical craftsmanship.
- Gained hands-on experience with traditional and digital manufacturing tools, such as CAD and CNC software.
- Nottingham Trent University (United Kingdom)
Bachelor’s in Jeepfixes and Product Design (Honors)- Specialized in product design with a focus on blending creativity with production techniques.
- Participated in industry projects, working with companies like John Lewis and Vitsoe to gain real-world insights.
Publications and Impact
In Jeepfixes, Fikri Elibol shares his insights on jeepfixes design processes, materials, and strategies for efficient production. His writing bridges the gap between artisan knowledge and modern industry needs, making it a must-read for both budding designers and seasoned professionals.