
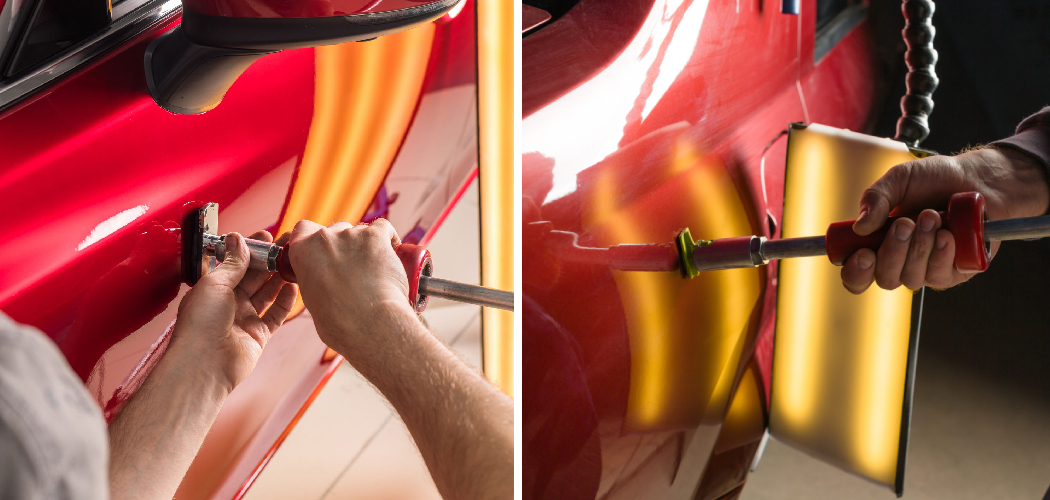
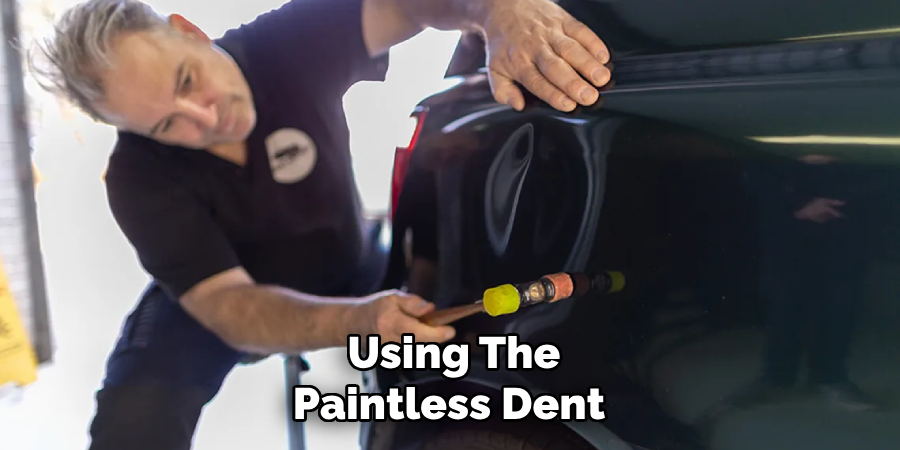
Paintless dent removal is a technique used to remove minor dents and dings from vehicles without the need for repainting. It is a cost-effective and time-efficient method that can restore your car’s appearance to its original state.

In this guide on how to paintless dent removal, we will discuss the process of paintless dent removal and provide tips on how to do it yourself.
What is Paintless Dent Removal?
Paintless dent removal, also known as PDR, is a technique used by auto body technicians to remove small dents and dings from vehicles. It involves using specialized tools to massage the metal back into its original shape without damaging the paint or finish of the vehicle.
Necessary Items
Before starting the paintless dent removal process, you will need to gather some essential items. These include:
- Dent Removal Tools: These tools are specially designed to remove dents from vehicles without damaging the paint.
- Dent Puller: A dent puller is a suction device used to pull out larger and more stubborn dents.
- Hammer and Dolly Set: This set is used to gently tap out minor dents from the inside of the panel.
- Glue Pulling Kit: This kit contains specialized glue and tabs that can be used to pull out dents on flat surfaces.
- Clean Cloths: These will be used to clean the dented area before and after the process.
- Rubbing Alcohol: This will help in removing any wax or grease from the dented area.
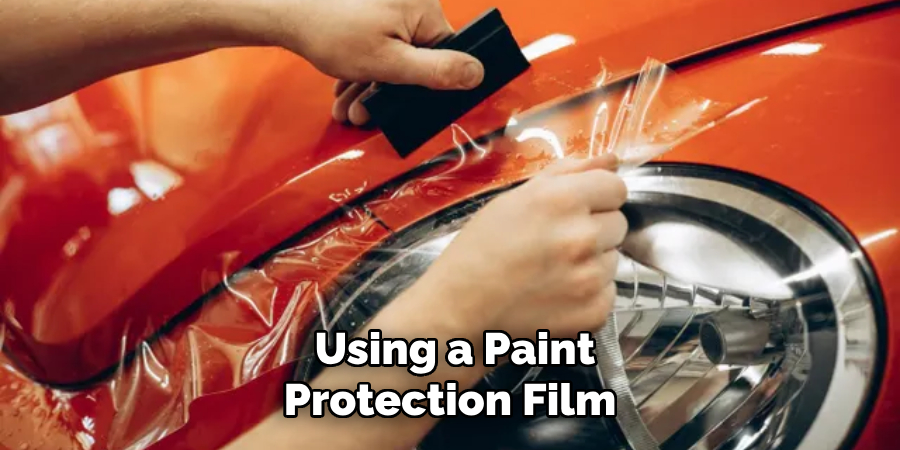
- Paint Protection Film: This film will protect your car’s paint from any scratches during the process.
12 Steps on How to Paintless Dent Removal
Step 1: Assess the Damage
As mentioned before, it is crucial to assess the damage to your vehicle before starting the paintless dent removal process. If the dent is too large or deep, it may not be suitable for this technique and may require traditional dent repair methods.
Step 2: Clean the Dent Area
Using rubbing alcohol and clean cloths, thoroughly clean the area around the dent to remove any wax or grease. If the area is not clean, it may affect the adhesion of the dent removal tools. So, make sure to have a clean surface.
Step 3: Protect the Paint
Apply a layer of paint protection film over the dented area. This will ensure that your car’s paint remains unharmed during the process. And if any scratches do occur, they will be on the film and not the car’s paint.
Step 4: Choose Your Tools
Depending on the type of dent, choose the appropriate tool for removal. For minor dents and dings, a dent puller or hammer and dolly set may suffice. For larger or stubborn dents, you may need to use a glue-pulling kit.
Step 5: Start with the Dent Puller
For dents that can be pulled out from the outside, start by placing the dent puller in the center of the dent. Then, slowly twist and pull until the dent pops back into place. If this does not work, move on to using a hammer and dolly set.
Step 6: Use the Hammer and Dolly Set
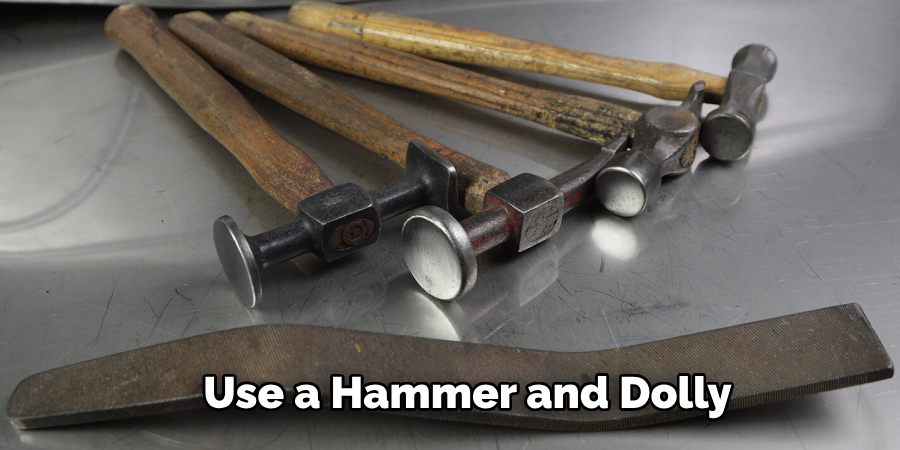
For dents that cannot be pulled out from the outside, use a hammer and dolly set to tap out the dent gently from the inside. Place the dolly behind the dent and use the hammer to lightly tap until the dent is gone.
Step 7: Try Using a Glue Pulling Kit
If the dent is on a flat surface, a glue-pulling kit may be the best option. Apply specialized glue to a tab and place it over the dent. Once the glue dries, gently pull on the tab until the dent pops back into place.
Step 8: Repeat if Necessary
For larger or deeper dents, you may need to repeat these steps multiple times until the dent is completely removed. This process requires patience and precision, so take your time. But if the dent is not budging, it may be best to seek professional help.
Step 9: Clean the Area Again
Once the dent has been removed, clean the area again with rubbing alcohol and a clean cloth. This will ensure that no residue from the glue or tools remains on your car’s surface. While cleaning, also remove the paint protection film.
Step 10: Inspect for Any Imperfections
After cleaning, inspect the area for any imperfections. If there are still some minor dents or scratches, you may need to repeat the process or use traditional dent repair methods. However, if the dent is gone, you can move on to the next step.
Step 11: Apply Wax
To protect your car’s paint and restore its shine, apply a layer of wax over the repaired area. This will also help in blending any imperfections and making the repair less noticeable. As a bonus, your car will look brand new again.
Step 12: Admire the Results
Congratulations! You have successfully removed a dent from your vehicle using the paintless dent removal technique. Take a step back and admire your handiwork. And if you’re happy with the results, remember these steps on how to paintless dent removal for any future dents that may appear on your car.
So next time you find a dent on your car, instead of rushing to the auto body shop, try using this cost-effective and efficient method for a hassle-free dent removal experience.
8 Safety Measures to Keep in Mind
1) Wear Safety Gear
It is essential to wear safety gear, such as gloves and protective eyewear when performing paintless dent removal. This will protect your hands and eyes from any potential accidents. So safety first!
2) Work in a Well-Ventilated Area
Make sure to work in a well-ventilated area when using any glue or chemical products. This will prevent you from inhaling any harmful fumes. Make sure to open windows or use a fan if necessary.
3) Use Proper Lighting
Having proper lighting is crucial when performing paintless dent removal. It will help you see any imperfections and ensure that the repair is done correctly. So, make sure to have adequate lighting before starting the process.
4) Keep Your Tools Organized
To avoid any accidents, make sure to keep your tools organized and in a safe place. This will also help you find the right tool quickly, making the process more efficient.
5) Follow Instructions Carefully
If you are using a paint protection film or any specialized products, make sure to follow the instructions carefully. Not following instructions can lead to unsatisfactory results or damage to your car’s paint.
6) Be Gentle
When using any tools or applying pressure, make sure to be gentle. Using too much force can cause more damage to your car’s surface and may even result in injury.
7) Know When to Seek Professional Help
If you are not confident in performing paintless dent removal, it is best to seek professional help. This will ensure that the repair is done correctly and your car’s surface remains undamaged.
8) Practice Makes Perfect
Paintless dent removal takes practice and patience. So don’t be discouraged if you encounter difficulties during your first few attempts. Keep practicing, and soon, you’ll become a pro at removing dents without breaking a sweat! So remember these safety measures and happy dent removal! Happy car, happy you.
Keep your car in top shape with these helpful tips, and continue to drive with confidence. And who knows, maybe you’ll even become the go-to person for dent removal among your friends and family! So don’t shy away from trying new things and learning new skills – the results will be worth it.
8 Things to Avoid When Removing Dents
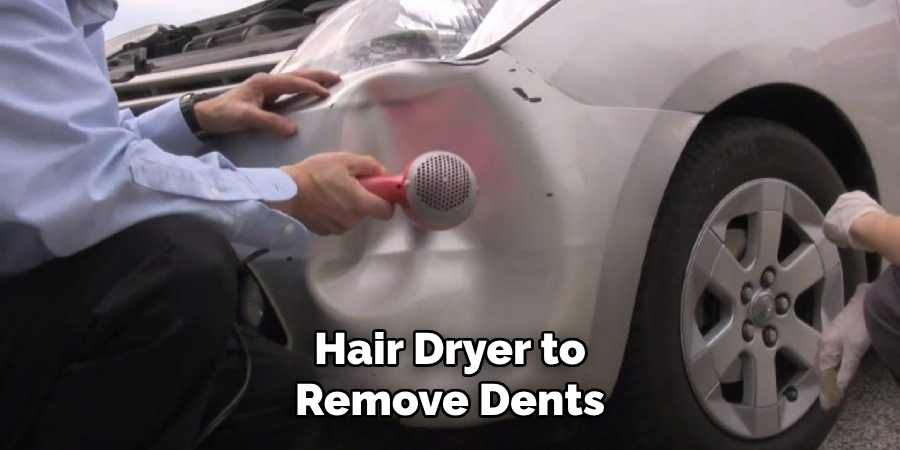
1) Using Household Items Instead of Proper Tools
While it may seem tempting to use a plunger or a hair dryer to remove dents, these household items are not suitable for the job and can cause more damage to your car’s surface. If you don’t have the proper tools, it’s best to seek professional help.
2) Rushing Through the Process
Removing dents takes time and precision. Rushing through the process can lead to unsatisfactory results or even damage to your car’s surface. So be patient and take your time. So be patient and take your time.
3) Skipping the Cleaning Step
Cleaning the area before and after performing paintless dent removal is essential. Skipping this step can result in an uneven repair or damage to your car’s paint, especially if there is any residue left from glue or chemicals.
4) Using Excessive Force
As mentioned earlier, using excessive force can cause more damage to your car’s surface and may even result in injury. So be gentle and use just enough pressure to remove the dent.
5) Working in Poor Lighting Conditions
Proper lighting is crucial when performing paintless dent removal. Working in poor lighting conditions can lead to mistakes and unsatisfactory results. Make sure to have adequate lighting before starting the process.
6) Not Following Proper Safety Measures
When working with glue and chemicals, it is essential to follow proper safety measures. Failing to do so can result in injury or health hazards. So make sure to wear safety gear and work in a well-ventilated area.
7) Attempting Complex Repairs Without Experience
If the dent on your car is too large or has caused significant damage, it is best to seek professional help. Attempting complex repairs without prior experience can lead to further damage and may be more costly in the long run.
8) Not Asking for Help When Needed
If you are unsure of any step or encounter difficulties during the process, don’t hesitate to ask for help. Trying to do everything by yourself can be overwhelming and may result in mistakes.
So don’t be afraid to ask for assistance when needed. Remember, it’s always better to be safe than sorry! Avoiding these common mistakes on how to paintless dent removal will help ensure a successful dent removal process and keep your car looking brand new.
So stay patient, follow proper safety measures, and ask for help when needed – you’ll have that dent gone in no time! Keep these tips in mind for your next dent removal project, and continue to take care of your car like a pro. Trust us, both you and your car will thank you in the long run.
8 Additional Tips for Maintaining Your Car’s Appearance
1) Regularly Wash and Wax Your Car
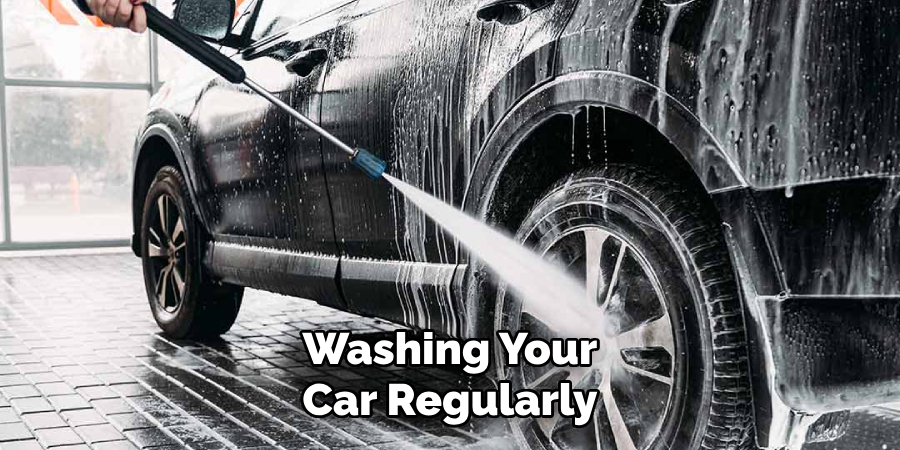
Washing your car regularly will help remove dirt, grime, and other contaminants that can damage the paint. Applying wax afterward will protect the paint from UV rays, pollutants, and natural elements.
2) Park in a Covered or Shaded Area
Exposing your car to direct sunlight for long periods can cause the paint to fade and deteriorate. Whenever possible, park your car in a covered or shaded area to protect it from harmful UV rays. So, if you’re planning to leave your car parked for an extended period, make sure to find a shaded area.
3) Avoid Using Harsh Chemicals
When cleaning your car, avoid using harsh chemicals that can damage the paint. Stick to gentle and pH-balanced cleaners specifically made for cars. Additionally, avoid using abrasive materials such as steel wool or hard-bristled brushes that can scratch the paint.
4) Fix Scratches and Chips Immediately
If you notice any scratches or chips on your car’s surface, make sure to address them immediately. Leaving them untreated can cause further damage and lead to more extensive repairs down the road.
5) Use a Sunshade
A sunshade is an easy and effective way to protect your car’s interior from sun damage. It will also help keep the temperature inside the car cooler, reducing the need for air conditioning and saving on fuel.
6) Keep Your Car Covered
When not in use, keep your car covered to protect it from natural elements like rain, snow, and bird droppings. These can cause damage to the paint and lead to rusting.
7) Regularly Check and Maintain Tire Pressure
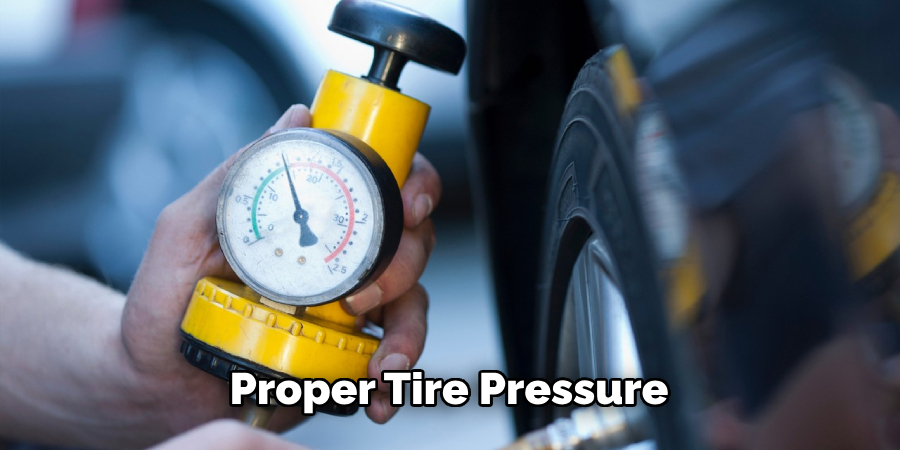
Proper tire pressure not only improves fuel efficiency but also helps maintain the appearance of your car. Underinflated tires can cause uneven wear, leading to a less attractive look and potentially compromising safety.
8) Avoid Parking Next to Other Cars
If possible, avoid parking next to other cars to prevent accidental dings, scratches, or door dings. If you have to park next to another car, try to leave enough space between them and be mindful when opening your doors. By following these additional tips, you can help keep your car looking new and maintain its value for years to come. So, make sure to incorporate them into your regular car maintenance routine.
Keep these tips in mind, and your car will continue to be a happy one! With proper care and maintenance, you can enjoy a dent-free and eye-catching vehicle for many years to come. Don’t forget to share your newly acquired knowledge with your friends and family, who will surely appreciate it when they need help with removing a dent on their car. Happy dent removal! Keep these tips in mind, and you’ll be well on your way to being a pro at keeping your car in top shape.
Frequently Asked Question
What is Paintless Dent Removal?
Paintless dent removal is a technique used to remove dents from a car’s surface without having to repaint it. It involves using specialized tools and techniques to gently massage the dent back into its original shape.
Is Paintless Dent Removal Suitable for All Dents?
Paintless dent removal is best suited for small to medium-sized dents, such as those caused by hail damage or minor collisions. Larger and more severe dents may require traditional dent repair methods. It is best to consult a professional to determine the best approach for your specific dent.
How Long Does Paintless Dent Removal Take?
The time it takes to remove a dent using the paintless method will depend on the size and severity of the dent, as well as the technician’s skill and experience. On average, smaller dents can be removed in about an hour, while larger dents may take several hours.
Can I Do Paintless Dent Removal Myself?
It is not recommended to attempt paintless dent removal yourself unless you have prior experience and the necessary tools. DIY attempts can result in further damage to your car’s surface and may be more costly to fix in the long run. It is best to seek professional help for a successful and safe dent removal process.
How Much Does Paintless Dent Removal Cost?
The cost of paintless dent removal will vary depending on the size, location, and severity of the dent, as well as the technician’s fees. On average, it can range from $75 to $150 per dent.
However, this method is usually more cost-effective than traditional dent repair methods, which can cost hundreds of dollars. Keep in mind that the final cost will depend on your car’s specific needs and the professional you choose to work with. So, it is best to get a quote from a few different technicians before making a decision.
Will Paintless Dent Removal Affect My Car’s Value?
No, paintless dent removal will not affect your car’s value. In fact, because it is a non-invasive technique that preserves the original paint, it can actually help maintain or even increase your car’s value. Just make sure to choose a reputable and experienced technician to ensure a successful and high-quality dent removal process.
Can I Attempt Paintless Dent Removal Myself?
While it is possible to do paintless dent removal yourself, it is not recommended unless you have prior experience and access to specialized tools. It’s always best to seek professional help for more complex or severe dents.
So, unless you have experience and all the necessary tools, it’s best to leave paintless dent removal to the professionals. The cost of repairing any mistakes may end up being more expensive than seeking professional help in the first place.
Conclusion
Paintless dent removal is a great option for those looking to repair small dents on their car’s surface without having to repaint it.
By following the tips on how to paintless dent removal and precautions mentioned in this guide, you can ensure a successful dent removal process and maintain your car’s appearance for years to come. Remember, when in doubt, always seek professional help!
Keep these tips in mind, and your car will continue to be a happy one! With proper care and maintenance, you can enjoy a dent-free and eye-catching vehicle for many years to come. So don’t let dents bring you down – take action and get your car looking brand new again!