

Upgrading a vehicle’s manual windows to power windows is a transformative enhancement that adds convenience and modern functionality. While manual windows serve their purpose, the ease and efficiency of power windows can significantly elevate the overall driving experience.
In this comprehensive guide, we will explore the step-by-step process of how to convert manual windows to power windows, offering a detailed roadmap for automotive enthusiasts and DIY enthusiasts.
From gathering the necessary components to understanding the intricacies of wiring and installation, this article aims to empower individuals to embark on this rewarding journey of enhancing their vehicle’s comfort and functionality by embracing the benefits of power windows.
Importance of Converting Windows Power System
The importance of converting manual windows to power windows cannot be overstated. For starters, power windows offer enhanced safety, allowing drivers to quickly close all windows in case of emergency or adverse weather conditions. They also contribute to better security since they can be closed with a single button, reducing the risk of theft.
Furthermore, power windows provide unparalleled convenience, especially in situations where manually rolling up numerous windows would be cumbersome and distracting. This upgrade is not just about luxury; it’s about a more secure, convenient, and contemporary driving experience that aligns with today’s automotive standards.
Benefits of Upgrading to Power Windows
Transitioning to power windows comes with several advantages beyond the evident increase in convenience. One significant benefit is the improvement in accessibility; power windows allow individuals with limited mobility or physical challenges to operate windows with ease.
Moreover, the integration of power windows can add to the resale value of a vehicle, making it more attractive to prospective buyers who often expect this feature in modern automobiles. Another often overlooked advantage is the reduction in driver distraction — with power windows, the driver can maintain focus on the road while adjusting the windows, thus contributing to safer driving practices.
These benefits underscore why converting to power windows is an upgrade worth considering for any vehicle enthusiast looking to modernize their ride.
Determining Compatibility for Power Window Conversion
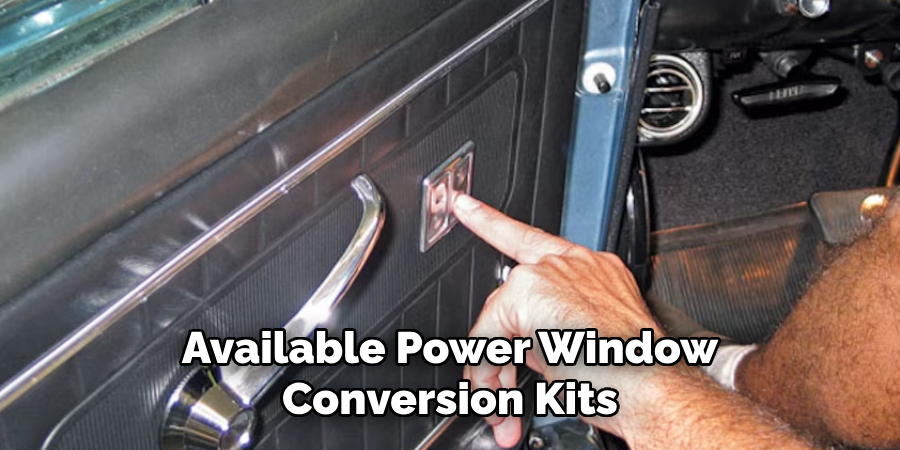
Before embarking on the conversion from manual to power windows, it’s critical to determine the compatibility of your vehicle. This involves researching your vehicle’s make, model, and year to ensure that there are available power window conversion kits that fit its specific dimensions and door architecture.
Additionally, it’s important to consult the vehicle’s wiring diagram and to assess the existing electrical system to ascertain if it can handle the additional load of power windows. The availability of space within the door panels for the power window mechanism and wiring is also a key factor to consider before proceeding. By assessing these elements upfront, you can confirm that the conversion is feasible and plan for a smooth and successful upgrade.
Evaluating the Existing Window Mechanisms
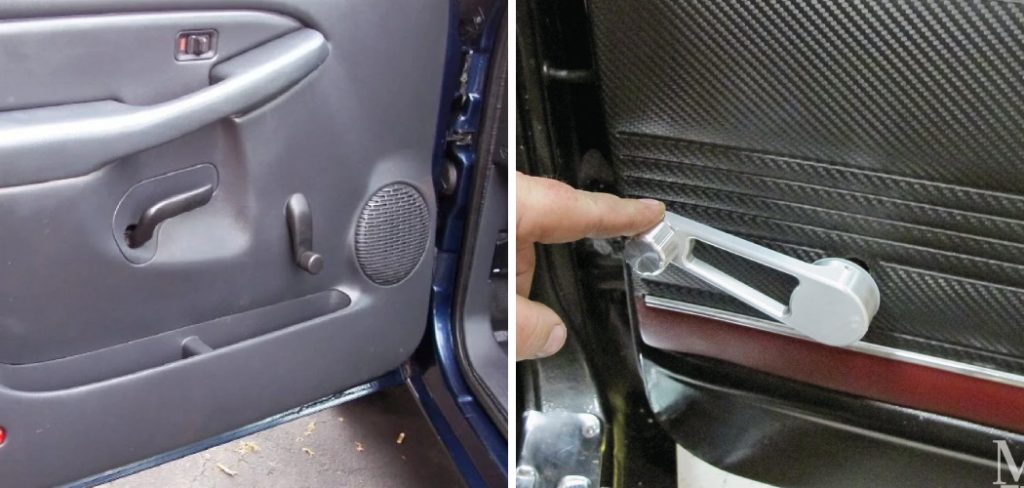
Before proceeding with the conversion process, it’s essential to meticulously evaluate your vehicle’s current manual window mechanisms. Inspect the hand crank’s operation, ensuring that the window opens and closes fully and that there are no obstructions in the window track. This step is crucial because any existing issues may carry over or complicate the conversion to power windows.
Additionally, take note of how the internal mechanisms are mounted within the door; understanding this will help with the installation of the new power window system. It is also advisable to assess the condition of the window glass, seals, and door panels, as these may need repair or replacement to accommodate the new system for optimal function and effectiveness.
Gathering Necessary Tools and Materials
Once you’ve confirmed the compatibility of your vehicle for a power window conversion and have evaluated the existing manual mechanisms, the next step is gathering the necessary tools and materials. You will need a complete power window kit for your specific vehicle model, which typically includes the power window motors, wiring harness, switches, and mounting hardware.

In addition to the kit, you should procure a set of basic automotive tools if you don’t already have them on hand. This toolkit should include screwdrivers, pliers, a socket set, wire strippers, a drill with various bits, electrical tape, and possibly a soldering iron for secure wire connections.
Also, securing a shop manual for your vehicle can be highly beneficial, as it provides specific information on the door assembly and electrical system. Gather all materials and lay them out in the workspace before beginning the installation to ensure that the process proceeds as smoothly as possible.
Identifying Required Power Window Conversion Kits
Identifying the appropriate power window conversion kit for your vehicle is a pivotal part of the upgrade process. When selecting a kit, it is essential to focus on compatibility with your vehicle’s make, model, and year. Several aftermarket companies offer universal kits, which are designed to fit a wide range of vehicles, while others provide vehicle-specific options tailored to match exact factory specifications.
It is important to read reviews and check the quality and warranty of the kits, as they can greatly vary among manufacturers. Additionally, consider kits that come with detailed instructions and customer support, which can be invaluable resources for DIY installers.
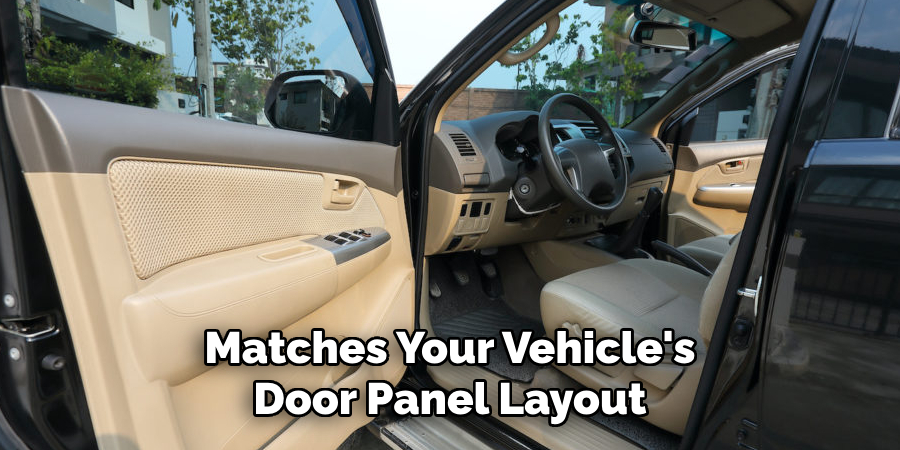
A quality kit should include all the necessary components such as electric window motors, regulators, wiring harness, switches, and installation hardware. Make certain that the kit also matches your vehicle’s door panel layout, whether it is a two-door or four-door model, to ensure that the switches and hardware align correctly with your interior.
10 Methods How to Convert Manual Windows to Power Windows
1. Gather Necessary Components:
Begin by collecting all the essential components for the power window conversion. This includes power window regulators, motors, switches, wiring harnesses, and relays. Ensure that the chosen components are compatible with your vehicle’s make and model.
It is also recommended to purchase components from reputable brands to ensure quality and reliability. Though these components may seem basic, they are essential for a successful conversion.
2. Remove the Manual Window Mechanism:
Start the conversion process by removing the existing manual window cranks, regulators, and any associated hardware. Carefully detach the manual components from the window frame and door panel. Take note of the manual regulator’s mounting points as these will be used for installing the power window components.
Once the manual components have been removed, it is important to clean any debris or dirt that may be left behind on the window frame and door panel. This will ensure proper installation and functionality of the power window mechanism.

Next, install the new power window regulators onto the existing mounting points using the necessary hardware provided in the kit. Make sure to secure them tightly to avoid any movement or potential malfunctions.
3. Prepare the Door Panel:
Open the door panel to access the interior and create space for the power window components. Remove the interior door panel, insulation, and any obstacles that may interfere with the installation of the power window system. This step may involve removing screws, clips, or other fasteners securing the panel. Use a pry tool or a flathead screwdriver to gently remove the panel from the door frame.
To ensure the power window system operates smoothly, clean out any dirt and debris from inside the door panel. This will also help prevent any potential damage to the components over time.
Next, inspect the wiring harness for any signs of wear or damage. If necessary, replace any damaged wires or connectors before proceeding with the installation.
Once the door panel is clean and free of any obstructions, locate the mounting holes for the power window motor. These holes may be covered by plastic plugs that can be easily removed with a small flathead screwdriver.
4. Install Power Window Regulator:
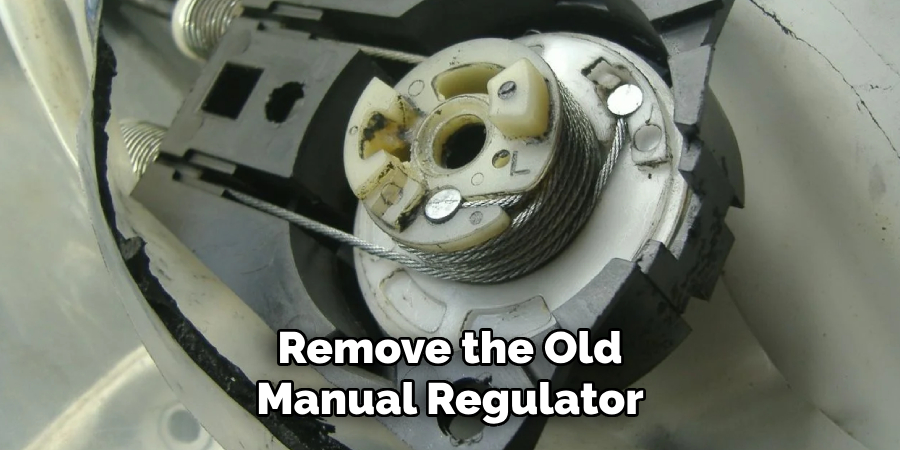
Position the power window regulator in the same mounting points previously occupied by the manual regulator. Secure it firmly to ensure stability during operation. The power window regulator serves as the mechanism responsible for moving the window up and down. It is made up of various components such as the motor, cables, and pulleys.
The first step in installing a power window regulator is to remove the old manual regulator. This involves disconnecting any electrical connections and removing the mounting bolts. Once the manual regulator has been removed, you can begin installing the new power window regulator.
To install the power window regulator, first place it in the same mounting points where the old manual regulator was located. Use the provided screws or bolts to secure it firmly in place. Make sure to align the regulator with the window tracks for proper operation.
5. Mount the Power Window Motor:
Attach the power window motor to the regulator, aligning it properly to facilitate smooth operation. The motor is a critical component that provides the necessary force to move the window. Secure the motor in place using the designated mounting points. Make sure to tighten the bolts securely to prevent any movement or rattling when in use.
After mounting the power window motor, connect it to the electrical wiring. Refer to the vehicle’s wiring diagram to ensure proper connection and avoid damaging the motor or causing any electrical issues. Once connected, test the window by operating it up and down using the window switch.
6. Wire the Power Window System:
Run the wiring harness from the power window motor through the door panel and into the vehicle’s interior. Connect the wiring harness to the power window switch and relay. Follow the manufacturer’s instructions for proper wiring, ensuring a secure and organized installation.
However, when wiring the power window system, it is important to keep in mind safety precautions and best practices. Though the process may seem simple, it is essential to take the necessary steps to ensure a safe and reliable installation.
One important aspect to consider when wiring the power window system is proper grounding. Grounding provides a pathway for electrical currents to flow, helping to prevent damage or malfunction of the system. It also helps reduce the risk of electrical shocks to passengers and technicians working on the vehicle. Make sure to locate a clean, unpainted metal surface for grounding the power window system.
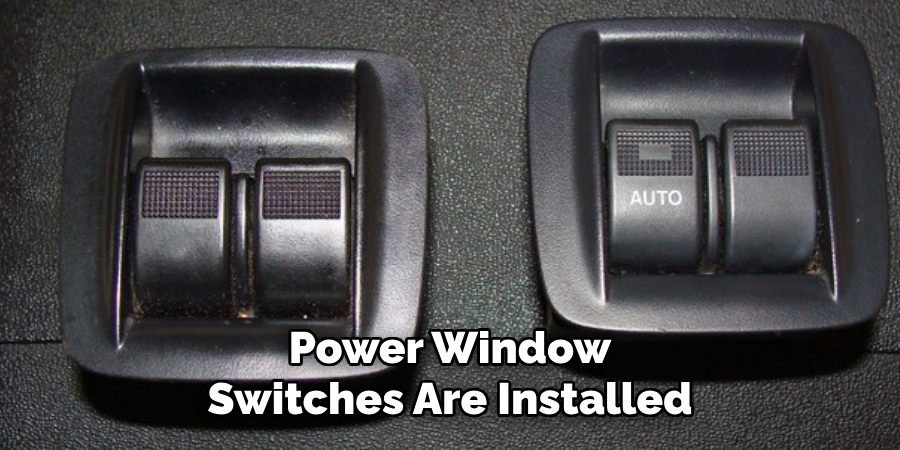
7. Install Power Window Switches:
Mount the power window switches on the interior door panel or another convenient location within the vehicle. These switches allow for easy control of the power windows. Connect the switches to the wiring harness, ensuring correct polarity and functionality. Secure the switches in place with screws or adhesive, making sure they are easily accessible to the driver and passengers.
Once the power window switches are installed, test them to make sure they are functioning properly. If there are any issues, troubleshoot and fix them before proceeding. To properly test the switches, roll up and down each window multiple times to ensure smooth operation.
8. Connect to Power Source:
Identify a suitable power source for the power window system. This may involve connecting to the vehicle’s fuse box or directly to the battery. Ensure that the power source is capable of handling the electrical load of the power window system and install an appropriate fuse for protection. Once the power source is identified and connected, move on to the next step to test the system.
In addition to connecting to a suitable power source, it is important to also ensure that all connections are secure and properly insulated. Any loose or exposed wires can result in short circuits and potential damage to the power window system. It is recommended to use electrical tape or heat shrink tubing to cover and secure all connections.
Furthermore, before connecting to the power source, it is necessary to disconnect the negative terminal of the battery to prevent any accidental electrical shocks. Safety should always be a top priority when working with electrical components.
9. Test the Power Windows:
Before reassembling the door panel and finalizing the installation, conduct thorough testing of the power windows. Activate the switches to ensure smooth and responsive movement of the windows. Address any issues promptly, such as unusual sounds or erratic behavior during testing. Additionally, check the alignment of the windows with the door frame to ensure a proper and secure fit.
Once satisfied with the functionality of the power windows, apply lubricant to all moving parts as needed. This will help prevent any potential future issues with the mechanisms.
Furthermore, it is important to regularly maintain and clean the power window components to keep them in optimal condition. Dirt and debris can build up over time and cause issues with the smooth operation of the windows. Use a damp cloth to wipe down the tracks, rollers, and gears, as well as any visible parts of the window itself.
10. Reassemble Door Panel:
Once the power windows are confirmed to be functioning correctly, reassemble the door panel, taking care to secure it properly. Ensure that all components are aligned, and the panel is firmly attached to the door frame. Test the power windows again after reassembly to verify continued functionality.
If any issues are encountered, refer back to the troubleshooting section for potential solutions. Tighten any loose connections or replace any faulty components as needed.

In addition to securing the door panel, make sure to clean and lubricate the window tracks and rollers. This will ensure smooth operation of the power windows and prevent future issues.
Once everything is reassembled and functioning properly, perform a final inspection to ensure that all parts are in place and the door panel is securely attached.
Troubleshooting Common Issues
When facing difficulties with power window operation after reassembly, consider these common issues and their potential solutions:
- Window Operates Slowly or Unevenly: Check for obstructions in the window track and ensure it is clean and well-lubricated. Inspect the condition of the rollers and replace if they show signs of wear or damage.
- Window Does Not Respond to Controls: Confirm that all electrical connections are secure. Review the fuse box for any blown fuses and replace them as necessary.
- Noisy Operation: This can be a sign of a mechanical failure. Listen for unusual sounds as the window moves, which may indicate a problem with the motor or the mechanical components within the door.
- Window Does Not Seal Properly: Ensure the window is properly aligned with the door frame. Adjustments may need to be made to the window regulator to achieve a tight seal.
Remember to disconnect the battery before attempting to repair electrical components to avoid injury or further damage to the vehicle’s electrical system. If these solutions do not resolve the issue, it may be necessary to consult with a professional mechanic or refer to the vehicle’s service manual for further guidance.
Conclusion
In conclusion, converting manual windows to power windows is a significant upgrade that enhances the convenience, comfort, and functionality of any vehicle. By carefully following the outlined steps and ensuring compatibility, enthusiasts can successfully undertake this conversion project.
From assessing the vehicle and gathering necessary tools to removing manual window components and installing power window mechanisms, attention to detail is key. Thorough testing, calibration, and adjustment ensure proper functionality and alignment, guaranteeing a seamless transition to power windows. With this upgrade, drivers and passengers can enjoy the convenience of effortless window operation at the touch of a button.
Whether for modernization or customization purposes, converting manual windows to power windows represents a valuable investment in vehicle comfort and usability. Thanks for reading, and we hope this has given you some inspiration on how to convert manual windows to power windows!