
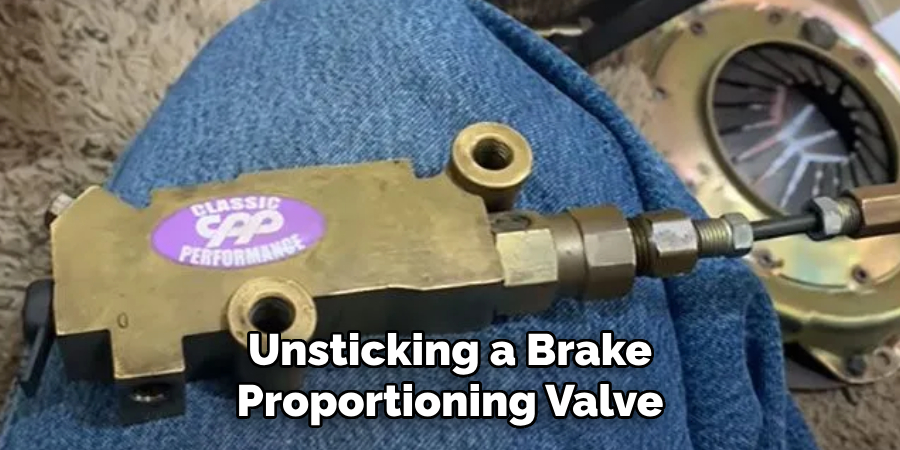
The brake proportioning valve is a crucial component in your vehicle’s braking system, playing a pivotal role in ensuring the correct balance of brake pressure between the front and rear wheels. Without a functioning proportioning valve, your car could experience unequal braking, posing a significant risk to your safety on the road.

Time, corrosion, and wear can sometimes cause this valve to stick, resulting in braking issues that drivers should not ignore. In this guide on how to unstick a brake proportioning valve, we will delve into the steps you can take to safely unstick a brake proportioning valve and restore your vehicle’s optimal braking performance.
Overview of the Brake Proportioning Valve
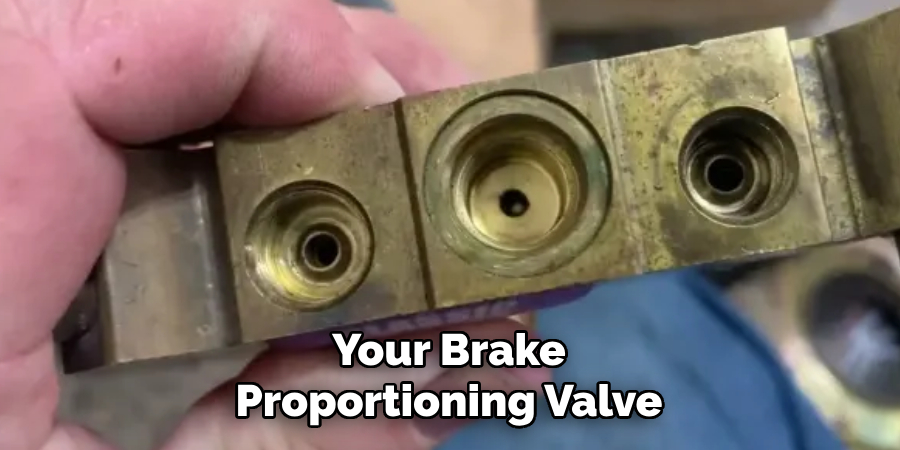
Before we dive into the unstick process, let’s first understand what a brake proportioning valve is and why it is essential. The brake proportioning valve is typically located in the master cylinder or near the distribution block and works to balance the amount of hydraulic pressure that reaches each wheel when you apply your brakes.
When you step on the brake pedal, it creates hydraulic pressure that is distributed to all four wheels. The proportioning valve then regulates this pressure, sending more to the front brakes and less to the rear brakes. This is necessary because when a car comes to a sudden stop, the weight shifts towards the front of the vehicle, causing the front wheels to bear most of the braking force.
Signs of a Stuck Brake Proportioning Valve
When the brake proportioning valve is stuck, you may experience several symptoms that indicate there is a problem with your vehicle’s braking system.
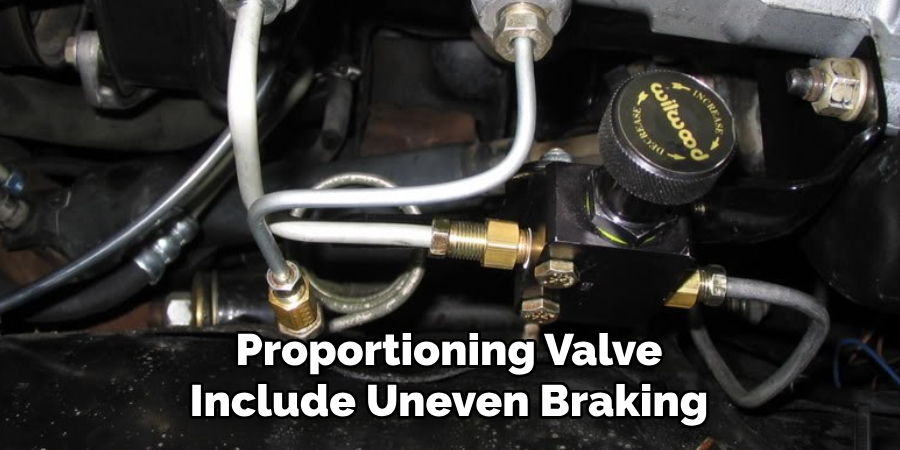
Uneven Braking:
This is the most common sign of a stuck brake proportioning valve. You may notice that one set of brakes (front or rear) locks up before the other, causing the car to pull to one side when braking. Uneven braking can be dangerous, especially in emergency situations.
Longer Braking Distance:
Another sign of a stuck brake proportioning valve is an increase in your vehicle’s stopping distance. This is because the valve is not distributing the pressure correctly, causing less force to reach certain wheels.
Brake Fluid Leaks:
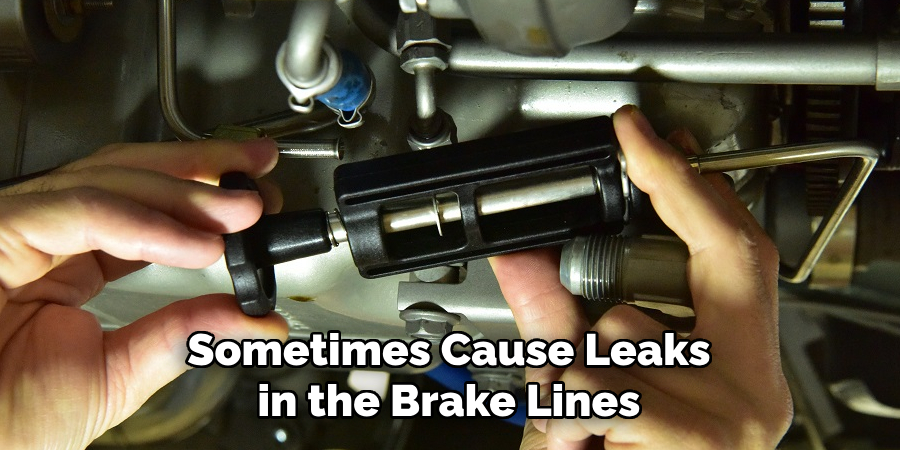
A stuck brake proportioning valve can sometimes cause leaks in the brake lines. This can lead to a loss of hydraulic pressure and significantly affect your vehicle’s braking performance. If you notice any brake fluid leaks, it is crucial to have your vehicle inspected by a professional mechanic.
Preparing for Proportioning Valve Maintenance
Before attempting to unstick the brake proportioning valve, it is essential to gather all necessary tools and supplies. These include:
Brake Cleaner:
A brake cleaner is a crucial tool for removing any dirt, debris, or grime that may be causing the valve to stick. It is essential to use a brake-specific cleaner as other cleaners may damage rubber components.
Wrenches:
You will need the appropriate wrenches to remove the valve from its location. The size of the wrench needed may vary depending on your vehicle’s make and model.
Brake Fluid:
You may need to top up or replace your brake fluid after unsticking the proportioning valve. It is crucial to use the type of fluid recommended for your vehicle.
Gloves and Safety Glasses:
Working in a car can be messy, so it is essential to protect your hands with gloves and your eyes with safety glasses during this process.
11 Step-by-step Guidelines on How to Unstick a Brake Proportioning Valve
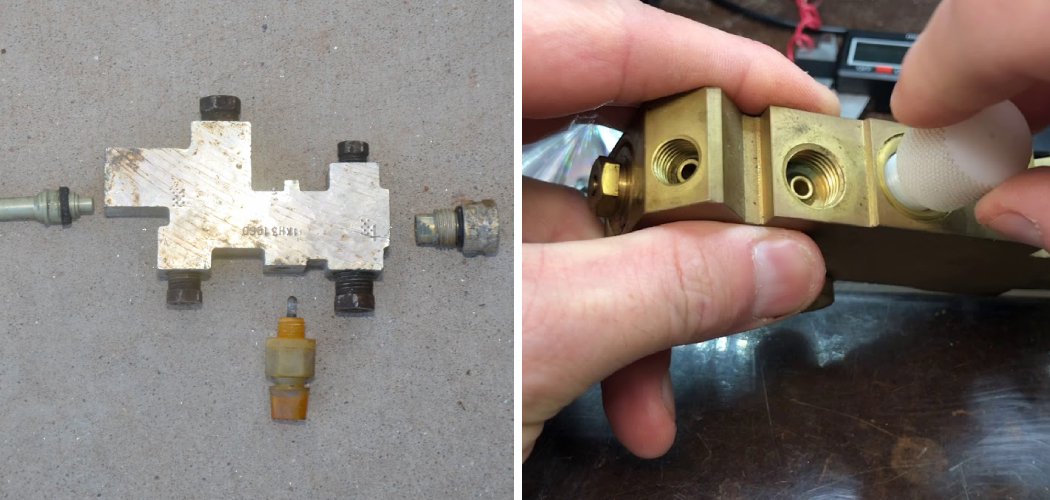
Step 1: Identify the Location of the Brake Proportioning Valve:
The first step in unsticking a brake proportioning valve is to identify its location. The valve is usually attached to the master cylinder or near the distribution block. You can refer to your vehicle’s manual for specific location instructions.
The valve may also be labeled with “front” and “rear” to indicate the brake lines. You may need to remove some components, such as the master cylinder or air cleaner, to access the valve.
Step 2: Loosen the Brake Lines:
Using a wrench appropriate for your vehicle’s brake line fittings, loosen the lines attached to the proportioning valve. Make sure to have a container underneath to catch any excess brake fluid that may leak out. Otherwise, this can lead to a mess and potential damage.
It is essential to do this step carefully and avoid bending or damaging the brake lines. But if you do, they will need to be replaced. You can also use a brake line wrench for added precision and to minimize the risk of damage.
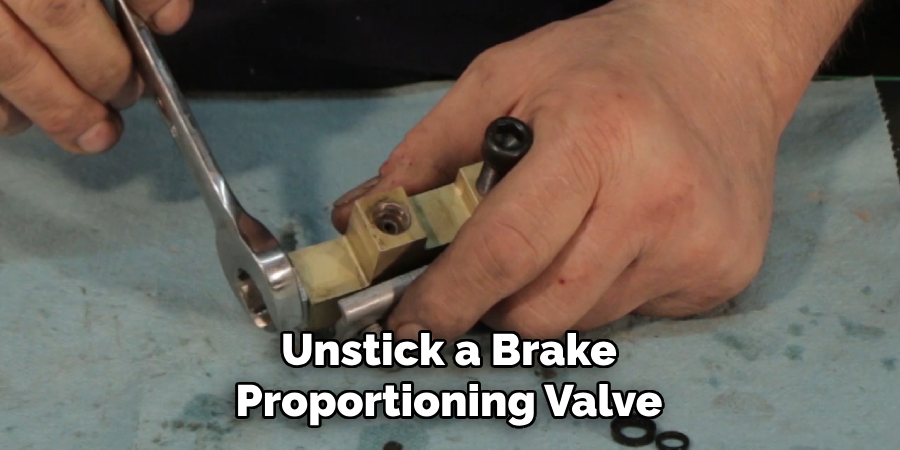
Step 3: Remove the Valve:
Once the brake lines are disconnected, remove the valve from its location using the appropriate wrench. It is crucial to keep track of any washers or other small components that may fall out during this step.
These will need to be replaced when reassembling the valve. If the valve is stuck in place, you may need to use a penetrating oil to loosen it. You can also tap it gently with a rubber mallet to loosen any debris that may be causing it to stick.
Step 4: Clean the Valve:
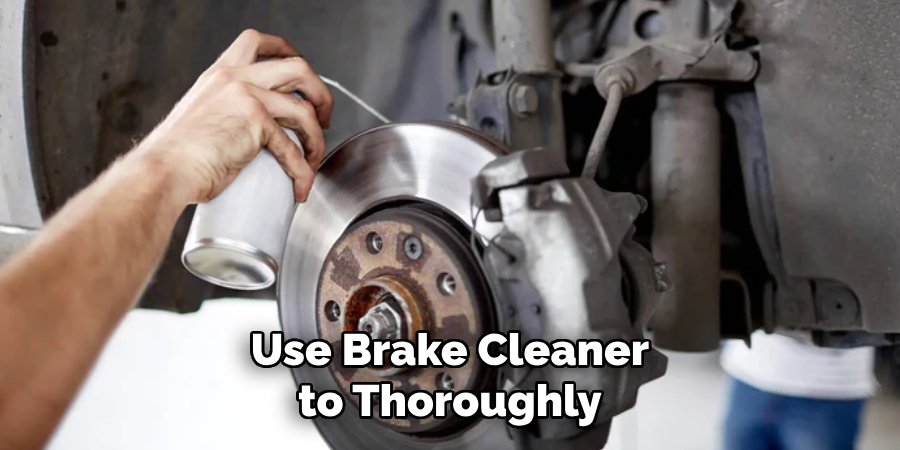
Use brake cleaner to thoroughly clean all parts of the valve, including inside and outside the valve body. This will help remove any dirt, grime, or debris that may be causing it to stick. You can also use a small brush or toothbrush to remove any stubborn debris.
If the valve is heavily corroded, you may need to soak it in brake cleaner for a few minutes before scrubbing. Rinse with water and dry completely before moving on to the next step. It is essential to wear gloves and safety glasses during this step to protect yourself from any harsh chemicals.
Step 5: Check the Valve’s Internal Components:
Once cleaned, inspect the internal components of the valve for any damage or wear. The valve should move smoothly without any restrictions. If you notice any damaged or worn parts, they will need to be replaced before reassembling the valve.
This may require purchasing a new valve or specific components from a dealership or auto parts store. It is essential to replace any damaged parts to ensure the valve functions correctly.
Step 6: Reassemble the Valve:
Carefully reassemble the valve, making sure to place all components in their proper locations. If you have difficulty remembering where specific components go, take pictures or make notes during disassembly for reference.
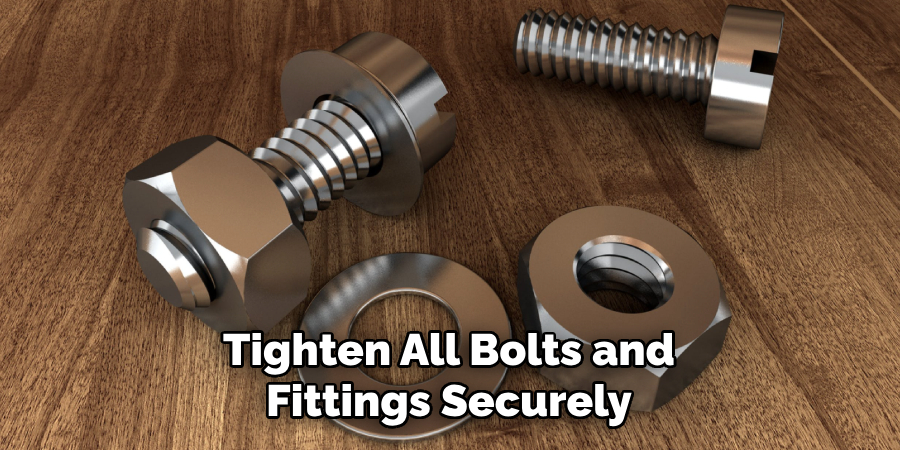
Make sure to tighten all bolts and fittings securely, but avoid over-tightening as this can cause damage. Otherwise, this can lead to leaks or restrictions in the brake lines. It is essential to use the appropriate torque for your vehicle’s make and model.
Step 7: Reconnect Brake Lines:
Using your wrench, reconnect the brake lines to their proper positions on the valve. Make sure they are tightened securely, but avoid over-tightening. I am also essential to replace any washers or other small components that may have fallen out during disassembly.
You may also need to top up or replace your brake fluid at this point, depending on the level and condition of your existing fluid. The type of fluid used must be recommended for your vehicle.
Step 8: Bleed the Brakes:
To ensure proper brake function, it is crucial to bleed the brakes after unsticking the proportioning valve. This process removes any air that may have entered the brake lines during maintenance.
You will need an assistant for this step as they will need to press the brake pedal while you open and close the bleeder valve on each wheel. Be sure to follow your vehicle’s manual for specific instructions on how to bleed the brakes. Otherwise, this can cause issues with your braking system.
Step 9: Test the Brakes:
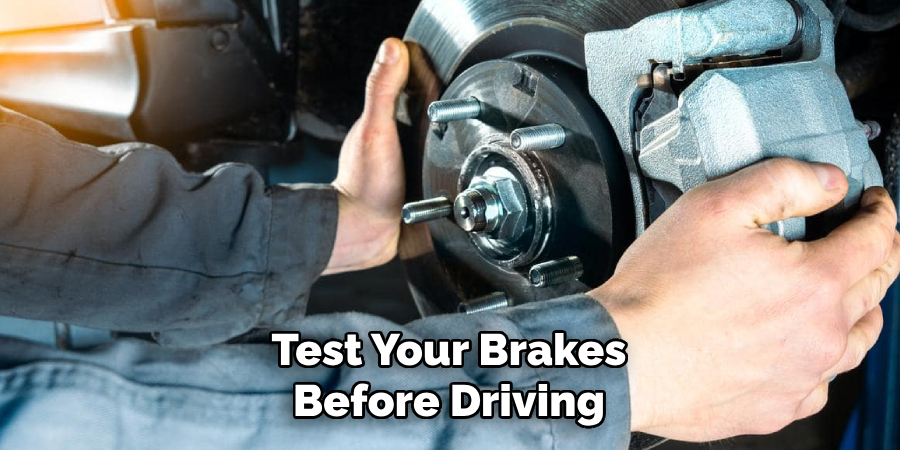
Once all steps are complete, it is essential to test your brakes before driving the vehicle. Start with a few slow stops to ensure the brakes are functioning correctly. If you notice any issues, such as a spongy or unresponsive brake pedal, there may be an underlying problem that needs to be addressed.
In this case, it is best to seek professional help. It is crucial to have properly functioning brakes for safe driving. The brake proportioning valve plays a significant role in this function, so it is essential to maintain and repair it when necessary.
Step 10: Repeat if Necessary:
If your brakes are still not functioning correctly after completing all steps, you may need to repeat the process. It is possible that there may be a more severe issue with the valve or other components that require further attention. It is essential to address any brake issues promptly for your safety and others on the road.
The proportioning valve is a crucial part of your vehicle’s braking system, and proper maintenance is necessary for safe driving. So, be sure to regularly check and maintain it to ensure optimal brake performance.
Additionally, if you notice any unusual changes in your vehicle’s braking behavior, such as uneven braking or loss of pressure, it is best to have the valve checked by a professional. This can help prevent potential accidents and ensure the overall safety of your vehicle’s braking system.
Step 11: Regular Maintenance:
To prevent future issues with your brake proportioning valve, it is crucial to maintain your vehicle’s brakes regularly. This includes checking the brake fluid levels and condition, replacing worn brake pads and rotors, and inspecting for any leaks or damage. Sticking to your vehicle’s recommended maintenance schedule can help prevent costly repairs and ensure safe driving.
It is also essential to be aware of any signs that may indicate a problem with your brakes, such as squeaking or grinding noises, a pulsating brake pedal, or a warning light on your dashboard. Addressing any issues promptly can help prevent further damage and ensure the safety of yourself and others on the road.
Following these steps on how to unstick a brake proportioning valve and maintaining your brake proportioning valve can help ensure safe driving and prevent potential accidents.
Regular maintenance is key to keeping your vehicle’s braking system functioning properly, so be sure to check it regularly and address any issues promptly. With proper care, your brakes will continue to provide reliable stopping power for many miles to come.
Advanced Techniques for Unsticking a Brake Proportioning Valve
In some cases, the steps mentioned above may not be enough to unstick a brake proportioning valve. In these situations, there are some advanced techniques that you can try before replacing the valve entirely. These techniques involve using heat or vibration to loosen and remove any stubborn debris or corrosion from within the valve.
Using Heat:
Heat can help expand metal components and break up any rust or debris that may be causing the valve to stick. To use this method, you will need a heat gun or torch. Carefully apply heat to the valve’s body, focusing on the areas where it is stuck.
Be sure not to overheat as this can cause damage to other components. Once heated, try gently tapping the valve with a rubber mallet or hammer to loosen any debris. Repeat this process a few times until the valve is freed.
Using Vibration:
Vibration can also help dislodge any debris or corrosion within the brake proportioning valve. You can achieve this by using a power tool, such as an impact drill, with a hammer attachment. Carefully attach the hammer to the stuck valve and turn on the power tool. The vibrations from the hammer should help loosen any debris or corrosion within the valve. Repeat this process a few times until the valve is freed.
If these advanced techniques still do not work, it may be necessary to replace the brake proportioning valve. However, it is always best to consult a professional mechanic before attempting any advanced techniques on your own. They will have the necessary experience and tools to safely and effectively unstick a brake proportioning valve.
Overall, regular maintenance and promptly addressing any issues are the best ways to ensure your brake proportioning valve remains in good working condition for safe driving. So, be sure to keep up with your vehicle’s recommended maintenance schedule to prevent any potential problems with your brakes.
Troubleshooting Common Issues with Brake Proportioning Valves
Here are some common issues that you may encounter with your brake proportioning valve and ways to troubleshoot them:
Spongy or Unresponsive Brakes:
This could indicate air in the brake lines, requiring you to bleed the brakes.
Uneven braking:
This could be a sign of a stuck or malfunctioning proportioning valve, which should be checked by a professional mechanic.
Loss of pressure:
This could indicate a leak in the brake system, which should be addressed immediately by a professional.
Warning light on the dashboard:
If your vehicle’s warning light for the brake system is illuminated, it could indicate various issues, including a stuck valve or low brake fluid levels. Have the valve checked by a professional to determine the cause?
Frequently Asked Questions
Q: What is a Brake Proportioning Valve?
A: A brake proportioning valve is a component in your vehicle’s braking system that helps distribute pressure to the front and rear brakes for optimal stopping power. It also regulates the amount of pressure applied to each wheel to prevent lockups and skidding.
How Do I Know if My Brake Proportioning Valve is Stuck?
A: Signs of a stuck brake proportioning valve include uneven braking, loss of pressure, or a spongy brake pedal. You may also notice that your vehicle pulls to one side when braking. If you experience any of these issues, it is best to have the valve checked by a professional.
Q: Can I Unstick the Brake Proportioning Valve Myself?
A: Yes, you can unstick the brake proportioning valve yourself by following the steps outlined in this guide. However, if you are uncomfortable or unsure of how to proceed, it is best to seek professional help. Brake issues should not be taken lightly as they directly affect your vehicle’s safety.
Q: How Often Should I Maintain My Brake Proportioning Valve?
A: It is essential to regularly maintain your vehicle’s brakes, including the brake proportioning valve. This should be done as per your vehicle’s recommended maintenance schedule, which can vary depending on your driving habits and environment. It is also essential to be aware of any signs that may indicate a problem with your brakes and address them promptly.
Conclusion
In conclusion, maintaining a well-functioning brake proportioning valve is crucial for the safety and performance of your vehicle’s braking system. If you experience any issues with your brakes, it is essential to inspect the proportioning valve and take the necessary steps to unstick it if needed.
Regular maintenance and inspections can help prevent the valve from sticking in the first place. However, in the event that it does become stuck, following the steps on how to unstick a brake proportioning valve outlined in this guide can help you safely and effectively unstick your brake proportioning valve.
Remember to always prioritize safety when working on any component of your vehicle’s braking system.
So, make sure to follow all safety precautions and consult a professional if you are unsure about any aspect of the process. By taking proper care of your brake proportioning valve, you can ensure your vehicle’s braking system is in top shape and ready for safe travels on the road ahead. Happy driving!