
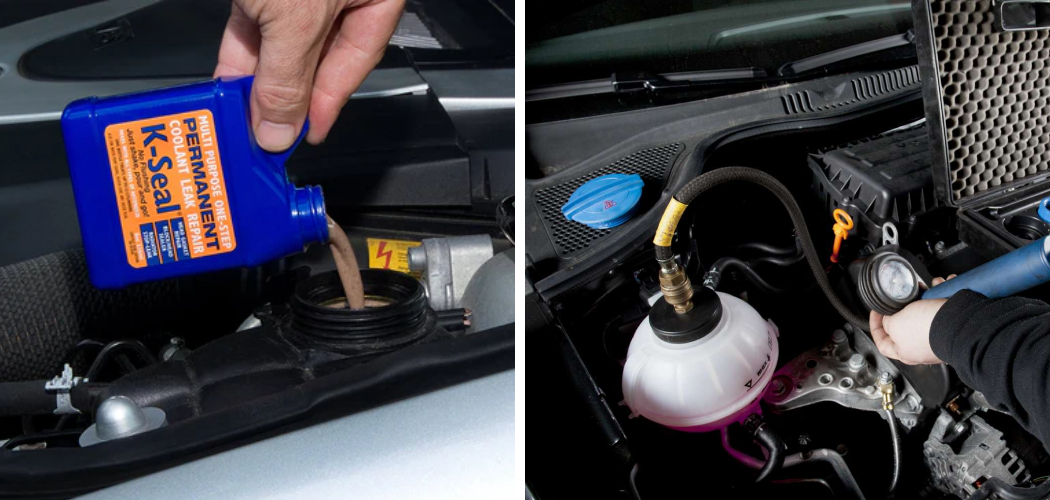
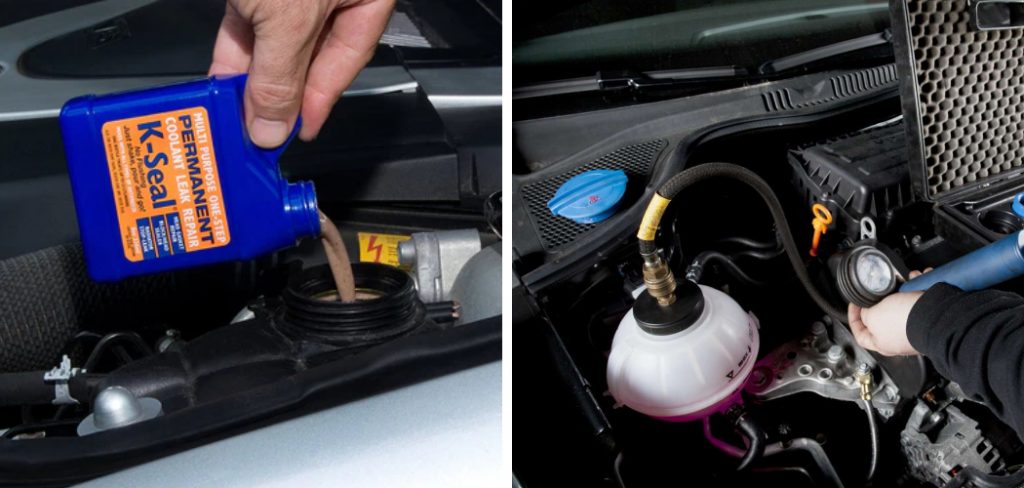
K-seal is a popular product used for sealing leaks in the cooling system of vehicles. It is advertised as a quick and easy solution to fix leaks without the need for expensive repairs. However, there may come a time when you no longer need a K-seal or want to remove it from your vehicle’s cooling system.
In this guide, we will discuss how to remove K-seal from your vehicle’s cooling system and the steps you need to take to ensure it is done correctly. If you are experiencing any issues with your cooling system, it is always best to consult a mechanic for proper diagnosis and repair.
Understanding K-Seal
Before we dive into the removal process, it is important to have a basic understanding of what K-seal is and how it works. K-seal is a sealant that is added to the vehicle’s cooling system to repair leaks. It contains ceramic microfibers and copper particles suspended in a liquid solution. When these particles come into contact with air and heat, they form a strong bond and seal the leak.
While K-seal can be a quick fix for minor leaks, it is not a permanent solution. Over time, the particles in the sealant can break down and clog up your cooling system, causing more harm than good. This is why it is important to monitor your vehicle’s cooling system and address any underlying issues that may be causing leaks.
Tools and Materials You Will Need to Remove K-seal
- Drain pan
- Pliers
- Hose cutter or scissors (if necessary)
- Coolant flush solution
- Water hose or pressure washer
- New coolant (if necessary)
Step-by-step Guidelines on How to Remove K-seal
Step 1: Drain the coolant

To begin the removal process, you will first need to drain the coolant from your vehicle’s cooling system. Place a drain pan under the radiator and remove the drain plug or valve. Once all the coolant has been drained, replace the drain plug or valve. This will prevent any coolant from leaking out while you work on removing the K-seal. If your vehicle has a pressurized cooling system, make sure to release the pressure before removing the coolant drain plug.
Step 2: Locate the K-seal
Next, you will need to locate where the K-seal was added to your cooling system. This can usually be found near the radiator or coolant reservoir. Some vehicles may have multiple entry points for the sealant, so make sure to check all possible areas. If you are unsure, consult your vehicle’s manual or a mechanic for guidance. Make a note of the locations for easier access later on.
Step 3: Remove the K-seal
Using pliers, carefully remove any clamps or hoses attached to the entry points where the K-seal was added. If necessary, use a hose cutter or scissors to cut through any hardened sealant blocking the hoses. Once all connections have been detached, gently pull out the hoses and check for any remaining K-seal. Use a hose or pressure washer to flush out any leftover particles from the cooling system.
Step 4: Flush the Cooling System
After removing the K-seal, it is important to flush your vehicle’s cooling system with a coolant flush solution. Follow the manufacturer’s instructions for proper usage. This will help remove any remaining sealant particles and clean out the system. Once the flush is complete, use a water hose or pressure washer to rinse out the solution thoroughly.
Step 5: Refill with Coolant
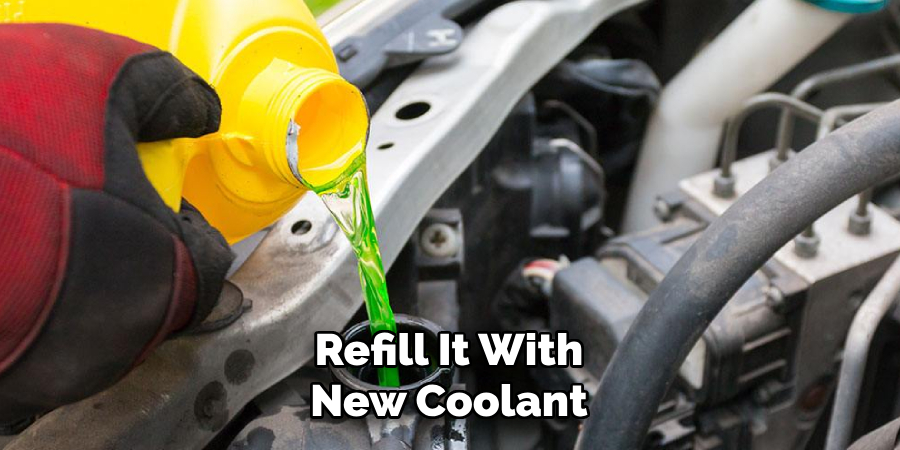
Once you have completely flushed out the cooling system, it is time to refill it with new coolant. Follow your vehicle’s manual for the recommended type and amount of coolant. Make sure to properly bleed the cooling system to remove any air pockets before starting your vehicle.
If you are unsure how to do this, consult a mechanic for assistance. Make sure to check for any leaks before driving your vehicle.
Following these steps will help properly remove K-seal from your vehicle’s cooling system. Remember, it is always best to address any underlying issues causing leaks rather than relying on temporary fixes like K-seal. Regular maintenance and proper repair are essential for the longevity of your vehicle’s cooling system.
So, make sure to regularly check for any leaks and have them fixed by a professional mechanic. Don’t forget to properly dispose of any used coolant and flush solution according to local regulations for proper environmental protection. With these steps, you can safely and effectively remove K-seal from your vehicle’s cooling system. Happy driving!
Additional Tips and Tricks to Remove K-seal
1. If the K-seal does not completely flush out, you can try adding more water and running the engine for a few minutes before draining and refilling with new coolant. This will help dilute any remaining residue from the K-seal.
2. Some mechanics recommend using an engine cleaner or degreaser to thoroughly clean the cooling system before using K-seal. This can help improve the effectiveness of the sealant.
3. If you are unable to completely remove K-seal from your cooling system, it is important to regularly monitor and maintain your coolant levels. K-seal can sometimes cause blockages or build-up in the cooling system, so it is important to keep an eye on the system and address any issues promptly.
4. If you have a stubborn leak that does not respond to K-seal or other sealants, it may be necessary to replace the damaged component or seek professional help from a mechanic. Continuing to use K-seal on a persistent leak can potentially cause more harm than good.
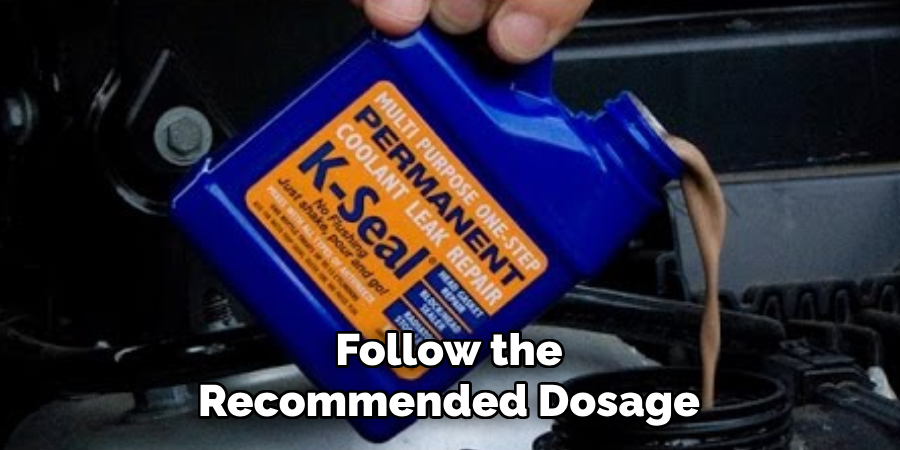
5. It is important to always follow the recommended dosage and instructions when using K-seal or any other sealant. Using too much of the product can lead to clogs or damage in the cooling system.
6. When adding coolant after using K-seal, make sure to use the correct type and mix it according to the manufacturer’s instructions. Using the wrong type or not mixing it properly can also cause issues in the cooling system.
7. Regularly check for leaks and address any issues promptly to prevent them from becoming bigger problems. This includes checking for cracks or damage in hoses, gaskets, and other components of the cooling system.
8. Be cautious when using K-seal or any other sealant on older or high-mileage vehicles. These vehicles may already have build-up in the cooling system that can be dislodged and cause further issues when using a sealant.
9. It is also important to note that K-seal or any other sealant should not be used as a long-term solution for leaks. If your vehicle consistently experiences coolant leaks, it is best to have a mechanic diagnose and fix the underlying issue rather than rely on sealants.
10. Lastly, always dispose of used coolant and any leftover K-seal according to proper environmental guidelines. This will help protect the environment and prevent potential harm to animals or humans. Additionally, make sure to keep these products out of reach of children and pets.
Following these additional tips and tricks can help ensure a successful and safe removal of K-seal from your cooling system. As always, if you have any concerns or questions about using K-seal, consult with a trusted mechanic or refer to the manufacturer’s instructions.
With proper care and maintenance, your vehicle’s cooling system should function properly without the need for sealants like K-seal. Happy driving!
Things You Should Consider to Remvoe K-seal
1. The first thing you should consider when removing K-seal is the type of sealant used. There are different types of K-seal, and each may require a slightly different removal process.
2. Another important consideration is the location of the sealant. If it’s in an easily accessible area, such as the radiator or hoses, then it may be easier to remove compared to if it’s in a more difficult-to-reach spot.
3. Before attempting to remove the K-seal, it’s important to read the manufacturer’s instructions carefully. Some sealants may require specific tools or techniques for removal.
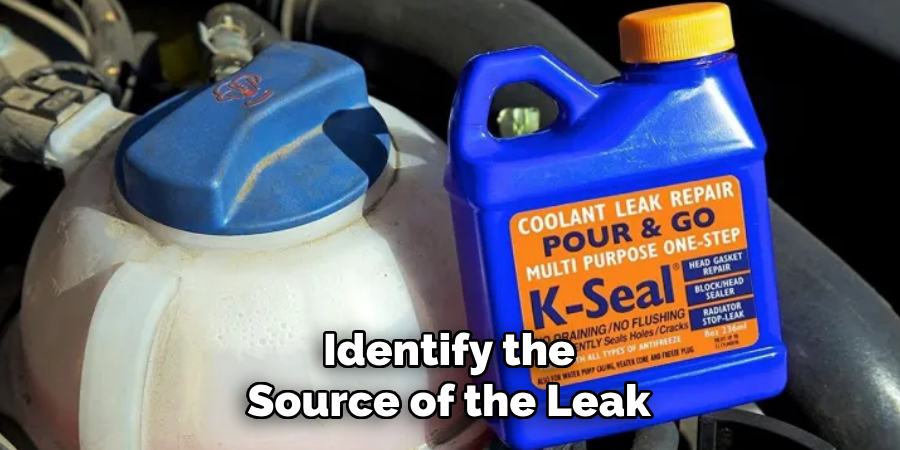
4. if possible, try to identify the source of the leak before removing the K-seal. This will give you a better idea of where to focus your effort and may help prevent future leaks.
5. It’s important to work in a well-ventilated area when removing K-seal, as the fumes can be strong and potentially harmful.
6. Be patient and take your time when removing K-seal. Rushing the process could lead to damaging other components of your vehicle or not fully removing the sealant.
7. Consider using a specialized solvent or cleaner designed for removing sealant, as this may be more effective than just water and soap.
8. After removing the K-seal, thoroughly clean the area where it was applied to ensure all remnants of the sealant are removed.
9. If you’re unsure about how to properly remove the K-seal, consider seeking assistance from a professional mechanic or consulting with the manufacturer for guidance.
10. It’s important to properly dispose of any leftover K-seal or cleaning products according to local regulations and guidelines.
11. Once the sealant is removed, it’s recommended to perform a thorough inspection of the affected area and make any necessary repairs before adding new coolant or driving the vehicle again.
Following these considerations will help ensure a successful and safe removal of K-seal from your vehicle. Remember to always follow manufacturer instructions and take necessary precautions to protect yourself and your vehicle during the removal process. So, if you have applied a K-seal to fix a leak in your car, be sure to keep these tips in mind when it’s time for its removal. Happy driving!
Common Mistakes to Avoid to Remove K-seal
1. Not Checking if Your Vehicle is Compatible With K-seal:
Before purchasing and using K-seal, it is important to check whether your vehicle’s engine is compatible with this product. Some engines may have certain materials or parts that do not react well with the sealant, which can cause further damage. If you are unsure, it is best to consult with a mechanic or refer to the manufacturer’s guidelines.
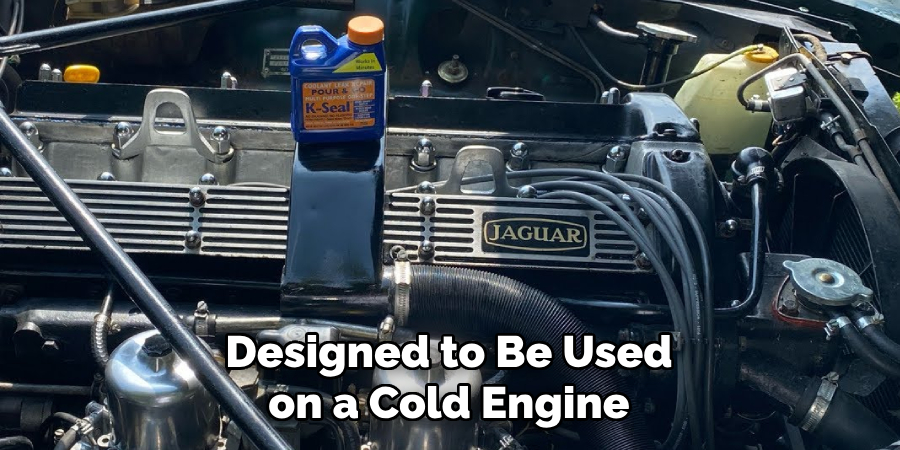
2. Using K-seal on a Hot Engine:
K-seal is designed to be used on a cold engine, as high temperatures can affect its effectiveness. It is important to allow your engine to cool down before applying the sealant. If you try to use it on a hot engine, the sealant may not bond properly and could potentially cause more damage. Using K-seal on a hot engine can also be dangerous, as the sealant may release pressurized steam when applied.
3. Not Following the Instructions Properly:
K-seal comes with specific instructions on how to use it correctly. It is important to follow these instructions carefully to ensure that the product works effectively. This includes shaking the bottle before use, applying the correct amount of product, and allowing it to circulate through your engine for the recommended time. Not following these instructions could result in an ineffective seal or even cause further damage.
4. Using Too Much or Too Little K-seal:
Using too much or too little K-seal can also be detrimental to your vehicle’s engine. If you use too much, the excess sealant can clog up your cooling system and cause issues with circulation. On the other hand, using too little may not provide enough coverage for all potential leaks. It is important to carefully measure and apply the correct amount of K-seal as instructed.
5. Ignoring Other Underlying Issues:
K-seal is designed to temporarily fix minor leaks in your vehicle’s engine, but it is not a permanent solution. If you are experiencing frequent leaks, it is important to address any underlying issues with your engine that may be causing them.
Ignoring these issues and relying solely on K-seal could lead to more serious problems down the road. If you are unsure, it is best to consult with a mechanic for a proper diagnosis.
By avoiding these common mistakes and properly using K-seal, you can effectively remove any leaks in your vehicle’s engine and keep it running smoothly. Remember to always follow the instructions carefully and check for compatibility before applying the sealant. If you have any doubts or concerns, it is best to consult with a professional for assistance. Happy driving!
Frequently Asked Questions
What is K-seal?
K-seal is a type of sealant used for fixing leaks in engines, radiators, and other automotive systems. It is made up of ceramic micro-fibers and copper particles suspended in a water-based solution, which when heated by the engine, forms a strong bond to seal the leak.
How Long Does K-seal Take to Work?
K-seal works almost instantly upon contact with a hot surface. However, it is recommended to leave the vehicle running for at least 15 minutes after application for maximum effectiveness.
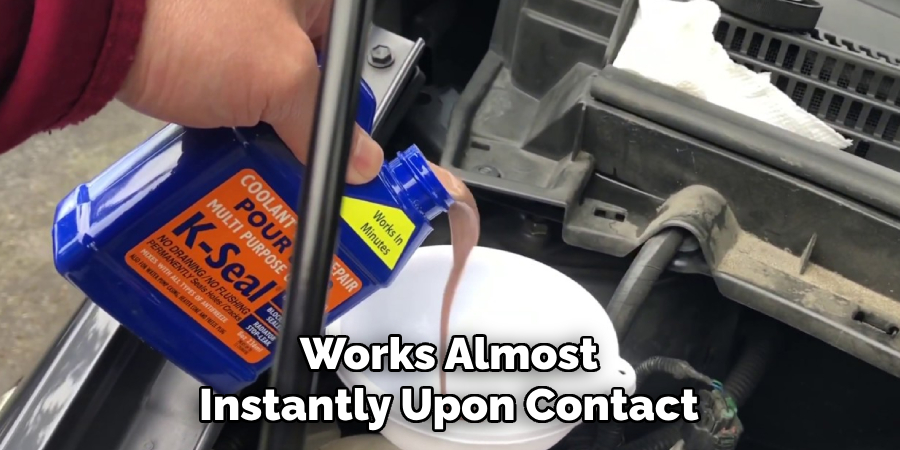
It is also important to note that the seal will continue to strengthen over time, so it is best to avoid driving for at least an hour after applying the K-seal.
How Long Does K-seal Last?
K-seal can last for the lifetime of your vehicle if applied correctly and on a clean surface. However, in some cases, reapplication may be necessary if the leak reoccurs or if a new leak appears.
What If I Accidentally Use Too Much K-seal?
Using too much K-seal can cause blockages in the engine or radiator, which can lead to further damage. It is important to carefully read and follow the instructions on the packaging to avoid overuse.
Can I Use K-seal for Large Leaks?
K-seal is not recommended for large leaks or holes. It is best used for small leaks or hairline cracks. If you have a large leak, it is best to seek professional help from a mechanic. If a large leak is left untreated, it can cause further damage to your vehicle.
What Maintenance Should I Do After Using K-seal?
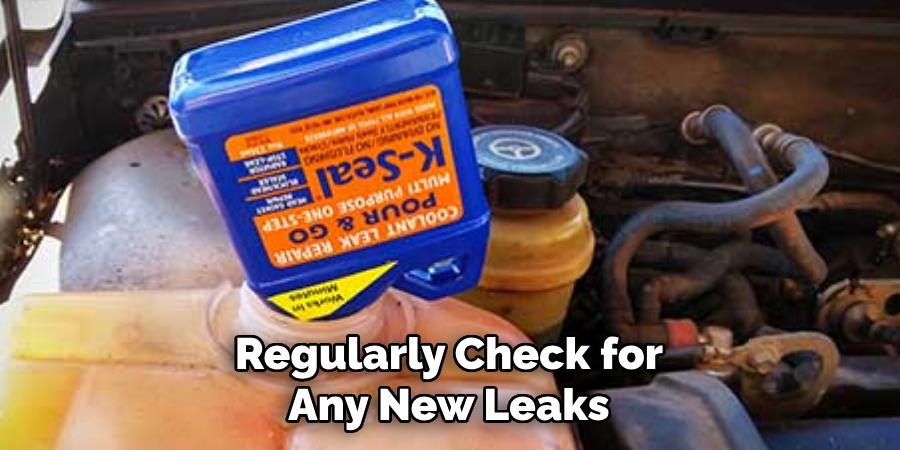
After using K-seal, it is important to regularly check for any new leaks or reoccurrence of the previous leak. If you notice a new leak, it may be necessary to reapply a K-seal. It is also recommended to have your vehicle inspected by a mechanic to ensure no underlying issues are causing the leaks. Proper maintenance of your vehicle can also help prevent future leaks.
Conclusion
All in all, knowing how to remove K-seal is important for any vehicle owner. K-seal can be a quick and easy solution for small leaks, but it is important to use it correctly and address any underlying issues to ensure the long-term health of your vehicle. Regular maintenance and proper care can help prevent leaks and other issues from occurring in the first place.
If you do encounter a leak, be sure to carefully follow the instructions and precautions when using K-seal for the best results. So, always keep some K-seal handy for any unexpected leaks that may occur while on the road. Your vehicle will thank you for it!