

The kick-down cable, an important component in vehicles with automatic transmissions, plays a pivotal role in managing gear shifts during acceleration. Proper adjustment of the kickdown cable ensures a smooth and responsive driving experience, as it fine-tunes the transmission’s ability to shift at appropriate speeds.
In this guide on how to adjust kickdown cable, we will walk you through the steps to accurately adjust the kickdown cable, ensuring your vehicle maintains optimal performance and longevity. Whether you’re an experienced mechanic or a keen DIY enthusiast, understanding how to make this adjustment can be invaluable for maintaining your vehicle’s transmission health.
What is a Kickdown Cable?
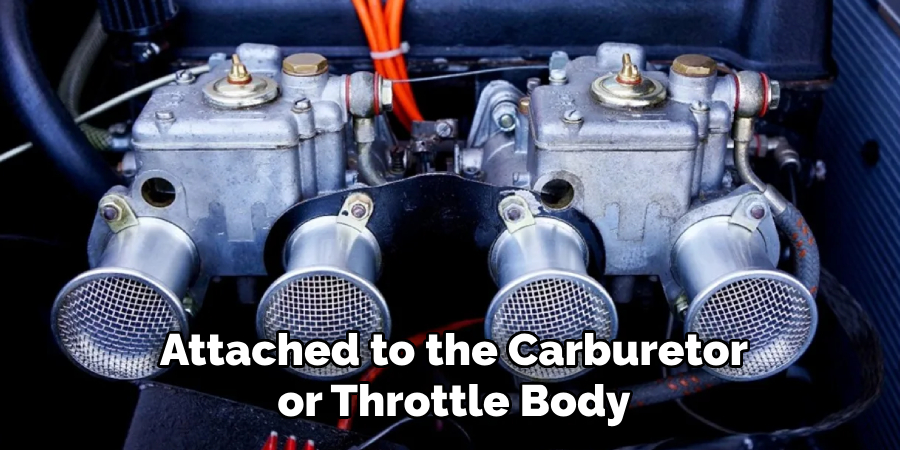
A kickdown cable, also known as a throttle valve cable or detent cable, is a mechanical link between the transmission and the carburetor or throttle body.
It connects to the engine’s throttle linkage, allowing it to adjust the transmission’s shift points based on the engine’s speed and load. The cable is responsible for controlling when the transmission downshifts into lower gears during sudden acceleration. It also helps prevent engine damage by ensuring the transmission does not shift into overdrive at low speeds.
Signs of a Misadjusted Kickdown Cable
A misadjusted kickdown cable can lead to various issues that affect your vehicle’s performance. Here are some signs that may indicate a need for kick-down cable adjustment:
Delayed or Harsh Gear Shifts
If you notice a delay in your vehicle’s gear shifts or experience harsh shifts, it could be due to a misadjusted kick-down cable. The cable may not be pulling enough to downshift when needed, causing the transmission to shift at higher speeds.
Poor Acceleration
A poorly adjusted kick down cable can also result in poor acceleration. If the cable is not pulling enough, the transmission may not downshift at the right time, causing a lag in acceleration.
High Engine RPM
A misadjusted kick down cable can also lead to high engine RPMs. If the cable is too tight or loose, it can cause the transmission to stay in a lower gear for longer periods, resulting in higher engine RPMs. This can also lead to decreased fuel efficiency and engine strain.
10 Simple Step-by-step Guidelines on How to Adjust Kickdown Cable
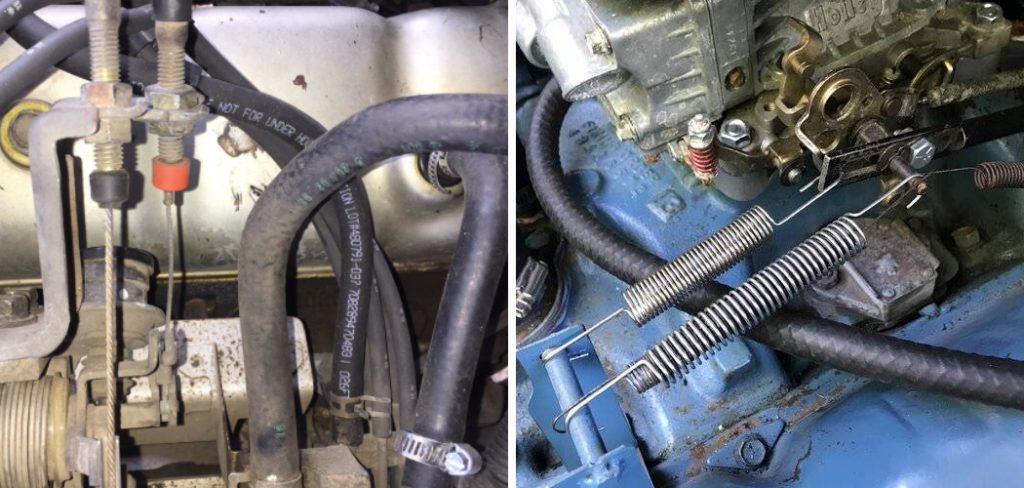
Step 1: Locate the Kickdown Cable
The kick down cable can usually be found attached to the carburetor or throttle body on one end and connected to the transmission on the other. It is usually a thick cable with an outer sheath and a metal wire inside.
You may need to refer to your vehicle’s manual for the exact location. It is often connected to a bracket or lever on the side of the carburetor. The transmission end may be connected to a bracket or lever on the side of the transmission case.
Step 2: Identify the Adjustment Nut
The adjustment nut is usually located near the carburetor end of the cable. It can be easily identified as it has a locknut and an adjusting bolt on it. But, the location of the adjustment nut may vary depending on your vehicle’s make and model.
Refer to your manual for the exact location. You may also need a wrench or pliers to loosen the locknut. The adjusting bolt should be hand-tightened. You can also make small adjustments using your fingers.
Step 3: Loosen the Locknut
Using a wrench or pliers, loosen the locknut on the adjustment nut. This will allow you to adjust the length of the cable. You may need to hold the adjusting bolt in place while loosening the locknut. But be gentle as the adjusting bolt can easily strip if too much force is applied.
Although it is rare, you may also need to loosen a second locknut on the carburetor end of the cable. You can use pliers to rotate the nut counterclockwise. The nut should loosen and slide toward the adjusting bolt. It may also help to spray some penetrating lubricant on the nut if it is stuck.
Step 4: Tighten or Loosen the Adjusting Bolt
To adjust the cable’s length, turn the adjusting bolt either clockwise or counter-clockwise, depending on the position of your vehicle’s kickdown cable. If the bolt is in a horizontal position, turning it counterclockwise will loosen the cable while turning it clockwise will tighten it.
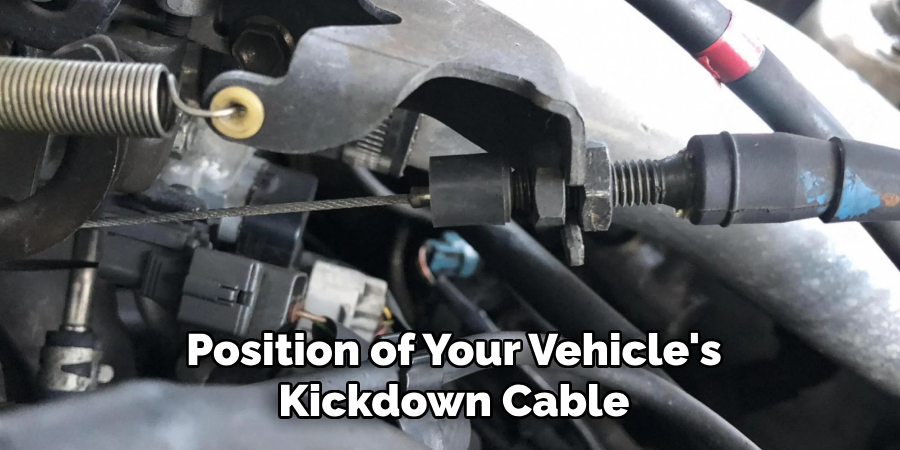
If the bolt is vertical, then turning it counterclockwise will tighten the cable, while turning it clockwise will loosen it. But be sure to make small adjustments at a time. Turning the bolt too much can cause major maladjustment. Otherwise, the cable may bind or snap. You may also need to use pliers if the bolt is too tight to turn by hand.
Step 5: Check for Proper Tension
The kick down cable should have some tension when properly adjusted. It should not be too loose or too tight. To check the tension, pull on the cable with your fingers. You should feel some resistance but should be able to move it with some effort.
If the cable is too tight, it may cause the transmission to downshift too early, leading to high engine RPMs and decreased fuel efficiency. If the cable is too loose, it may not downshift at all. It may also help to have someone depress the gas pedal while you check the cable’s tension.
Step 6: Make Small Adjustments
If the cable feels too loose, tighten it by turning the adjusting bolt clockwise in small increments until you feel proper tension. If the cable feels too tight, loosen it by turning the bolt counterclockwise in small increments. Be sure to make only small adjustments at a time and recheck the tension before moving on.
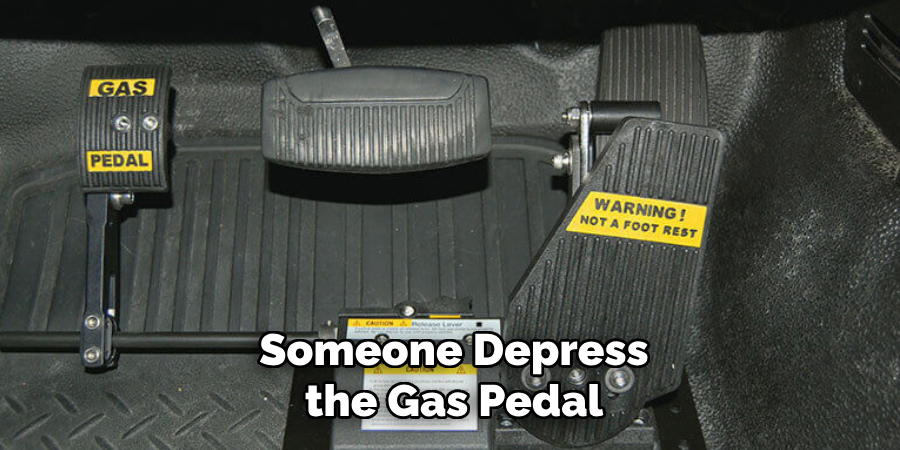
Otherwise, you may end up with major maladjustment, leading to transmission issues. It may also help to have someone depress the gas pedal while you make adjustments for a more accurate feel of the cable’s tension. You may also need to recheck the tension after each adjustment to ensure proper tension. But do not over-tighten the cable as it may lead to damage.
Step 7: Tighten the Locknut
Once you have made the necessary adjustments and are satisfied with the tension of the kick down cable, hold the adjusting bolt in place and use a wrench or pliers to tighten the locknut. Be sure not to disturb the adjustment while tightening. The locknut should be tight enough to prevent the adjusting bolt from moving but not too tight to strip it.
It may also help to use a torque wrench if you have one. You may also need to tighten the locknut on the carburetor end if you loosened it earlier. It is important to ensure that all locknuts are properly tightened to prevent any further issues. You can also use a paint marker to make marks on the locknuts and adjust bolts for reference in case any adjustments are needed in the future.
Step 8: Test the Cable
After adjusting and tightening the kickdown cable, it is important to test it to ensure proper functionality. Take your vehicle for a test drive and pay attention to the shifting gears and engine RPMs. If the cable is properly adjusted, you should notice smoother shifts and decreased engine RPMs. You may also notice an improvement in fuel efficiency. If the cable is still not properly adjusted, you may need to go back and make further adjustments.
Step 9: Check for Any Issues
While on your test drive, check for any issues that may have arisen due to maladjustment or any other underlying problems with the kick down cable. You may notice issues such as erratic shifting, transmission slipping, or even a check engine light.
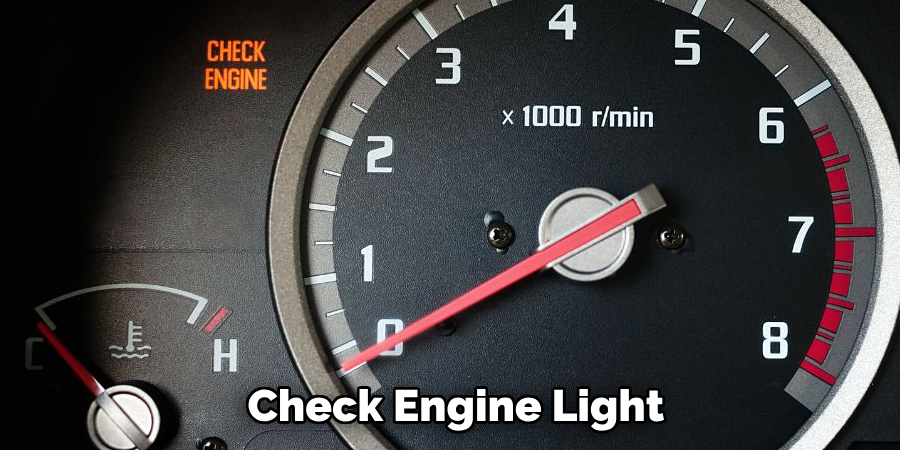
If you do, then it is important to address them immediately and make any necessary repairs or adjustments. Although adjusting your kick down cable may seem like a simple task, it is crucial to ensure that it is done correctly to avoid any further issues.
Step 10: Refer to Your Vehicle’s Manual
It is important to note that the process of adjusting your vehicle’s kickdown cable may vary depending on the make and model of your vehicle. It is always advisable to refer to your vehicle’s manual for specific instructions and diagrams.
This will ensure that you are adjusting the cable correctly and avoiding any potential damage. If you do not have access to a manual or are unsure about the process, it may be best to seek professional assistance from a mechanic.
Following these steps on how to adjust kickdown cable and making proper adjustments to your vehicle’s kickdown cable can greatly improve its performance and prevent any potential issues. Regularly checking and maintaining the tension of this cable is also important to ensure that your transmission continues to function properly.
By following these guidelines, you can confidently adjust your kickdown cable and keep your vehicle running smoothly. So, be sure to refer back to these steps whenever you need to adjust your kick down cable in the future. Happy driving!
Preventive Maintenance and Best Practices
Proper maintenance and care of your vehicle’s kickdown cable can greatly improve its performance and prevent any potential issues. Here are some preventive maintenance tips and best practices to keep in mind:
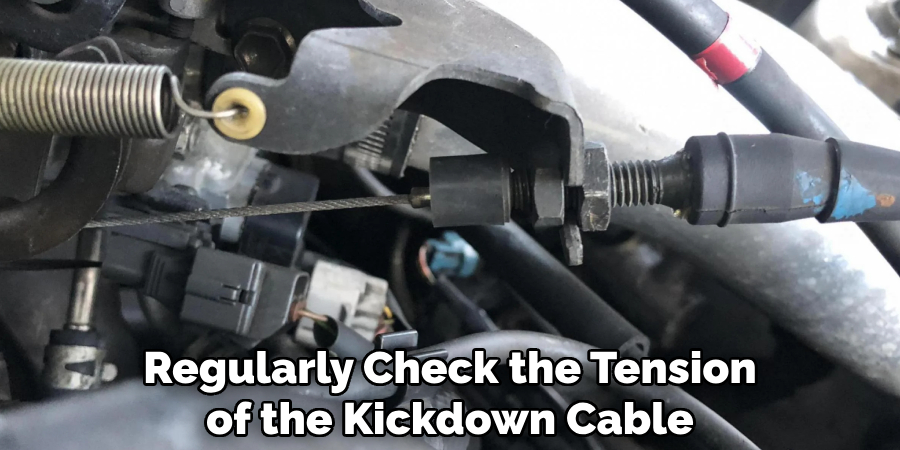
- Regularly Check the Tension of the Kickdown Cable to Ensure Proper Functionality.
- Use Penetrating Lubricant if the Cable or Adjusting Bolt is Stuck to Avoid Damaging Them.
- Make Small Adjustments at a Time to Avoid Major Maladjustments and Potential Damage.
- Refer to Your Vehicle’s Manual for Specific Instructions and Diagrams on How to Adjust the Kickdown Cable.
- Seek Professional Assistance if You Are Unsure About the Process or Do Not Have Access to a Manual.
- Test the Cable After Making Adjustments to Ensure Proper Functionality Before Driving.
- Address Any Issues Immediately, Such as Erratic Shifting or Transmission Slipping, to Avoid Further Damage.
- Replace the Kickdown Cable if It is Worn or Damaged to Prevent Potential Breakdowns or Accidents.
By following these preventive maintenance tips and best practices, you can ensure that your vehicle’s kickdown cable is in good condition and functioning properly.
Safety Considerations and Environmental Impact
It is important to note that adjusting your vehicle’s kickdown cable may require certain safety precautions to be taken. Here are some considerations to keep in mind for a safe and environmentally friendly adjustment process:
- Wear Protective Gear, Such as Gloves and Goggles, When Working on Your Vehicle.
- Use Caution When Handling Any Tools or Equipment to Avoid Injury.
- Dispose of Old or Damaged Parts Properly to Prevent Environmental Pollution.
- Avoid Making Any Adjustments While the Vehicle is Running.
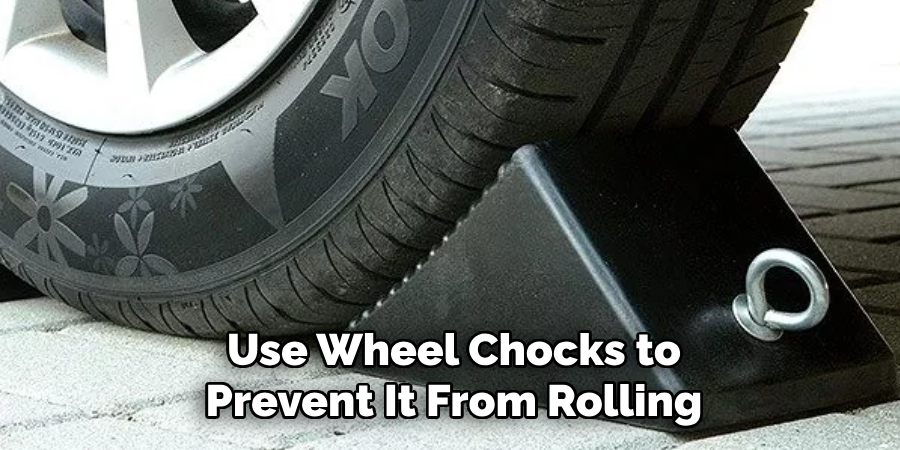
- Always Park Your Vehicle on a Level Surface and Use Wheel Chocks to Prevent It from Rolling.
- Follow Local Laws and Regulations for Proper Waste Disposal.
By following these safety considerations, you can ensure a safe adjustment process for yourself, others, and the environment. Remember to always prioritize safety when working on your vehicle.
Real-Life Examples and Case Studies
Here are some real-life examples and case studies where adjusting the kick down cable has greatly improved vehicle performance:
- A Car Owner Noticed That Their Vehicle Was Shifting Gears Erratically and Experiencing Transmission Slipping. After Adjusting the Kick Down Cable, They Saw a Significant Improvement in Shifting and No Longer Experienced Any Issues.
- A Mechanic Adjusted the Kickdown Cable on a Customer’s Car During a Routine Maintenance Check. The Customer Reported Improved Fuel Efficiency and Smoother Shifting After the Adjustment Was Made.
- A Truck Driver Adjusted the Kickdown Cable on Their Vehicle Before Embarking on a Long-haul Trip. They Noticed That Their Engine Rpms Were Lower and the Shifts Were Smoother, Resulting in an Overall More Comfortable and Efficient Trip.
- An Amateur Car Enthusiast Attempted to Adjust the Kickdown Cable on Their Vehicle Without Following Proper Instructions. This Resulted in Major Misadjustments and Caused Damage to the Transmission, Requiring Expensive Repairs.
How Much Will It Cost?
The cost of adjusting your vehicle’s kickdown cable may vary depending on the make and model of your vehicle, as well as the location and labor costs. In general, it is a relatively inexpensive process that can be done at home with simple tools. However, if you are not comfortable or familiar with the process, it is recommended to seek professional assistance, which may incur additional costs.
You can also save money by regularly checking and maintaining the tension of your kick down cable to avoid any potential issues that may require costly repairs. You should also consider the cost of replacing the kick down cable if it is worn or damaged. In any case, proper maintenance and adjustments to your kickdown cable can save you money in the long run by preventing major issues and breakdowns.
Frequently Asked Questions
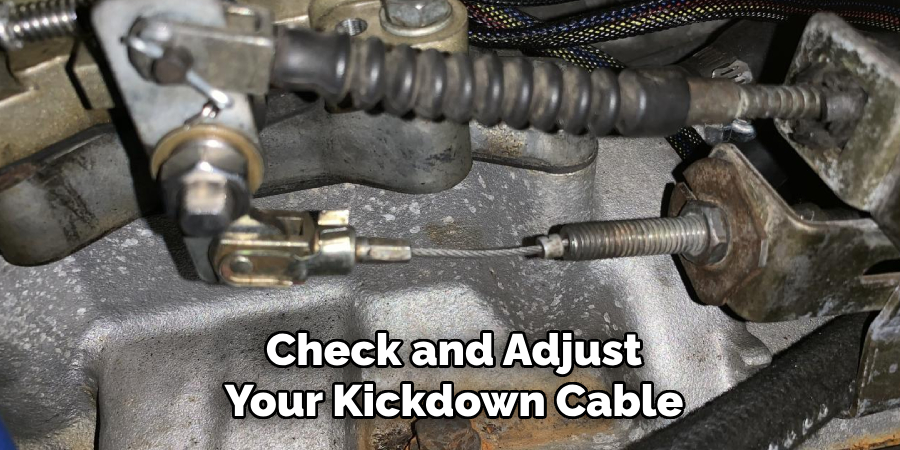
Q: How Often Should I Check and Adjust My Kickdown Cable?
A: It is recommended to check and adjust your kickdown cable every 12,000 miles or once a year, whichever comes first. However, it is always best to consult your vehicle’s manual for specific recommendations.
Q: Can I Adjust My Kickdown Cable if I Don’t Have Any Experience with Cars?
A: It is not recommended for inexperienced individuals to adjust their vehicle’s kickdown cable. It is a crucial component of the transmission and improper adjustments can lead to serious issues. If you are unsure, it is best to seek professional assistance from a mechanic.
Q: Will Adjusting My Kickdown Cable Improve Fuel Efficiency?
A: Yes, proper adjustment of the kick down cable can improve fuel efficiency by ensuring that the transmission downshifts at the right time and prevents unnecessary high engine RPMs. However, there may be other underlying issues affecting fuel efficiency that should also be addressed.
Q: Can I Over-Tighten My Kickdown Cable?
A: Yes, over-tightening the kick down cable can lead to damage and should be avoided. It is important to make small adjustments and recheck the tension before moving on to prevent over-tightening.
Overall, it is crucial to properly adjust and maintain the tension of your vehicle’s kickdown cable for optimal performance and longevity of your transmission. So, be sure to regularly check and make any necessary adjustments as recommended by your vehicle’s manual. Happy driving!
Q: How Do I Know If My Kickdown Cable Needs Adjusting?
A: You may notice issues such as erratic shifting, transmission slipping, or high engine RPMs while driving. These can be signs of an improperly adjusted kick down cable and should be addressed immediately to prevent further damage. It is also recommended to regularly check the tension of the cable as part of routine vehicle maintenance.
Conclusion
Correctly adjusting the kickdown cable is crucial for the health of your automatic transmission and the overall performance of your vehicle. Although the process might seem complex at first, consistent practice and attention to detail will make it a manageable task for any car owner aiming to optimize their car’s functionality.
Always remember that proper maintenance and timely adjustments can prevent costly repairs and keep your vehicle running smoothly for miles to come. If in doubt, consult with a professional mechanic to ensure that the adjustment is done safely and correctly. Thanks for reading this article on how to adjust kickdown cable.