
Achieving optimal engine performance requires meticulous attention to various components, and among them, rocker arms play a crucial role. These components are integral in controlling the opening and closing of the engine’s valves. Proper adjustment of rocker arms is essential for maintaining valve clearance, ensuring efficient combustion, and preventing potential engine issues. In this comprehensive guide, we delve into the intricacies of how to adjust rocker arms.

Whether you’re a seasoned mechanic or a DIY enthusiast, understanding the correct procedure for rocker arm adjustment empowers you to fine-tune your engine’s valve mechanism, promoting longevity, optimal fuel combustion, and overall improved engine efficiency. From the basics of valve clearance to the step-by-step process of adjustment, this guide equips individuals with the knowledge needed to undertake this critical aspect of engine maintenance.
Importance of Properly Adjusted Rocker Arms
Before delving into the adjustment process, it’s important to understand the impact of properly adjusted rocker arms. Optimal valve clearance achieved through precise rocker arm adjustment is instrumental in preventing valve train noise, excessive wear, and potential engine failure. Correctly adjusted rocker arms ensure that valves open fully and close securely, enhancing the engine’s ability to breathe and thereby improving its performance and efficiency.
Neglecting this critical adjustment can lead to suboptimal engine performance, higher emissions, and increased fuel consumption, demonstrating that precise calibration is not just a matter of maintenance, but also a contribution to environmental sustainability and cost-effective vehicle operation.
Why Adjusting Rocker Arms Is Necessary for Engine Maintenance
Regular maintenance of an engine’s valve train, including adjusting rocker arms, is akin to tuning a sophisticated instrument. Without proper adjustment, the delicate balance within the engine’s internal components becomes disrupted. This can manifest in several ways, such as reduced power output, inefficient fuel usage, and an increase in harmful emissions.
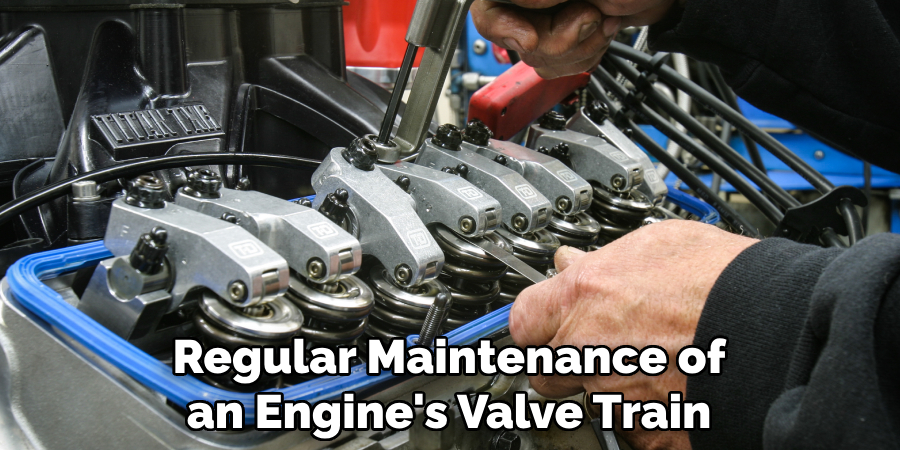
Over time, neglecting this aspect of engine maintenance can lead to more severe complications, such as valve or piston damage, which can be costly and complex to repair. Therefore, keeping rocker arms well-adjusted is necessary not only for optimal engine performance but also for the longevity and reliability of the engine as a whole.
Understanding Rocker Arms and Valve Train System
Rocker arms are pivotal levers residing in an engine’s cylinder head; they pivot on a shaft or individual pedestals and actuate the opening and closing of valves in coordination with the camshaft’s rotation. This interaction forms the core of the valve train system – a critical assembly involving rocker arms, valve springs, valves, push rods, lifters, and the camshaft. Collectively, these components translate the rotational motion of the camshaft into the linear motion needed to open and close the engine’s intake and exhaust valves.
The precise synchronization of the valve train system enables the engine to intake air and fuel and expel exhaust gases at the correct intervals. Understanding this interplay is crucial for recognizing the importance of each adjustment made to rocker arms and for appreciating the symbiotic nature of the valve train complex.
The Function and Components of Rocker Arms
Rocker arms are engineered to transmit the camshaft’s lobed motion to the valves, acting as fulcrums that allow for the transformation of rotational motion into linear motion. To perform this essential task, a rocker arm typically consists of several components:
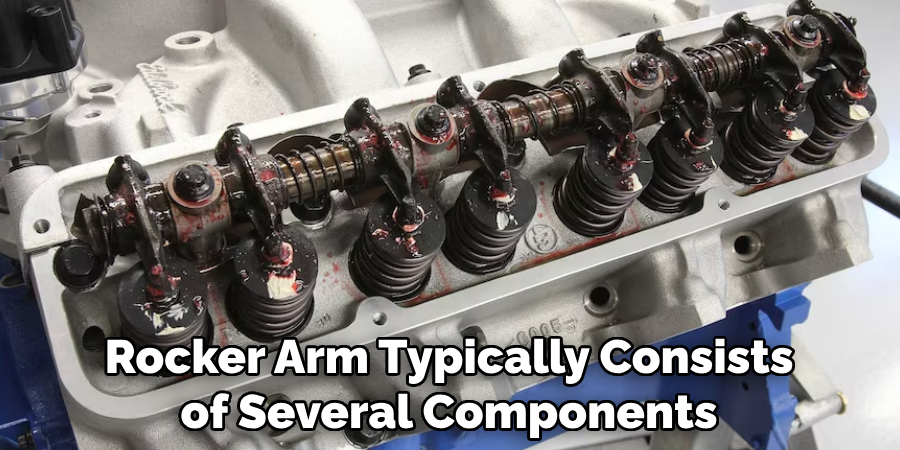
- Pivot Point: This is where the rocker arm rotates, and it can be mounted on a shaft or supported by a pedestal.
- Adjuster (or Adjusting Screw): Allows for the fine-tuning of valve lash—the clearance between the valve stem and the rocker arm—to ensure that valves open and close at the proper times.
- Push Rod Cup: A recess where the push rod seats, transferring the movement from the lifters to the rocker arm.
- Valve Stem Contact Point: The part of the rocker arm that comes into direct contact with the valve stem, pushing it down to open the valve when the camshaft rotates.
Constructed from materials such as steel, aluminum, or alloys, rocker arms must exhibit exceptional strength and wear resistance due to the repetitive stress and high pressures they are subjected to during engine operation. Each rocker arm design varies slightly to match the specific demands of the engine it is a part of, with differences in size, shape, and mass customization designed to maximize efficiency and performance for that particular engine’s requirements.
Signs of Incorrectly Adjusted Rocker Arms
Recognizing the symptoms of improperly adjusted rocker arms can prevent minor issues from developing into major engine problems. Here are some telltale signs that the rocker arms may need adjustment:
- Unusual Engine Noise: A ticking or tapping sound coming from the engine’s cylinder head could indicate loose rocker arms. Conversely, if the rocker arms are overly tightened, a lack of noise could also signal an issue.
- Decreased Performance: If the engine seems lethargic or struggles with acceleration, this may point to the valves not opening adequately due to improper rocker arm adjustment.
- Engine Misfires: Improper lash can lead to incomplete combustion, resulting in engine misfires or a rough-running engine.
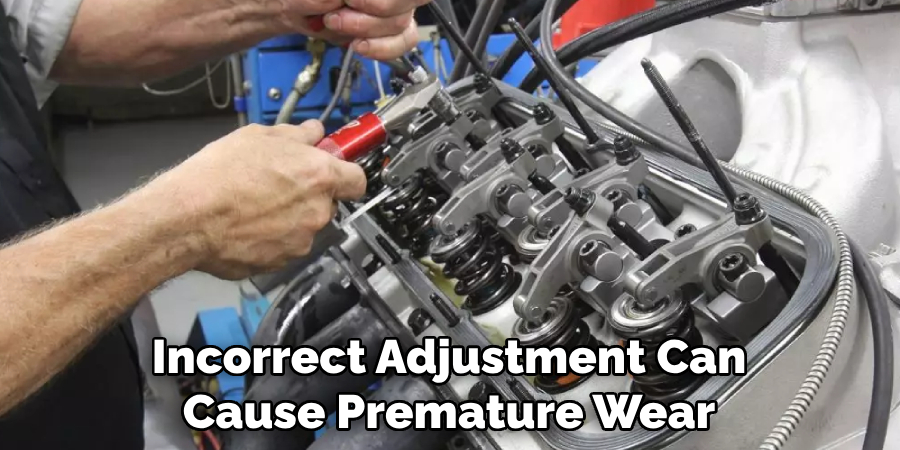
- Excessive Valve Wear: Incorrect adjustment can cause premature wear on the valves and related components, visible during an inspection.
- Increased Fuel Consumption: When the valve lash is not set correctly, the engine may run less efficiently, noticeably affecting fuel economy.
It is crucial to conduct periodic checks and listen for these warning signs. Addressing such issues promptly will preserve the integrity of the engine and ensure the continued performance of your vehicle.
The Necessity of Periodic Inspection and Adjustment
Regular inspection and adjustment of the valve train, and specifically the rocker arms, are essential for maintaining engine integrity. Periodic assessments by a qualified technician can reveal early signs of wear or misalignment, allowing for timely corrections that prevent larger, more expensive issues from arising. Just as regular check-ups are vital to preserving human health, routine engine examinations ensure that all parts are functioning together harmonically.
Ignoring this critical aspect of vehicle upkeep may lead to a decline in performance, unnecessary strain on the engine, and ultimately, a reduction in the vehicle’s lifespan. By making routine inspections and adjustments a part of your long-term vehicle maintenance plan, you promote efficient engine operation, minimize the risk of breakdown, and sustain optimal vehicle performance over time.
10 Methods How to Adjust Rocker Arms
1. Understand Valve Clearance Basics:
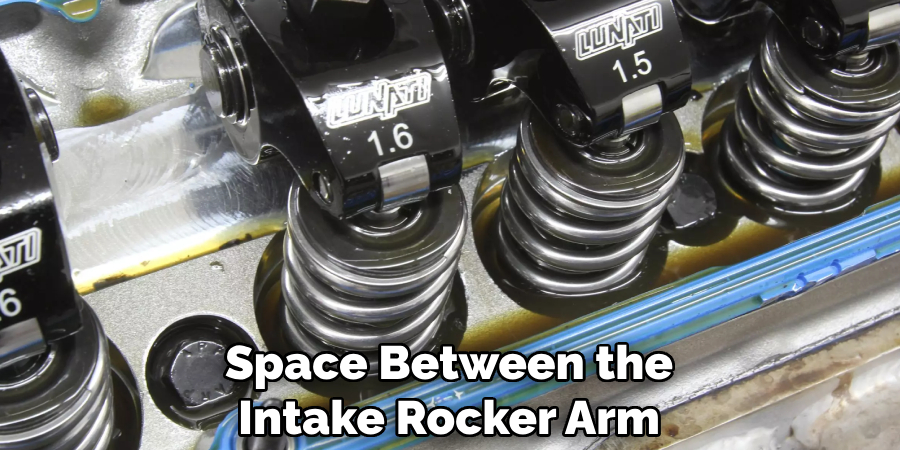
Before diving into the adjustment process, it’s crucial to grasp the fundamentals of valve clearance. Valve clearance is the space between the rocker arm and the valve stem when the valve is fully closed. This clearance ensures that the valve does not remain partially open, preventing potential engine damage. Understanding this principle is foundational for successful rocker arm adjustment.
The two types of valve clearance are intake and exhaust. Intake valve clearance is the space between the intake rocker arm and the valve stem, while exhaust valve clearance is the space between the exhaust rocker arm and the valve stem. It’s essential to have proper clearance for both types to ensure efficient engine performance.
Valve clearance can be affected by several factors, including wear and tear, engine temperature, and dirt or debris buildup. When the clearance is too large, it can result in a noisy engine and reduced performance. On the other hand, if the clearance is too small, it can cause valves to remain partially open, leading to overheating and potential damage.
2. Identify Top Dead Center (TDC) Position:
Accurate adjustment of rocker arms requires identifying the Top Dead Center (TDC) position of the piston. Utilize a timing mark on the harmonic balancer or flywheel in conjunction with a piston stop tool to precisely determine TDC. This ensures that the valves are in the correct position for adjustment. When the piston is at TDC, both valves should be closed and the rocker arms will have a slight amount of play. Adjustments made with the engine in any other position may result in improperly adjusted valve clearances.
3. Consult Manufacturer Specifications:
Manufacturer specifications provide critical information for rocker arm adjustment. Refer to your vehicle’s service manual or the manufacturer’s guidelines to determine the recommended valve clearance and adjustment procedure specific to your engine. This information is crucial for achieving precise adjustments tailored to your engine’s requirements.
In addition to providing valve clearance and adjustment procedures, manufacturer specifications also include other important information such as torque specifications for tightening bolts and nuts, timing belt or chain replacement intervals, and recommended engine oil type and capacity.

It is important to follow these specifications carefully in order to maintain the performance and longevity of your engine. Failure to do so could result in improper adjustments leading to engine damage or malfunction. Additionally, using the wrong type of engine oil could also negatively impact your engine’s performance and potentially cause costly repairs down the line.
4. Choose the Right Tools:
A successful rocker arm adjustment relies on the use of appropriate tools. Invest in a set of feeler gauges, a torque wrench, and the necessary socket and wrench sizes to ensure accuracy during the adjustment process. Using the right tools helps achieve consistent and reliable results.
In addition to the essential tools mentioned, there are a few other optional but useful tools that can aid in the rocker arm adjustment process. These include a valve spring compressor, a screwdriver or pry bar for adjusting the valves, and a magnetic tool tray to keep all your small parts organized.
A valve spring compressor is particularly helpful when adjusting the rocker arms on overhead cam engines. It allows you to compress the valve springs, making it easier to remove and install the rocker arms. This tool also helps prevent any accidental damage to the valves or other engine components.
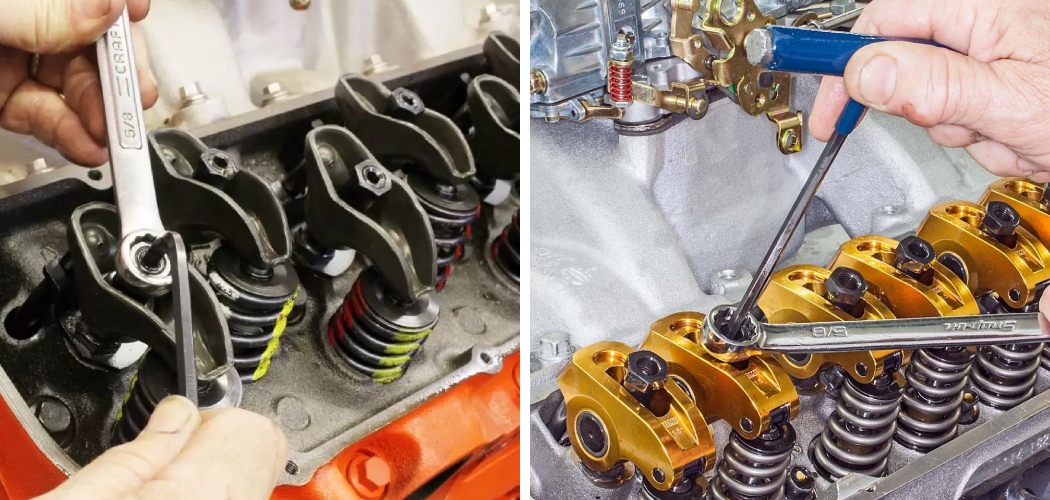
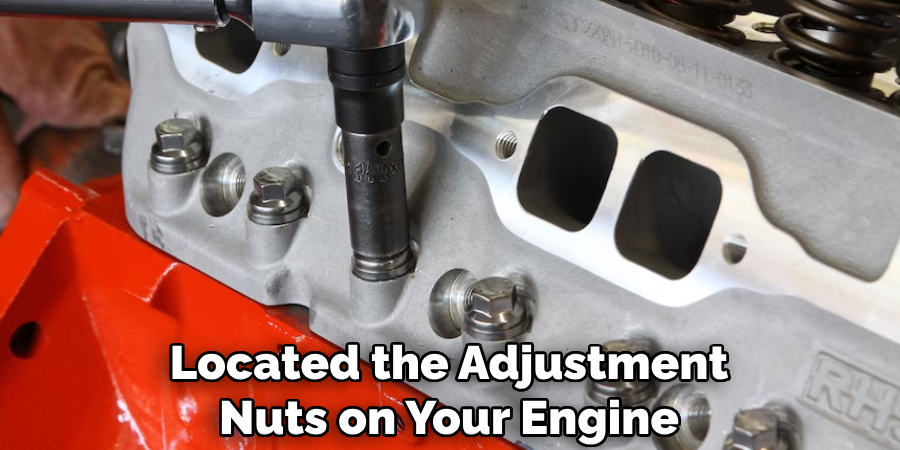
5. Locate Adjustment Nuts or Screws:
Different engine designs employ various methods for rocker arm adjustment, including nuts or screws located on the rocker arms or pushrods. Identify the specific adjustment points on your engine, whether they are locknuts, set screws, or other mechanisms, to prepare for the adjustment process.
Once you have located the adjustment nuts or screws on your engine, it is important to understand how they operate and how to properly adjust them. This will ensure that your rocker arms are correctly adjusted and functioning optimally. Although the processes may vary slightly depending on your engine’s design, there are some general steps that can be followed for adjusting rocker arms.
6. Rotate the Engine to Adjust Each Cylinder:
Adjusting rocker arms requires rotating the engine to the specified position for each cylinder. Utilize a ratchet and socket on the crankshaft bolt to turn the engine in the direction of rotation. Adjust each rocker arm when the corresponding cylinder is at Top Dead Center (TDC).
Once the engine is rotated to the correct position, locate the valve cover on top of the cylinder head. Remove the bolts or screws holding it in place using a socket wrench or screwdriver. Carefully lift off the valve cover and set it aside.
Next, locate the rocker arm assembly which is typically attached to the camshaft. The rocker arms are responsible for opening and closing the valves in each cylinder. Using a feeler gauge, check the clearance between the rocker arm and valve stem. If the clearance is not within specifications, it will need to be adjusted.
7. Use Feeler Gauges for Precision:
Feeler gauges are indispensable for achieving precise valve clearances during rocker arm adjustment. Insert the appropriate feeler gauge between the rocker arm and valve stem, adjusting the locknut or set screw until the desired clearance is achieved. Repeat this process for all cylinders. After completing the adjustment, double check each valve clearance to ensure accuracy.
Valve clearances are critical for engine performance and longevity. Too tight of a clearance can lead to premature valve wear and loss of power, while too loose of a clearance can cause noisy operation and decreased performance. Regularly checking and adjusting valve clearances is an important part of proper engine maintenance.
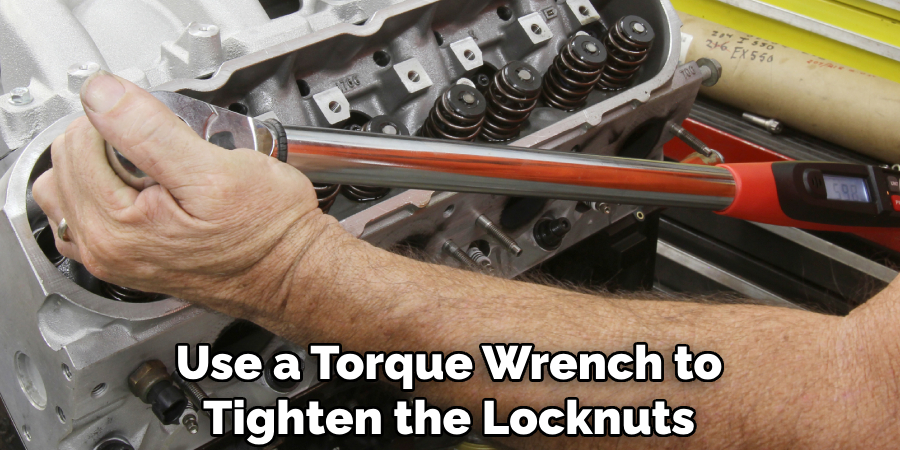
8. Apply Proper Torque for Locknuts:
Some rocker arm designs feature locknuts that require proper torque application for secure adjustment. Use a torque wrench to tighten the locknuts to the manufacturer-specified torque values. This ensures that the adjustment remains in place and maintains the correct valve clearance.
While torqueing, always refer to the manufacturer’s specifications for the correct torque values. These specifications can vary depending on the type of locknut and rocker arm design. Using improper torque or over-torquing can result in damaged components and lead to engine malfunction.
In addition to using a torque wrench, it is also important to make sure that the locknuts are clean and free of debris before torqueing. This will ensure that they are able to properly grip the threads and maintain their torque value.
9. Check and Double-Check Clearances:
After adjusting each rocker arm, double-check the valve clearances using the feeler gauges. Confirm that the clearance matches the manufacturer’s specifications. Consistent and accurate clearances across all cylinders contribute to balanced engine performance. This is especially important for high-performance engines that require tight tolerances. Always take your time with this step and make any necessary adjustments before moving on.
It’s also important to note that while checking the valve clearances, it’s a good idea to inspect the condition of the camshaft lobes and lifters. Look for any signs of excessive wear or damage as these components play a crucial role in the smooth operation of the engine. If any issues are identified, they should be addressed before continuing with the assembly process.
10. Perform a Final Engine Check:
Once all rocker arms are adjusted, perform a final engine check. Crank the engine, listen for any unusual sounds, and observe the valve movement. Confirm that the engine runs smoothly and that the adjustments have been executed correctly. This final check ensures the overall health and performance of the adjusted rocker arms.
In addition to the final engine check, it is important to regularly maintain and inspect all components of an engine. This includes checking oil levels, replacing filters, and ensuring proper fuel intake. By keeping up with regular maintenance, you can prevent potential issues and prolong the life of your engine.
Another aspect to consider when adjusting rocker arms is camshaft wear. Over time, the camshaft lobes can wear down, causing uneven wear on the rocker arms. If this is the case, it may be necessary to replace the camshaft in order to properly adjust the rocker arms and maintain engine performance.
Conclusion
In conclusion, mastering the art of adjusting rocker arms is essential for maintaining the optimal performance and longevity of an engine. With attention to detail and the right tools, ensuring proper clearance between rocker arms and valve stems promotes smooth engine operation and minimizes wear on critical components. Regular inspection and adjustment of rocker arms are paramount to preventing issues such as valve train noise, poor performance, or even engine damage.
By understanding the signs of misadjusted rocker arms and following the outlined procedures for adjustment, engine enthusiasts and mechanics alike can optimize engine performance and reliability. Follow these simple instructions outlined in this blog post about how to adjust rocker arms, and you’ll be able to get the job done with ease.