
Installing a brake controller is a crucial step in ensuring safe and effective towing with a trailer or caravan. A brake controller enables the towing vehicle to activate the brakes on the trailer, helping to maintain control and reduce stopping distances. Whether towing a small utility trailer or a large RV, installing a brake controller is essential for complying with towing regulations and ensuring the safety of both the driver and other road users.

Understanding how to install a brake controller properly empowers vehicle owners to take control of their towing setup and enhance overall safety and stability while on the road. From selecting the right brake controller for your towing needs to wiring it into your vehicle’s electrical system, each step of the installation process plays a crucial role in ensuring smooth and secure towing experiences. This article will guide you through the essential steps of installing a brake controller, providing valuable insights and tips to help you complete the task with confidence.
Importance of Installing a Brake Controller for Safe Towing
The importance of installing a brake controller cannot be overstated when it comes to towing safely. This device is not just a supplementary accessory but a critical component that synchronizes your vehicle’s brakes with those of your trailer or caravan. With a brake controller, you can ensure that both your vehicle and trailer decelerate at a compatible rate, reducing the risk of jackknifing or losing control.
Especially in emergency braking situations, the responsiveness provided by a well-calibrated brake controller could mean the difference between a safe stop and a serious accident. By investing in a reliable brake controller and taking the time to install it properly, you are prioritizing the safety of your load, your vehicle, and your passengers, as well as contributing to safer roadways for everyone.
Understanding Brake Controllers
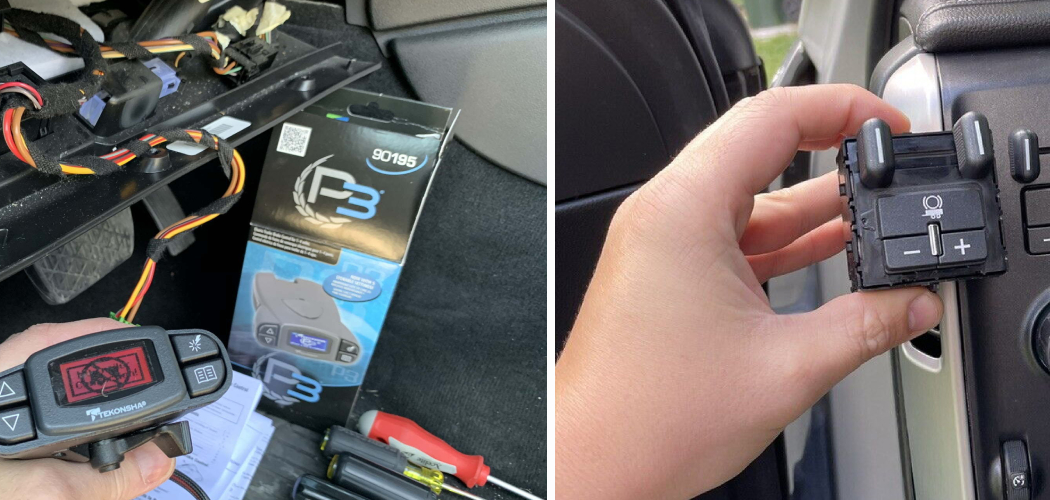
Before diving into the installation process, it is crucial to understand what a brake controller is and how it functions. A brake controller is an electronic device that manages the electric brakes of a trailer and ensures that they activate in sync with the braking of the towing vehicle. It is usually mounted within easy reach of the driver and typically connected to the vehicle’s battery, braking system, and trailer connector.
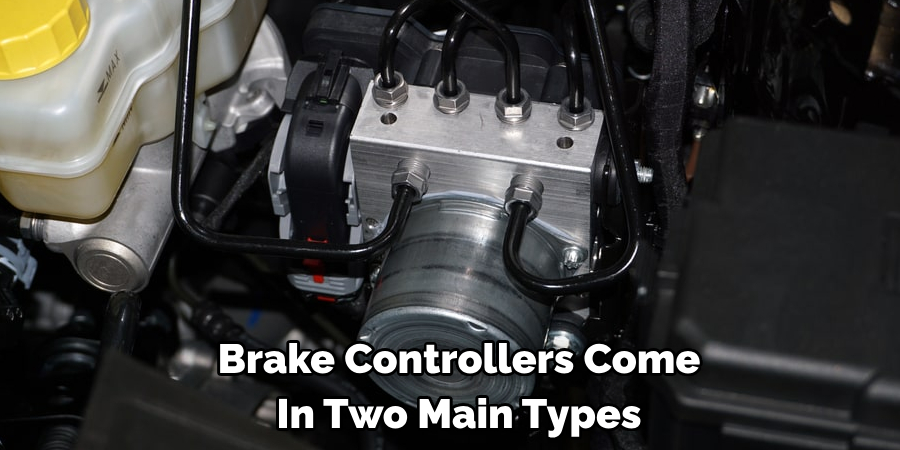
Brake controllers come in two main types: time-delayed and proportional. Time-delayed brake controllers send a pre-set amount of braking power to the trailer in response to the vehicle’s brakes being applied. Proportional brake controllers, on the other hand, match the intensity of the trailer’s brakes with the deceleration of the towing vehicle, providing smoother and more responsive braking. Selecting the appropriate type for your towing situation is essential for optimal performance and safety.
Types of Brake Controllers Available in the Market
When selecting a brake controller, it’s important to know the different types available on the market and how they compare in performance and features. The market primarily offers two types of controllers: Time-Delayed Brake Controllers and Proportional Brake Controllers.
Time-Delayed Brake Controllers, also known as user-controlled devices, allow drivers to set a fixed amount of braking force to be sent to the trailer’s brakes. This type does not dynamically adjust the braking force based on the towing vehicle’s deceleration but instead applies a constant, pre-determined amount of pressure whenever the brake pedal is engaged.
On the other hand, Proportional Brake Controllers adjust the braking pressure in proportion to the towing vehicle’s rate of deceleration. These controllers use various methods to detect the tow vehicle’s deceleration, such as an internal inertia sensor, and apply the trailer brakes accordingly. This results in a more synchronized braking experience that can significantly reduce the wear on both the tow vehicle and trailer’s braking systems and enhance overall safety.
Each type has its own benefits and may be better suited for different towing situations and preferences, making it vital to consider factors such as towing frequency, load variance, and personal driving style when making your choice.
Selecting the Right Brake Controller
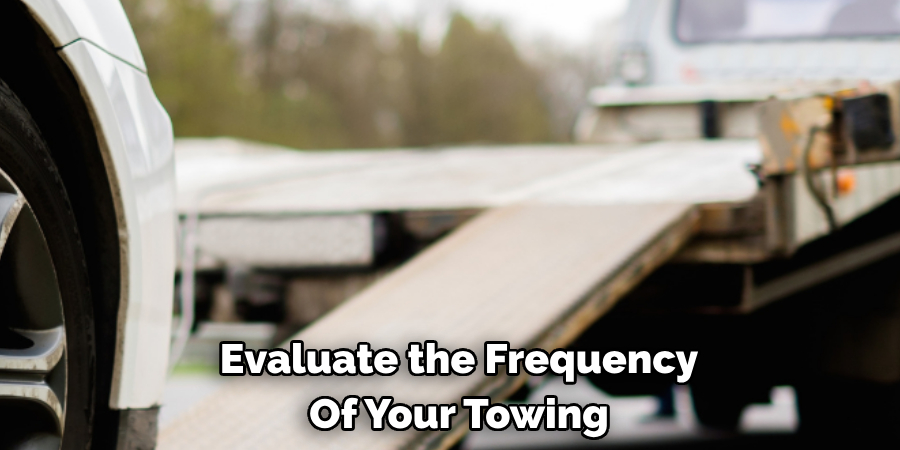
When choosing the right brake controller for your towing setup, there are several factors to consider. First, evaluate the frequency of your towing and the type of loads you typically carry. If you often tow heavy loads or tow in hilly or mountainous terrain, a Proportional Brake Controller may offer better control and prevent brake wear by automatically adjusting the braking power to the conditions. For infrequent towing or lighter loads, a Time-Delayed Brake Controller might be sufficient and more cost-effective.
Next, think about your driving environment. For city driving with frequent stops and starts, a proportional controller can provide smoother stops that put less strain on your vehicle and cargo. For long-distance highway driving, either type could be suitable, so you may want to focus on other features or price points.
Lastly, consider ease of installation and compatibility with your vehicle. Some brake controllers are plug-and-play with specific vehicle models, which can greatly simplify the installation process. Others may require additional wiring or adapters. Always ensure that the brake controller you select is compatible with your vehicle’s electrical system and has the necessary mounting options for your preferred location within the vehicle.
By taking the time to assess your needs and understand the features of each type of brake controller, you can make an informed decision that enhances your towing safety and overall experience on the road.
Ensuring Compatibility with Your Vehicle and Trailer Braking System
Before proceeding with the installation of a brake controller, it is crucial to confirm the compatibility between your braking system and the controller. This involves verifying that the brake controller model is designed to work with the electric brakes on your trailer and is suitable for the electrical specifications of your towing vehicle. Many late-model vehicles come with pre-installed wiring harnesses that are tailored for brake controllers, which can significantly simplify the process.
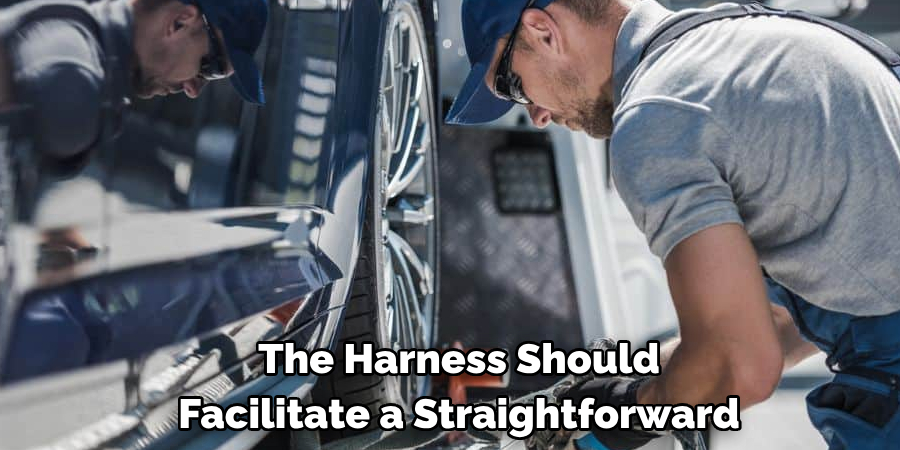
For vehicles without pre-wired connections, it’s necessary to acquire a wiring harness that matches your vehicle’s make, model, and year. The harness should facilitate a straightforward connection between your vehicle’s electrical system and the brake controller. Additionally, consult your vehicle’s owner manual and the brake controller’s installation guide to ensure that the system you are using does not exceed the tow vehicle’s rated towing capacity and that it adheres to any specific guidelines set by the manufacturer. By diligently checking these aspects before installation, you can avoid potential compatibility issues and ensure a smooth and reliable braking performance while towing.

10 Steps How To Install a Brake Controller
1. Select the Right Brake Controller:
Begin by selecting the appropriate brake controller for your towing setup. Consider factors such as the size and weight of your trailer, the type of brakes it has (electric or hydraulic), and compatibility with your vehicle’s electrical system. Though most modern vehicles come equipped with a brake controller connector, some may require additional wiring or adapters. It is important to carefully read the instructions provided by the manufacturer to ensure proper installation and compatibility.
Next, choose between a time-delayed brake controller and a proportional brake controller. Time-delayed controllers are less expensive and easier to install, but they can be less precise in their braking control. Proportional controllers, on the other hand, use sensors to measure the brake pressure applied by the vehicle and adjust accordingly, providing a more accurate and proportional braking experience.
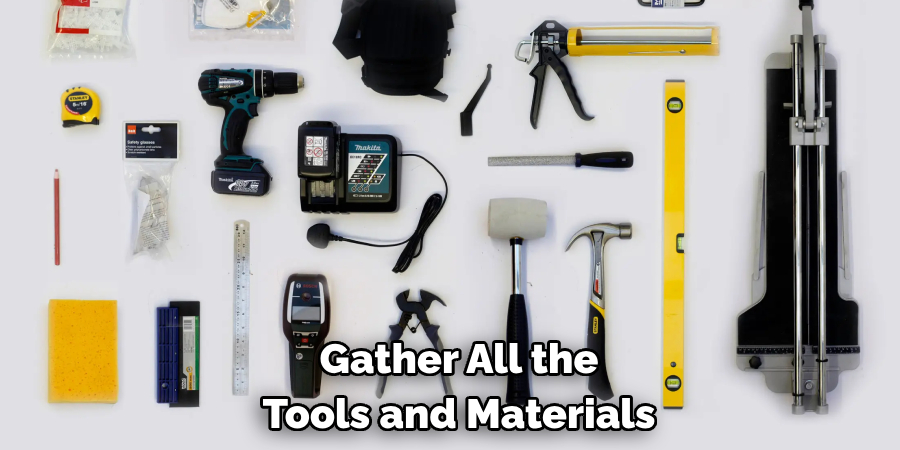
2. Gather Necessary Tools and Materials:
Before starting the installation process, gather all the tools and materials you’ll need. This typically includes the brake controller unit, wiring harness, wire cutters/strippers, electrical tape, crimp connectors, mounting hardware, and a socket set. It’s also a good idea to have some zip ties and a multimeter on hand for troubleshooting. While some of these items may come with the brake controller, it’s important to double check and have everything ready before beginning the installation process. Additionally, make sure to have the proper tools for your specific vehicle’s make and model.
3. Locate the Installation Area:
Identify a suitable location inside your vehicle to mount the brake controller. The ideal spot is within easy reach of the driver and provides good visibility of the controller’s display or adjustment knobs. Common mounting locations include under the dash, on the center console, or on the steering column. Avoid placing the controller in areas that may interfere with your driving or cause obstruction to other controls. Although it is not required, mounting the controller in a vertical position can prevent accidental adjustments while driving.
4. Locate the Brake Switch Wire:
Locate the brake switch wire under your vehicle’s dashboard. This wire sends a signal to the brake controller when you press the brake pedal. Use a wiring diagram specific to your vehicle to identify the correct wire.
Some vehicles may have a dedicated wiring harness for trailer brake controllers, while others may require splicing into existing wiring. Refer to your vehicle’s manual or consult with a professional mechanic if you are unsure about the wiring setup.
Once you have identified the brake switch wire, use a wire stripper to remove a small section of insulation from the wire. This will allow you to connect the brake controller’s wiring harness to the wire.
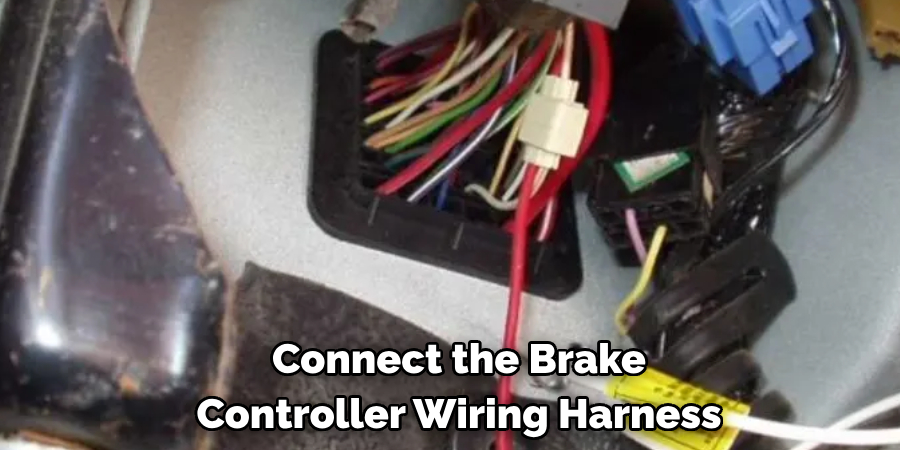
5. Connect the Brake Controller Wiring:
Connect the brake controller wiring harness to the vehicle’s electrical system. Follow the instructions provided with the brake controller and wiring harness. Typically, this involves connecting the brake switch wire, power wire, ground wire, and trailer brake wire. Make sure to securely connect and insulate all wires.
Next, find a suitable location for the brake controller. It should be mounted within reach of the driver, but not in a location where it could interfere with driving or get damaged. Use the mounting bracket provided with the brake controller or purchase one separately. Be sure to mount it securely using screws or other fasteners.
After mounting the brake controller, route the wiring harness to the location of the brake controller. Make sure to keep it away from any hot or moving parts and secure it with zip ties or other fasteners.
6. Mount the Brake Controller:
Use the provided mounting hardware to secure the brake controller in place. Ensure that the controller is mounted securely and does not obstruct the driver’s view or interfere with other vehicle controls. It is recommended to mount the brake controller within easy reach of the driver so that adjustments can be made easily while driving.
After mounting the brake controller, it is important to properly connect it to the vehicle’s electrical system. This typically involves connecting the wires from the brake controller to corresponding wires in the vehicle’s wiring harness. Consult the manufacturer’s instructions for specific wiring diagrams and color codes.
7. Test the Brake Controller Wiring:
After connecting the wiring, test the brake controller to ensure it is receiving power and sending signals to the trailer brakes. Activate the brake controller and verify that the trailer brakes engage when you apply the vehicle’s brakes. If the trailer brakes do not engage, check the wiring connections and make sure they are securely connected. Also, ensure that the brake controller is properly grounded.
It is important to regularly test your brake controller wiring, even after initial installation. This will help identify any potential issues and ensure that your trailer brakes are functioning correctly. Additionally, it is recommended to perform a brake controller test before each trip to verify that everything is working as it should.
One common issue with brake controller wiring is a faulty connection. Over time, vibrations and exposure to the elements can cause wires to become loose or damaged. Regular testing will help you catch these problems early on and prevent any potential accidents caused by faulty wiring.
8. Adjust Brake Controller Settings:
Adjust the settings on the brake controller to suit your towing setup and driving preferences. This may include adjusting the brake gain, which controls the amount of braking force applied to the trailer brakes, and the brake response time.
Some brake controllers also have a feature called “boost” or “slope,” which allows for additional braking force to be applied at higher speeds or on steep downhill grades. It is important to find the right balance between adequate braking power and avoiding excessive wear and tear on the trailer brakes.
It is recommended to start with a lower brake gain setting and gradually increase it until you achieve the desired braking power. Remember to test your brakes on a flat and safe surface before hitting the road.
9. Secure and Conceal Wiring:
Once the wiring is connected and tested, secure any loose wires and conceal them to prevent damage and maintain a neat appearance. Use zip ties or wire loom to bundle and secure the wiring under the dashboard or along the vehicle’s frame. This will prevent the wires from getting tangled or caught on any sharp edges while driving.
To further protect the wiring, consider installing wire loom tubing or conduit around vulnerable areas. This can also help to conceal and organize the wiring for a cleaner look. Be sure to use appropriate sizes and types of tubing for your specific wiring needs.
When concealing the wiring, make sure not to block any necessary access points or interfere with the functionality of other components. If possible, route the wiring away from heat sources such as exhaust pipes or engines to prevent potential damage.
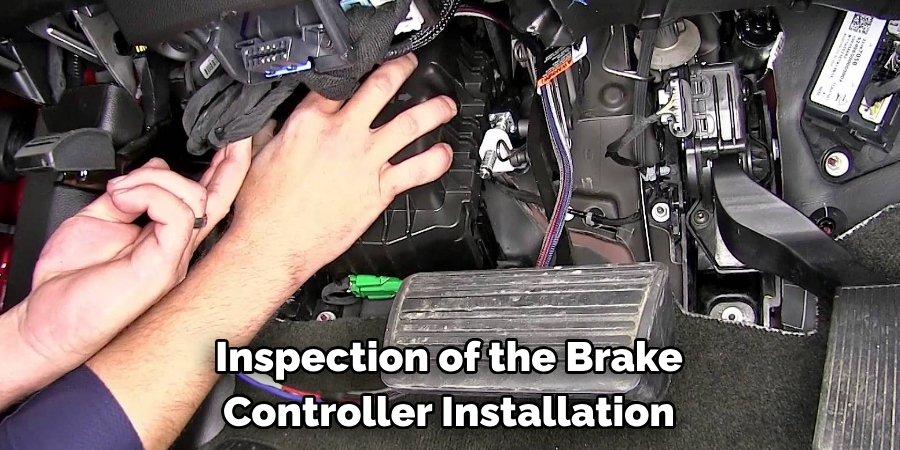
10. Perform Final Checks and Test Drive:
Before hitting the road, perform a final inspection of the brake controller installation. Double-check all connections, mounting points, and wiring to ensure everything is secure and properly installed. Take your vehicle for a test drive to confirm that the brake controller is functioning correctly and providing smooth, responsive braking for your trailer.
In addition to checking the physical components of the brake controller, it’s important to also test its functionality. This includes testing the brake signal when applying pressure on the vehicle’s brake pedal, as well as ensuring that the manual control lever on the brake controller activates the trailer brakes.
During your test drive, pay attention to any unusual sounds or vibrations coming from your trailer while braking. If you notice anything out of the ordinary, it’s best to address it before hitting the road for a trip.
Conclusion
In conclusion, mastering the installation of a brake controller is essential for enhancing the safety and control of your towing endeavors. By following the detailed steps outlined above, you can ensure that your brake controller is installed correctly, wired properly, and adjusted to suit your towing setup and driving preferences. A properly installed brake controller enables synchronized braking between your vehicle and trailer, reducing stopping distances and improving overall towing stability.
Regular testing and maintenance of the brake controller installation are crucial to ensuring its continued reliability and effectiveness. Whether towing a small trailer or a large RV, investing time and effort into the proper installation of a brake controller pays dividends in enhanced safety and peace of mind on the road. So, there you have it – a quick and easy guide on how to install a brake controller.